Boxster Project: Dashcam Power Switch Installation
Power when it's needed, but not when it isn't...
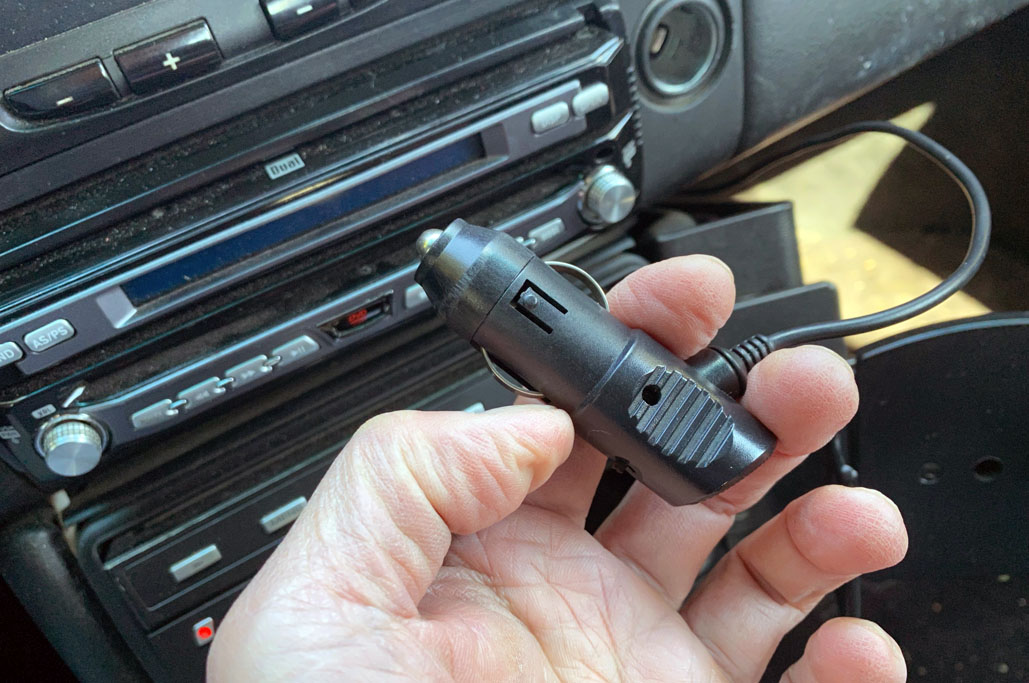
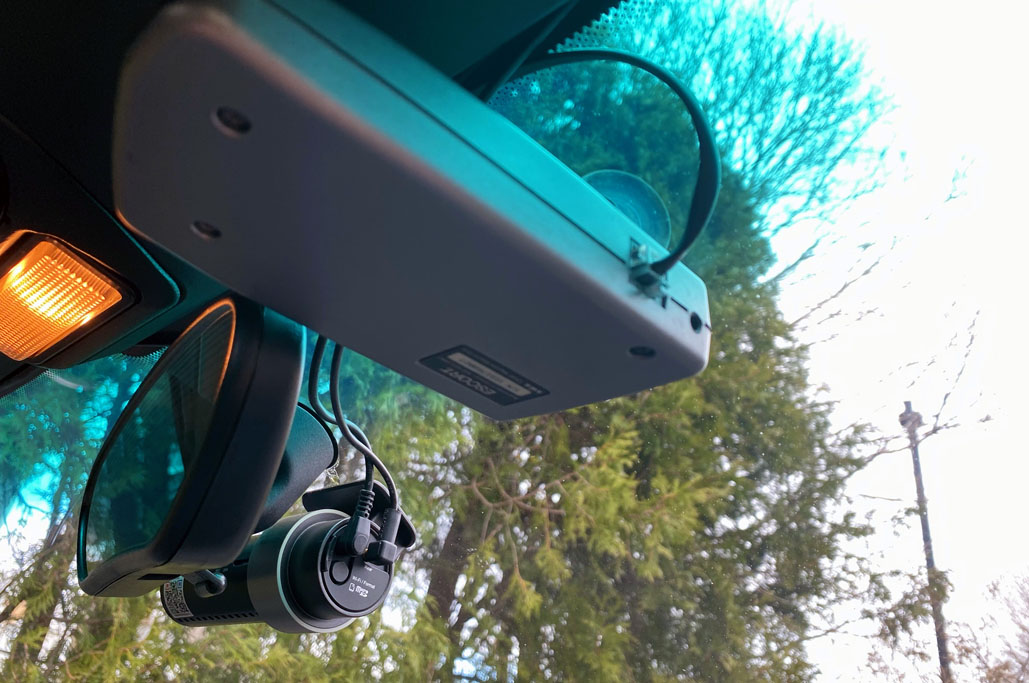
When we first installed the Blackvue dashcam in the Boxster over a decade ago, it was our intention to hardwire the power instead of drawing it from the car’s cigarette lighter. But this particular DIY project kept getting pushed off because it wasn’t a priority. Until it finally became one a few weeks ago.
The Problem
The Blackvue dashcam had started acting flaky, powering on/off randomly and suchlike, and after a week or so it finally stopped working all together. By switching to another power plug, we were able to ascertain that the problem was not a fuse or the Boxster’s cigarette lighter, but the power plug itself.

An oldie but a goodie no more…
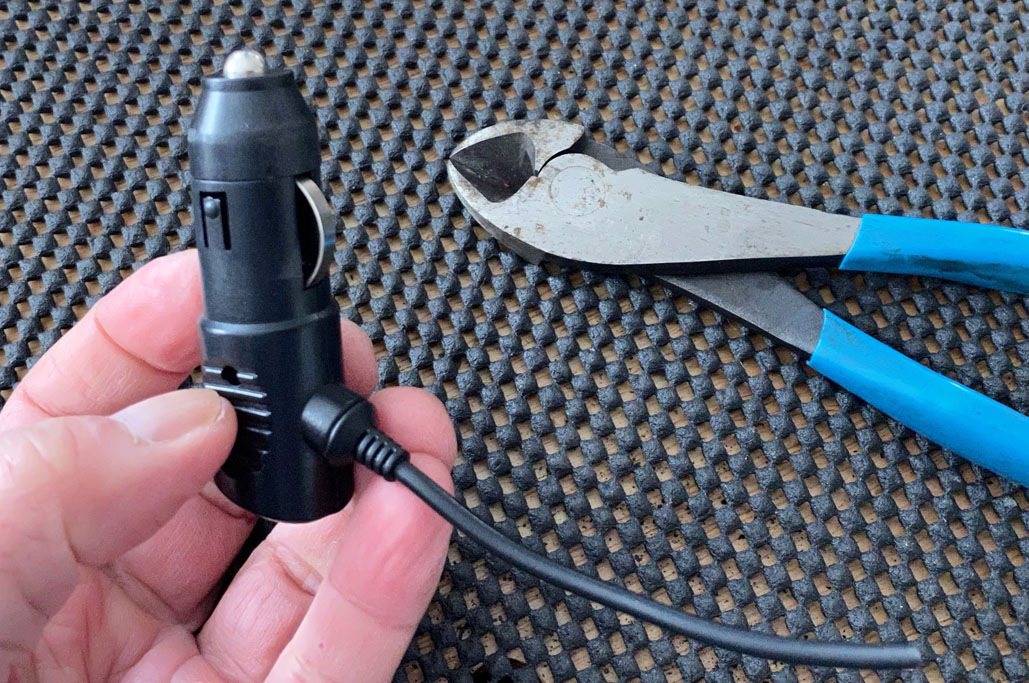
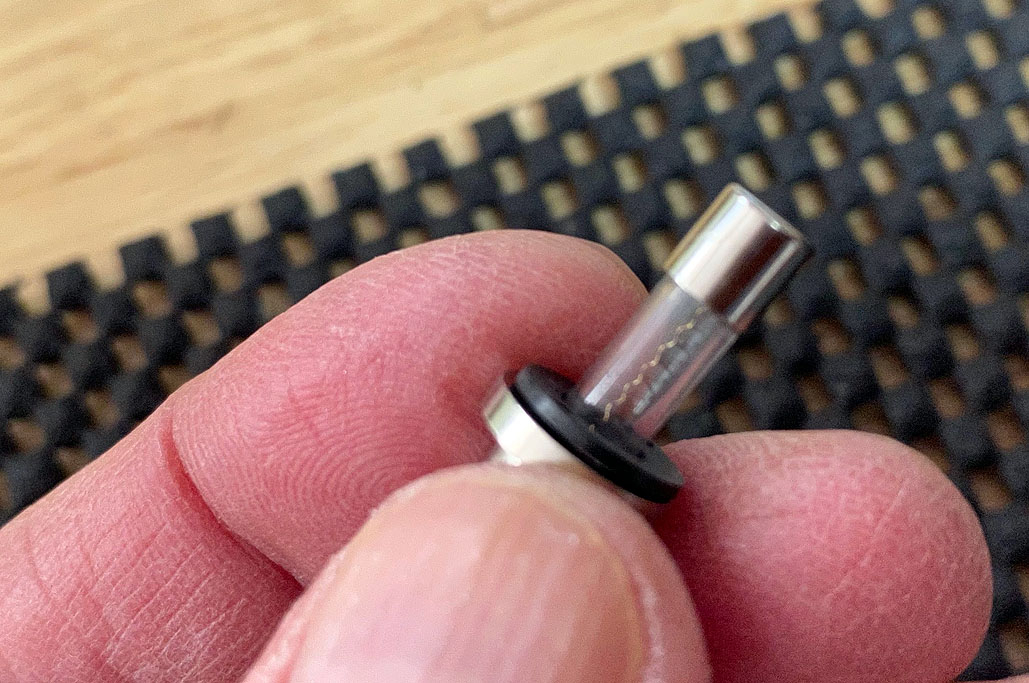
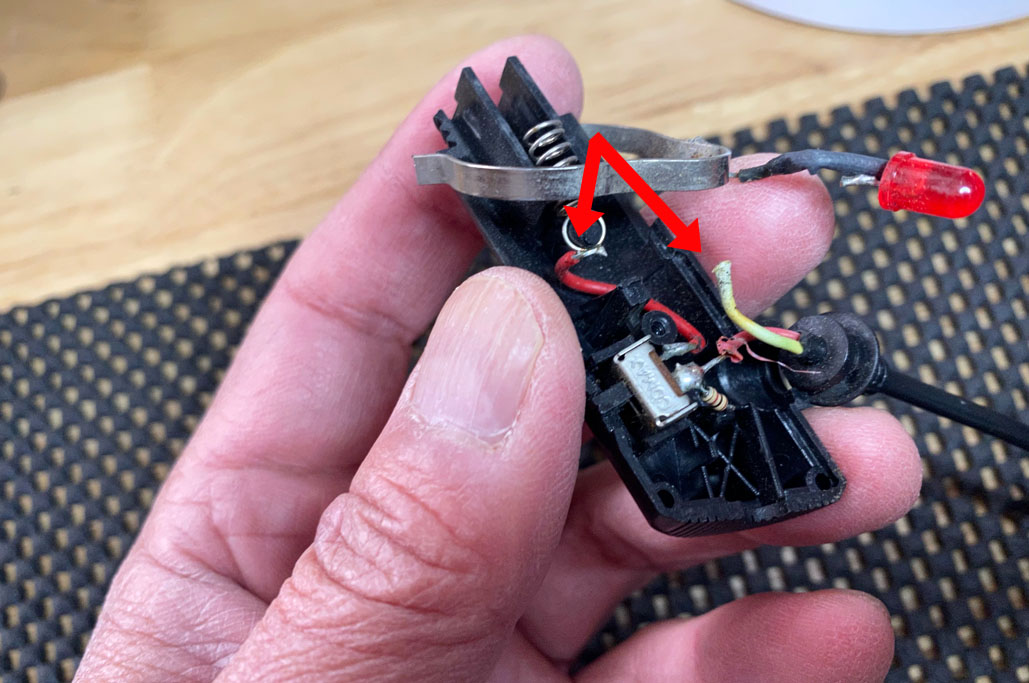
We cut the plug before diagnosing the cause because we didn’t want to be tempted into trying to fix the plug (because we are I-can-fix-it people, generally speaking). When we took the plug apart, it was immediately clear that the issue was not the fuse, but a broken wire, probably broken from years of road vibrations.

Not this, THAT
The Mounting
With the root cause of the power issue identified, we knew it was finally time to get serious about the update we had put off for so long.
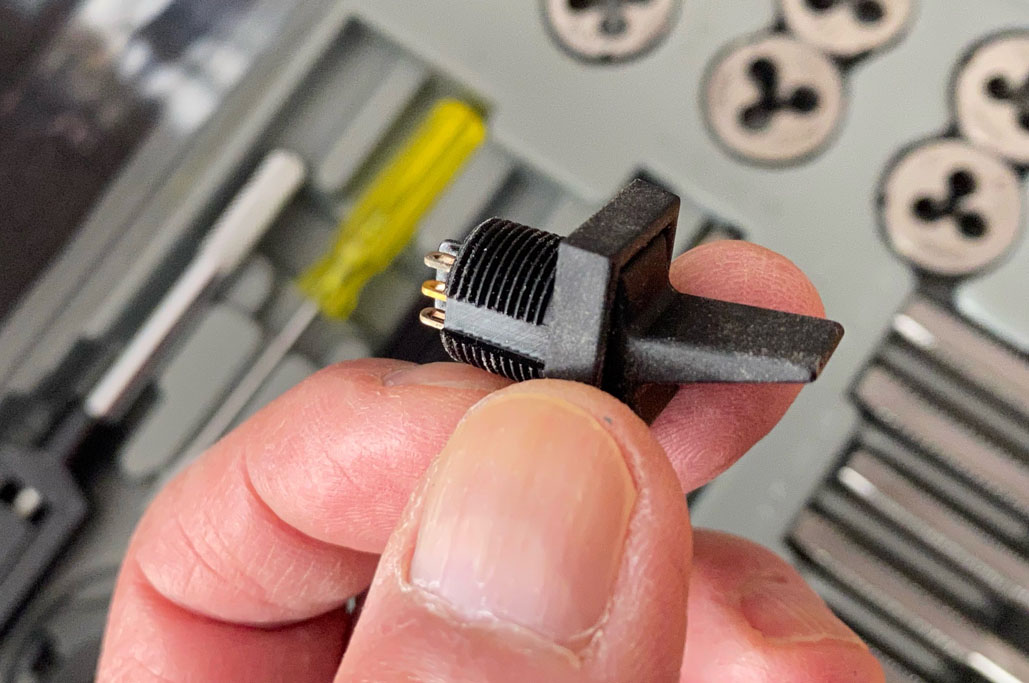
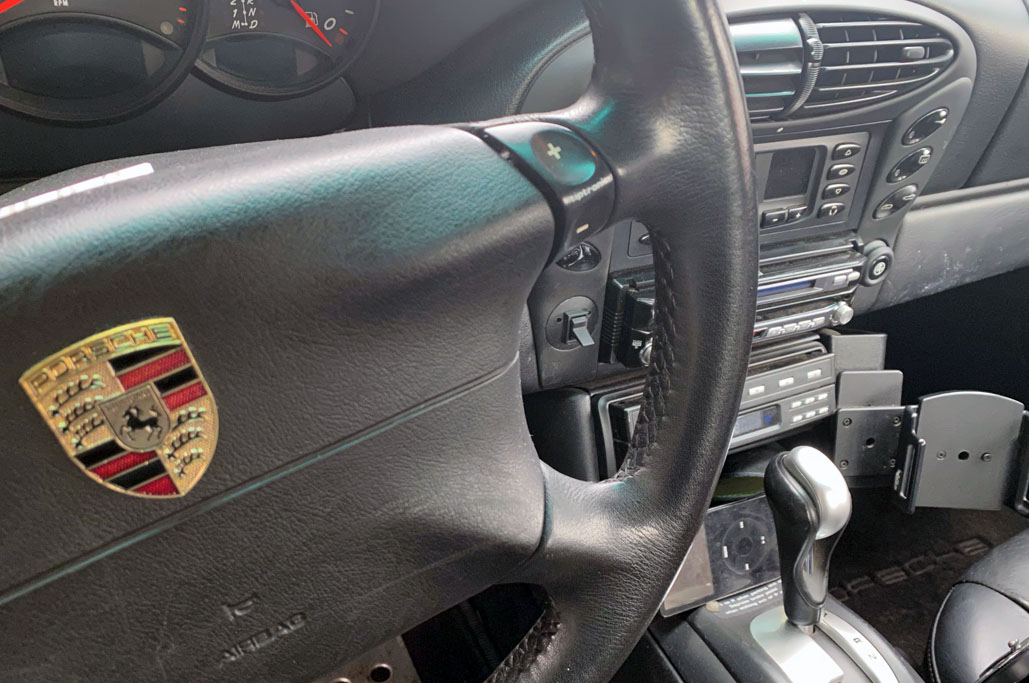
A quick poke around the parts bin netted us a suitable power switch. We had some that were fancier, but we like the all black look of the toggle+cover plate combo.

Rockin’ the rocker switch
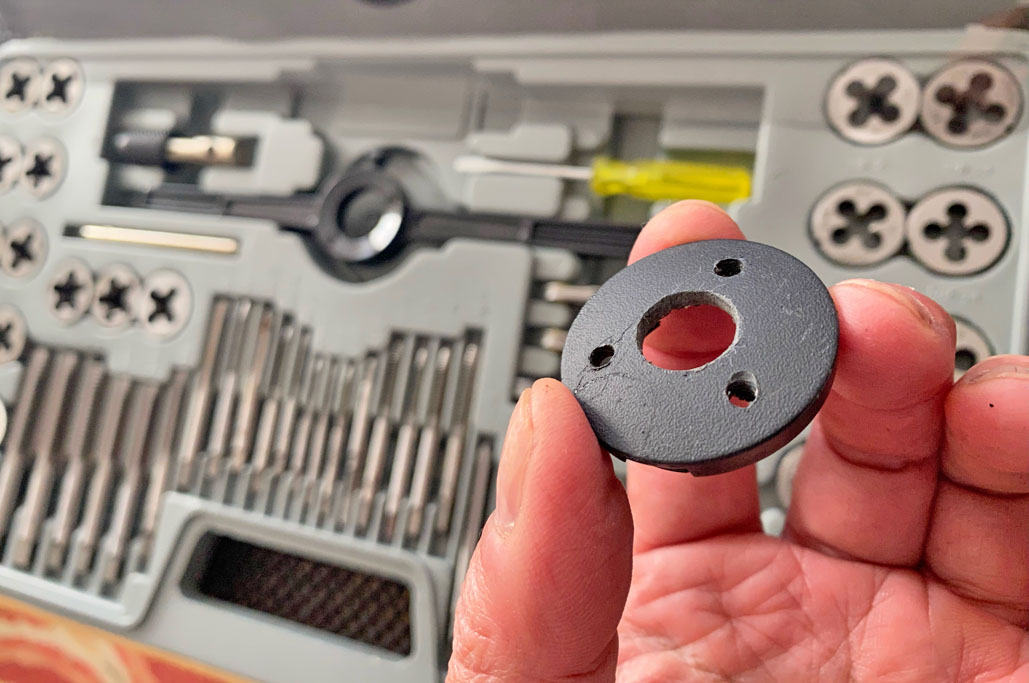
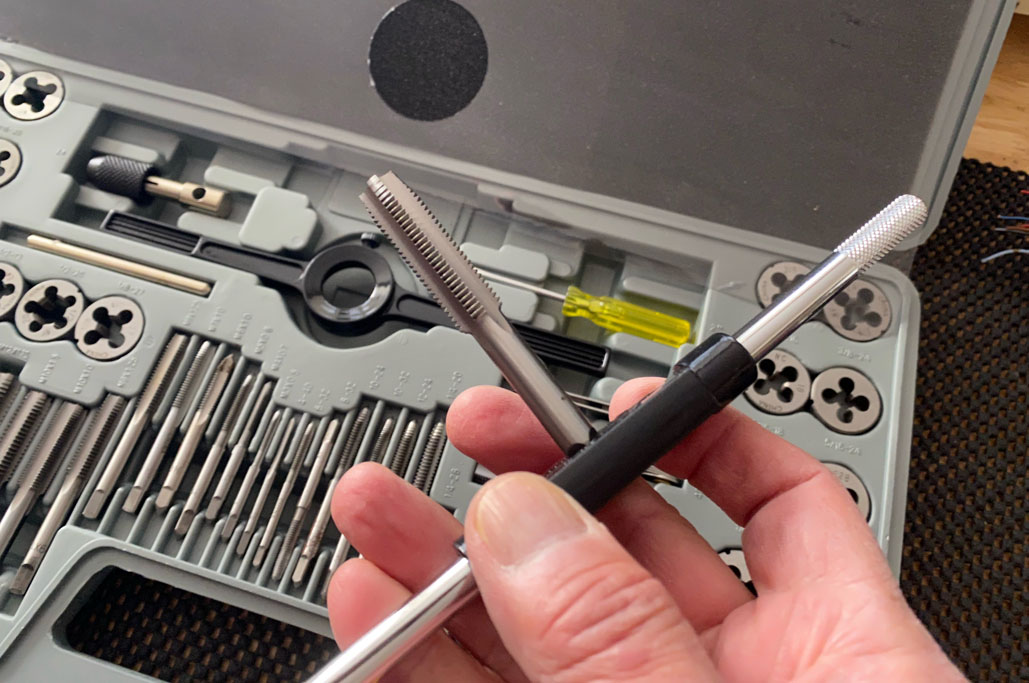
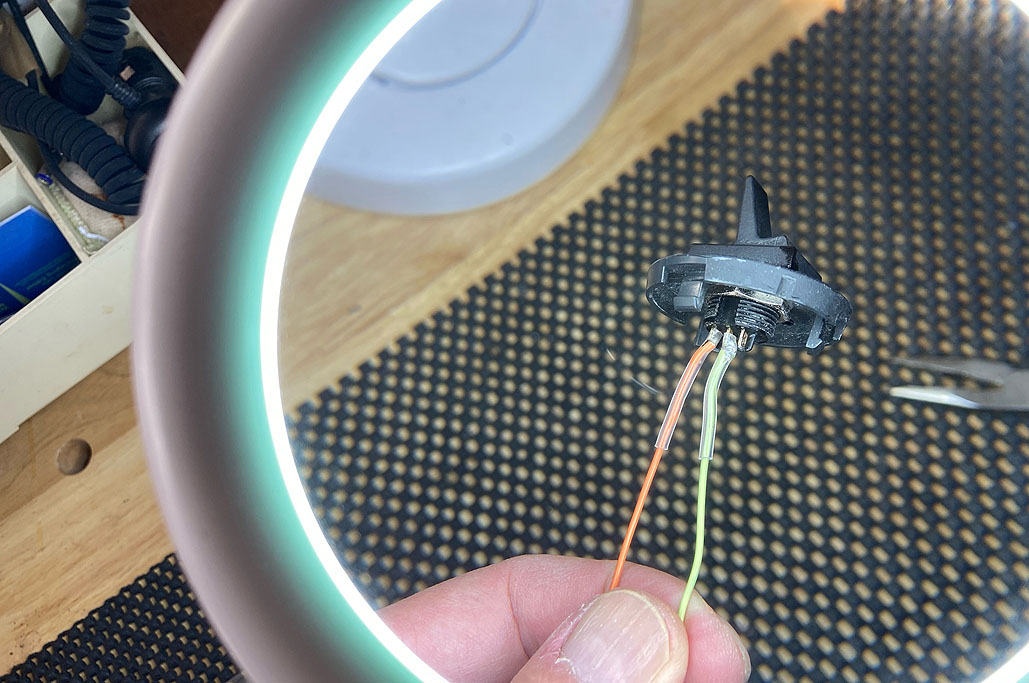
The switch’s round threaded rear section made mounting a simple task once we tapped a large enough hole for it in the cover plate. The only drawback to this particular switch was that it was not already wired up. Still, it wasn’t too much of a problem soldering on the two wires and heat-shrink-wrapping them to prevent accidental contact (five minutes max).

Had them, had that, fixed this, and now we’ve got that.
NOTE: For closeup work, an LED lamp w/magnifier is a HUGE help.
The Installation
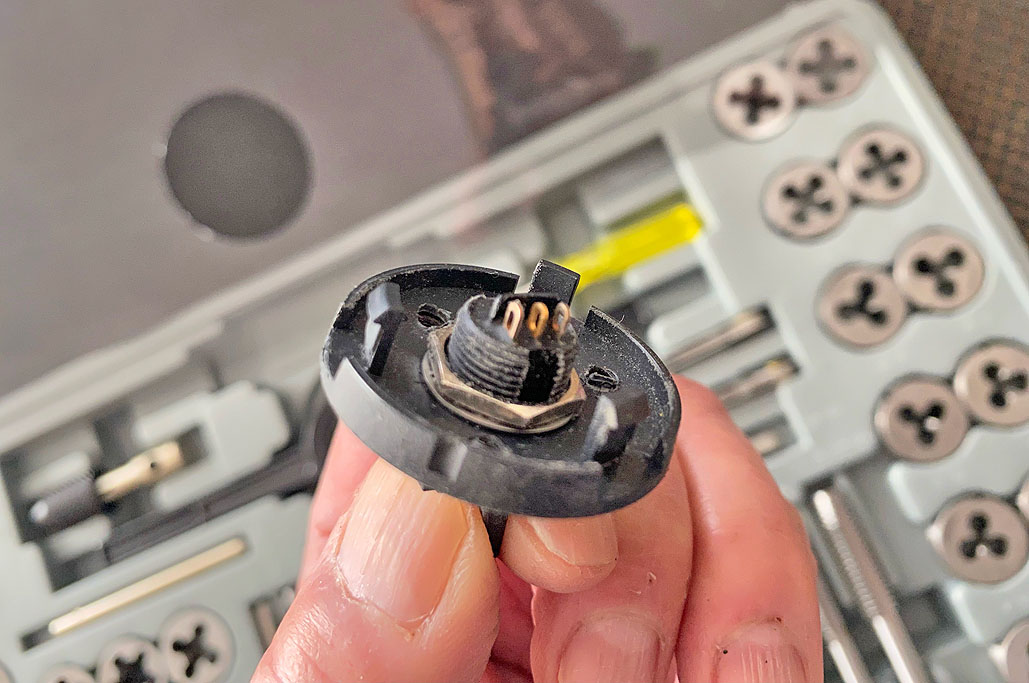
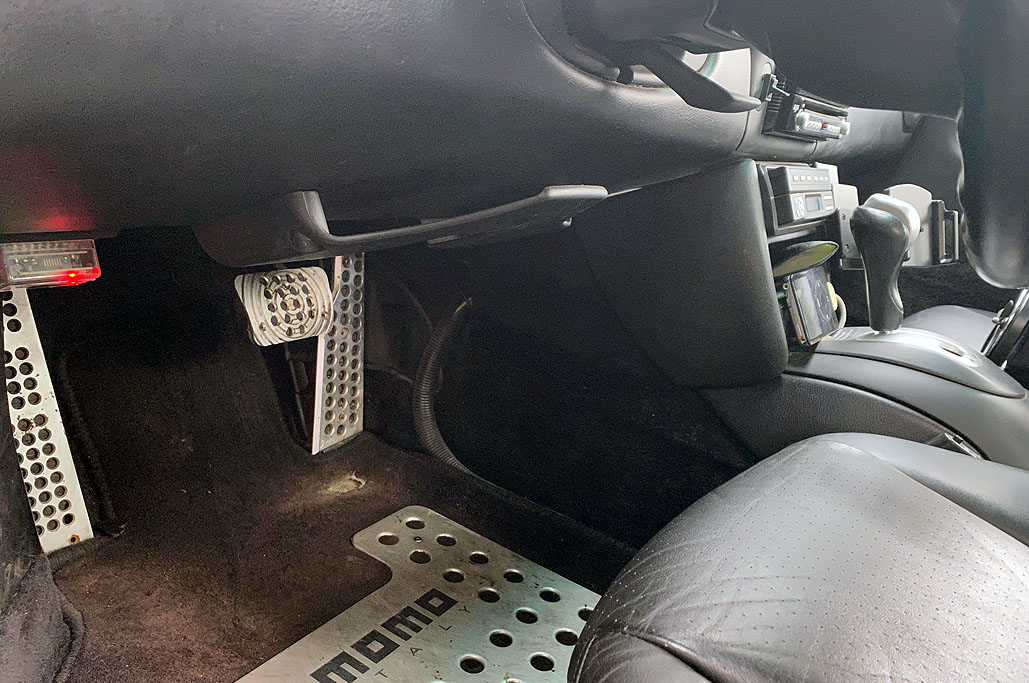
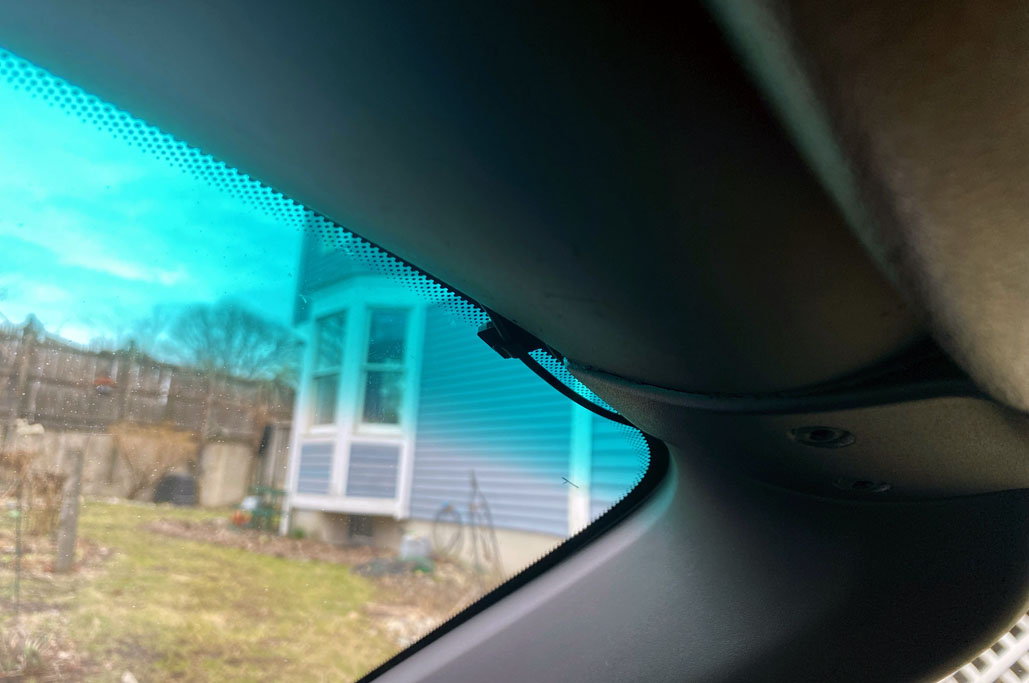
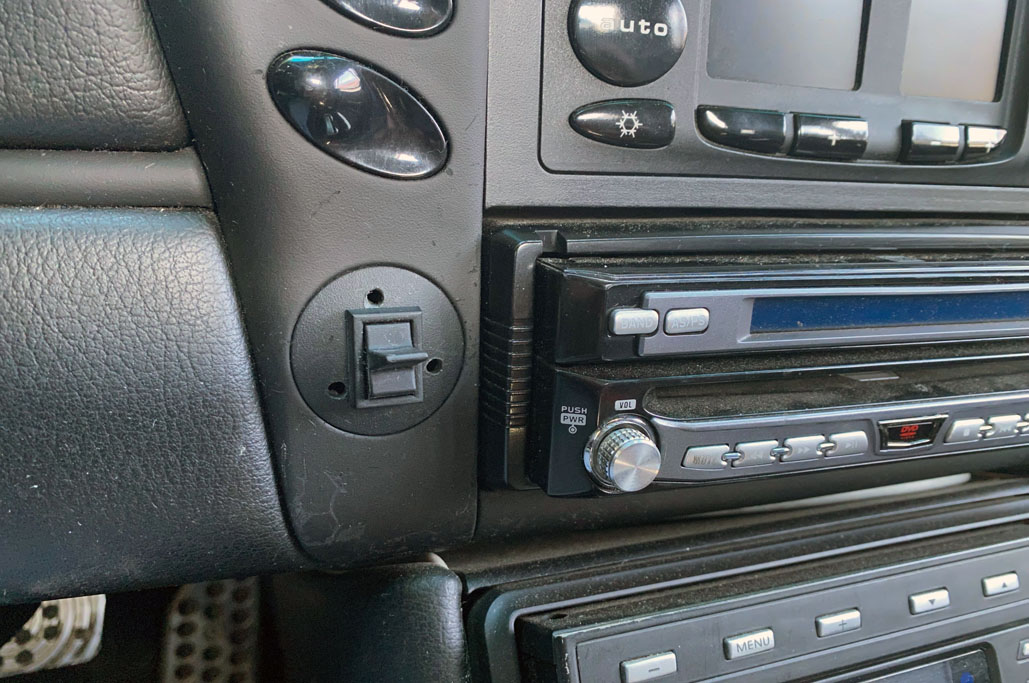
Mounting the switch is a simple matter of popping the plate back into the hole. To make connecting up things easier, we extended the wires so that they ran down behind the panel and out the the footwell.

Pure bling, absolutely
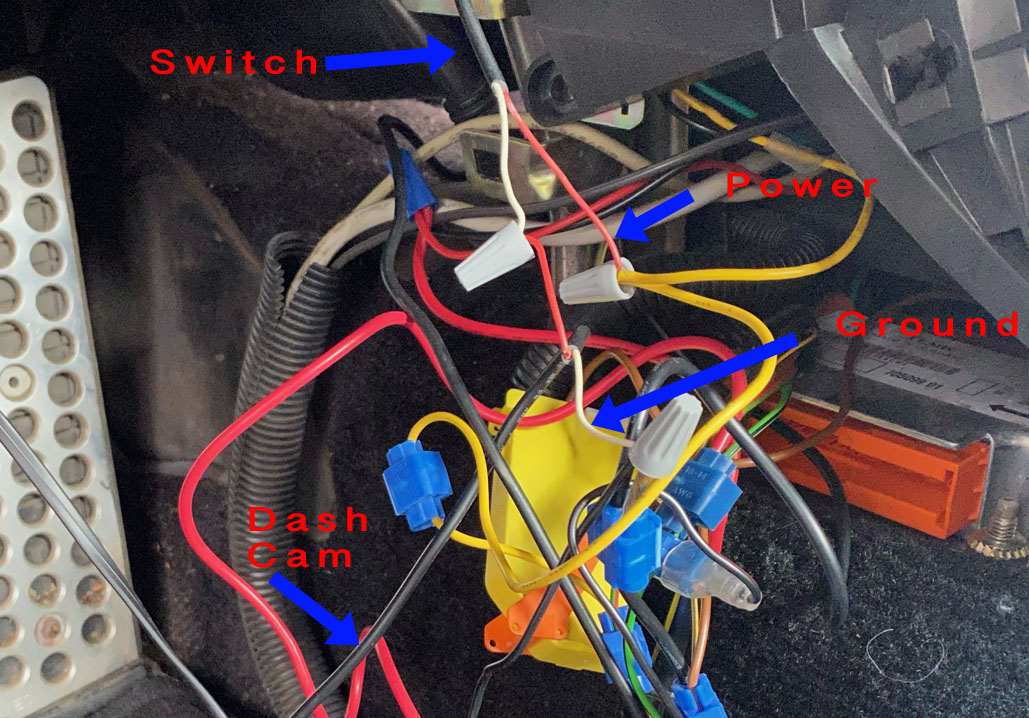
When we installed a new radio and radar detector many years ago, we had tapped into a few of the lines. Fortunately, we labeled everything back then, so the switched and non-switched power lines were easily identifiable. Since we wanted the dashcam—unlike the radar detector—to get power even when the car key was removed, we needed to power it from a line which had continuous power (yellow wire, below).
Here is how we wired it:
- We connected the switch between the car’s power line (yellow) the dashcam’s power wire; then we
- We connected the dashcam’s ground wire (white) to the car’s ground.
So, when the switch is “on,” the dashcam—unlike the radar detector—will be powered up regardless of the state of the car (running/not-running). Now we can run the dashcam and monitor the car when it is parked.

It’s less spaghetti-looking in person… OK, actually it is just as “spaghetti.”
With the dashcam wired up and confirmed working, we put everything back behind the center console, replaced the panels, and ensured that all of the wires were neatly tucked away.

Tidy is as tidy does
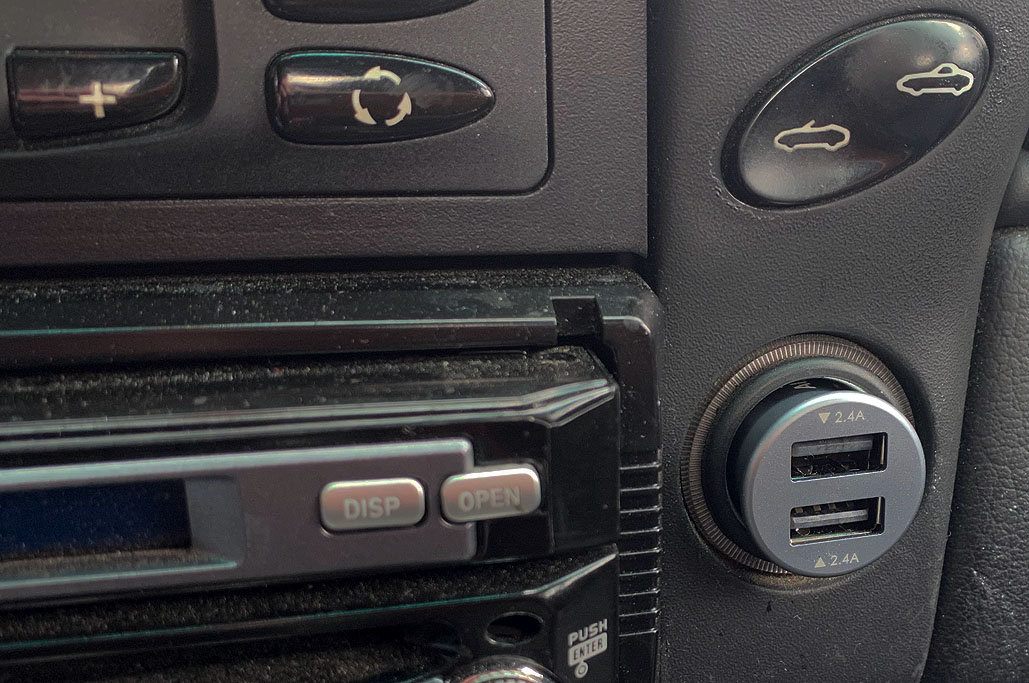
We also took the opportunity and reran some of the cables, added some clips to (neatly) secure said cables in place, and added a dual-port USB plug to the now free cigarette lighter socket.

“We’re suckin’ diesel now, boyo!” (An Irish phrase meaning “everything’s working the way it should”)
Final Thoughts
This power switch DIY has been a long time coming. We put it off only because plugging the switch into the cigarette lighter was so easy. We were, however, a little, twitched, by having a large and unattractive plug sticking out of the socket. Our now permanently installed On/Off switch is convenient to use, unobtrusive, and it’s new home freed up the cigarette socket for other uses.
While the mechanics of hooking things up were simple, mistakes were still made. We thought we knew how to hook this up, but we still blew one of the 7.5A fuses because we accidentally connected up a line improperly. So always have some extra fuses on hand, and it’s especially good to know which is your lime and which is your coconut.

Like it was meant to be!
Links to items mentioned:


Leave a comment