Boxster Winter Prep 2015: Cleaning the MAF
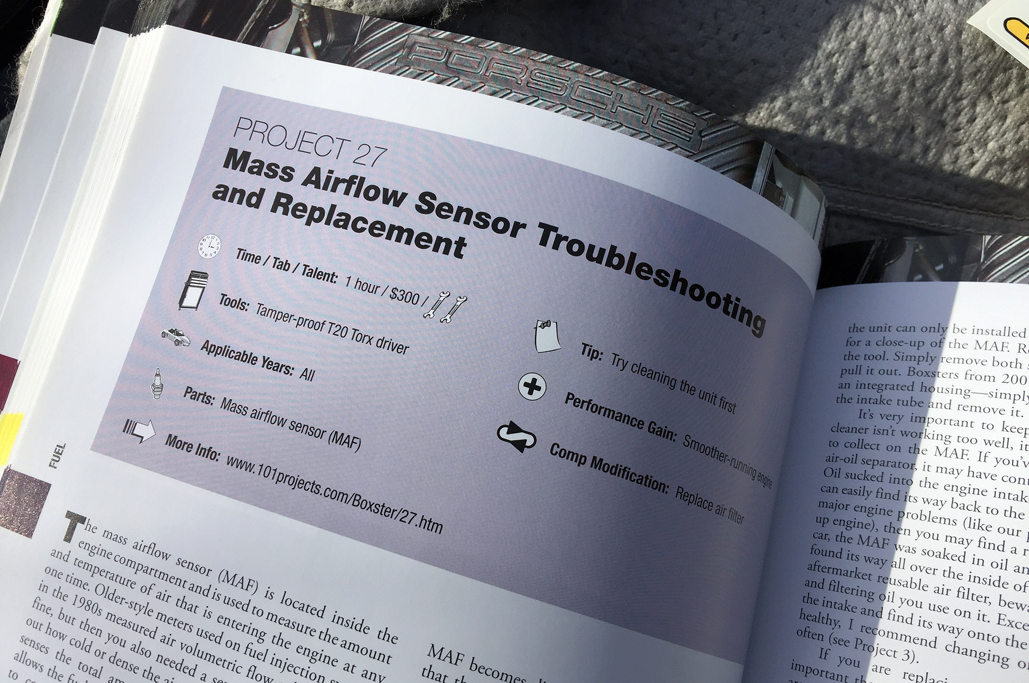
101 Boxster Project #27
It started with an idle problem in the Boxster. It had been acting up for a while, and by “a while” we mean maybe since last Summer. We ignored it because it never threw a Check Engine Light (CEL) code, but the car was “breathing” heavily when in idle (between 800-500 rpm) and that wasn’t right. A month ago, though, a slew of codes came on; so many, in fact, that they were not actually helpful in telling us where the problem was…at least as it related to the idle issue.
Anyway, we have a local mechanic (we can walk to the garage) where we take the car for things we don’t want to/can’t do. Conversations went back and forth for a couple of weeks about doing the obvious things…smoke testing for vacuum leaks, replacing parts which were obviously bad (cracked hoses, etc.), putting in parts that were due (spark plugs). The problem was whittled down to CEL codes (P0446, P1128, P1130) which were related to parts that we were pretty sure were NOT bad (purge valve, O2 sensors).
We then remembered reading an article about how the MAF sensor (it sits after the air filter and before the engine) could cause the idle/CEL codes we were seeing. This week, we spent an unseasonably warm morning digging into the Boxster, pulling/cleaning the part, and seeing if the article was right.
When we work on the Boxster at the RainyDayGarage, we reference the Bentley Boxster Service Manual and Wayne Dempsey’s 101 Project for Your Porsche Boxster. We tend to favor Dempsey’s book because the projects described are supported by the online forum, and we can order the parts needed easily from Pelican Parts. We won’t repeat their directions, but will mention some highlights in this DIY. Please refer to Project #27 in the book for the details.
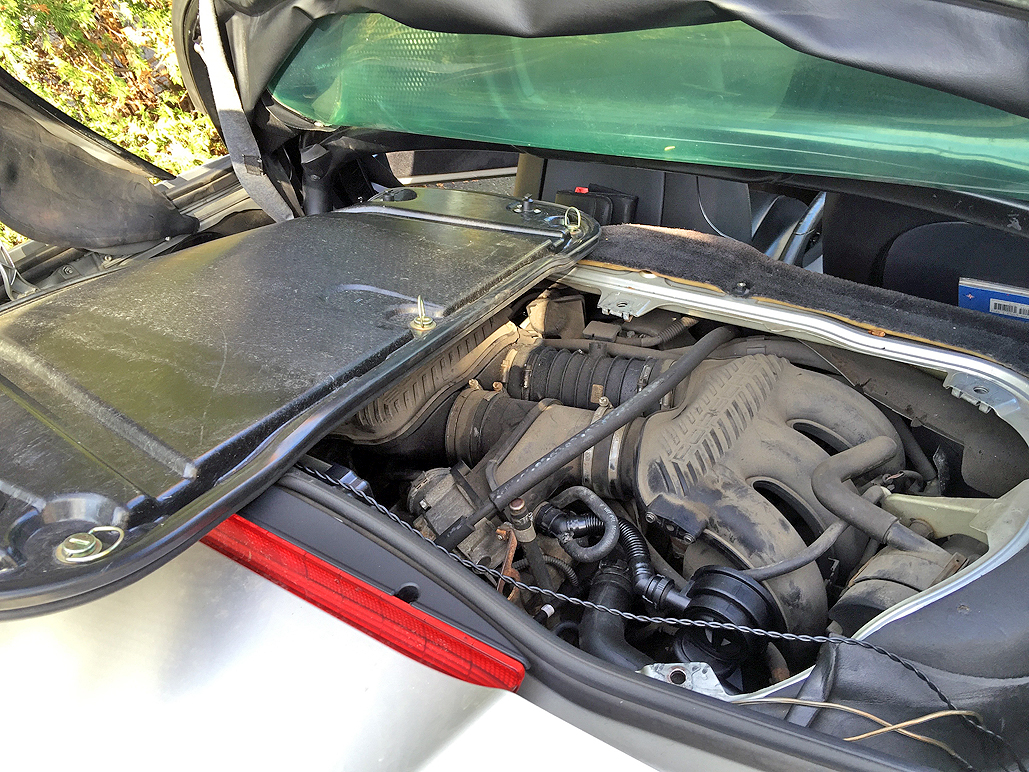
Step 1: Accessing the Engine
The engine is behind the seat, so getting at it means lifting the convertible top and removing some panels. The nice part is that no tools are needed. The book gives a pretty clear description of the MAF’s location, but we thought a few overview pics would further clarify exactly where the part was relative to more familiar things.
NOTE: The Red arrow is the air filter and the Blue arrow is the location of MAF sensor.

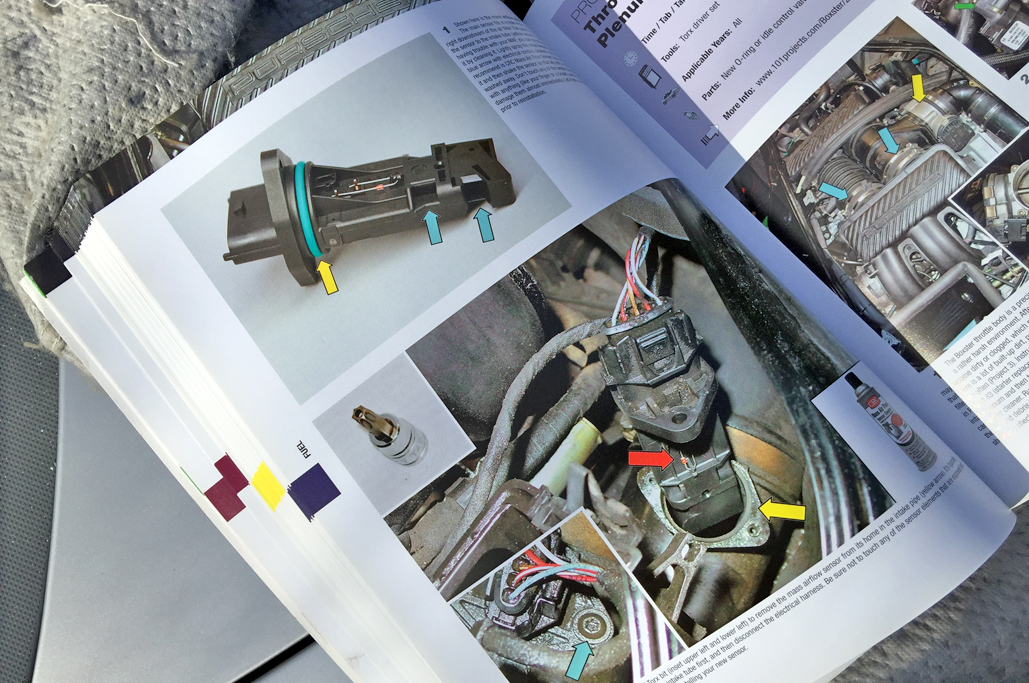
Step 2: Removing the MAF Sensor
In order to remove the MAF sensor, a TS-20 security bit is required to remove its screw (the bit has a hole in the center so it will fit into the screw). We are not sure why a TS-20 was used as the bit is available at ANY hardware store for $1.99, but the part couldn’t be removed without it. It all just seemed an unnecessary pain without any true “security” benefit.

- Location of the “security” screws holding the MAF sensor in place.
- MAF removed, not yet cleaned.
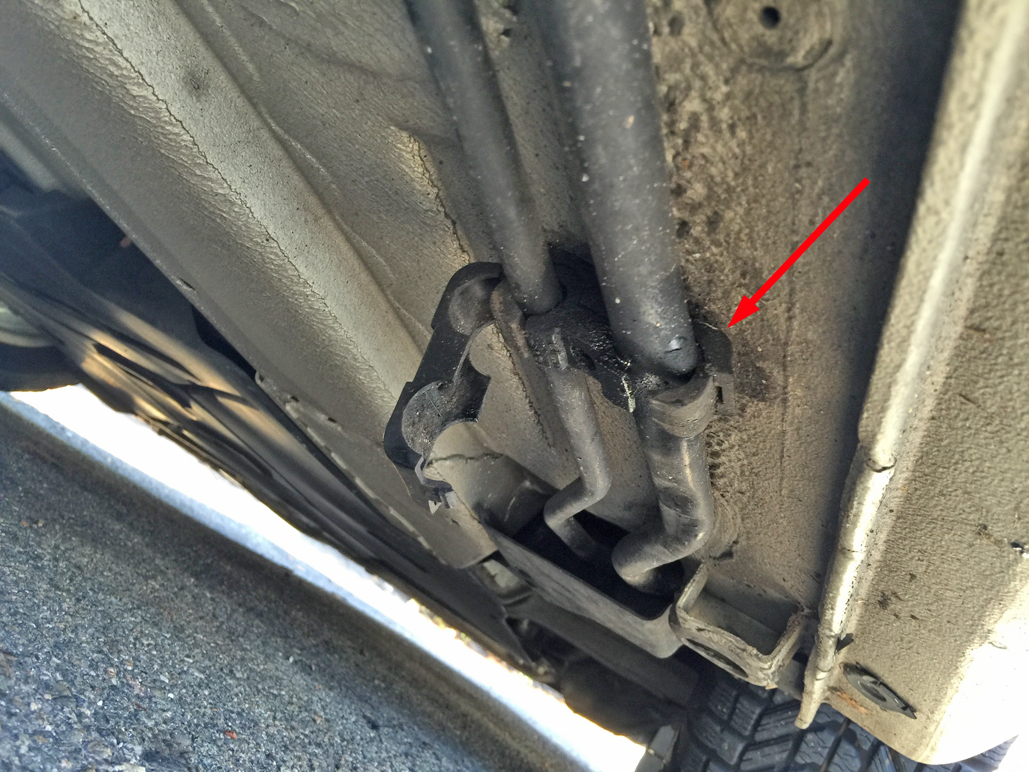
- The MAF port
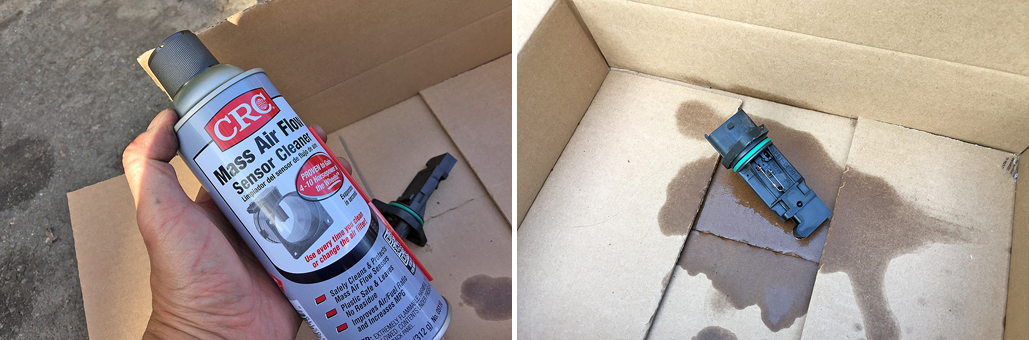
Step 3: Cleaning the MAF sensor
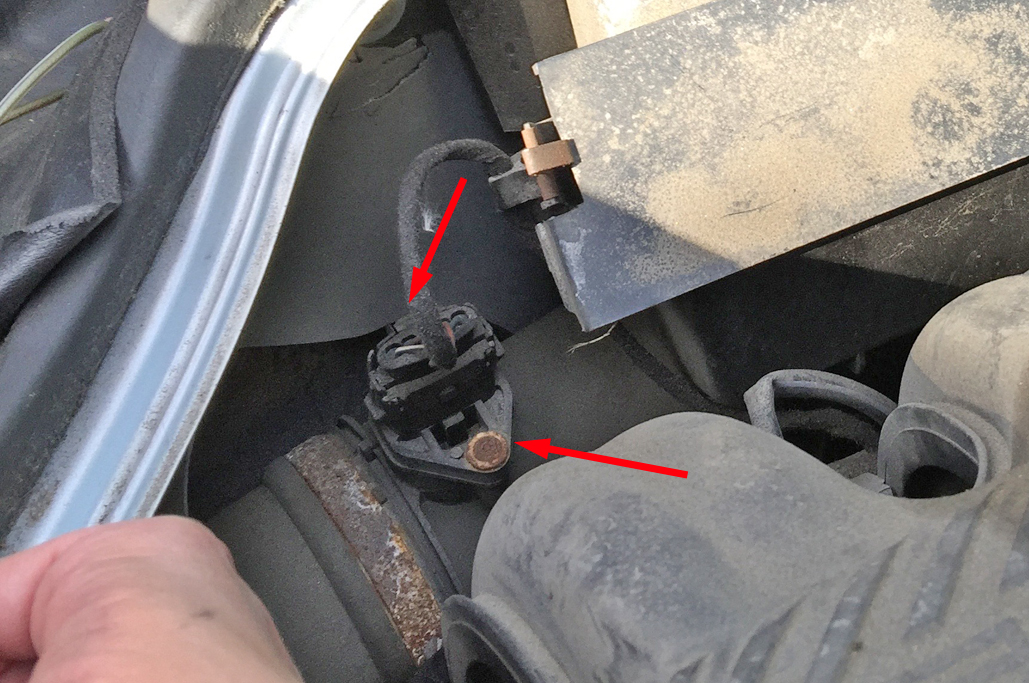
Here is a close up of the MAF sensor. We have no idea how it works, but everyone said not to touch the wire. Apparently, the wire breaks easily and the part costs $300 to replace. So, we just sprayed the crap out of it with MAF Sensor Cleaner (a very specific cleaner) and let it air dry.

The red arrows point to ports on the side which also needed that same treatment. Everything dried in a few minutes. Evidently the spray is quite volatile…so, no using near the grill!!!
While the folks at the RainyDayGarage took the MAF spray for granted, one of our other editors asked why is it that there is a spray specifically made to clean this one part…she asks hard questions!!! And we had no answer.
At the end of the morning, we are happy to report, we did not make the problem worse and, so far, the idle is level and steady, but we’ll see if things hold after driving it for a while.
Amazon links to items mentioned:
- Torx TS20 security bit
- CRC Mass Air Flow Sensor Cleaner
- Boxster Air Filter
- 101 Projects for Your Porsche Boxster
- Bentley Boxster Service Manual
Pelican Parts links to items mentioned:


Leave a comment