Headlight Restoration: Cerakote
Guaranteed for "as long as you own your car!"
A long time ago, we did a headlight restoration DIY project using Meguiar’s Headlight Restoration Kit and things turned out reasonably well.
So when another car needed its very yellowed headlights restored some 11 years later, we felt it was a perfect opportunity to find out whether there has been any progress in the area of headlight restoration technology.
After some research, we found a kit from Cerakote which seemed almost too good to be true! We decided to find out…
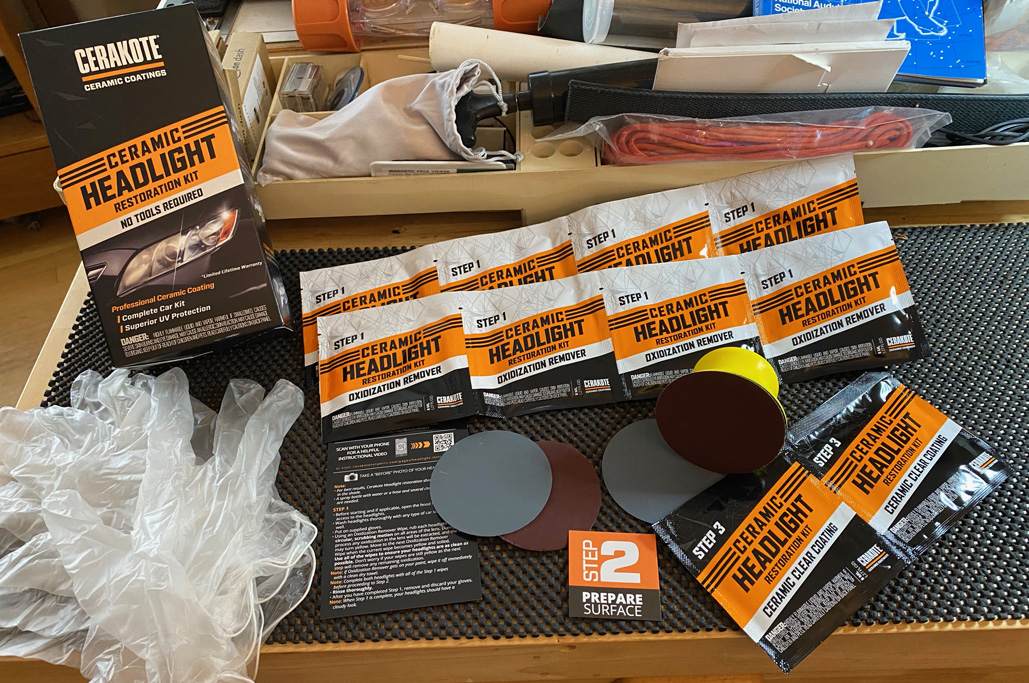
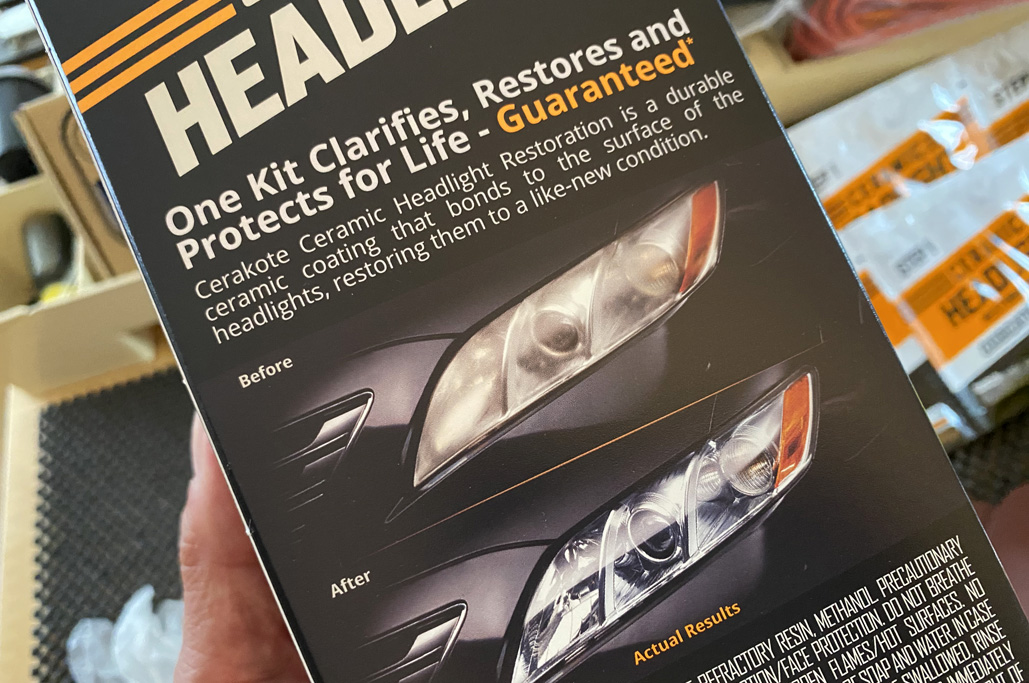
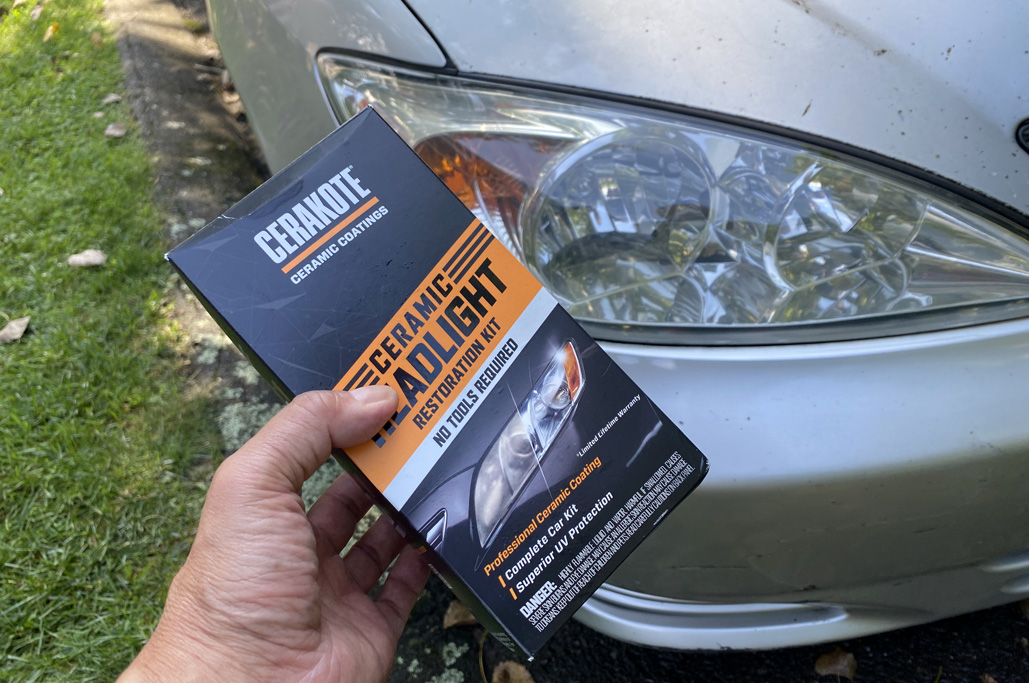
Cerakote Headlight Restoration Kit

Everything needed to restore two headlights. Literally, everything.
The kit:
- Restores and protects 2 headlights
- Uses an easy three-step application with no power tools required:

The kit and the instructions and all the bits were really great.
We were intrigued by the Cerakote headlight restoration kits because the company claims is that it is a professional grade ceramic coating that chemically bonds to the headlights and provides UV protection for (as they say) “as long as you own your car!”

You had me at “guaranteed for life.”
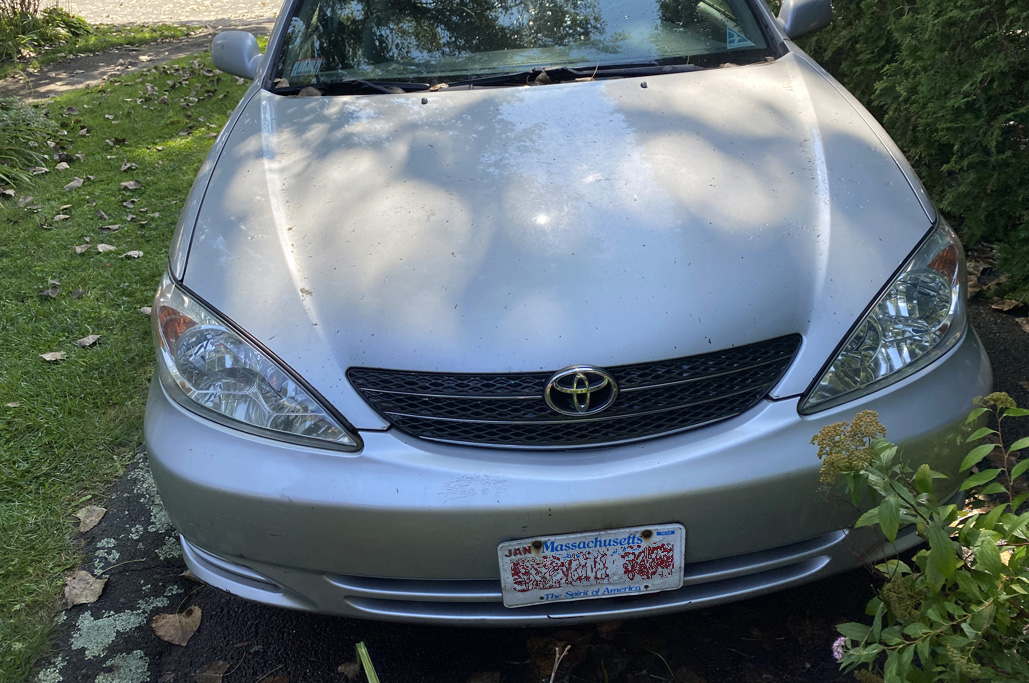
FirstUse
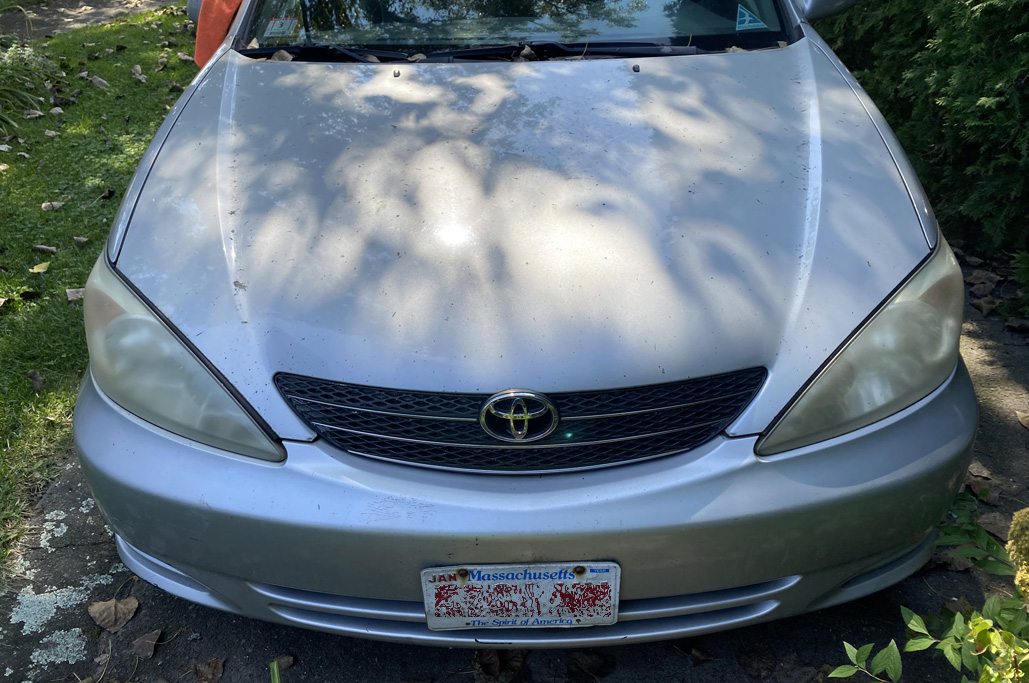
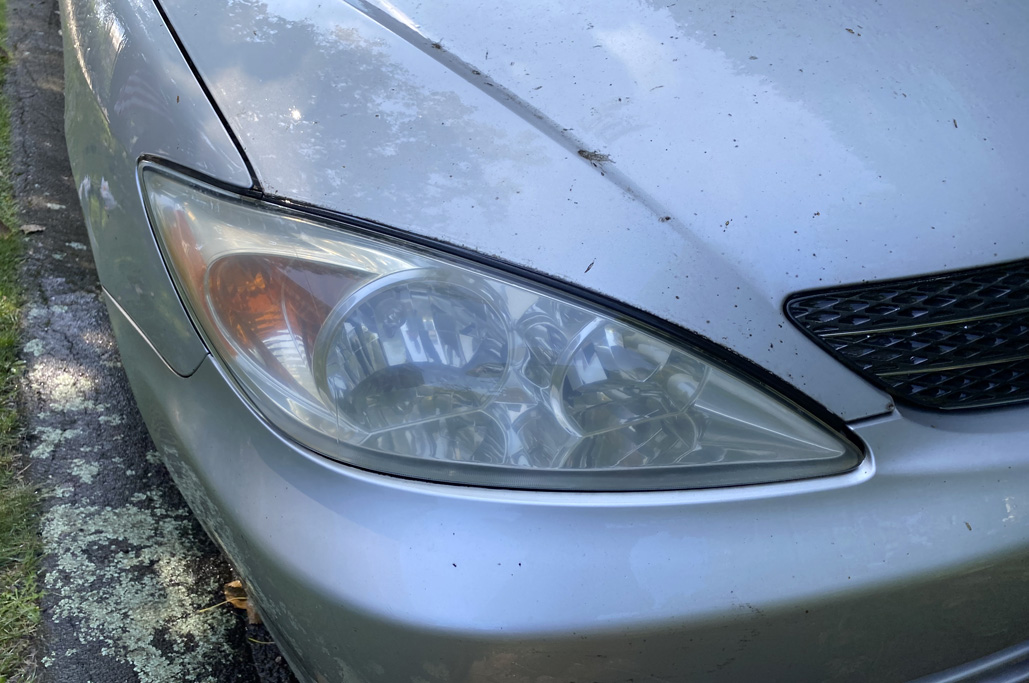
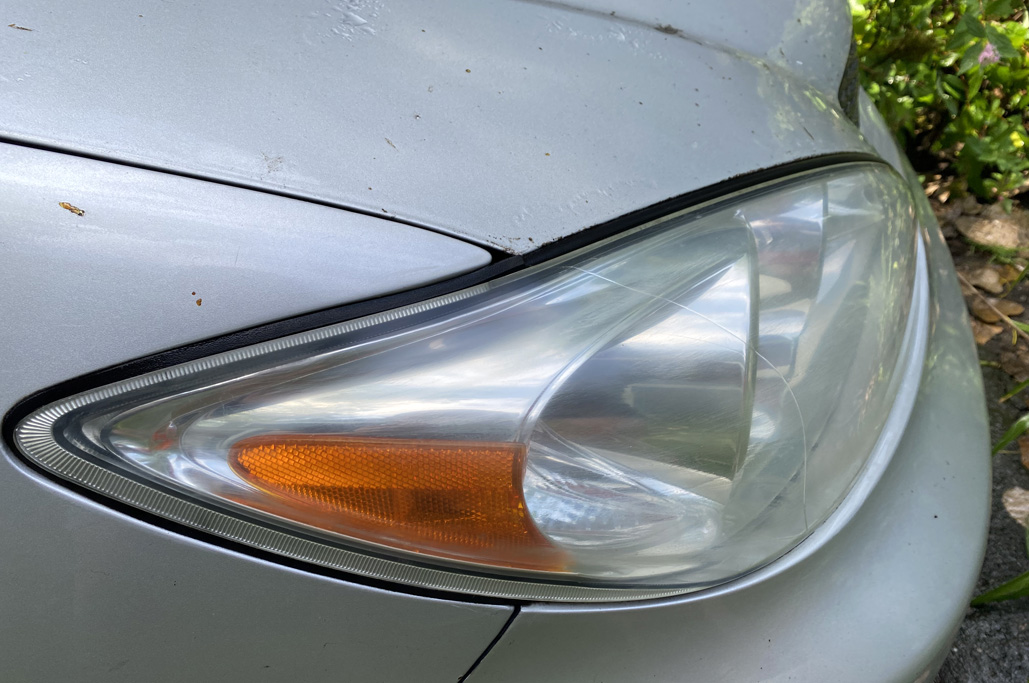
The photo below shows the headlights of the Camry before the Cerakote restoration treatment.
Note the very opaque lenses, which greatly reduce the illumination coming from them. We were uncertain how much of the fogginess could be removed and how clear the result would be, but knew that a “before” shot would be useful in helping us compare.

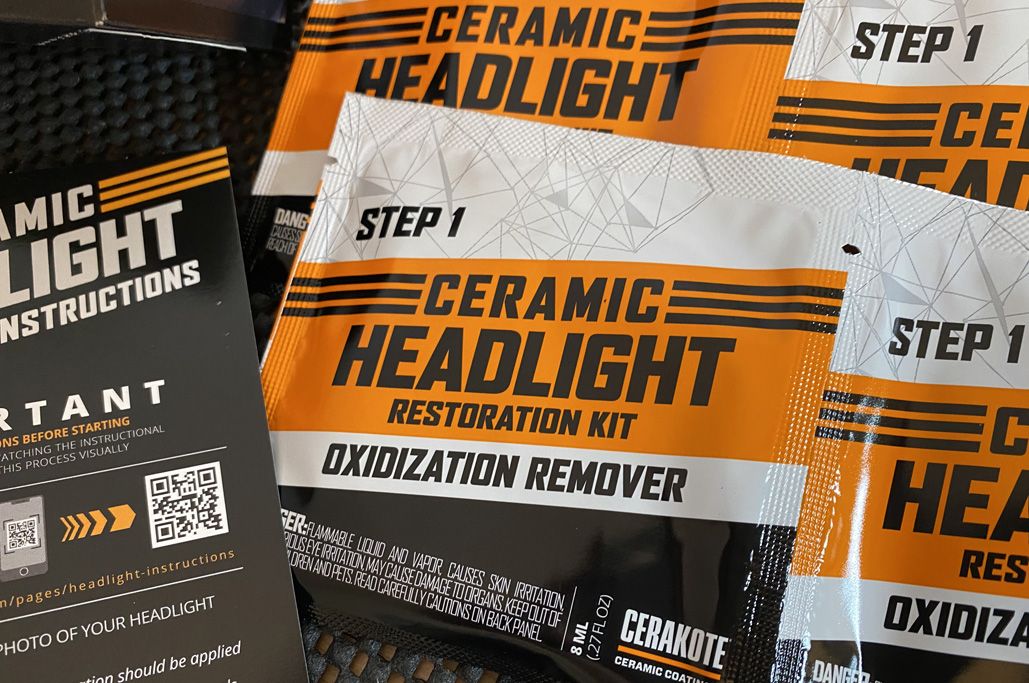
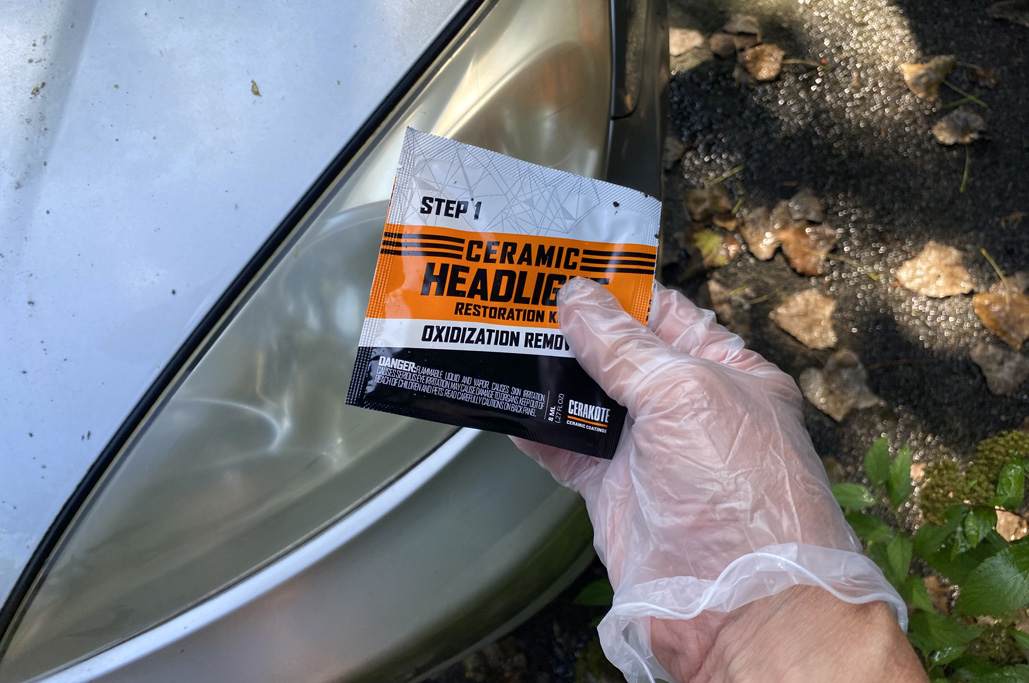
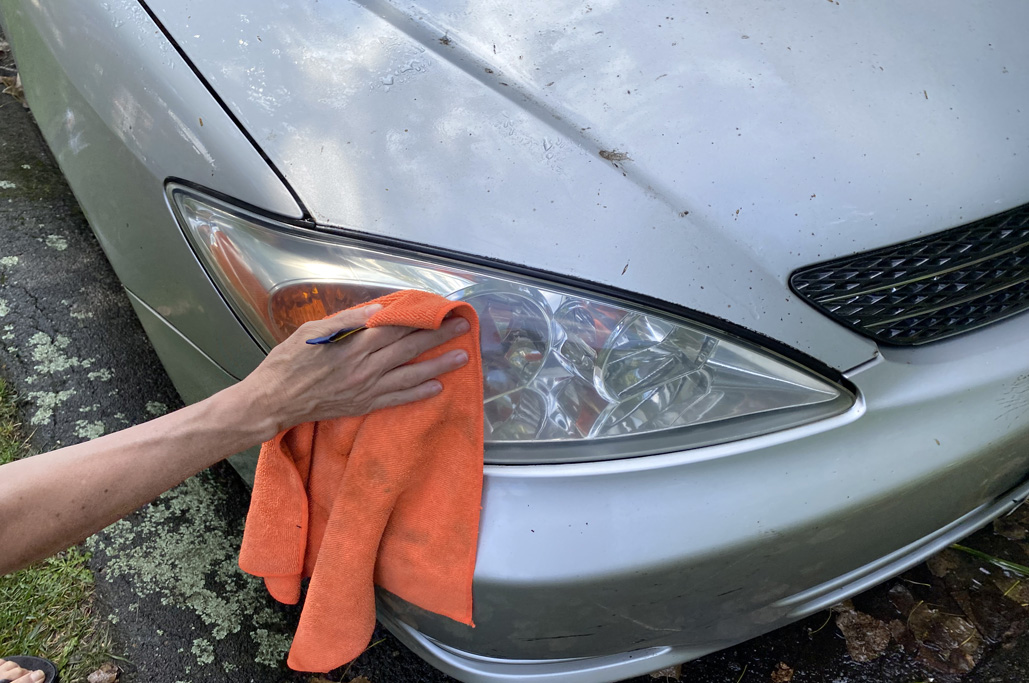
Step 1:
Apply the oxidation remover with the wipes. Plastic gloves were provided for handling the oxidation removal pads (yes, you apply the remover, then you remove the remover).
The active ingredients are:
- Methanol,
- Alkyl Cleaning Agent
We are not stupid. Of course we wore the gloves!

Do. What. The. Instructions. Tell. You. To. Do. (Use the gloves)
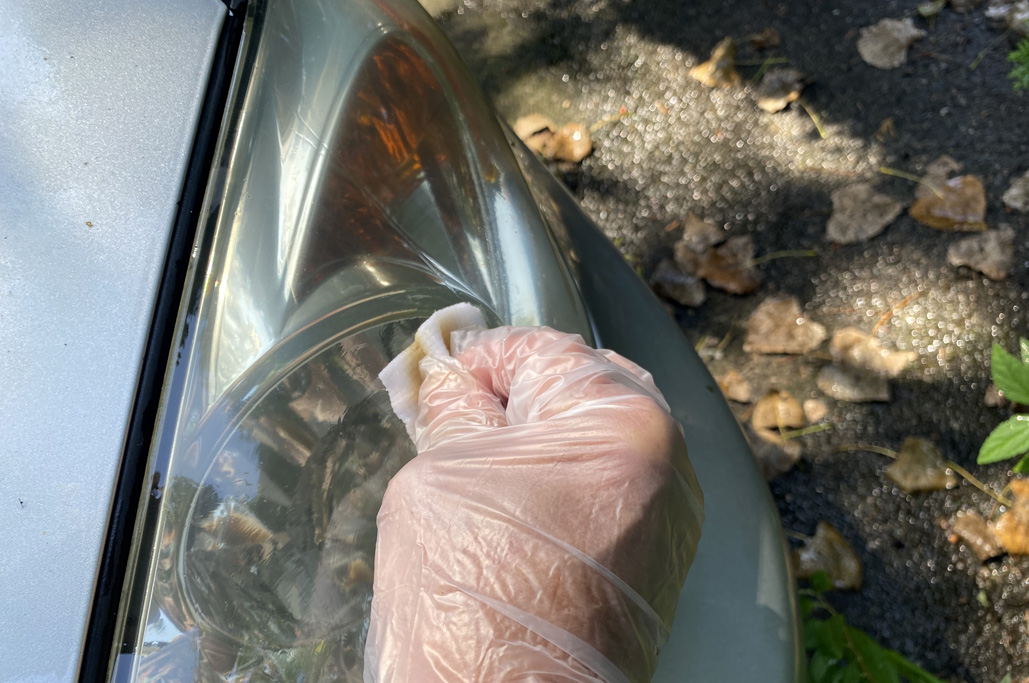
There were four pads of “oxidation removers” for each headlight, and you use a pad until it’s dirty then move on to the next pad. There is no need to unfold the pads: we bunched it up and spread the liquid in a circular overlapping pattern all over the lenses (because that’s what the instructions said to do).

Is “icky” an automotive term?
The wiping action took off a lot of the residue, and after 4 pads worth, the lens was already much clearer.

Oh, so THAT’S what you look like!
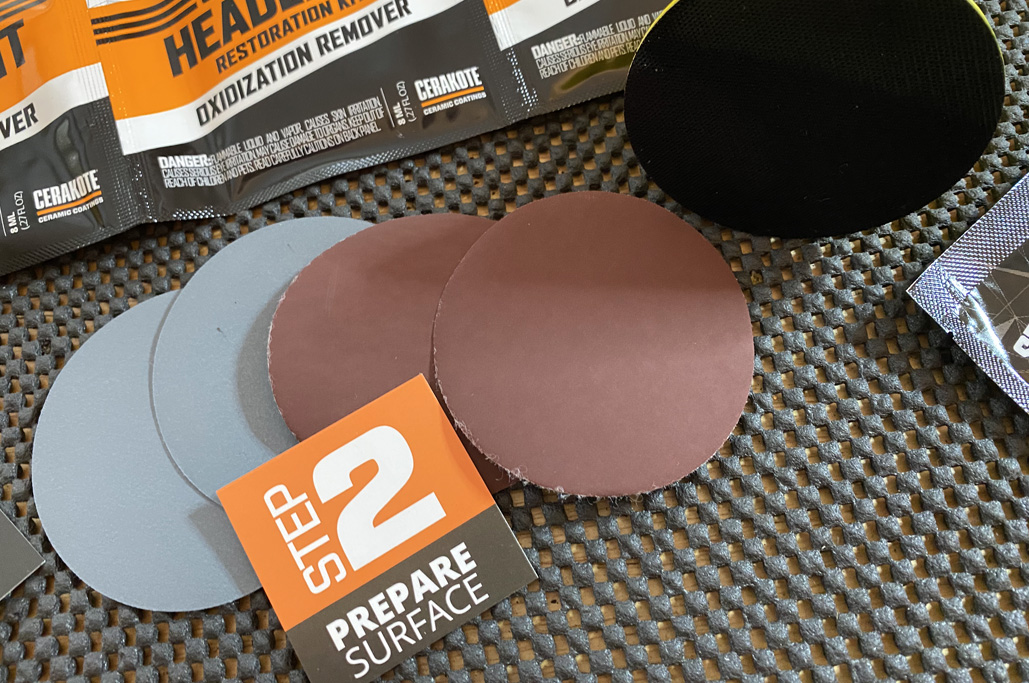
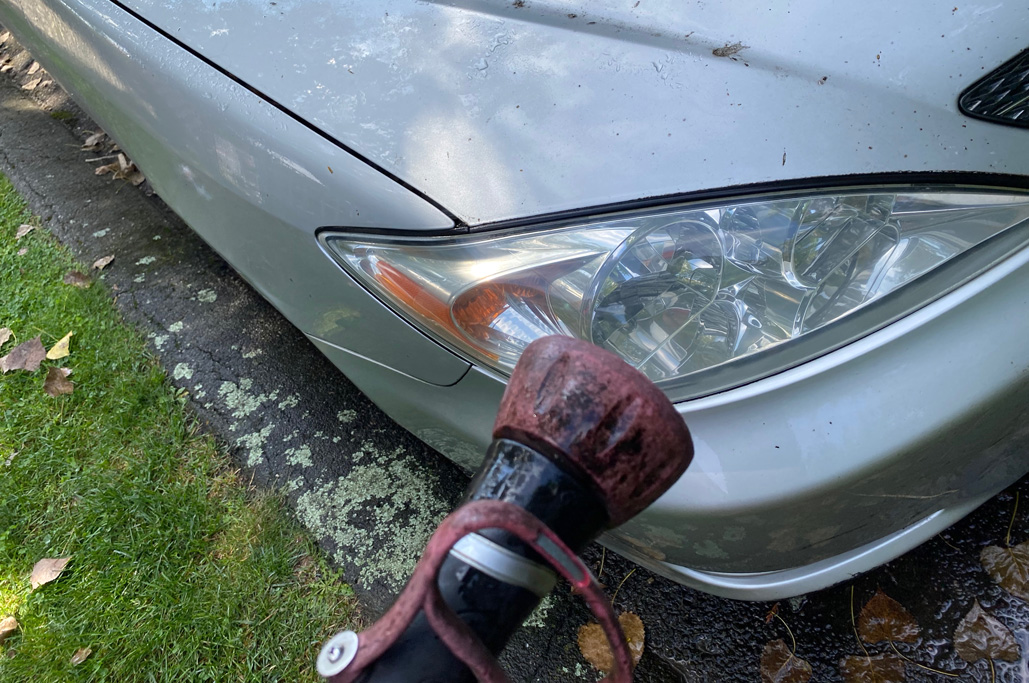
Step 2:
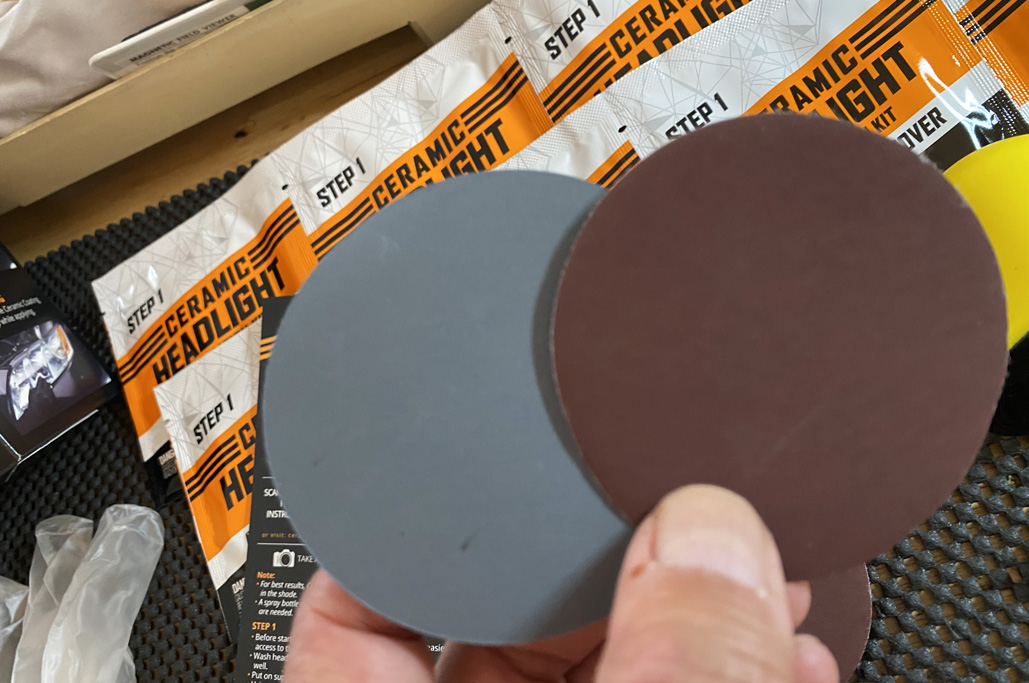
Polish the lenses with two different very fine-grit discs. This gets the surface the lenses as clear as possible.

Might seem like a lot of stuff, but it’s perfect.
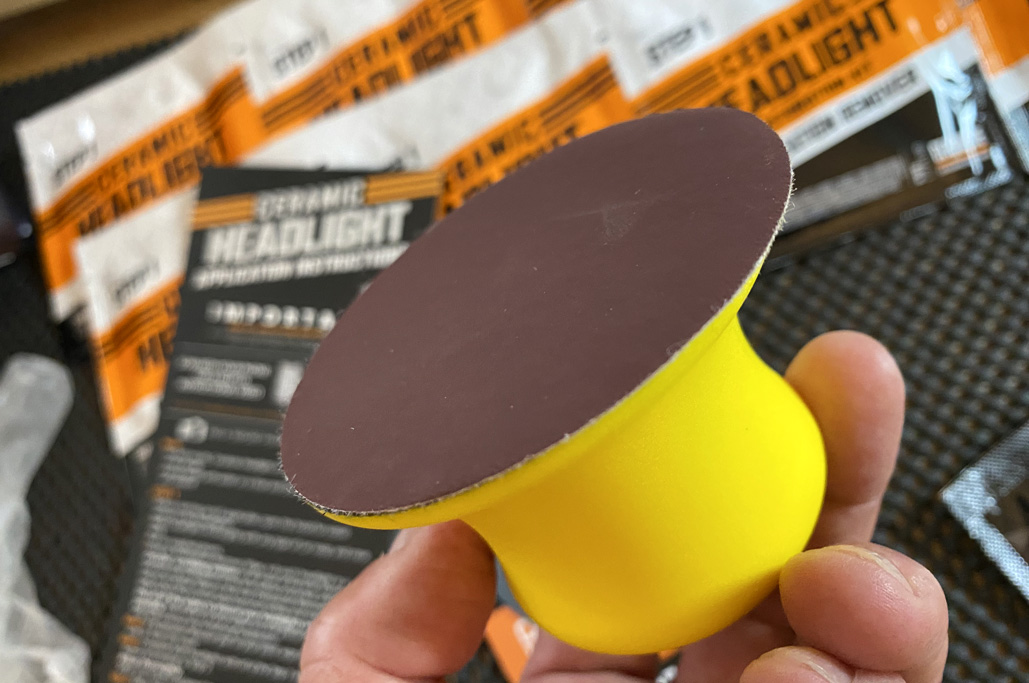
The exact grits sizes for the brown and gray discs were unspecified, but the gray disc’s grit was finer than the brown’s. The supplied grip is surfaced with velcro that grabs the back of the discs and holds it fast. None of the pads came loose during use.

Really held the polishing discs in place.
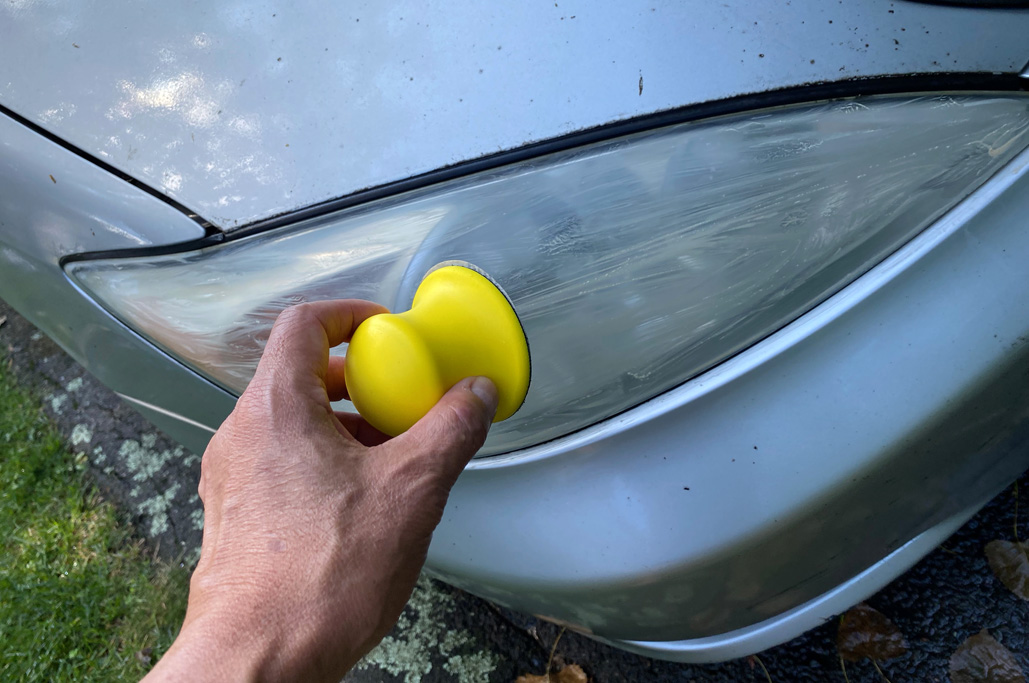
We followed the directions and wetted both the lens and the disc, then sanded in a back-and-forth motion (not random or circular) for a few minutes. The surface of the lens got a bit milky from sanding the plastic.

Gettin’ down and dirty (as it were).
A quick rinse and a wipe showed a much clearer, more polished lens with no visible scratches from the process. Most of the yellowing was gone and the surface was smooth, but it was not completely transparent.

Pretty good – but there’s one more step to make it fabulous.
The slight cloudiness was much easier to see from certain angles, and definitely visible looking at it from the side.

Better, but not…
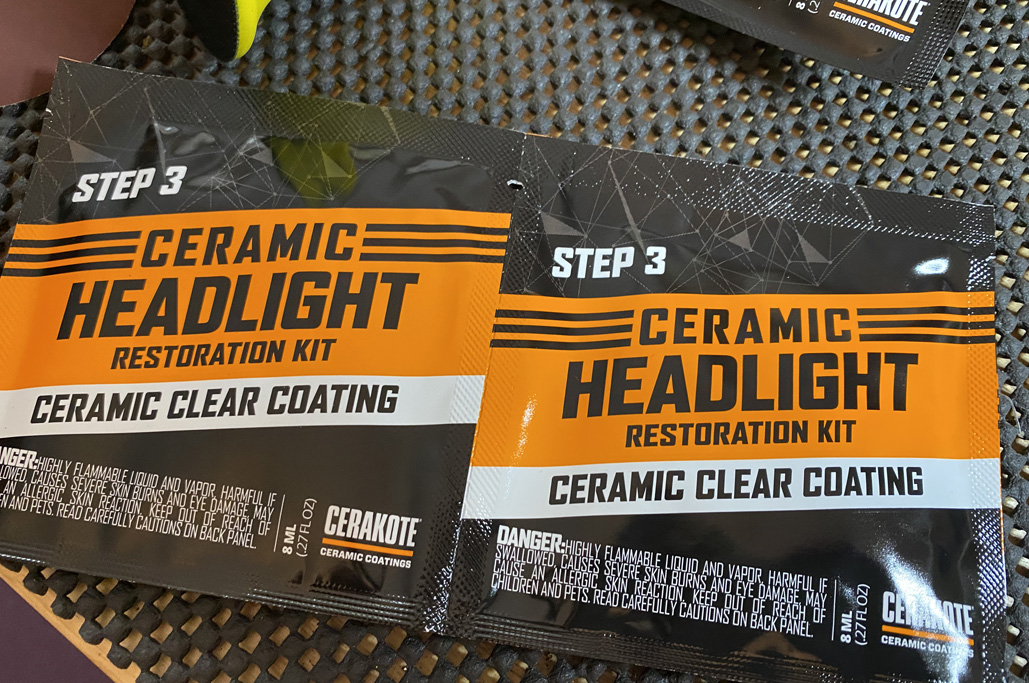
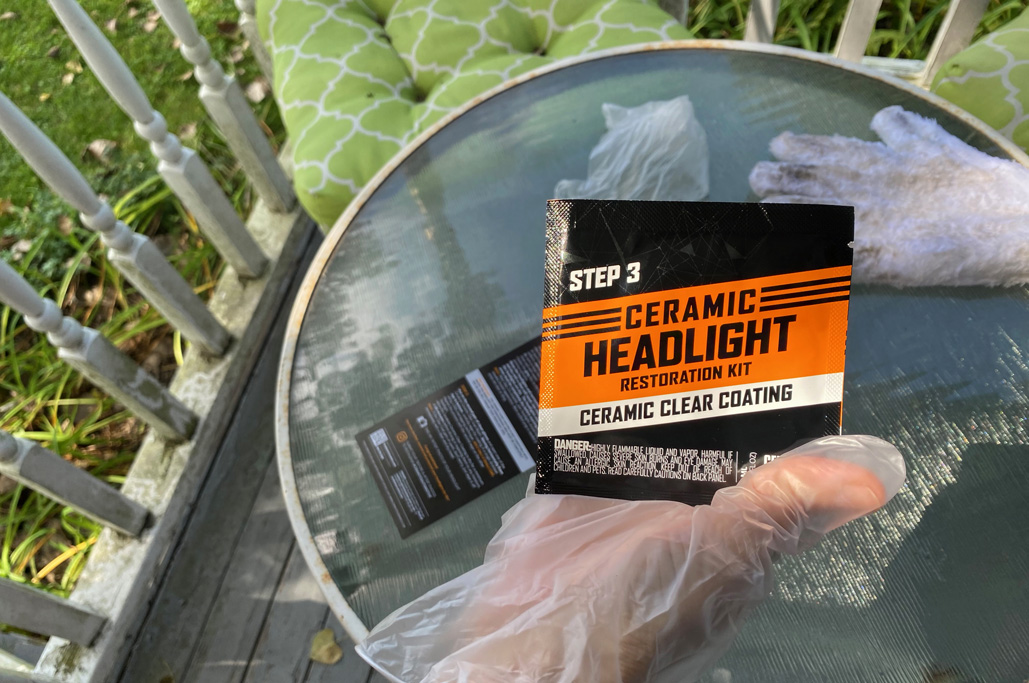
Step 3:
The final step to the Cerakote restoration was the “Ceramic Clear Coating.” This is the “secret sauce” of the Cerakote process. The coating is claimed to be highly resistant to chemicals, corrosion and has high UV-resistance.

One more step…
UV light speeds up oxidization to the surface by reacting with ozone, making the clearcoat layer appear hazy and milky. The wipe-on liquid, once hardened (in about an hour,) should be a shield against the effects UV damage as long as it is there.

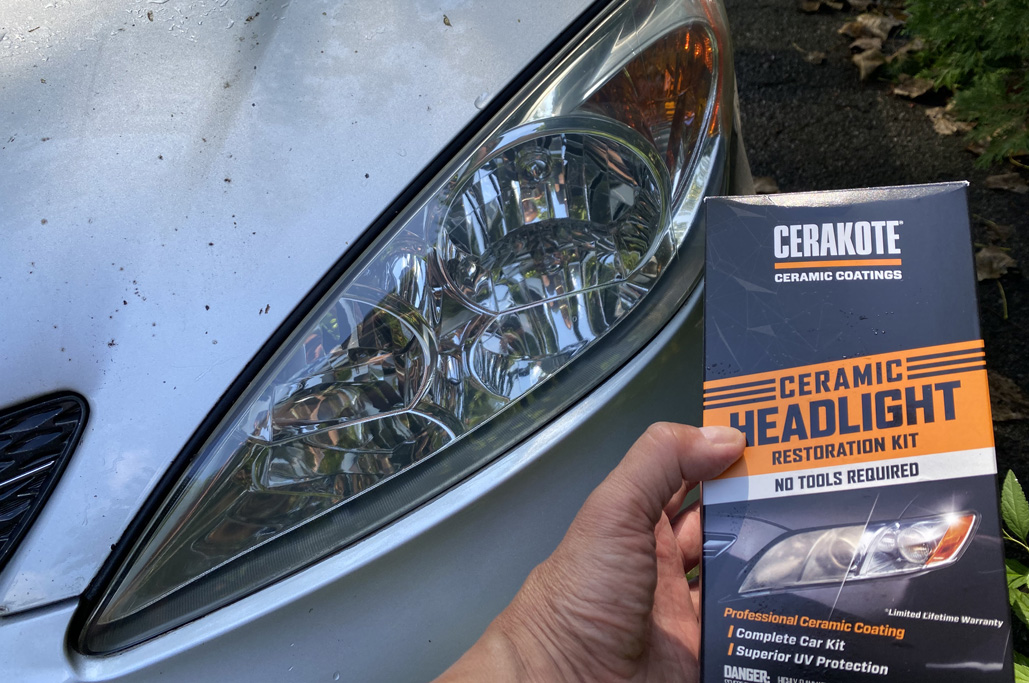
Wow – that is a reeeealy clear headlight!
We are quite pleased with the results from the Cerakote kit. Both headlights are bright, clear, and look almost new…a far cry from the yellow cloudy mess that they were just a little while ago.

Simply awesome.
Final Thoughts
This Cerakote Headlight Restoration Kit comes complete with everything we needed, was easy to use, and absolutely made a huge difference to the clarity of a set of very cloudy headlights. Based on our experience so far, we would definitely recommend the Cerakote kit.
Of course, what we are REALLY want to know is will this restoration truly last for as long as we own this car??? At some point, we’ll up date this post to let you know 🙂

Links to items mentioned:


Best headlight restoration you can buy!