Boxster Project: Headlight Restoration
...guaranteed FOR LIFE :-)
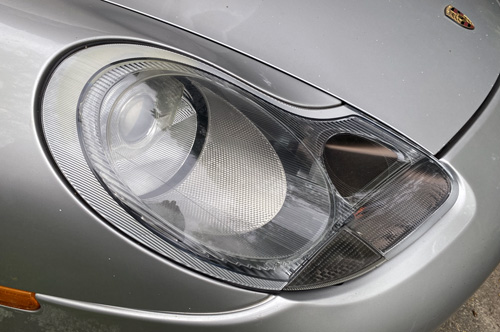
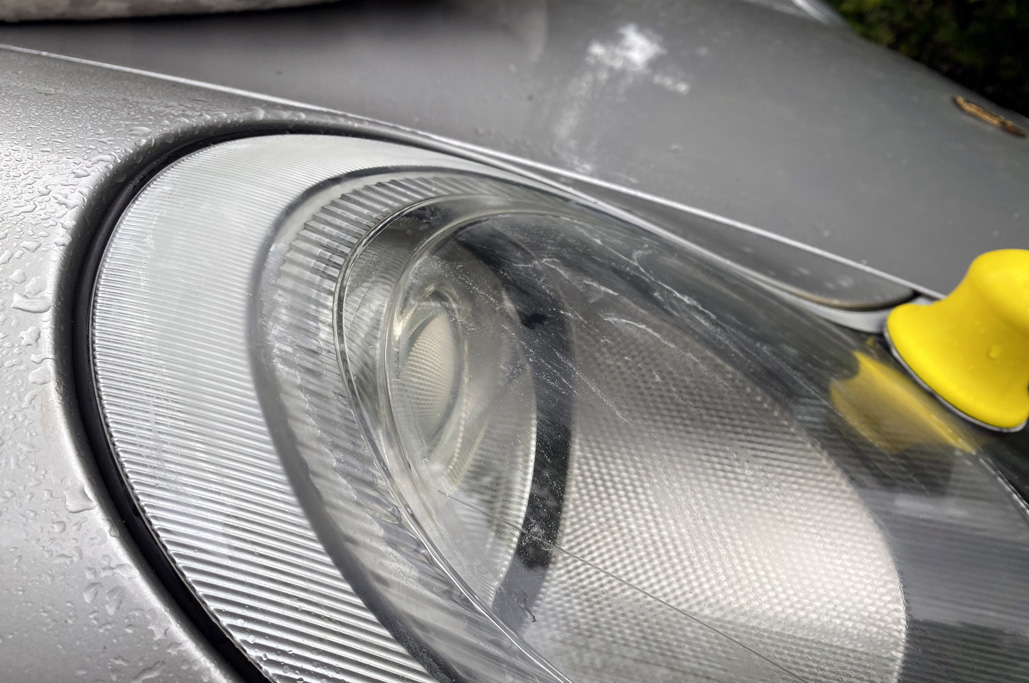
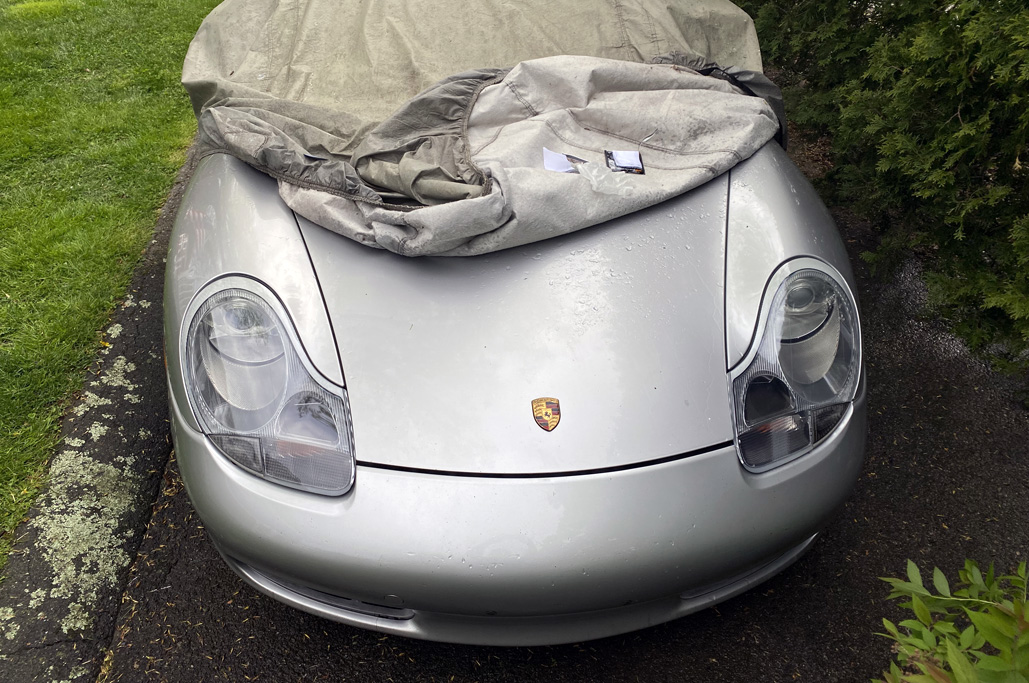
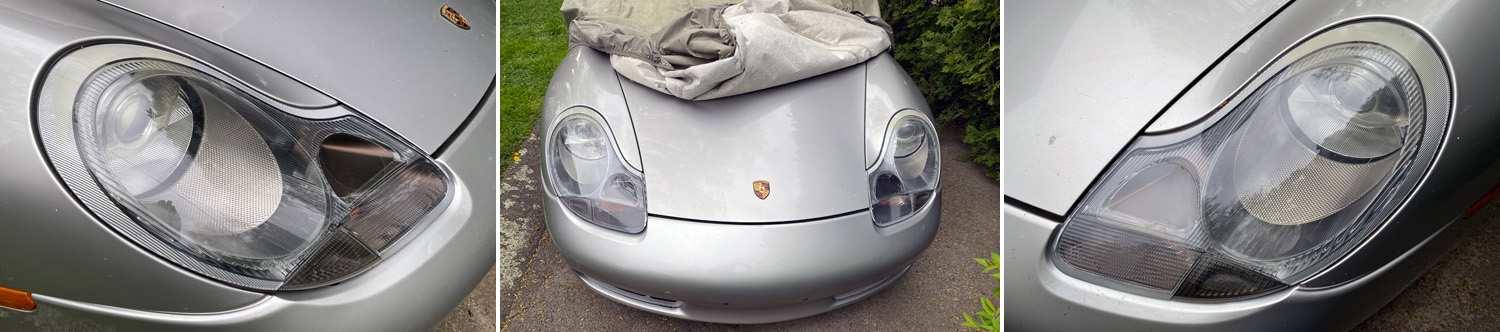
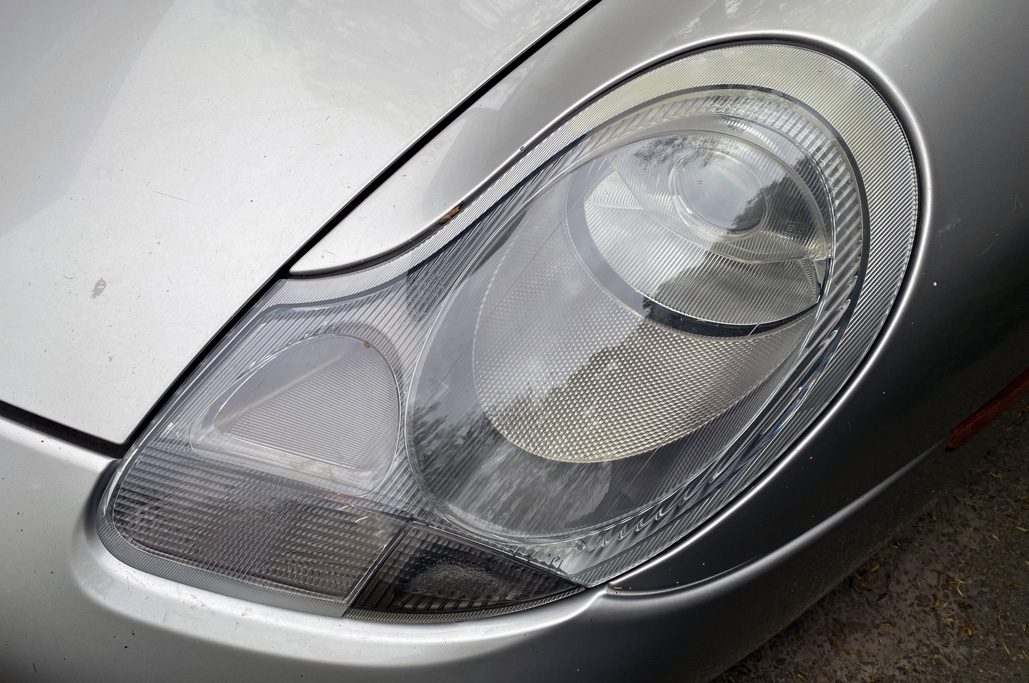
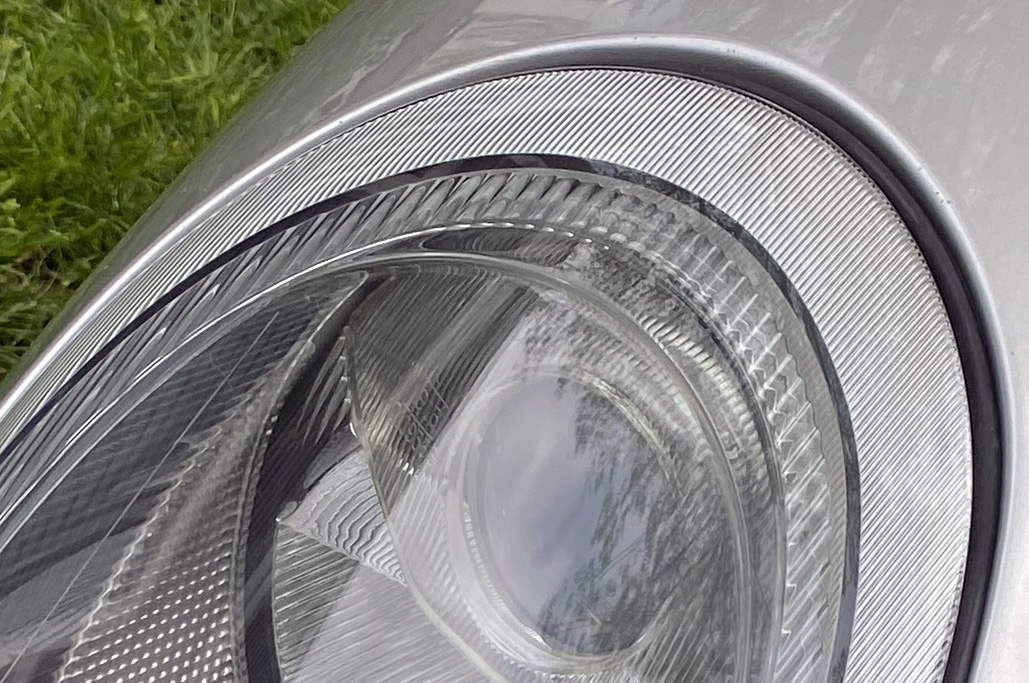
Some time back we had noticed a slight yellowing around the Litronic headlights of the Porsche Boxster.
Not wanting to chance scratching the lens, we thought we could take care of the problem with some baking soda, a bit of elbow grease, and some UV wipes, but, uh, no. The yellowing came back, much to our annoyance.
Cerakote
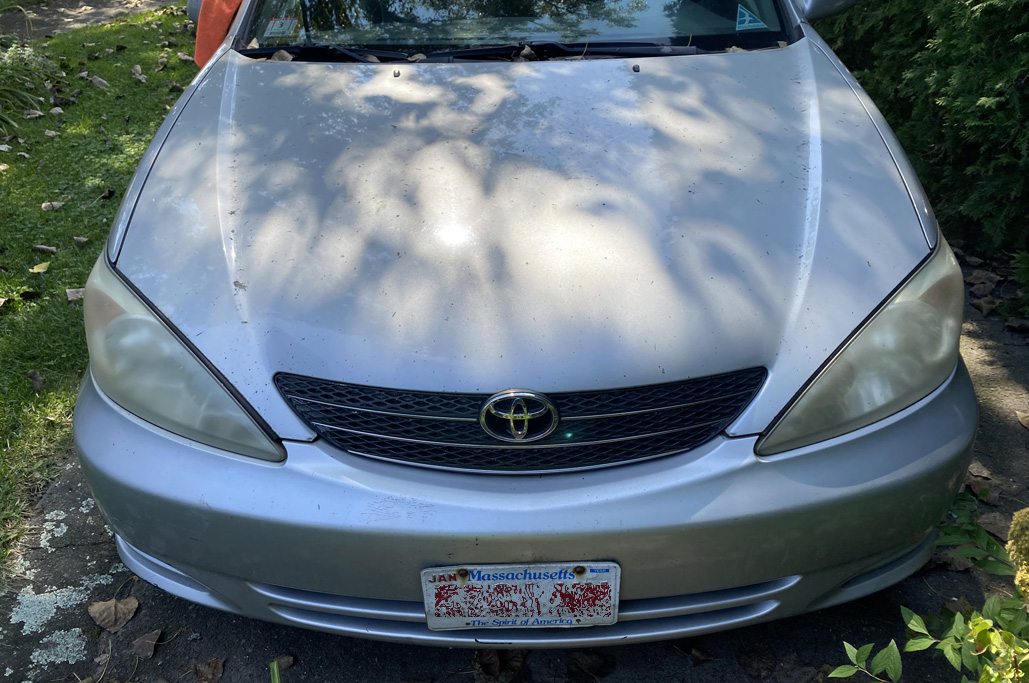
Fortunately, a number of RainyDayReaders had pointed us to the Cerakote headlight restoration kit, which makes that claim that they guarantee their product FOR LIFE. We took up Cerakote on that claim last September and “restored” some very yellowed Camry headlights using their kit…so far, so good!

“You, you light up my life…once I use the Cerakote Headlight Restorer…” (Yes, that is the EXACT lyric)
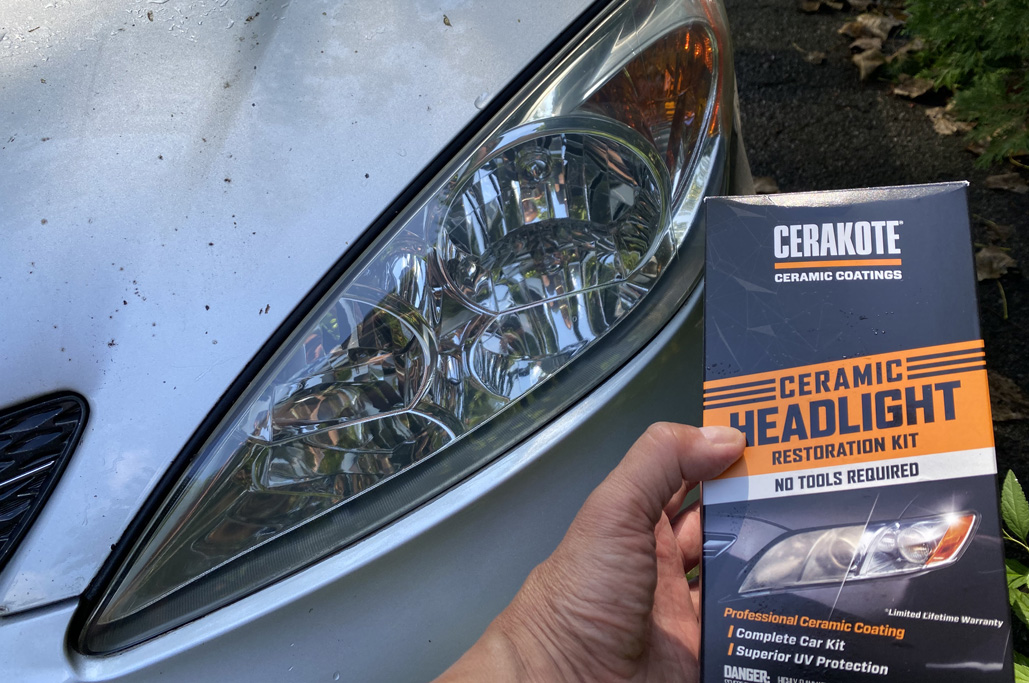
Encouraged by the Camry’s excellent results, we had enough confidence to use the Cerakote kit on the much more expensive Litronic headlights on the Boxster.
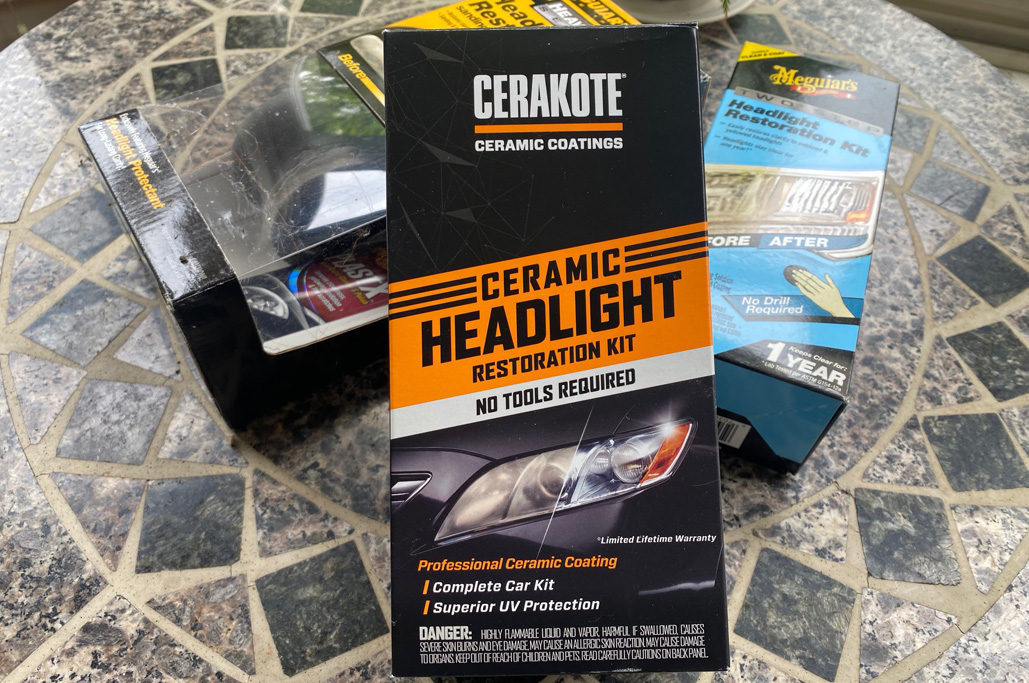
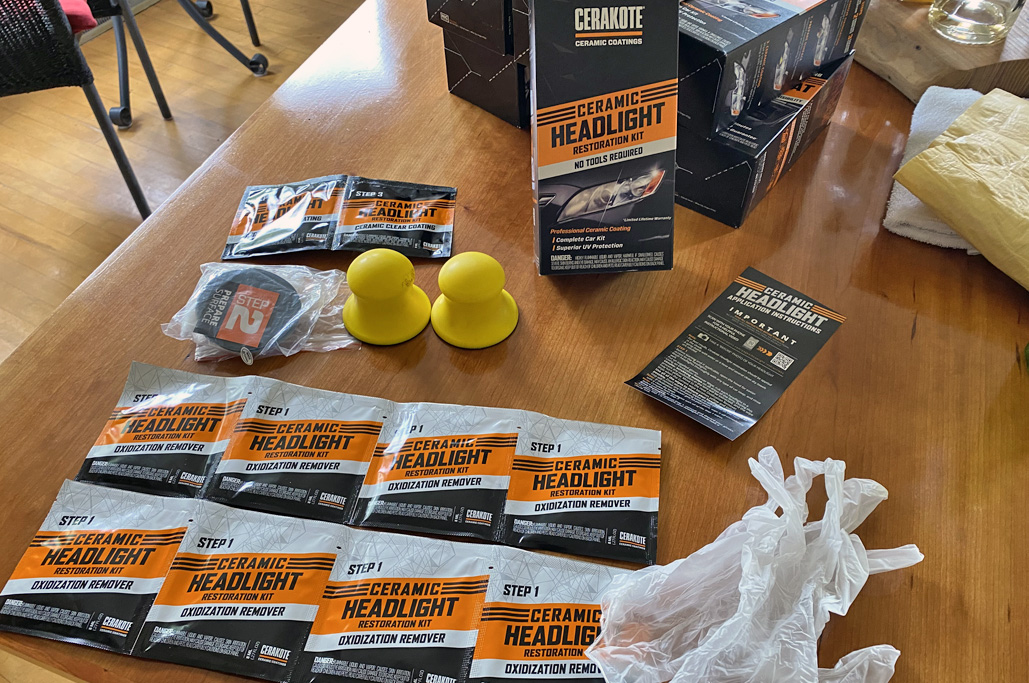
The Cerakote kit had enough of everything to apply to both headlights. As with the Camry, we followed the simple three-step process and NO power tools were required.
Steps:
- Remove oxidation with the oxidation wipes,
- Polish the lenses with the polishing discs, and
- Protect from UV rays with the clear coating wipes.

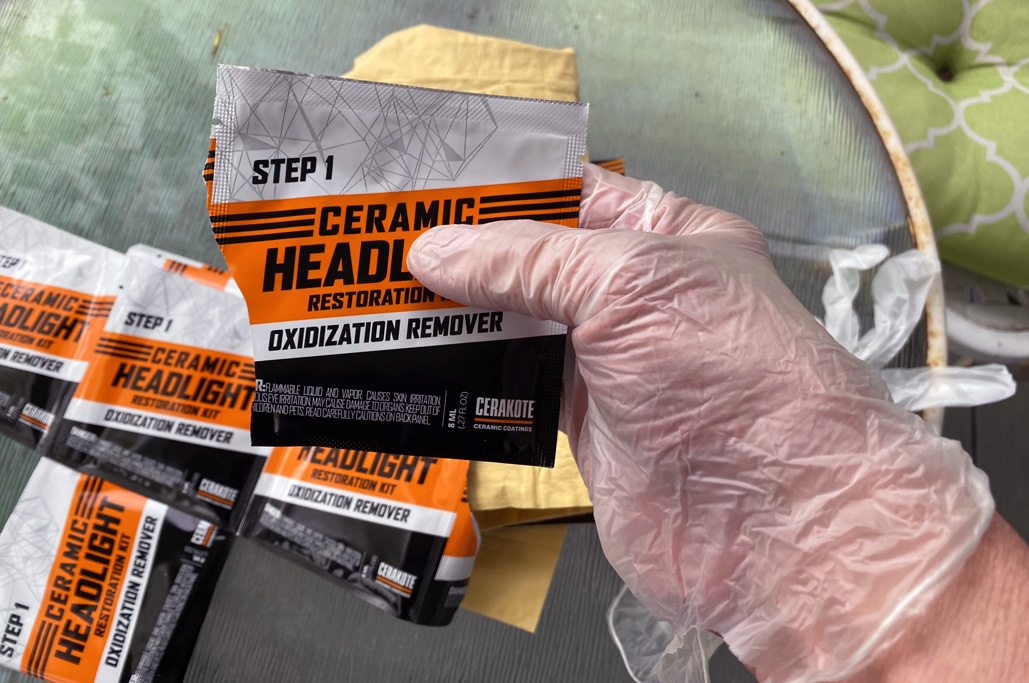
All here, ready to get down and dirty – on your headlights!
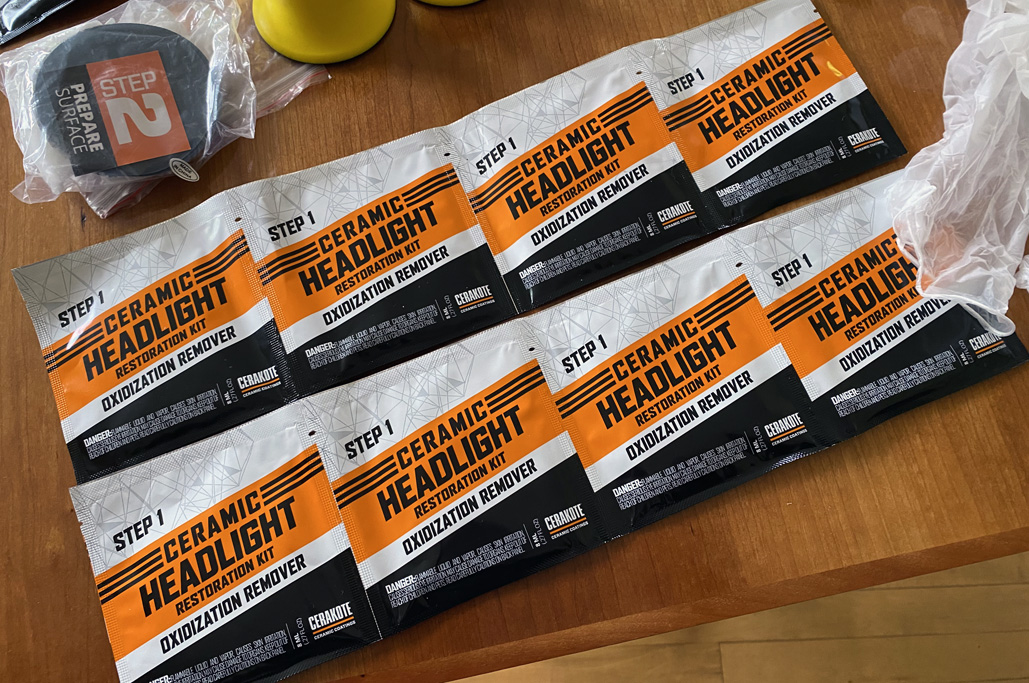
Step One – Remove Oxidation from the Lenses
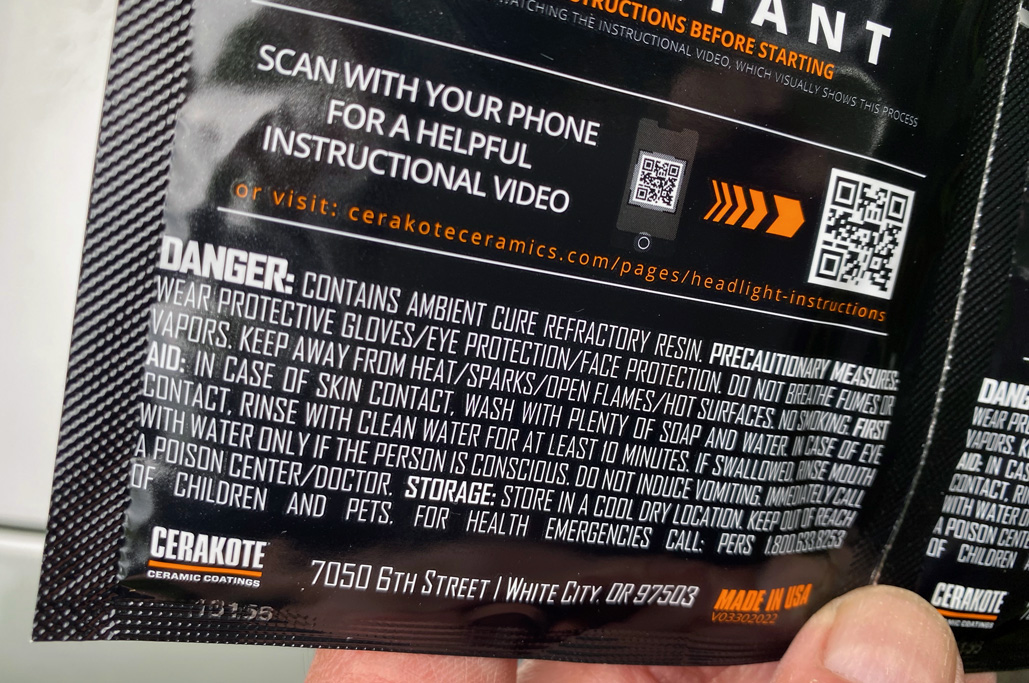
This step preps the lens for sanding by removing the grime and oxidation. Gloves were supplied and their use is absolutely recommended. Also, if any of the liquid gets on the paint, Cerakote recommends that be washed off immediately. We took care and had no issues.

Time to remove the oxidation.
While the just the wipes themselves got rid of some of the yellowing, a lot of it was still clearly visible after using all four of the wipes on each lens (as instructed). This was to be expected, as per the directions.

Getting better…
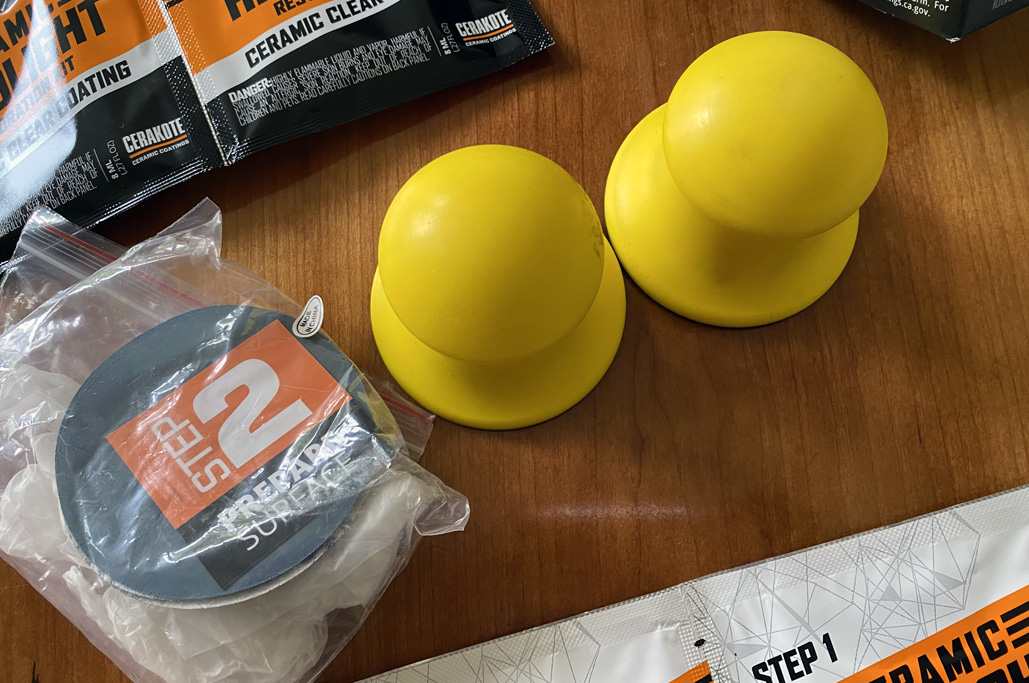
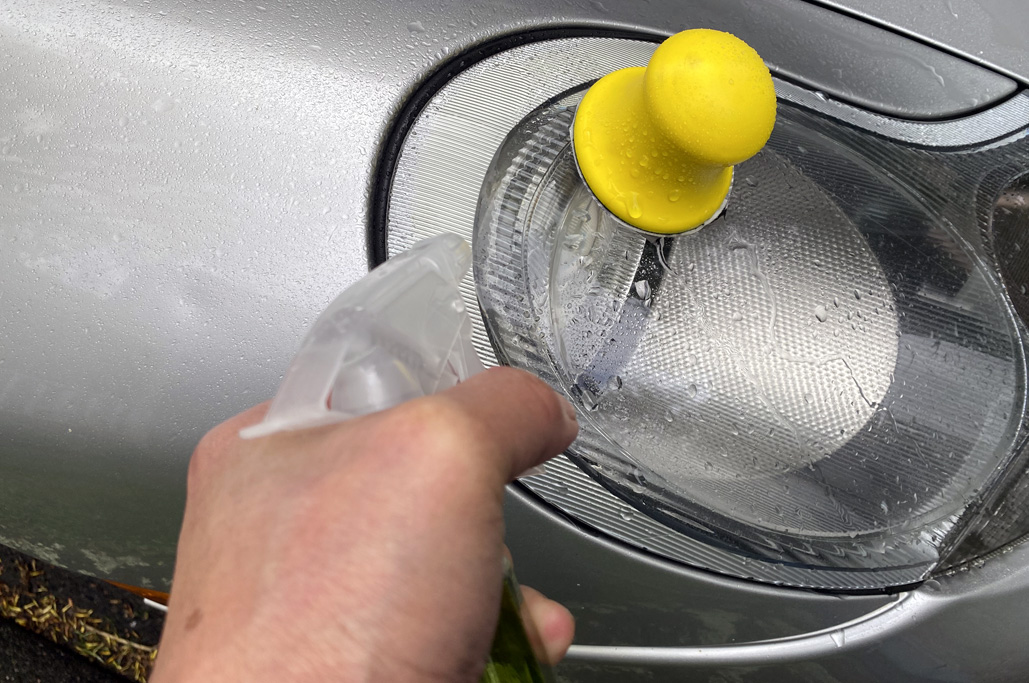
Step Two – Polish the Lenses
Polishing the lenses is a wet-sanding process that uses two different grit discs. The directions recommend an overlapping horizontal motion for a few minutes with each grade of grit. Spraying with water while sanding was also recommended, to keep the sandpaper from “gumming up.”

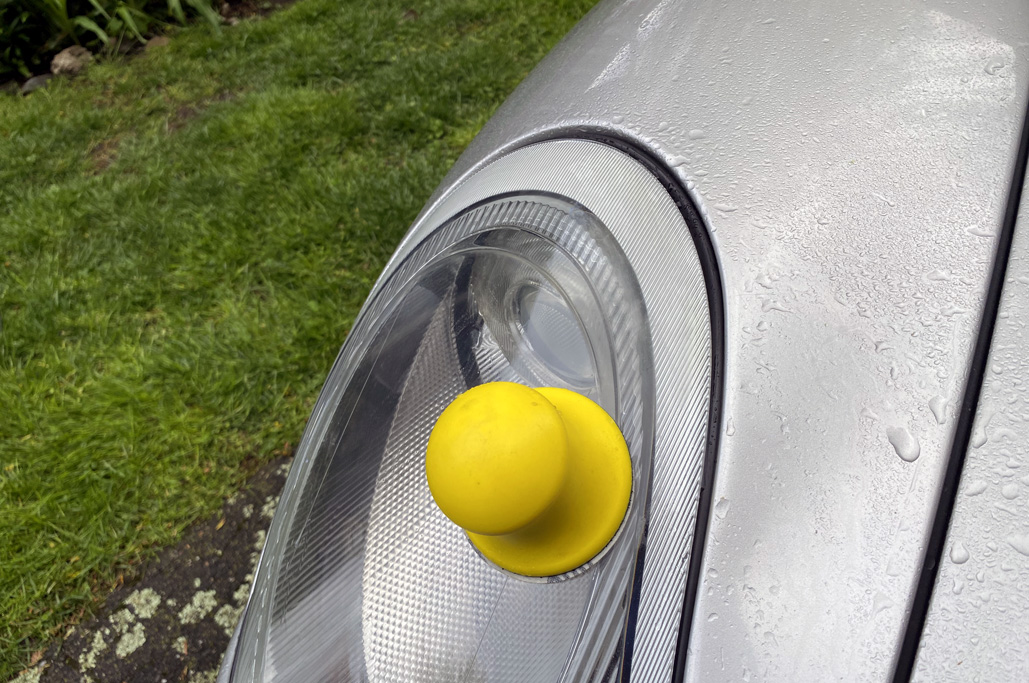
A happy-dappy polishing handle if there ever was one.
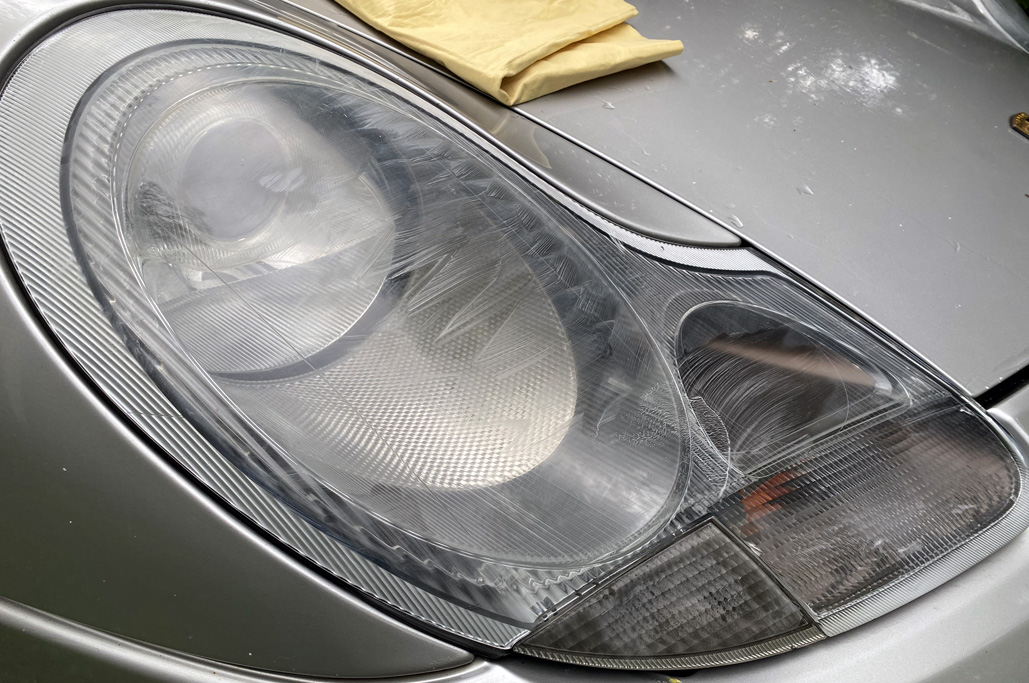
Sanding the lenses removed almost all of the yellowing. We probably could have done a bit more sanding, but we didn’t want to unintentionally overdo it, so stopped after the recommended period of time. The instructions indicated that the lenses’ frosted appearance was to be expected at this step (whew!).

That’s supposed to happen – if you are at this stage in the process.
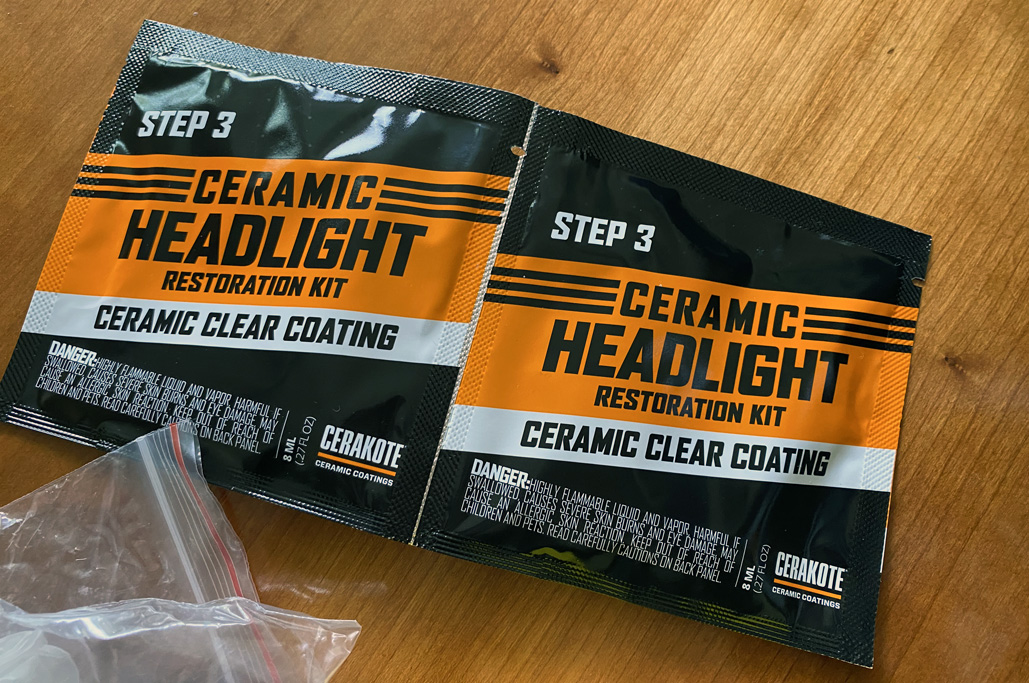
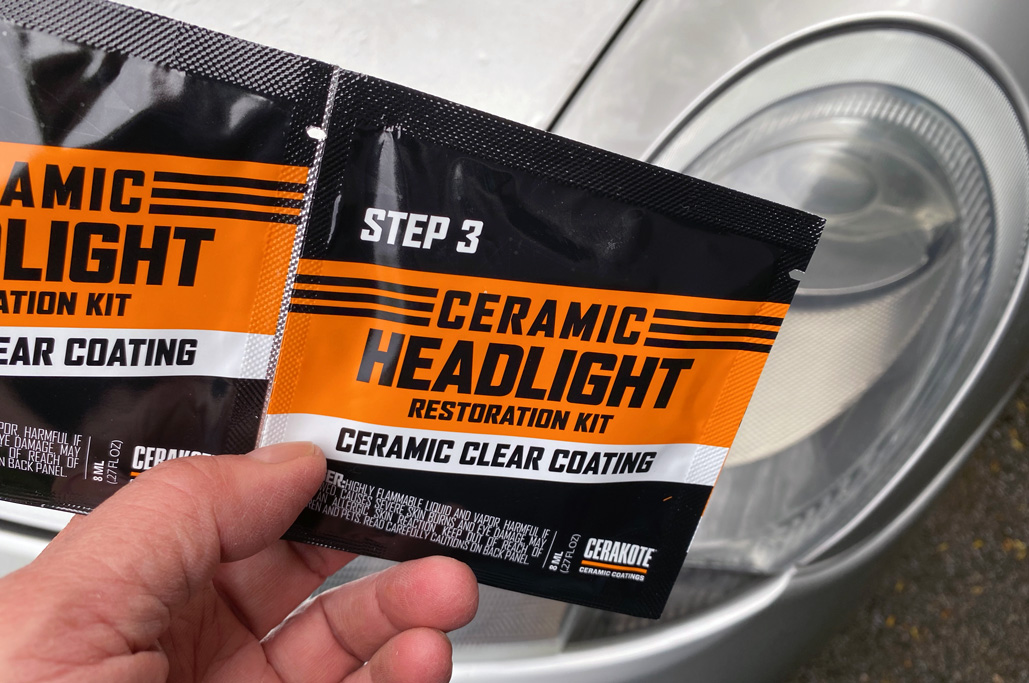
Step Three – Protect the Lenses
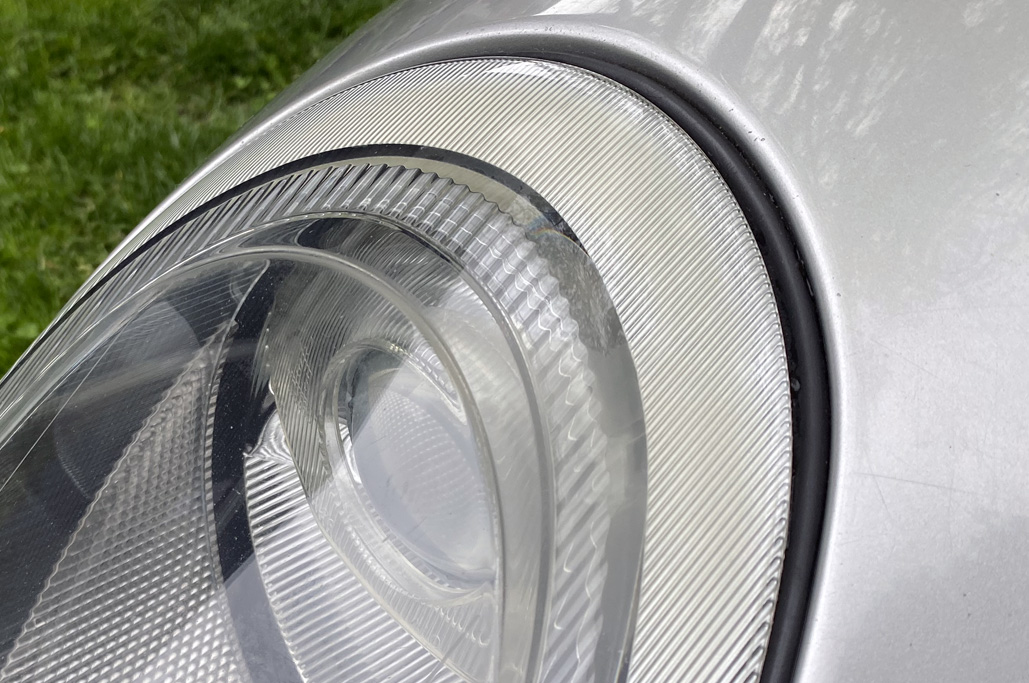
The last step was the application of the ceramic clear coating that will prevent the UV light from yellowing the lenses again. When the coating was applied, the lenses became crystal clear!
The Cerakote resin, once exposed to air, requires about an hour to cure and dry into a protective coating.

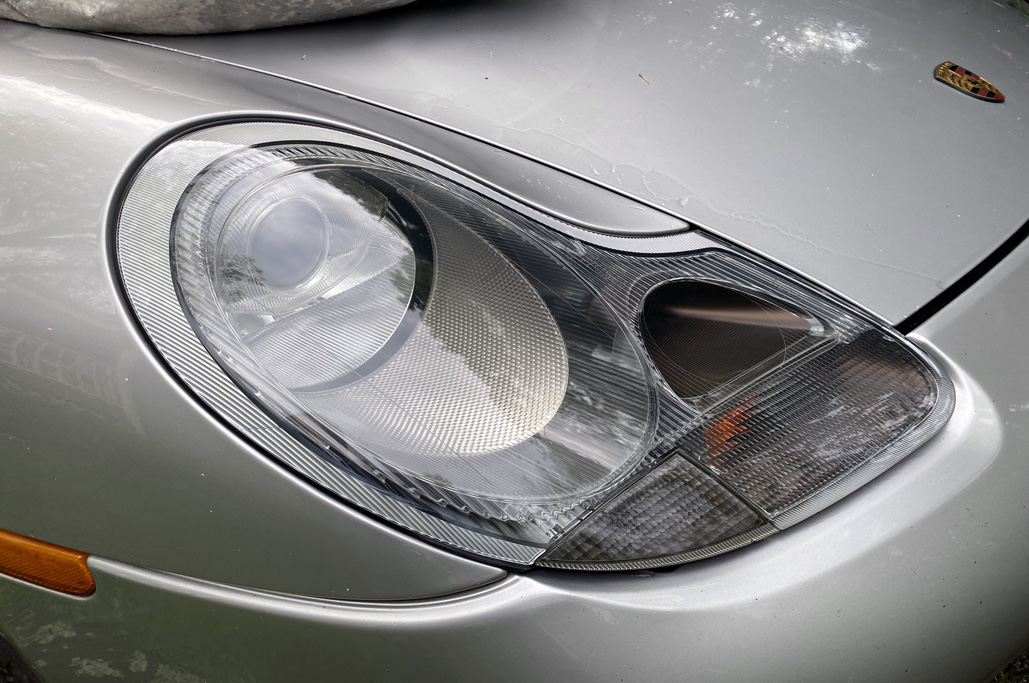
The After and the Before – so, so clear (geddit?)
FinalThoughts
The result of the headlight restoration was excellent! It kinda took us by surprise, how amazingly clear the lenses were now. The entire project took about an hour, but could take longer depending on the initial level of oxidation of the lenses. The damage to ours was not that bad; most of the main bodies of both headlights were pretty clear, with just some obvious discolorations around the top.

Just enough yellowing for us to say “Nope.”
Still, there was a definitive difference in the before/after photos.

Are you SURE we didn’t buy new lenses? Because wow…
Removing UV yellowing is an important thing, but what we are really interested in is how long the Cerakote protection will last against “new” UV damage.
If the Camry results are any indication, and if Cerakote is true to its claim, this might be the last time we will have to worry about it 🙂

Our ready steed, awaiting our next night-time journey with excellent illumination capability restored!
Links to items mentioned:


Leave a comment