NutriBullet Repair
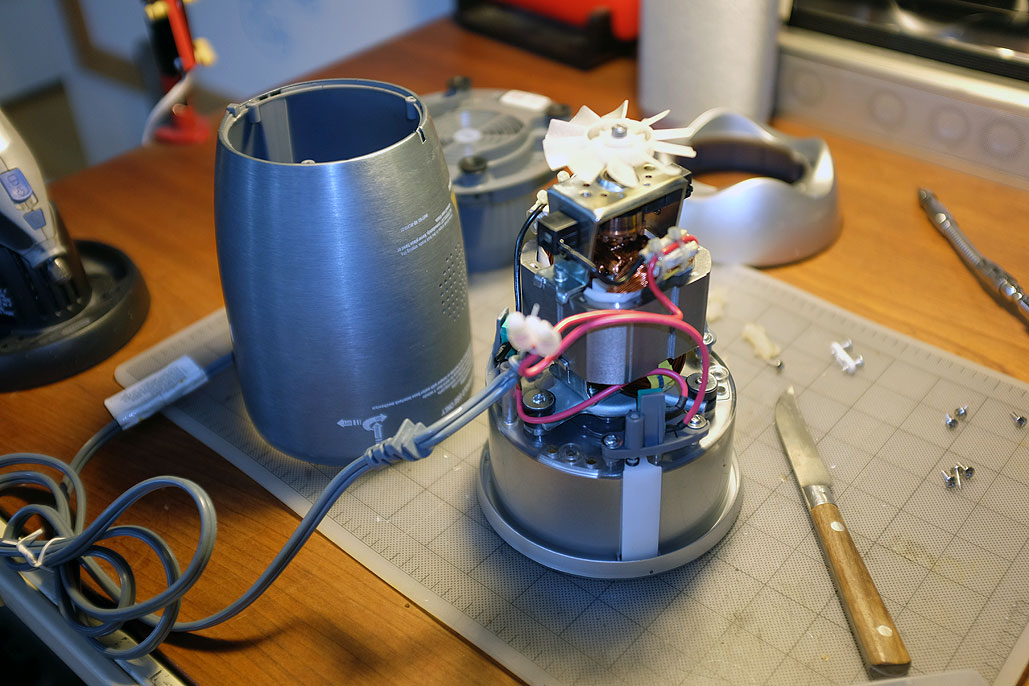
No, that is not the DOD’s latest “smart ordinance” disassembled on the RainyDayProject workbench. What it is is the guts of the NutriBullet blender. Those who “blend” will know that the NutriBullet is an awesome pulverizer for making all manner of drinks, spreads, and such. It is so good that, after getting it, we got rid of all the other blenders in the RainyDayKitchen. It is also something which gets used daily. So when the NutriBullet stopped working, folks started getting that “we need to get another one” look almost immediately.

The RainyDayProjects folks, on the other hand, were more level-headed and fairly certain that if they could find the problem, they could probably fix it. A blender is basically just a motor and a switch, and since heavy-duty motors (like that in the NutriBullet) rarely ever fail, the problem most likely was with the switch. Sure enough, once they had the NutriBullet guts exposed, the problem was obvious almost immediately. The fix was a little more involved, but still easy peasy lemon squeezy.
The first step to any repair is taking things apart. While it is always tempting to jump right in, we have learned from past experience that it’s worth one’s while to take a careful look at what’s what, to make sure we are not doing extra, unnecessary work. Any gadget that’s held together with screws can be taken apart. Putting it back together is sometimes a different story. Our approach is to take disassemble as little as possible and not make the job bigger than it has to be 🙂

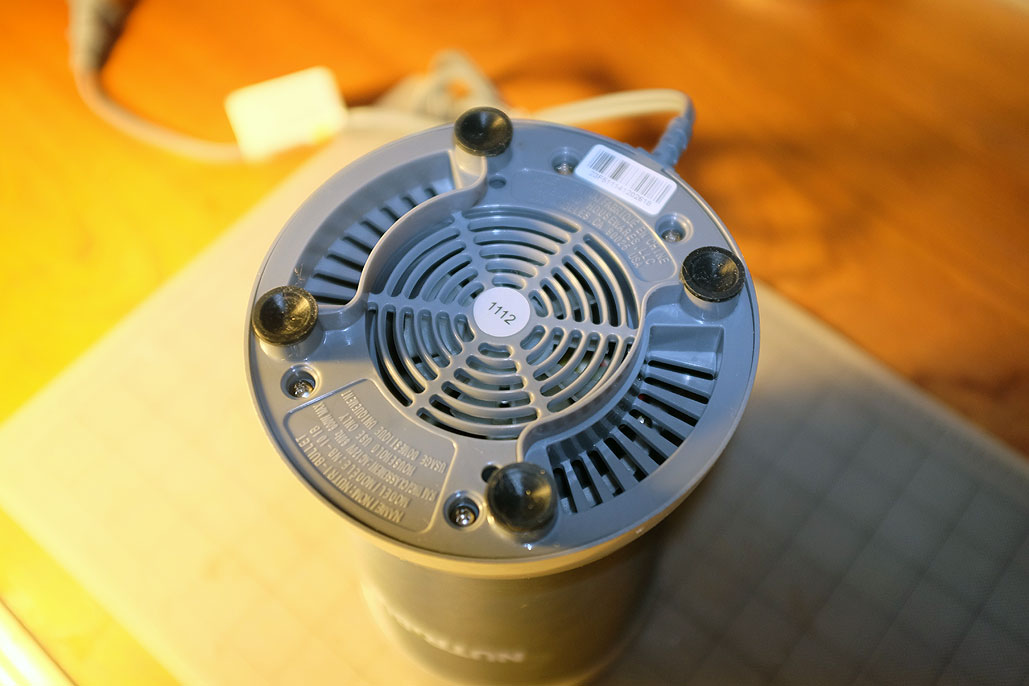
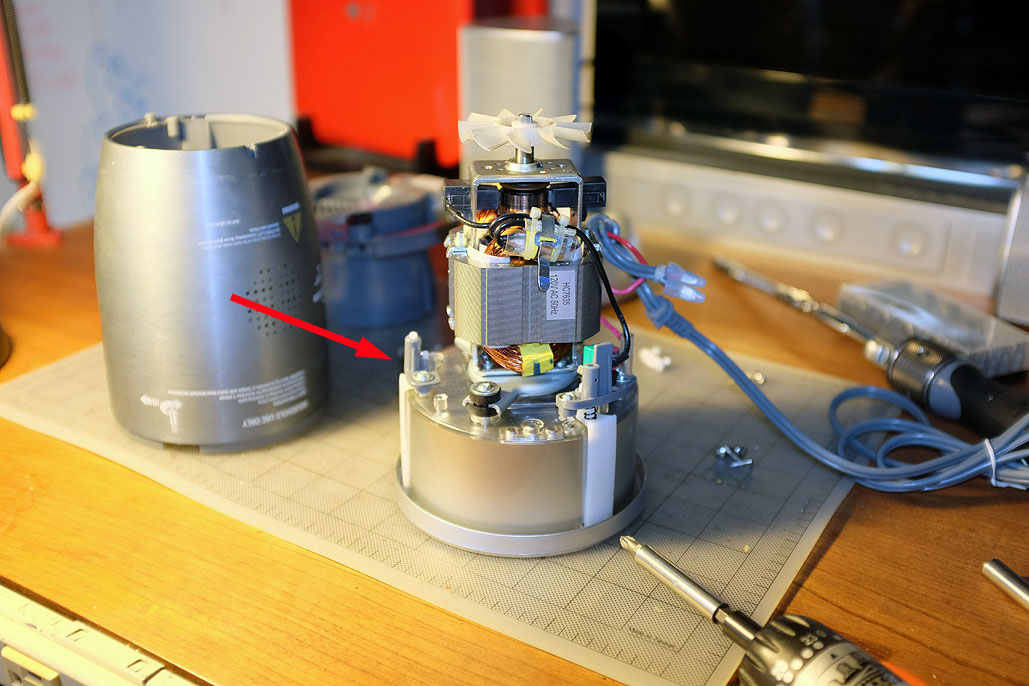
The obvious place to start was at the bottom of the unit as we could clearly see four screws holding the plate to the housing. This was our approach:
- Remove the four screws on the bottom and lift the plate;
- Remove the screws which secure the power cord;
- Remove the silver-colored skirt, exposing the fan.

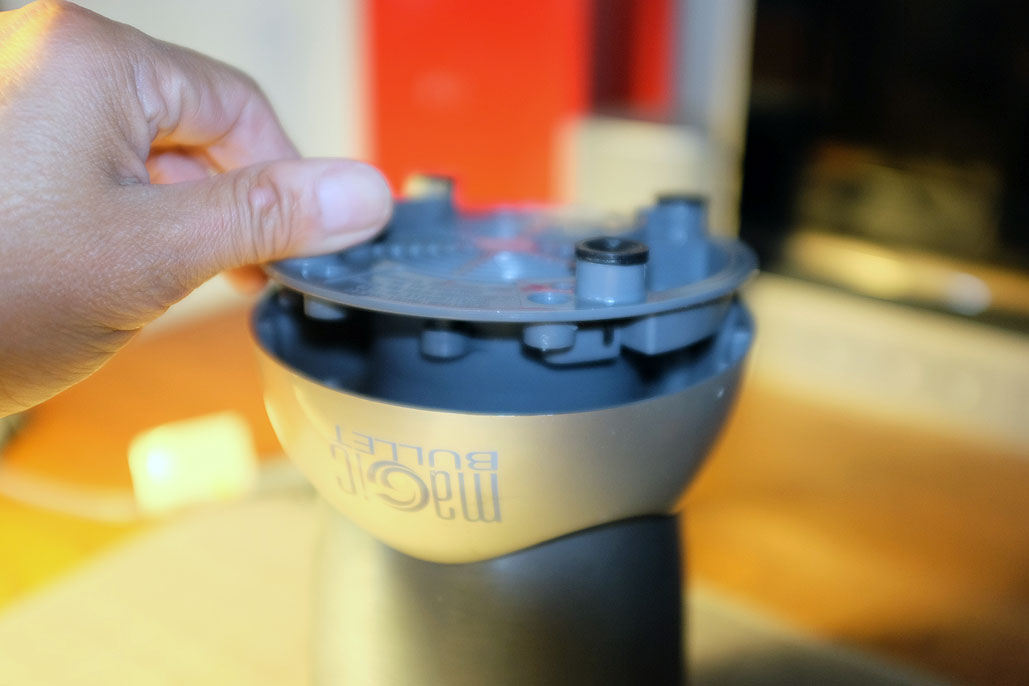
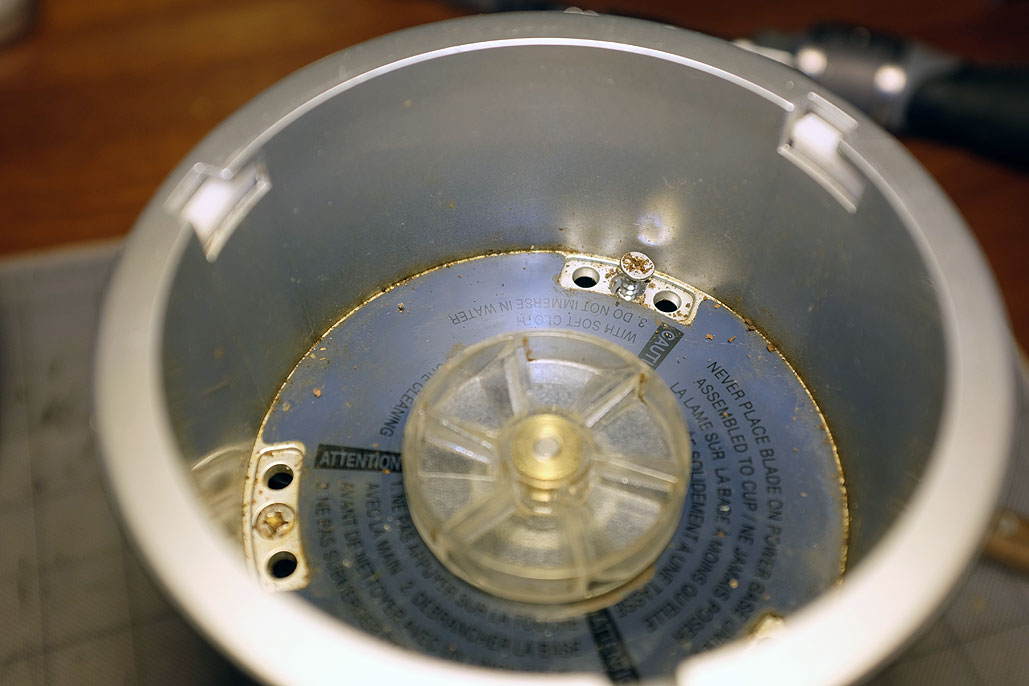
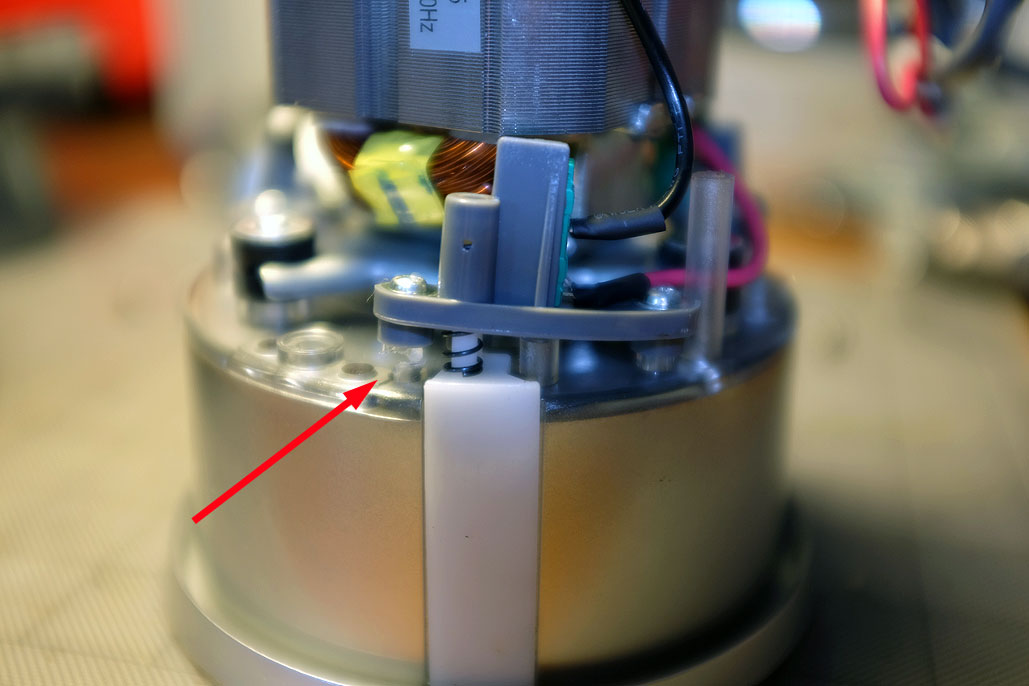
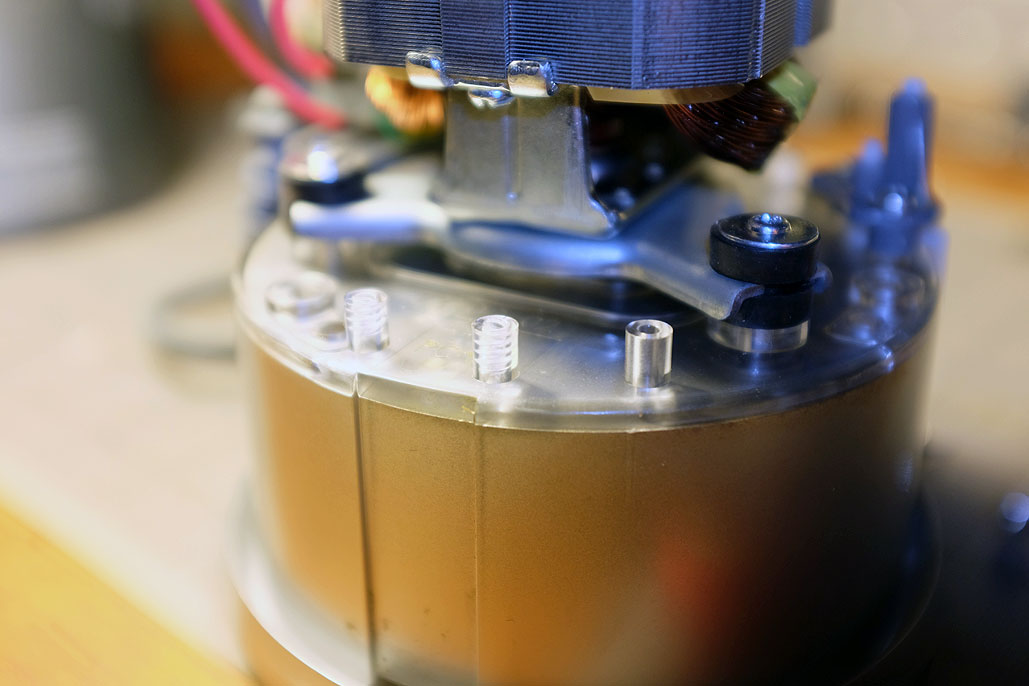
At this point, we looked around and saw a few more screws holding the motor to a mount. However, accessing them was not easy and it did not seem that removing them would free the motor from the housing. This was when we realized that the motor was probably secured to the housing elsewhere. We flipped the unit over and looked inside the well. There were three silicone pieces inside. Lifting them showed that each was indeed covering a screw. Removing these screws did the trick.

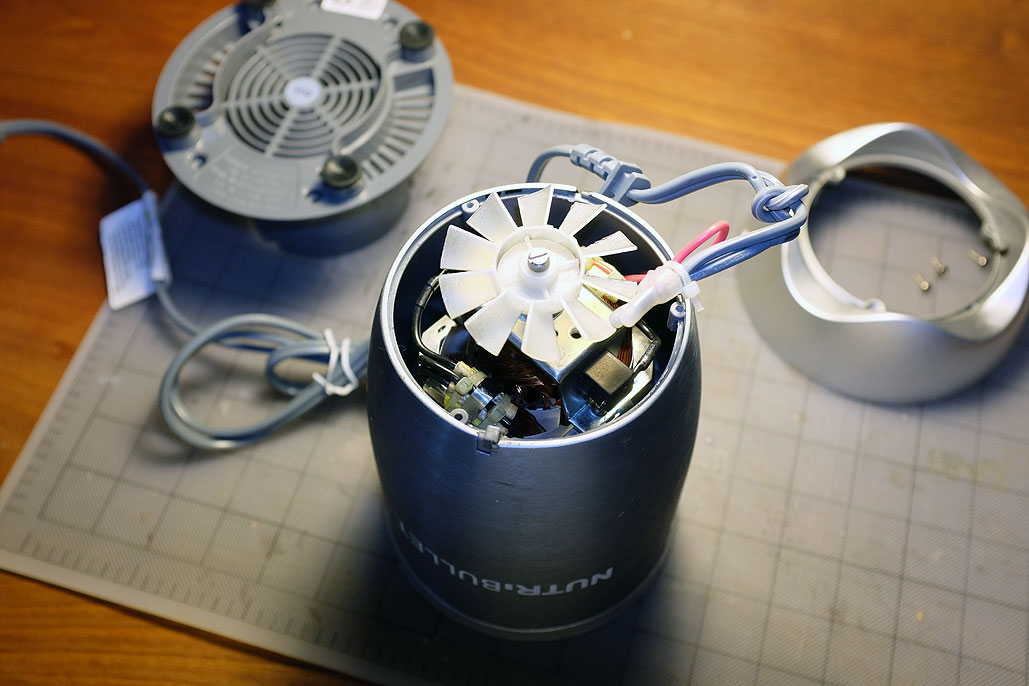
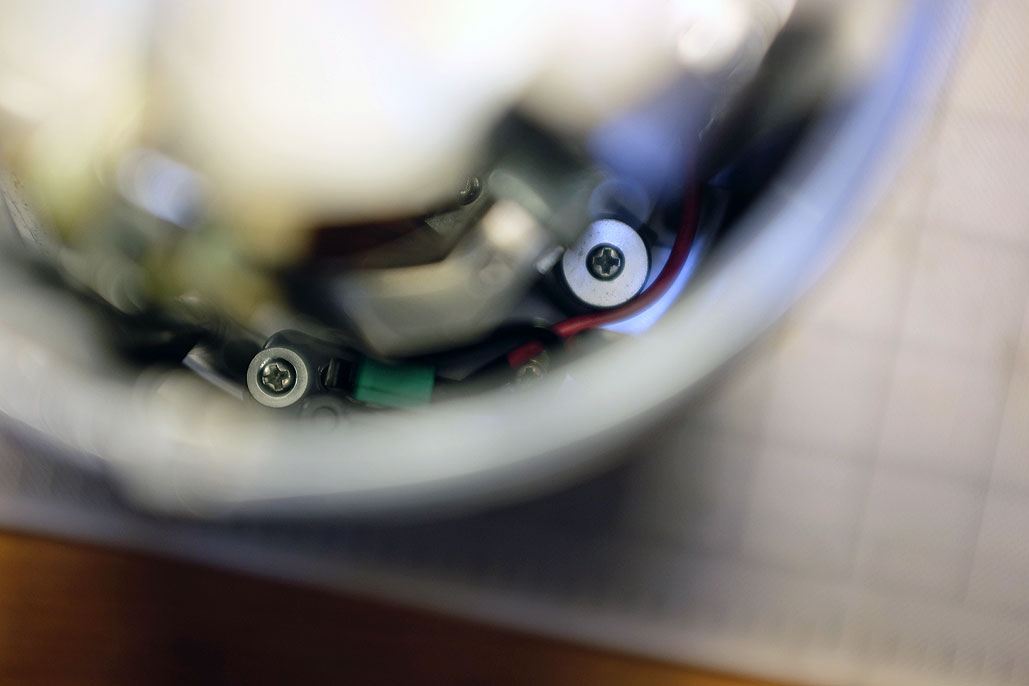
With the outer housing freed, we could now examine the unit without obstruction. The unit had an interesting design. There were three anchor points where the cup containing items to be blended “locks” onto the motor unit. Two of these anchor points are wired to contact switches. The process of “locking” the cup into place would trigger the motor to turn on. The wiring is such that both contact switches must be engaged in order for the unit to be activated. If either of the switches is not triggered, the unit would not turn on.

Careful examination revealed that a post holding one of the contact switches had broken. This made it such that the switch could not be trigger. There are two possible way to fix the problem. One is to fix the switch and the other is to by-pass it. We decided to go with the first option.

We were able to “fix” the switch by moving it. Even though there were three anchor points, only two of them had a switch; the third was attached to a dummy. So by moving the switch to the dummy point, everything worked again. Of course, the wires wouldn’t reach, so we spliced in some wires to make it all connect up. Hey, we never pass on an opportunity to do some soldering!!!

As we have said on previous projects, taking things apart is easy, getting it back together is the real trick to any DIY repair. This was no exception. Good thing we took photos of the disassembly steps, because we had to refer to them several times for the reassembly….and yes, the NutriBullet is now pulverizing again.


Hey, thanks for the disassembly photos! I might have a different fault, but disassembly tips are always a time saver. Cheers!