Headlight Maintenance
There are a few things every car owner can check to ensure their vehicles are operating safely: properly inflated tires, good brakes, and bright headlights. We have shown a few DIY RainyDayGarage projects on those topics (Litronics upgrade, headlight restoration, brake pad replacement) over the years. Once in a while, we have an opportunity to go back and repeat a project using a different approach. The headlight restoration is such a project.

Our decision to repeat the headlight restoration project was initiated when one of our editors complained that her lights appeared really dim. We took a look and realized that not only was one of the bulbs burnt out, but the lenses of the headlights had yellowed again. Instead of just replacing the bulb, we decided to look for a brighter replacement option and to see if a commercial restoration kit would do a better job at cleaning the headlight lenses.

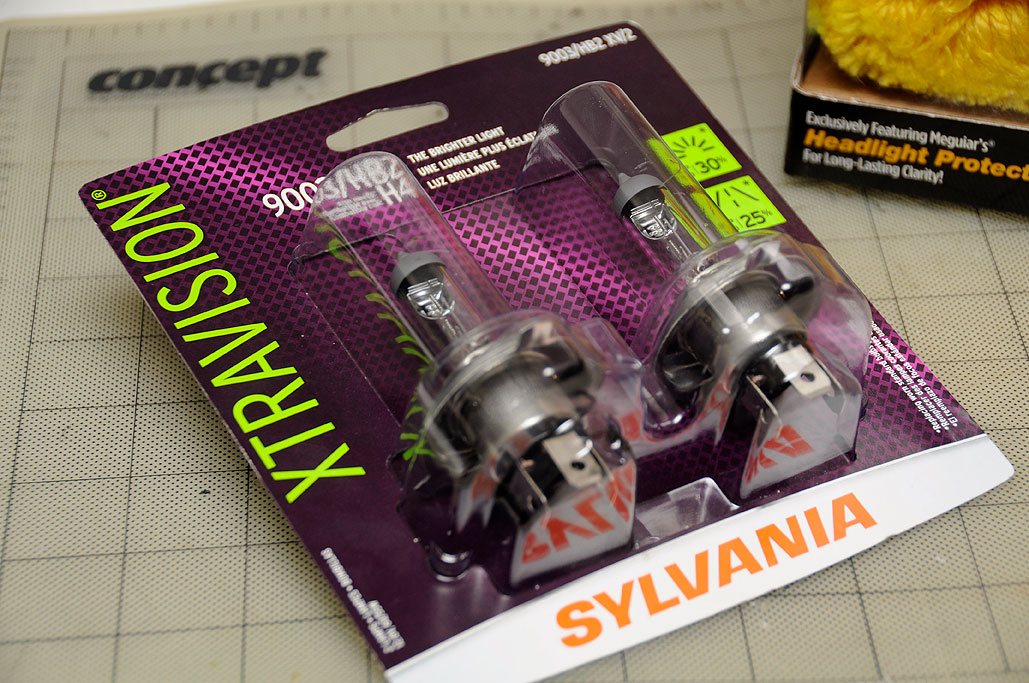
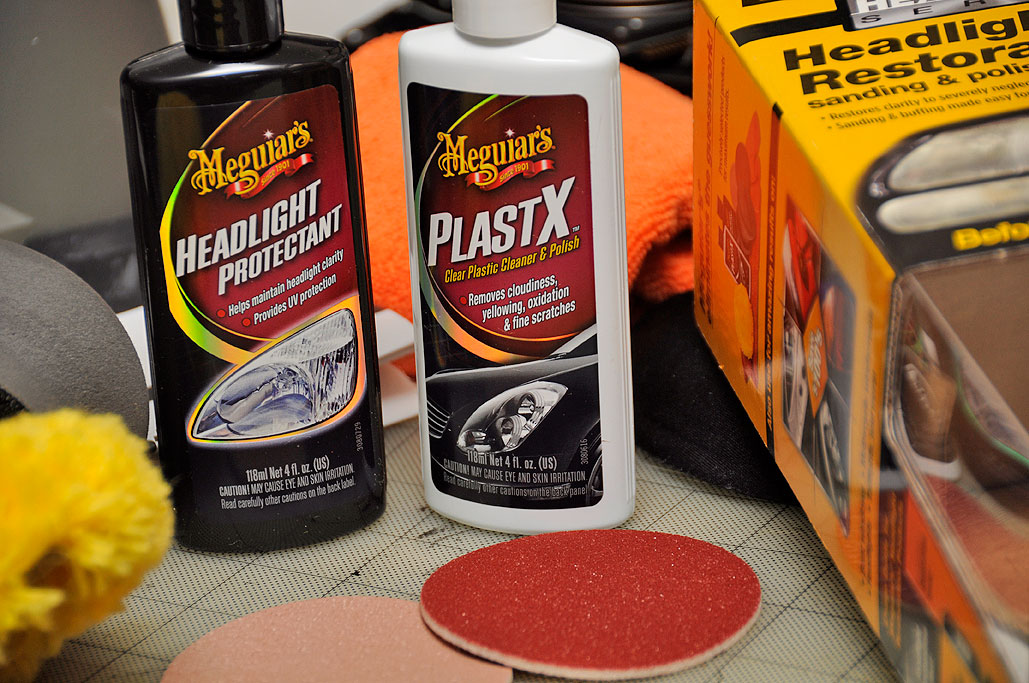
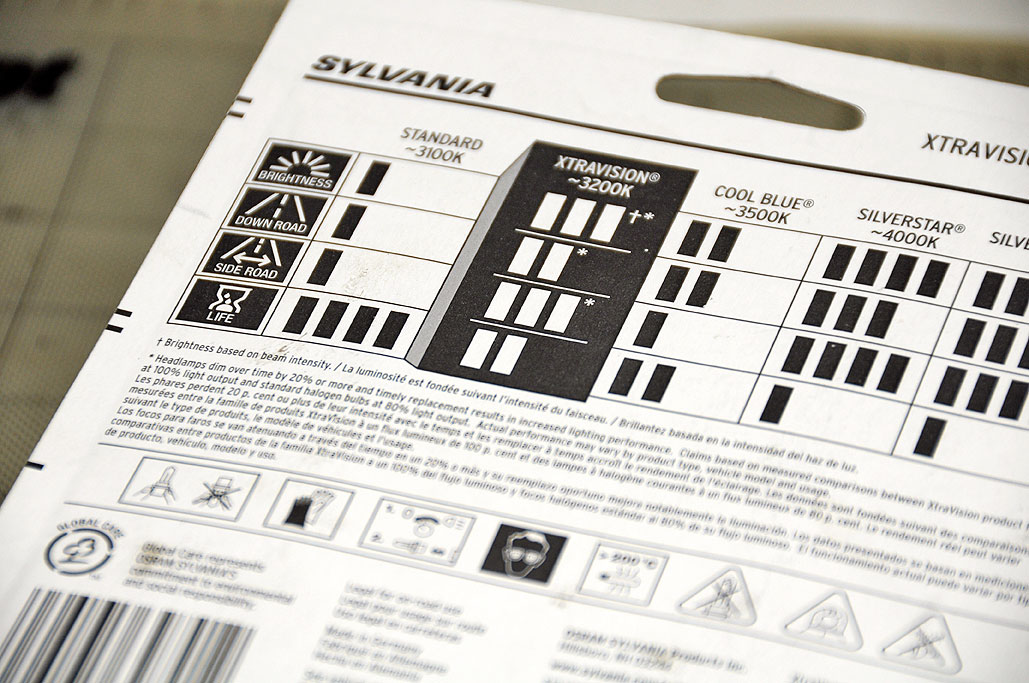
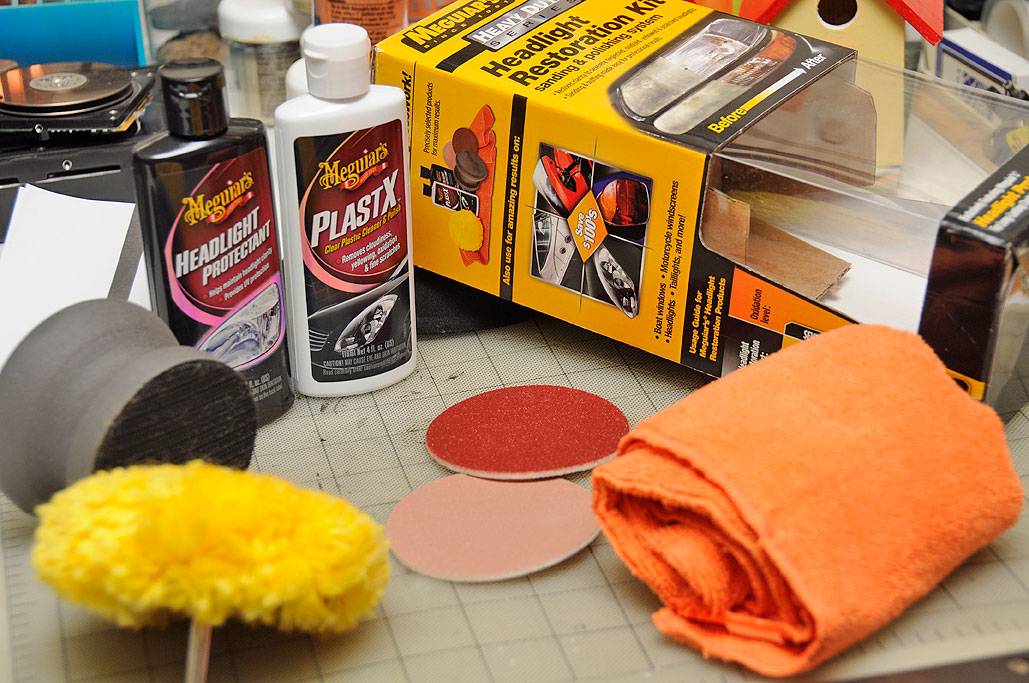
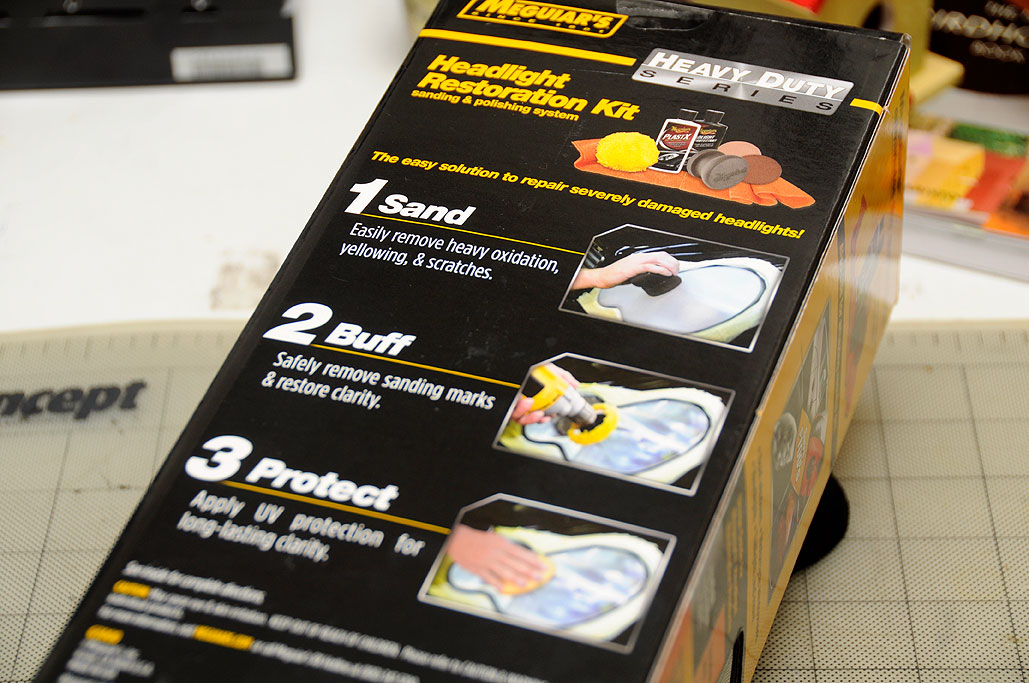
There are a number of advantages with the brighter Sylvania bulbs and one trade-offas compared to the typical bulb. The advantages of the XtraVision bulbs are: they are brighter, they illuminate further down the road, and they have a wider light cone. These advantages come at the cost of shorter overall life as compared to a standard replacement bulb (and their cost is higher). For the restoration of the headlights, we chose the heavy-duty kit from Meguiar’s because of the reputation of their car wax. The kit came with everything needed for the three-step restoration process: sand, buff, and protect.

As soon as it stops snowing in Boston, we’ll get this project underway. We’ll have the results of the bulb upgrade and headlight restoration posted in the Spring iPad issue of RainyDayMagazine. Look for it in the Apple App Store in April.


Leave a comment