Cucina Elegante Kitchen Cart: Assembly
John Boos is not just about cutting boards!!!
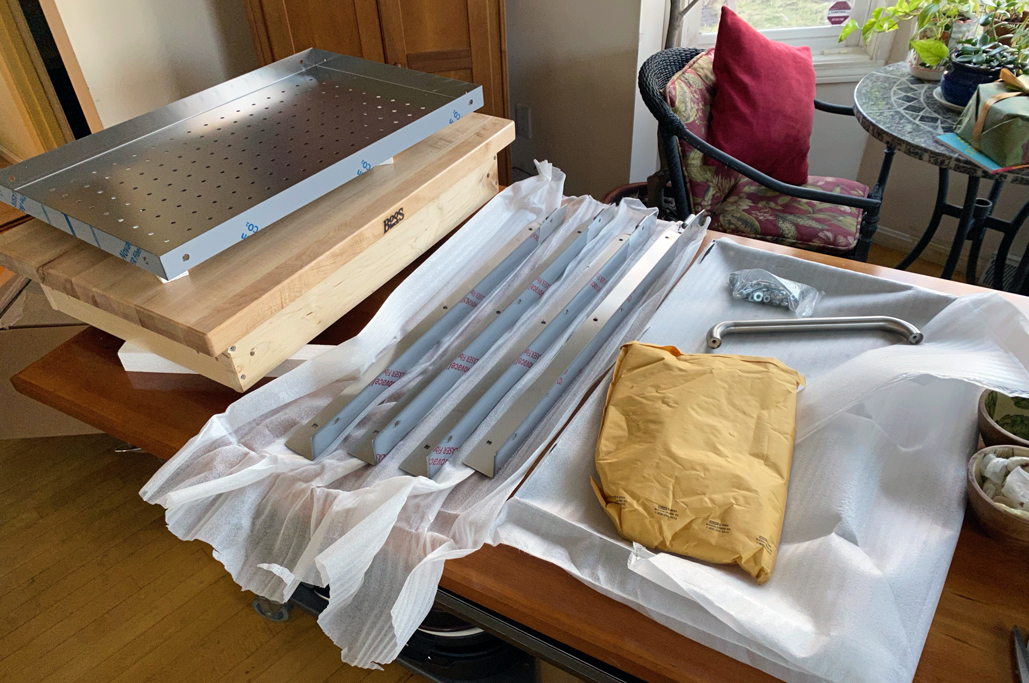
In our previous post on the Boos Cucina Elegante kitchen cart, we unpacked, checked, and accounted for all the pieces of the cart. Now that the Unboxing out of the way, we want to show how we put this amazing-looking cart together.
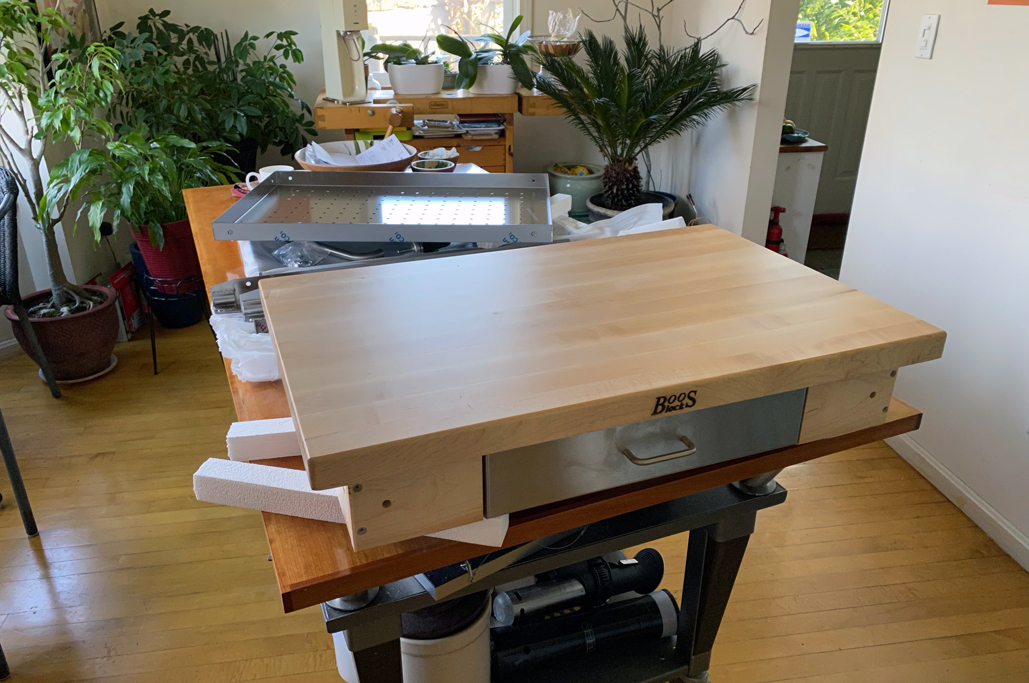
“A work of art and a joy forever” – even in its disassembled state.
Prep
If there’s one thing we’ve learned from all our IKEA projects, it’s that the key to successful DIY assembly is to
- Account for all the fasteners, and
- Take the time to understand what goes where and when.
Okay, that might be two things we’ve learned…
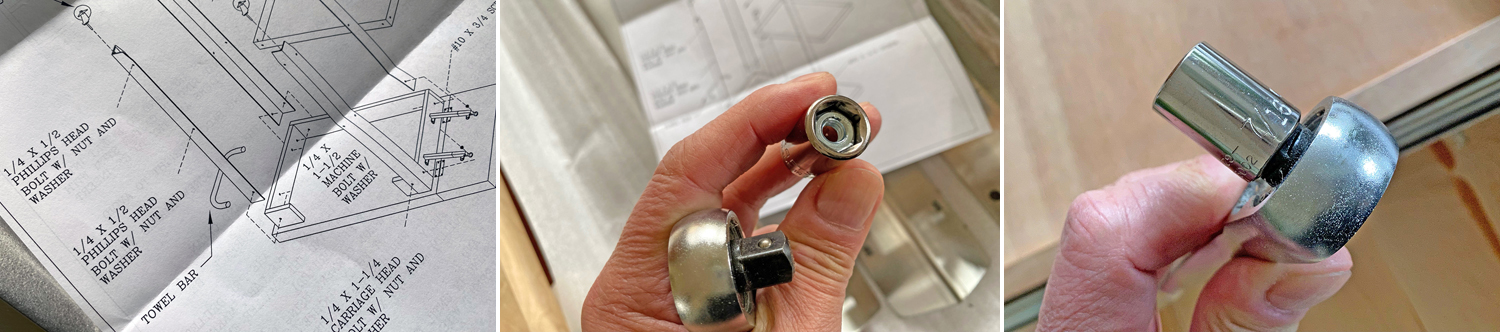
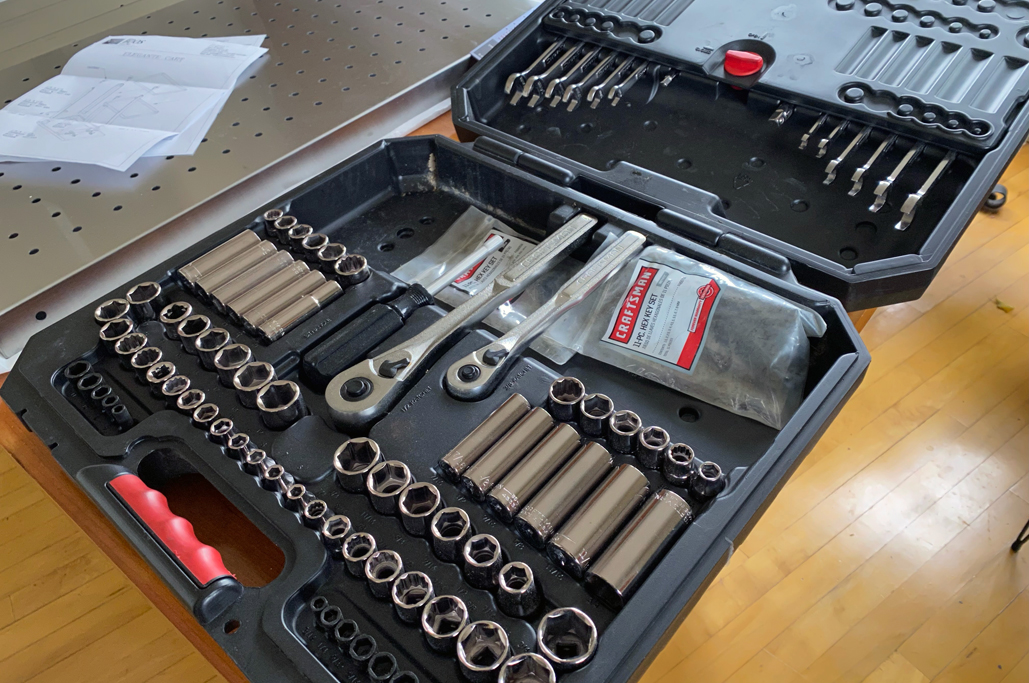
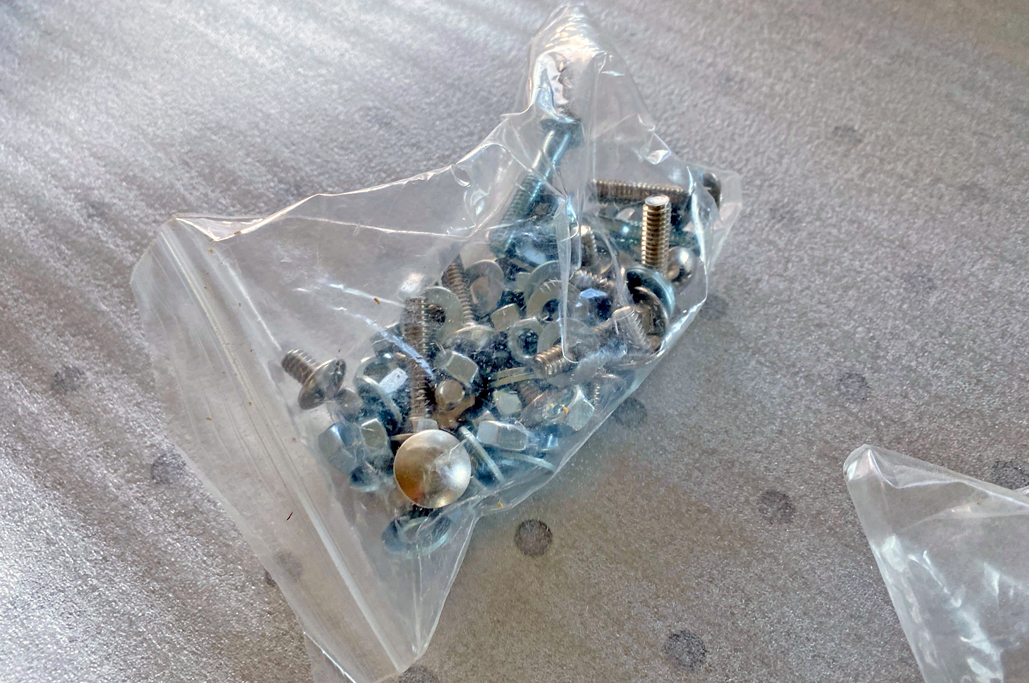
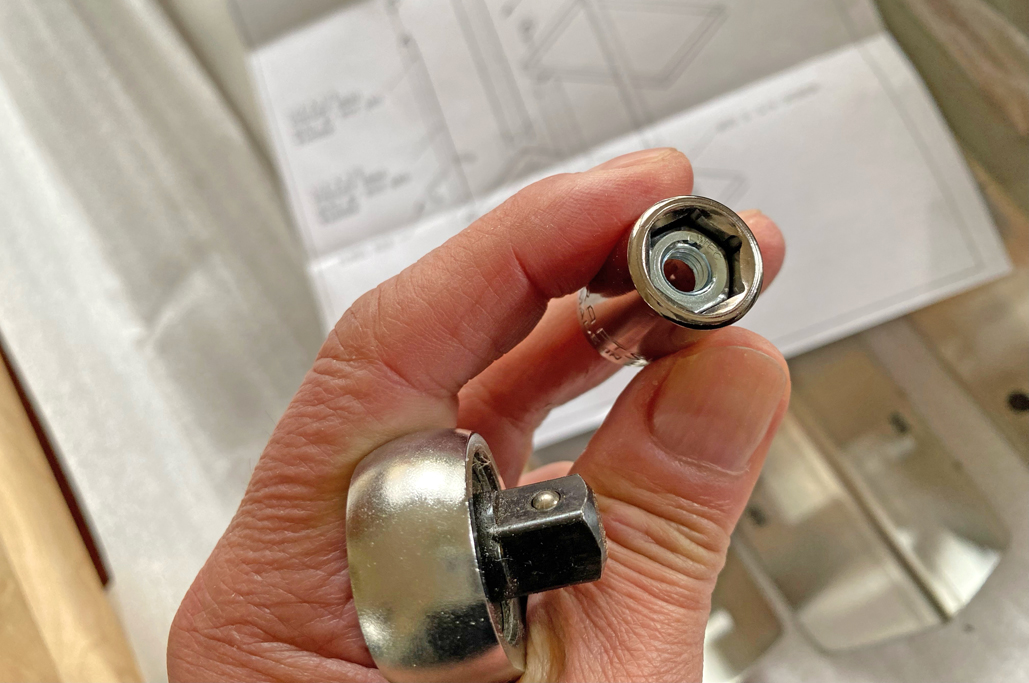
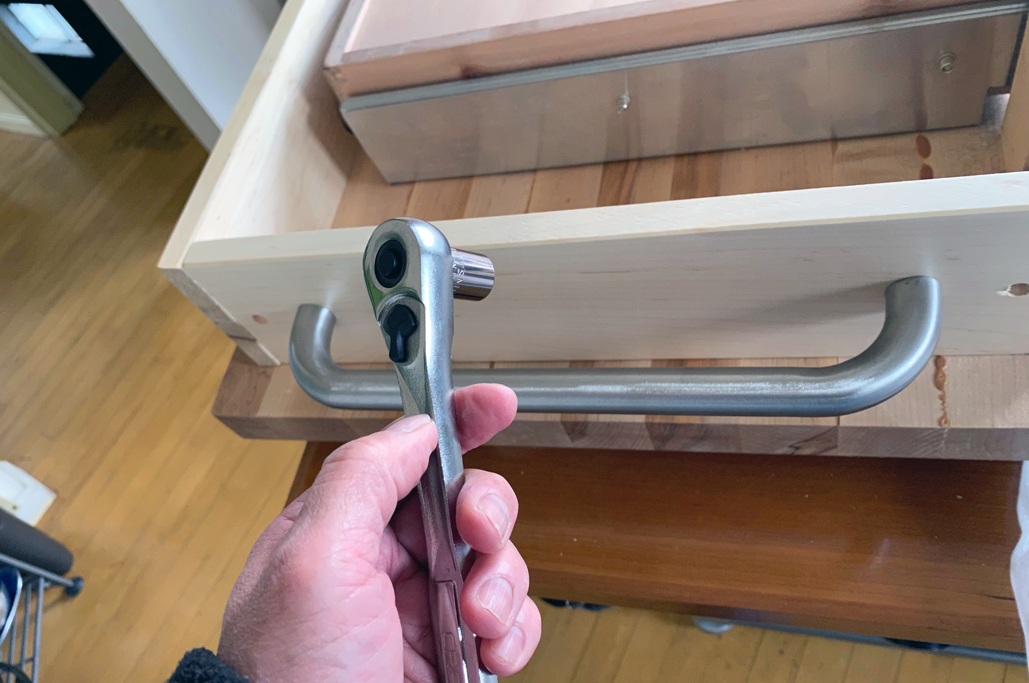
Another important thing is to gather the right tools for the task. A quick look at the Boos’s bag of nuts and bolts informed us that our best path to success was to bring out our trusty Craftsman Socket Set.

Whatever you want to tighten, one of these will help you do it.
Prep steps for the Boos kitchen cart:

Chock full o’Nuts – wait, that’s something else entirely.
- Read the directions;
- Find the right socket size; and
Yup, yup, yup.
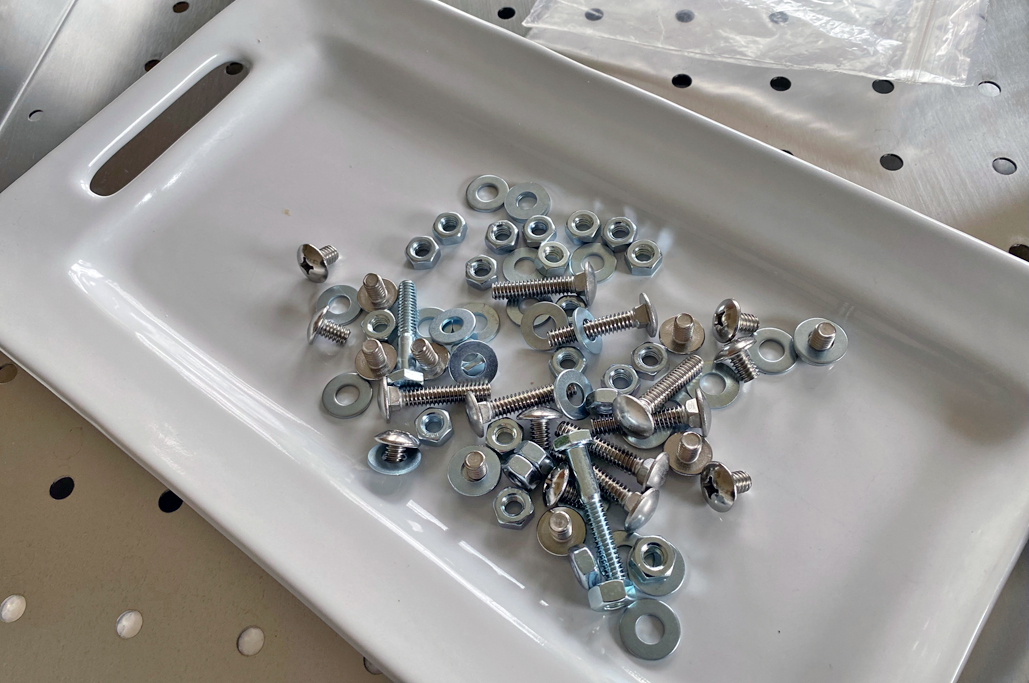
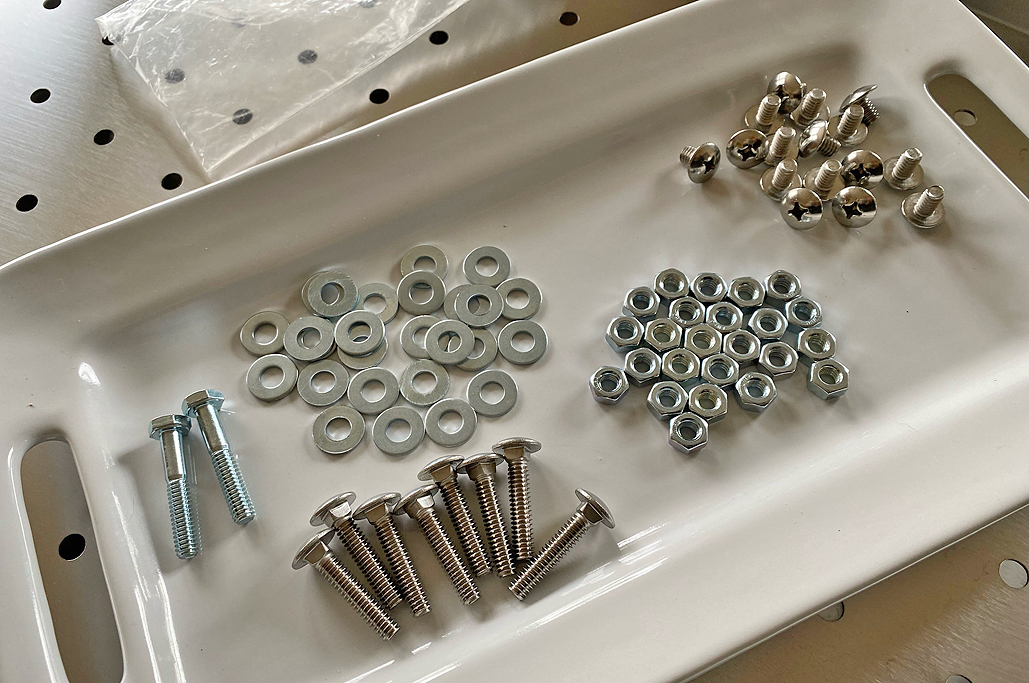
- Sort the fasteners.

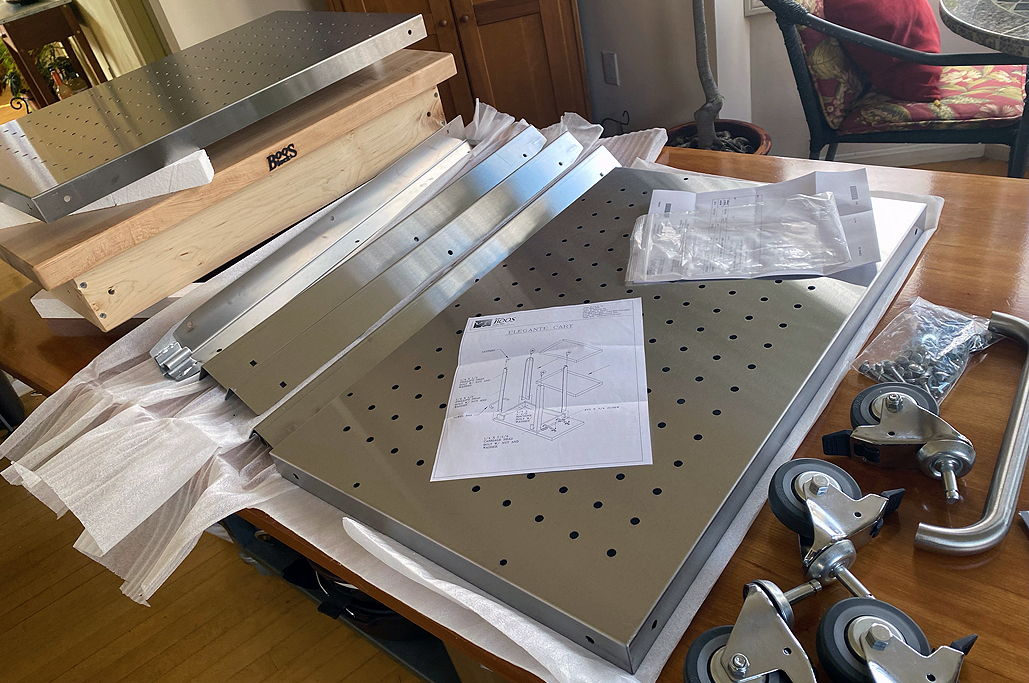
A whole lot of securing hardware – this cart won’t have a wobble in it anywhere!
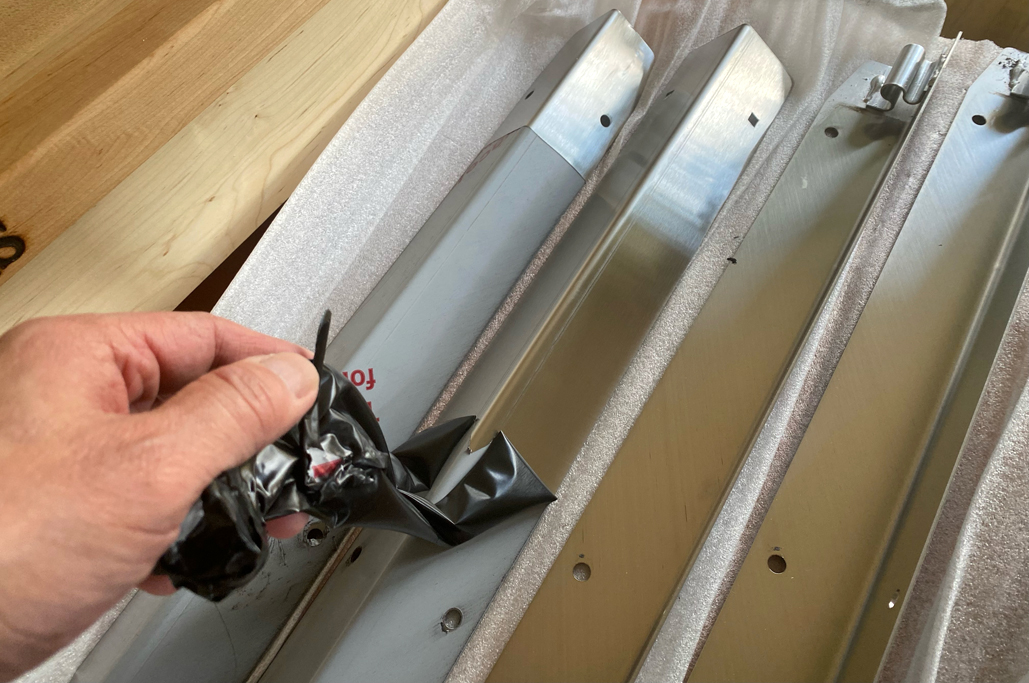
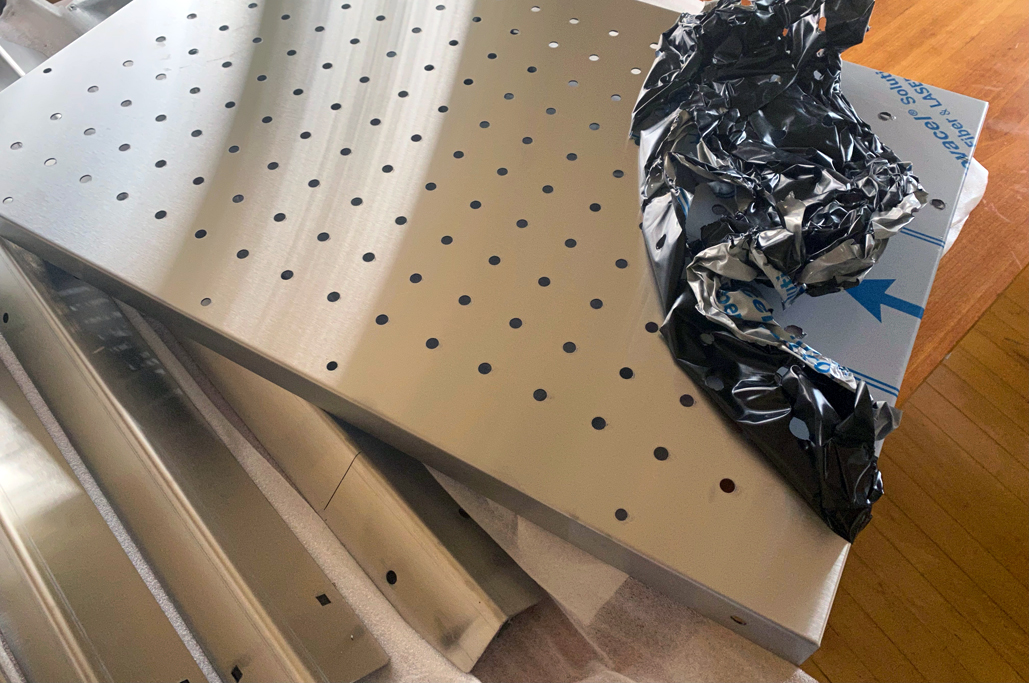
After all of the fasteners were sorted and directions reviewed, we were eager to start putting the cart together. Before the assembling and bolting, though, we thought it would be a good idea to decide on when to deal with the protective skin on the steel pieces.
There were two school of thought on that:
- Leave the skin on to prevent any scratches during assembly; and
- Take it off first because it would be much harder to peel once the cart was assembled.

Leave on, take off…with apologies to The Karate Kid.
After some deliberation, we decided to take the skin off first as it was a lot harder to remove than we assumed. You REALLY had to get a good grip and pull sloooowly to remove it, the complete opposite of removing a Band-Aid!!!
It took some time, but it was worth it.
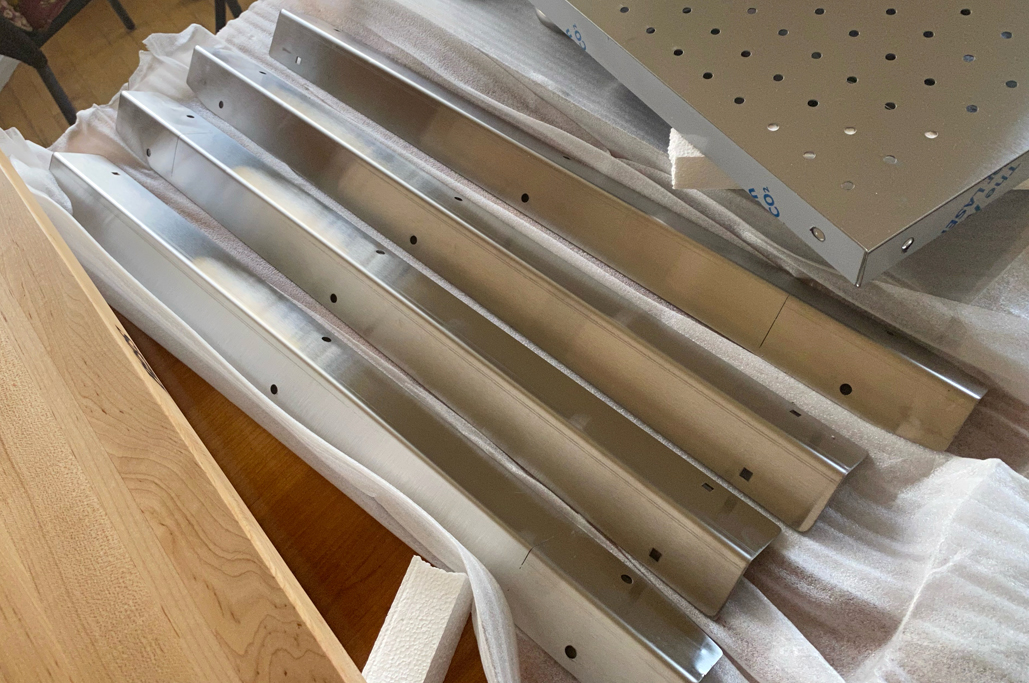
Assembly
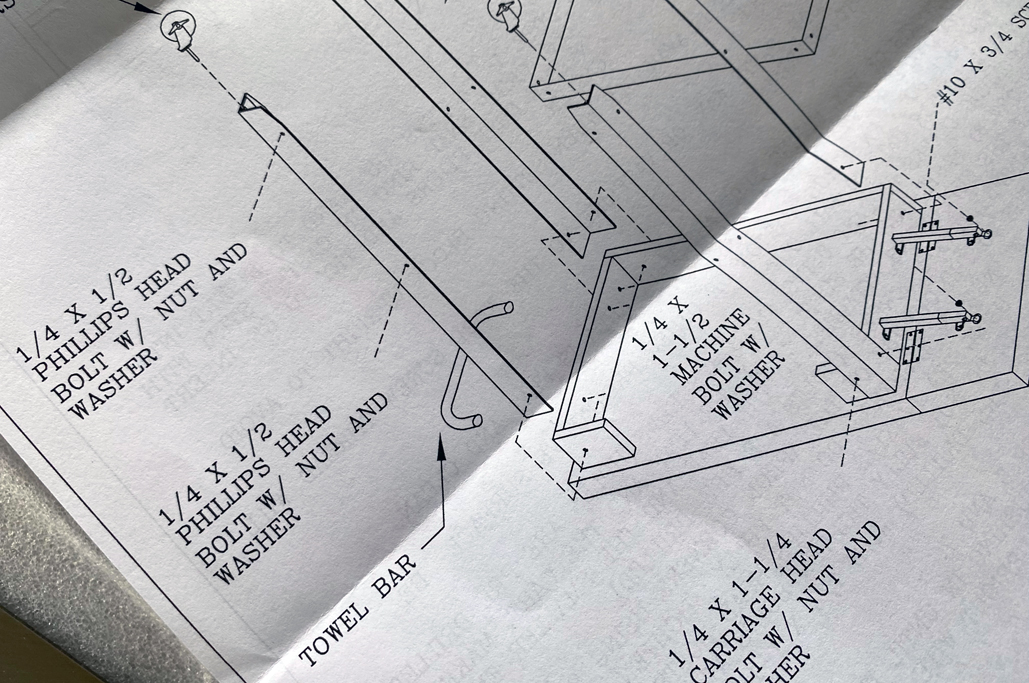
With the protective layer removed, we were ready for assembly. The overall sequence went as follows:
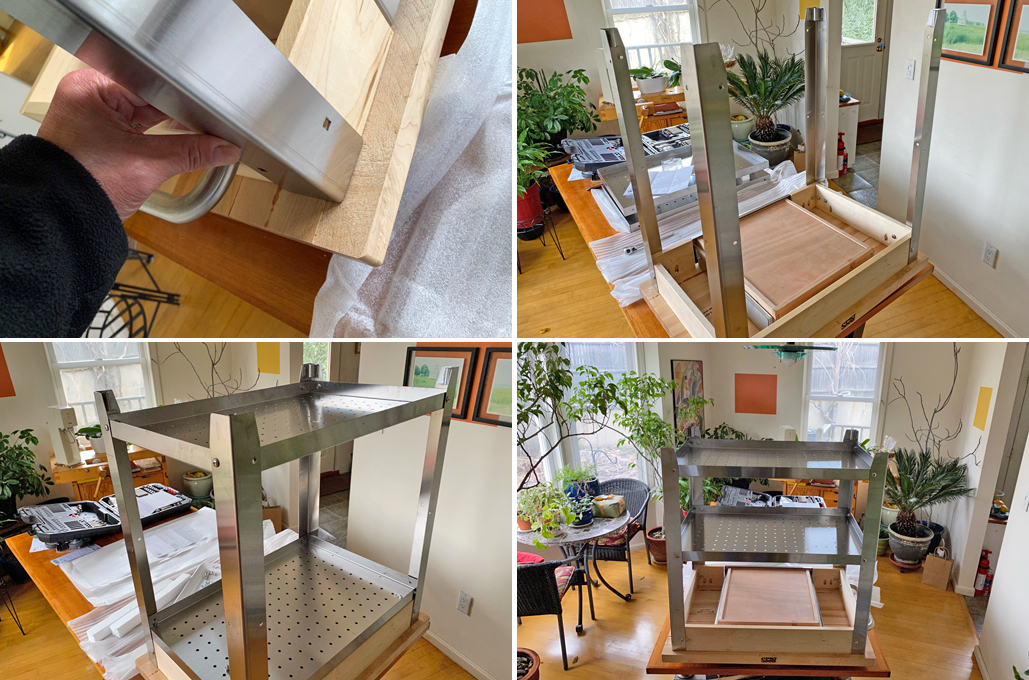
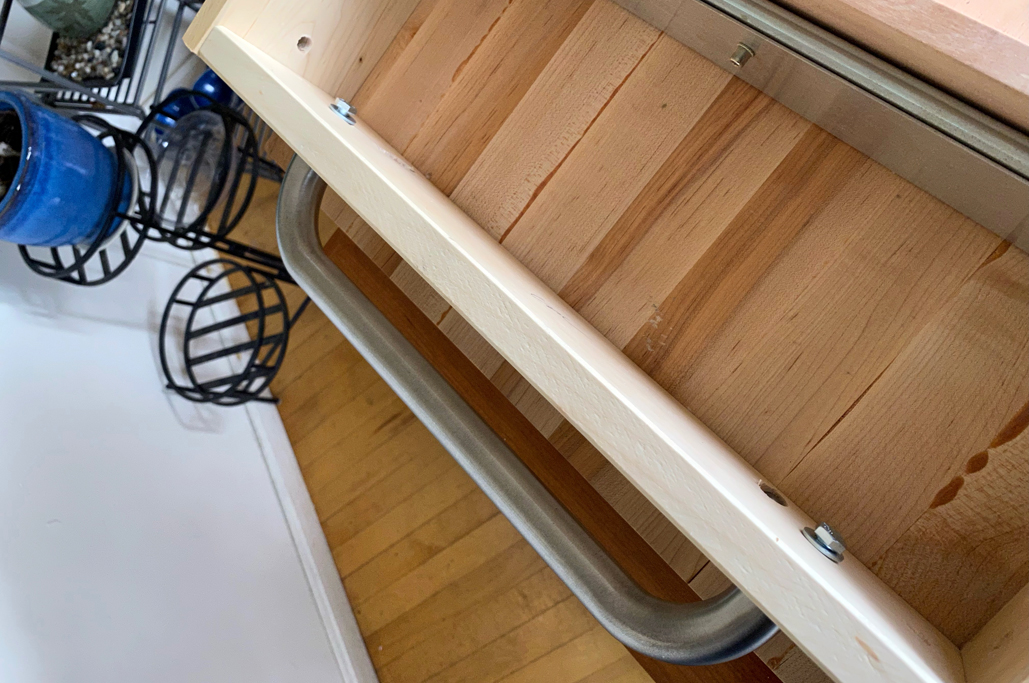
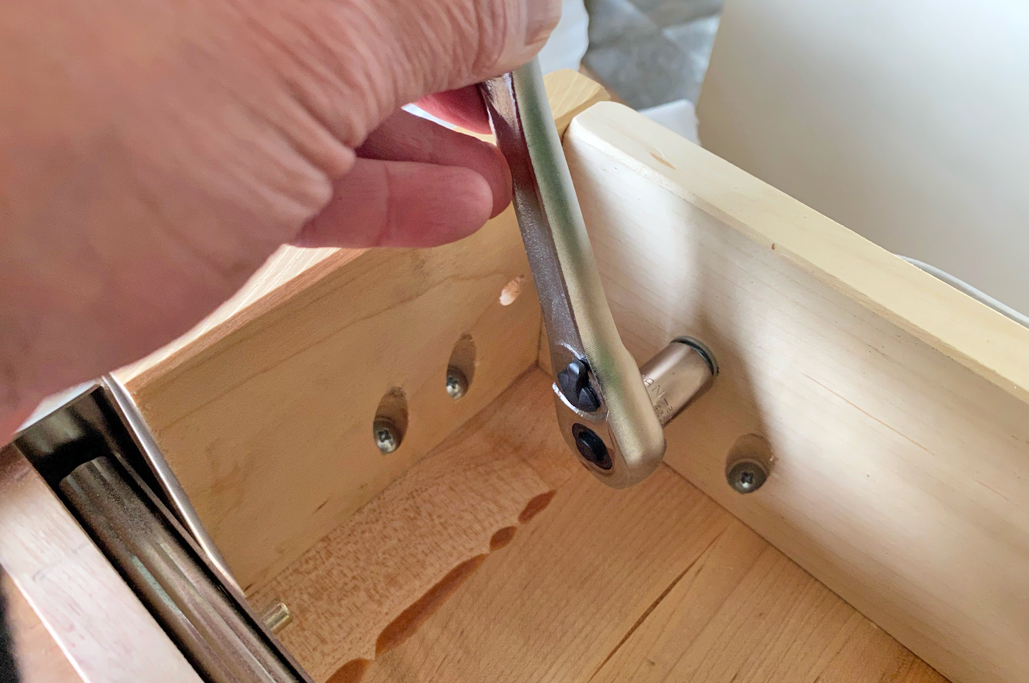
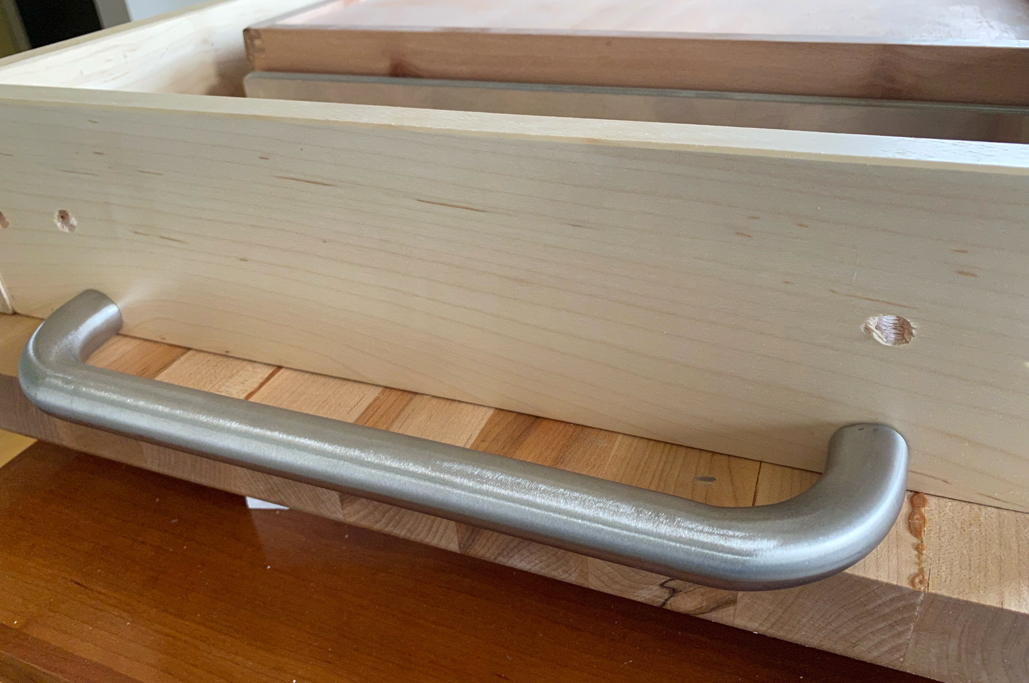
- Attach the handle to the side of the top;
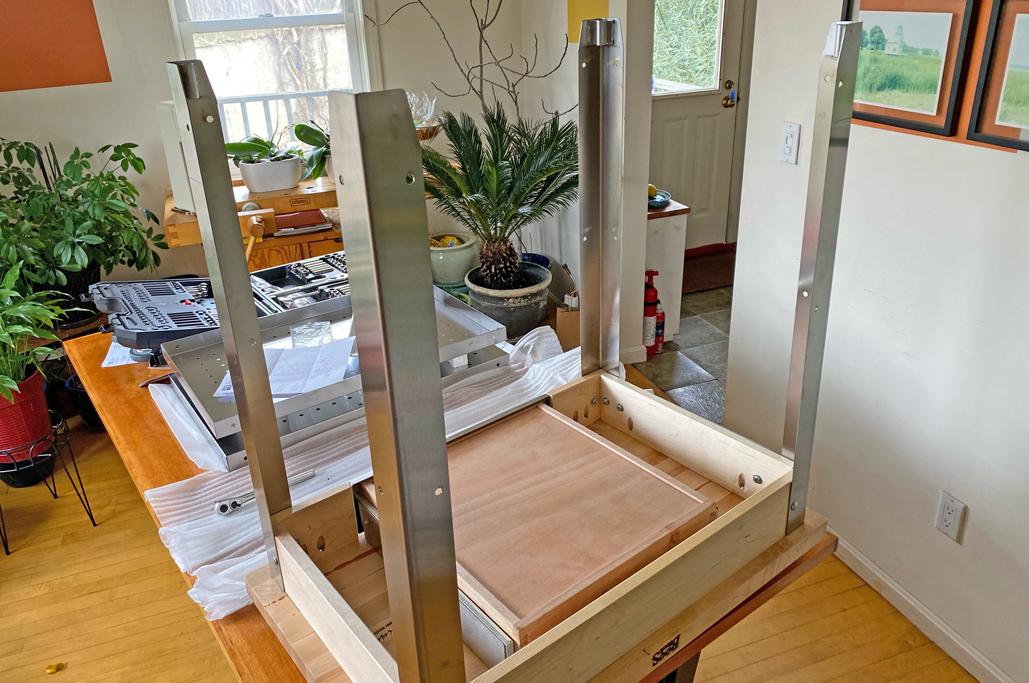
- Attach the legs to the corners of the top;
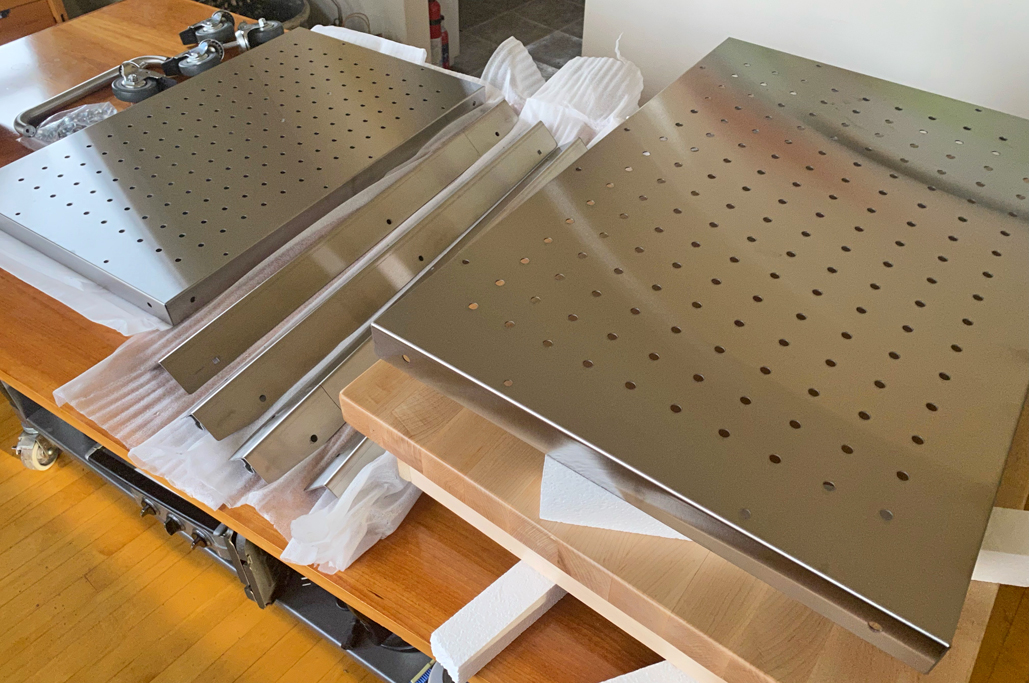
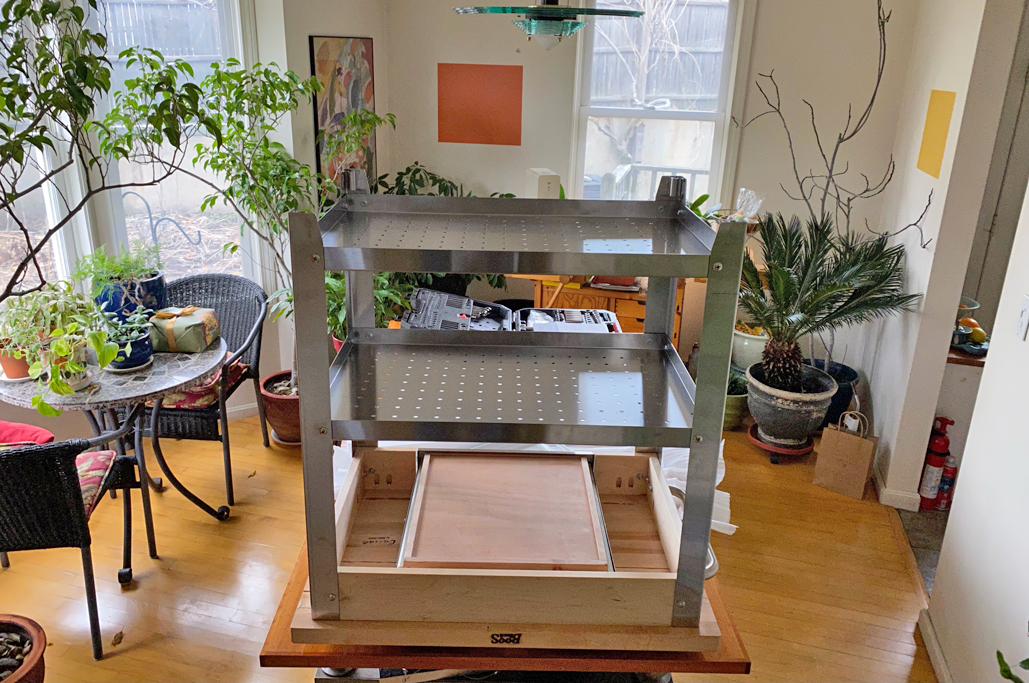
- Attach the shelves to the legs; and
- Insert the wheels to the end of the legs.

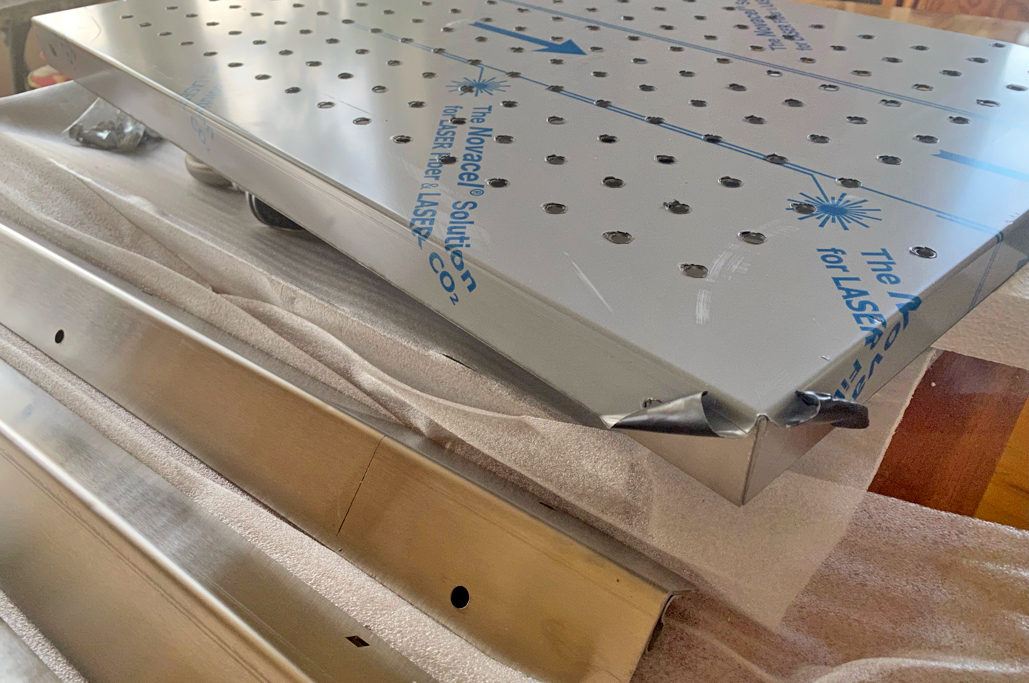
Lots of pieces, going into lots of places – this is one well-built cart!
While the directions had listed the size as XXX, the actual size was YYY. It, of course, mattered not as our socket set contained both English and Metric sizes.
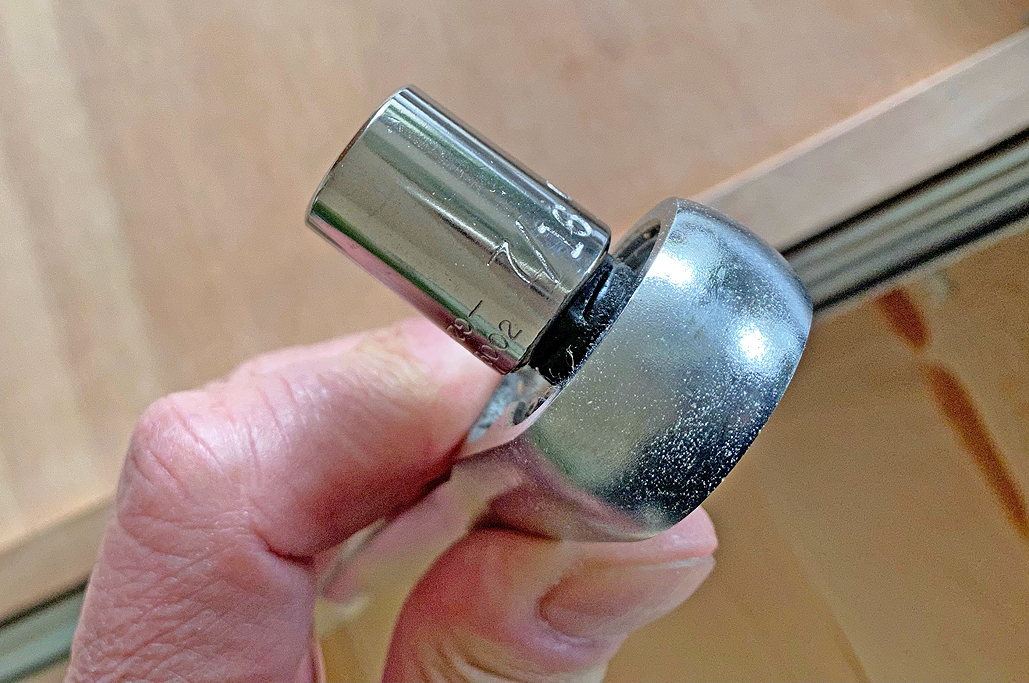
The socket wrench was the best tool for the assembly job because working in the corner of the drawer can be a bit tight. But, a simple open wrench—or even a set of pliers—would do if those were the only things you had.
We had no problems with the holes as the locations were precisely predrilled and the fit was exact – because Boos. Note: “tight” in this instance means that nothing moves, not “I am going to tighten this thing to bits.” There is no need to keep tightening the screw as it is metal on wood…

Wonderful quality, properly position screw holes. The socket wrench dispatched the handle attachment job in no time.
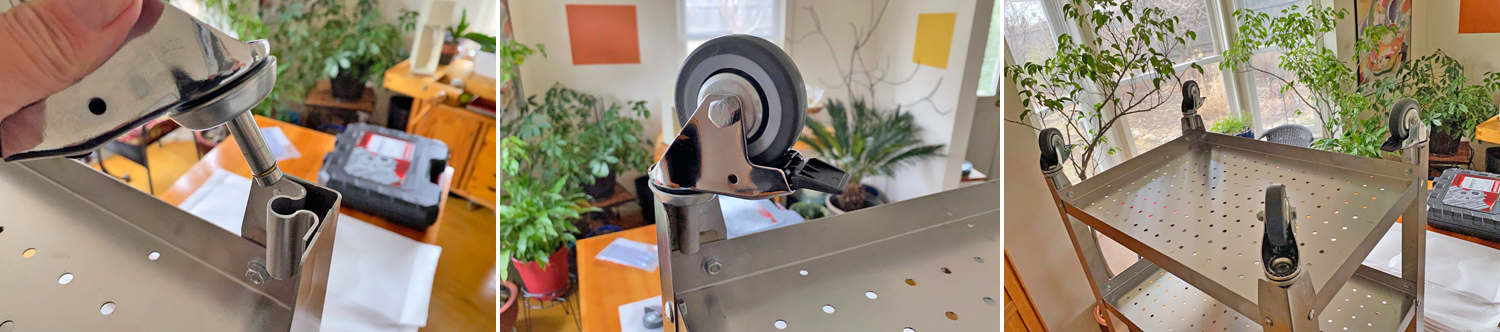
With the handle secured—and yes, we could have done it at the end of the assembly—the next task was to attach the four leg posts. As with the handle, the holes were pre-drilled and everything lined up exactly as expected. Exactly.
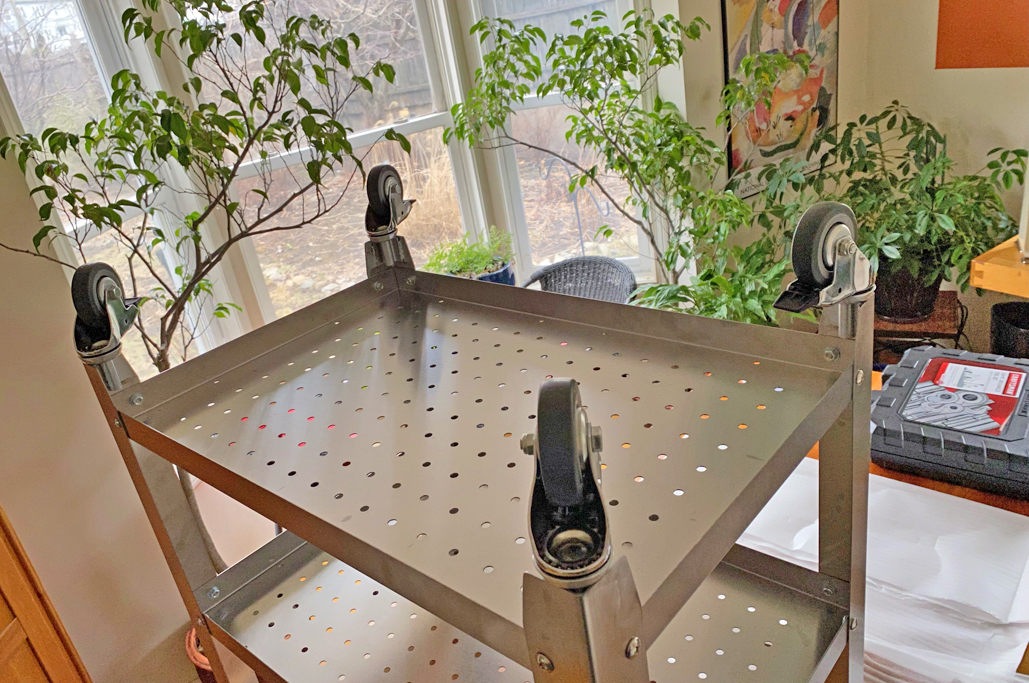
Pro Tip 1: UNLIKE what is shown in the photo, DO NOT put the bottom shelf on first, then try to fit in the middle shelf. It will NOT work, as there is zero flex to the legs. Instead, loosely attach the middle shelf, next fit the bottom shelf, THEN tighten up all the fasteners. If the fasteners to the middle shelf were tightened prior to fitting the bottom shelf, while possible to slide in the bottom shelf, the task will be made unnecessarily difficult. Anyway, just benefit from our experience and save yourself some hassles 🙂
Once the two shelves are in place and all the nuts and bolts have been tightened, the cart should be extremely rigid with absolutely no flex.
It’s coming together nicely…
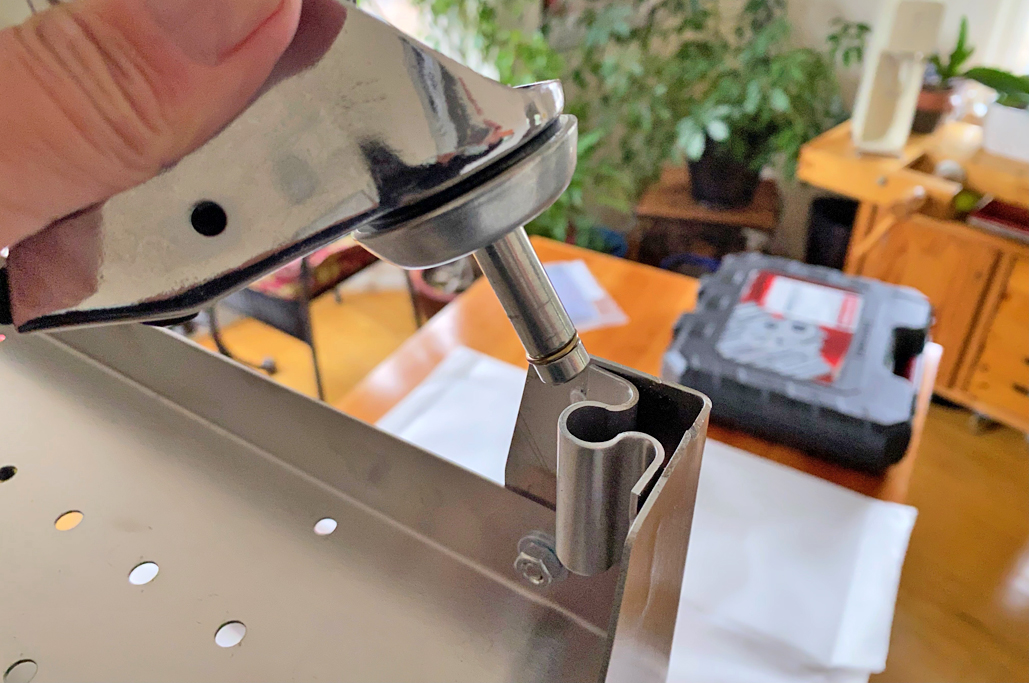
The final step was to insert the casters into the receivers welded to the legs. On all the casters’ stems is a friction ring. This ring makes the stem resistant to being fulling inserted. If the caster can be easily pulled out, it has NOT been fully inserted—and may cause the casters to fall out if the cart is picked up. Push down hard on the wheel to lock the casters into place.

A little elbow grease (or full body weight, either one) was needed, but the outcome was worth it.
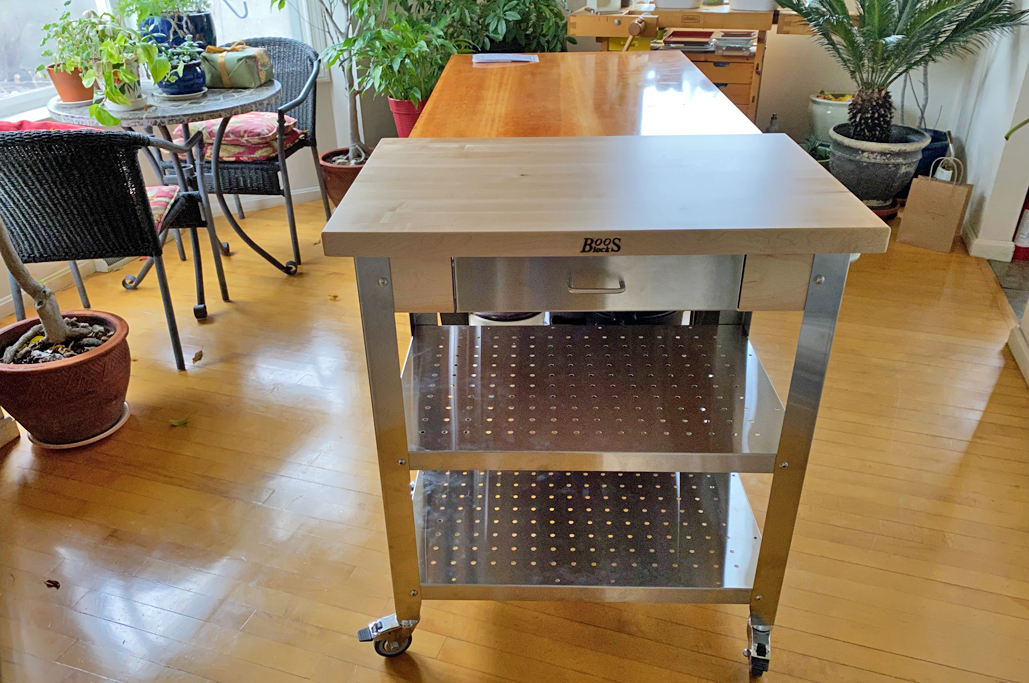
With the wheels inserted and locked into place, we flipped it over to its upright position.
Pro Tip 2: While this flipping can be done solo, it is really best done by two people—the cart is of a good size, and somewhat heavy.
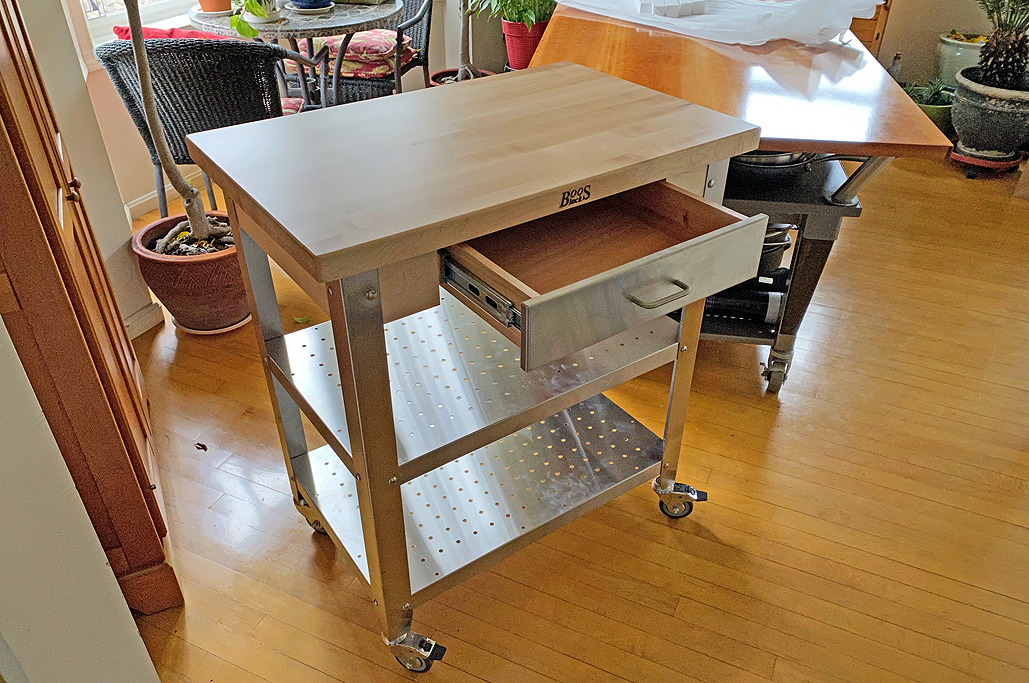
Care should be taken to make sure no one gets bonked on the head by the drawer sliding out unexpectedly…and NO, that did not happen to anyone here!

Elegant, clean, useful.
The Boos Cucina Elegante Kitchen Cart assembly is now complete! We’ll post our thoughts of it in the FirstUse article sometime next month 🙂
Links to items mentioned:


Leave a comment