Boxster Project: Blower Replacement
Easy in concept, tight in quarters, but a definitely doable DIY.
Our 20-year-old, two-hundred-thousand-miles-plus Boxster made an odd noise the other day: a groan.
That sound was the last gasp of the blower just before it gave up the ghost.
We didn’t notice this problem until we took the car out one night and the windows kept fogging up.

To completely mis-quote Paul Simon, “Still running after all these years…”
If it wasn’t for the fogging we probably would have left the problem unfixed until Spring, but because visibility was now an issue, we had to address it. The 4ºF temperatures may also have had something to do with our decision.
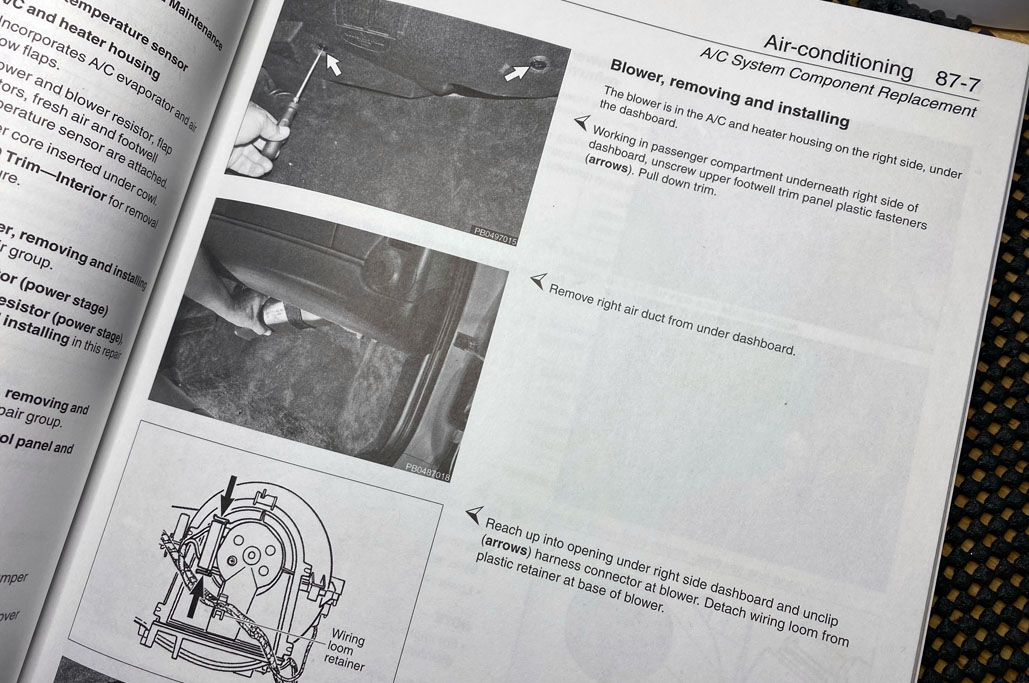
So out came the Bentley Porsche Boxster Service Manual 🙂

Note to readers: the air blower replacement has far fewer steps than this photo might make it you think.
Reviewing the Bentley repair manual intimated that the task didn’t look very complicated, but, from having fixed a lot of things on this Porsche, we knew that:
- The fit would be typically very tight and
- It ALWAYS takes a lot longer that one would think.
- We were right about this, but more on that later.

Just four steps to remove the blower, and not a one of them mentions a dooferdangle or a jammiebammer…looks doable.
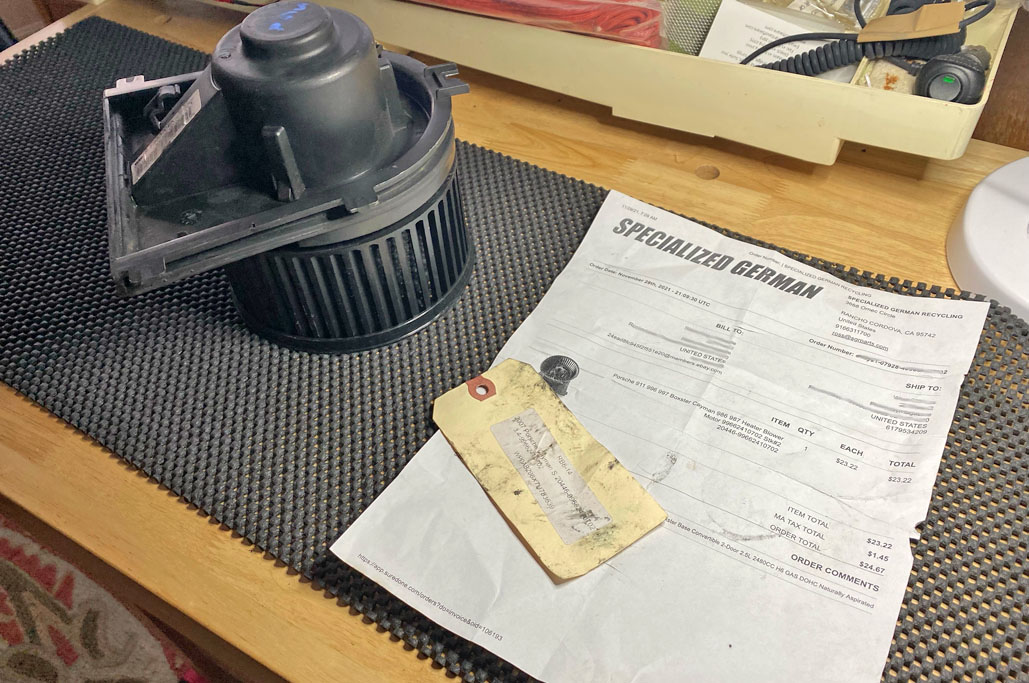
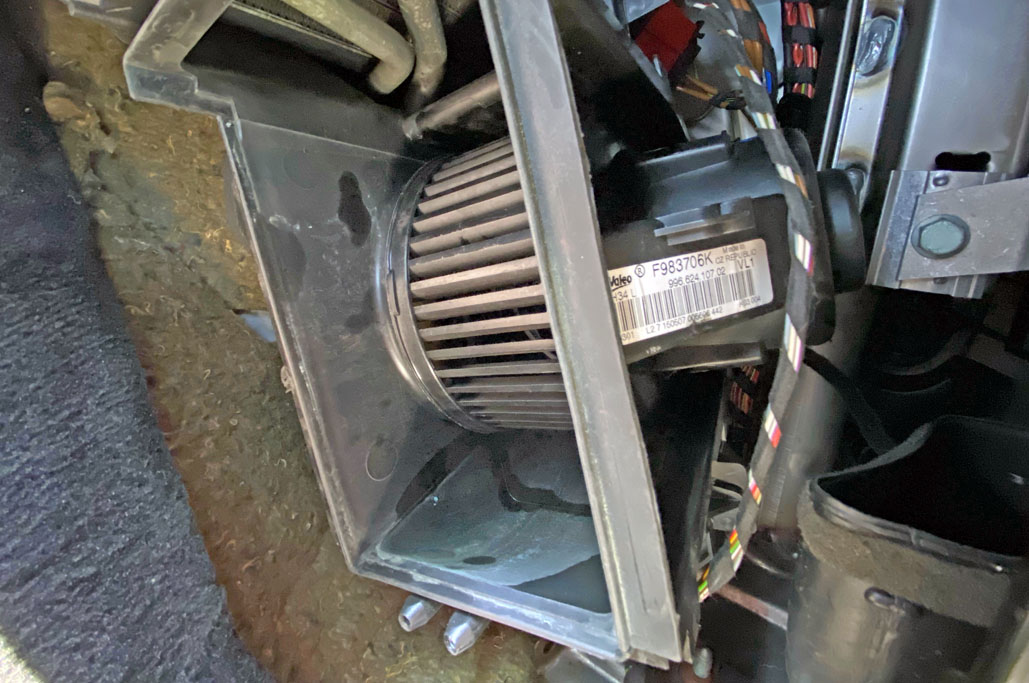
After determining that the issue wasn’t the fuse, we found and ordered a salvaged part on Ebay (salvaged: $25, new: $150; of course we went with the salvaged part). There are non-OEM versions available from other vendors which would probably work just fine, but we were comfortable with a used one, as it is not a critical component.

$25 including shipping. Ability to read German not required.
Blower Removal
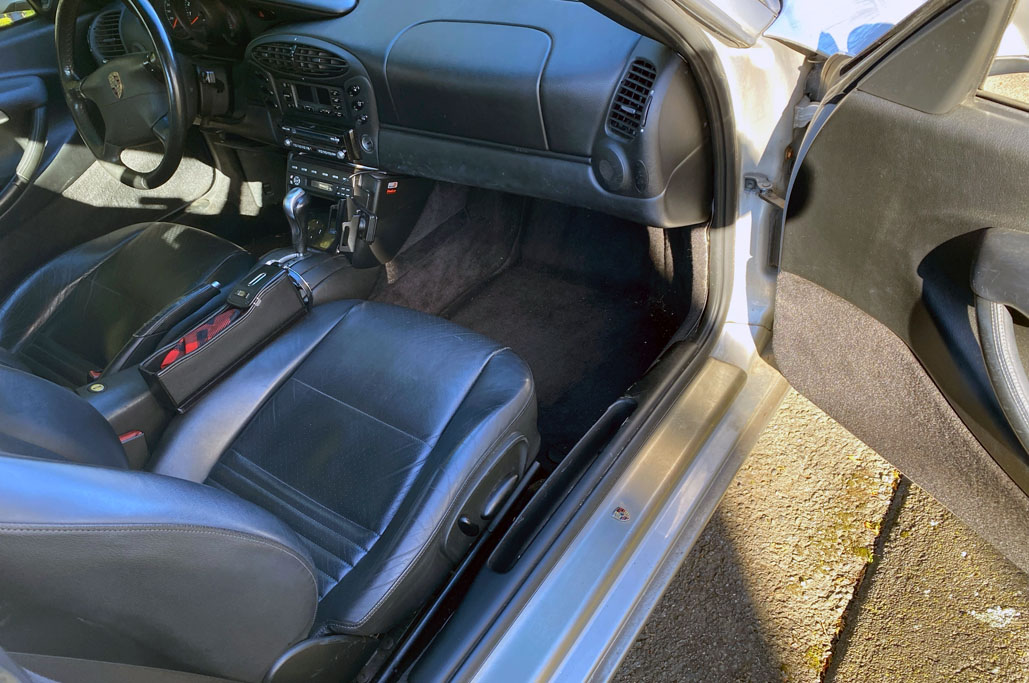
We waited for a relatively warm day and a good bid of daylight to start this project. According to the manual, the blower is accessed from under the dash on the passenger side.
Clearly, there would not be a lot of room to work down there, and things would probably be tightly packed together once we got the panel removed.

And we were right…
The foam panel under the dash was anchored by two plastic screws. Both the screws and the panel were easy to remove.

Underside of the dashboard, removed.
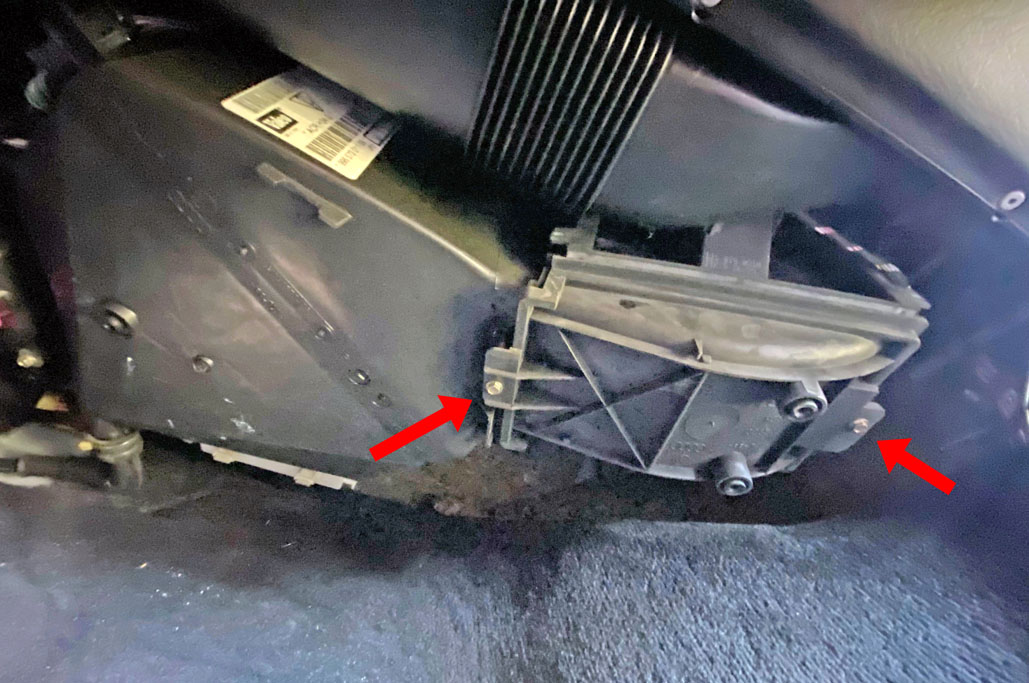
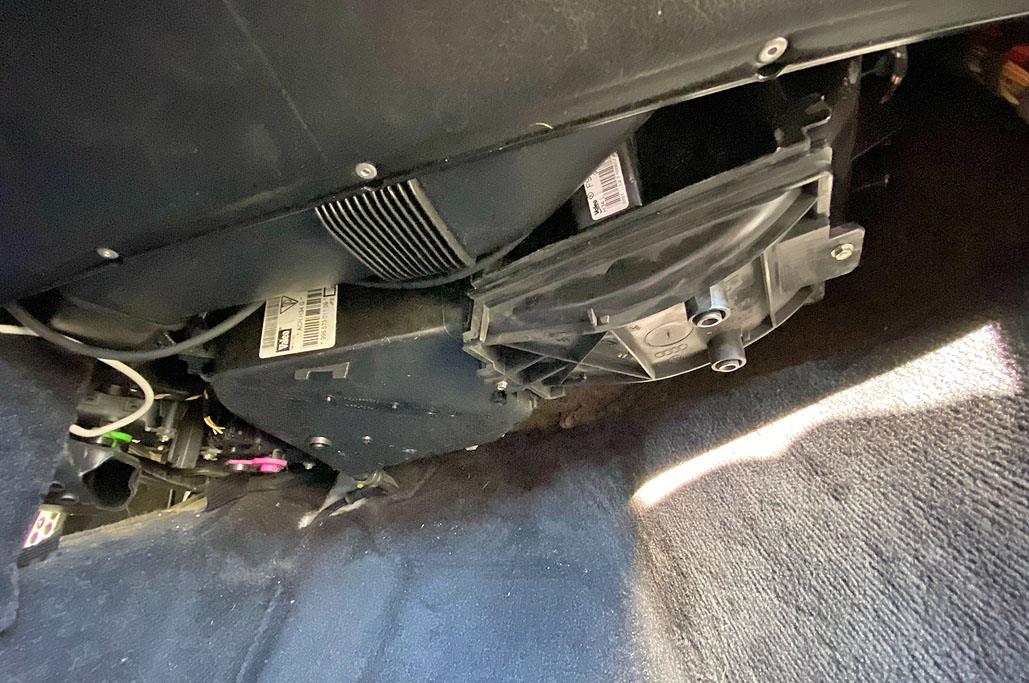
The blower was anchored in place by a cover and two machine screws.
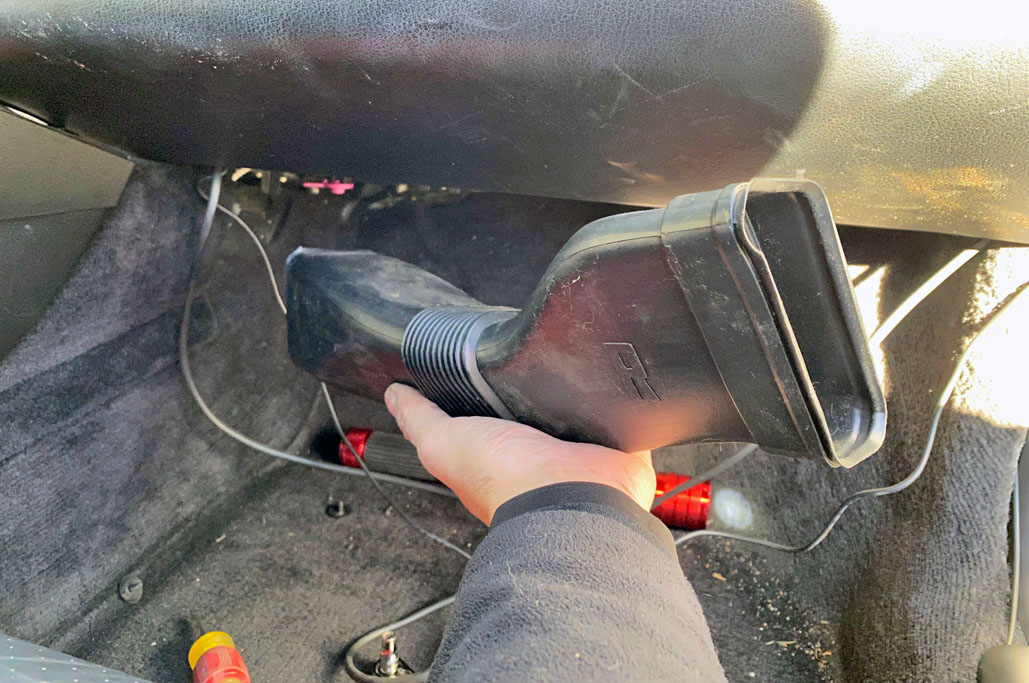
The air duct in front of the blower housing needed to be removed before for the blower unit could come out.

Looking up to the underside of the dashboard. Taken from a very human-contorted position.
The shape of the air duct is designed precisely for the space it inhabits, and was held in place by tension only (those Porsche guys, always innovating). To remove it required some effort, both in the tugging and the pulling aspects. We did it slowly and mostly by feel. Once removed, we knew getting it back in would be a bear (a big one, with claws).

No, this hand is not on fire from the inside.
The image below shows the blower assembly with both the air duct and cover removed. The blower slid out a little bit when pulled, but there was a wiring clip attached to it, which kept it from just falling onto the floor.
In order to undo the clip, we had to reach in and release it by feel…which was not hard, but did require some patience and a little dexterity.

From a certain perspective, it looks like a little tiny Coloseum.
Blower Installation
With the wiring clip undone, the entire unit came out without problem. The image below shows the old blower in front and its replacement in the rear.
They look the same, which we figured was a good sign.

They look the same if both of them had the same side facing up…
The replacement part was a perfect fit, but getting the wiring clip back in was, as expected, a bear, and we believe, not an easy task for the big-handed.

The clip, roaring at us in a very bear fashion.
Fortunately for us, we are not BH (big-handed). Once we connected the power clip, we checked our work before going any further. The blower came on and everything WORKED. Yay!!!

The replacement blower in place and being tested. It made its “whoosh” sounds completely silently (as is appropriate in a Boxster).
With the replacement blower attached and powered up, the only thing left for this DIY was to put everything (else) back, which led to the we-know-this-is-gonna-be hardest step: getting the air duct back into place.
Because there was not enough room to get our upper torso into the footwell, it was a (wait for it) complete bear to align the openings (because we couldn’t see them very well) and mate things up (ditto). It took us 30 minutes to do because we had to do it completely by feel.
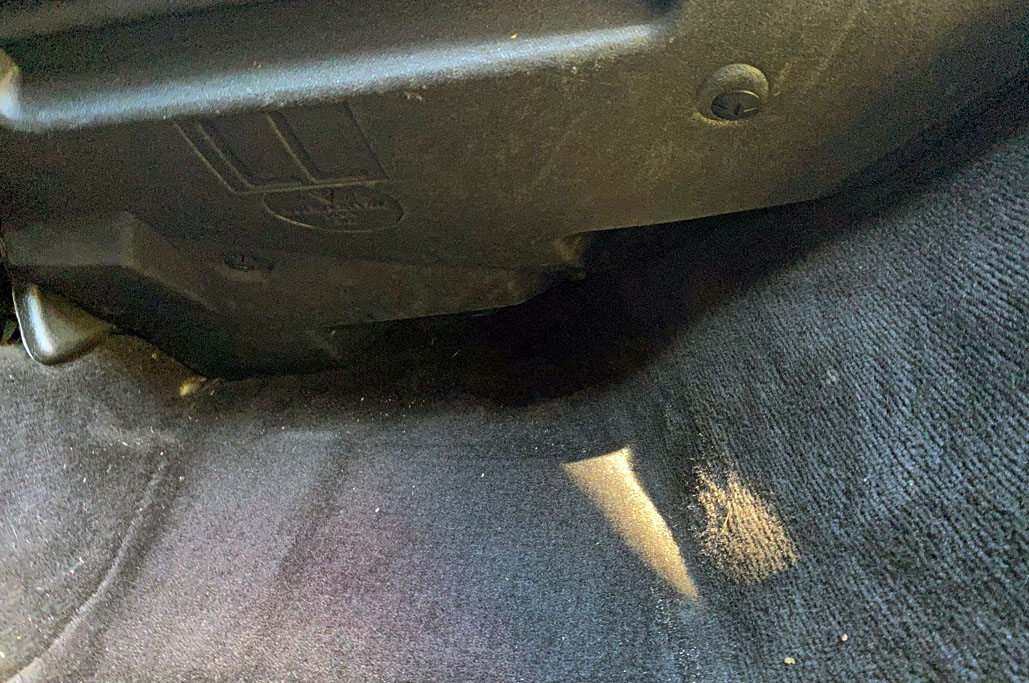
The thing that took us the longest to figure out was how to orient the air duct for reinsertion. There is only one way to properly orient the air duct. To help other DIYers, we are showing the air duct in the orientation of how it should look when seated in place.

The “R” will be recognized as an “R” if the blower is oriented correctly.
With duct work FINALLY back in place, our final step was to replace the dashboard foam underside.
NOTE: Do not over-tighten the plastic screws in the underside. They just lightly hold the piece in place, they don’t bolt it to the carriage or anything.

Not just completed, completely tidied up as well.
- Total elapsed time: 1.5 hrs; actual working time: approximately 20-30 minutes.
- Level of difficulty: 4 on the the scale of 1-10 (10 being difficult).
Links to items mentioned:


Leave a comment