Boxster Project : Rear Rotor Replacement
The rear rotors of the Boxster needed replacing last Fall. We meant to do it this Spring, but things kept getting in the way. With the cooler temperatures here, we thought we should do the replacement before the weather makes things less pleasant to work outside.

For the details of the rotor replacement steps, we refer readers to two excellent sources. The first one is Wayne Dempsey’s 101 Projects for Your Porsche Boxster. The second is the Bentley’s Porsche Boxster Service Manual. They both have good, clear, step-by-step instructions. We always reference both because there is no such thing as too much information 🙂 Of course, there is nothing like actual experience in learning the tricks and tips that make a project smoother, easier, and need less effort to complete. We are sharing what we have learned to add to the collective DIY knowledge pool.

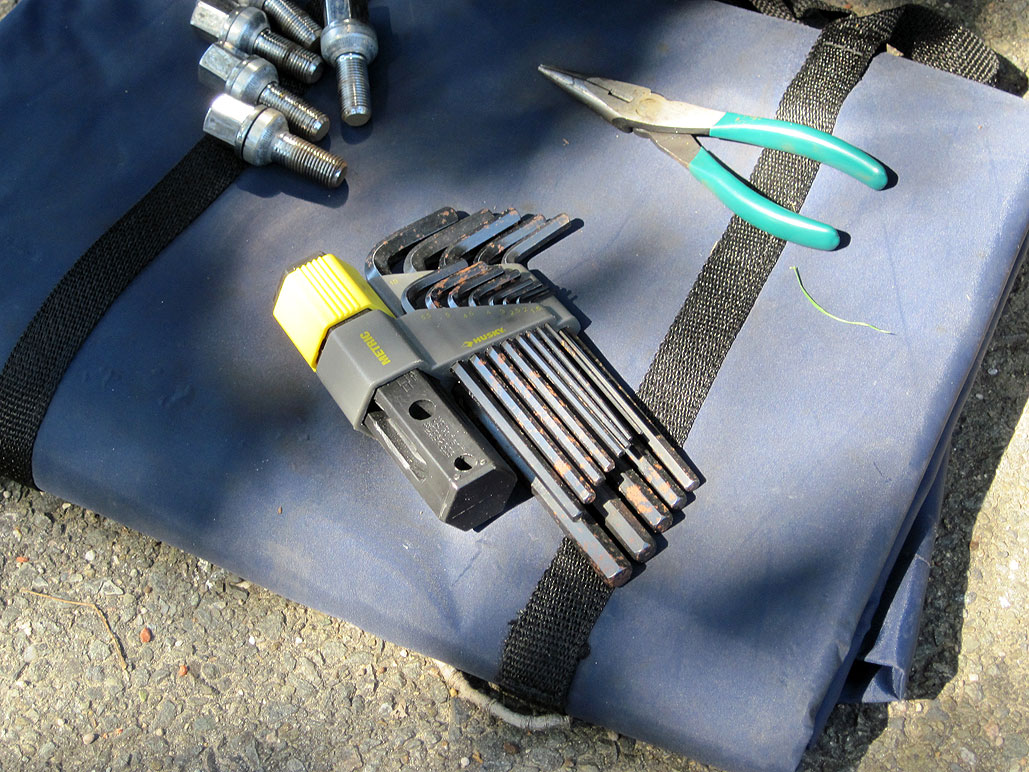
Rotor replacement may sound like a big task, but it is actually a straightforward DIY project. Best of all it may be accomplished with simple tools:
- Remove the wheel (5 lug nuts – socket tool)
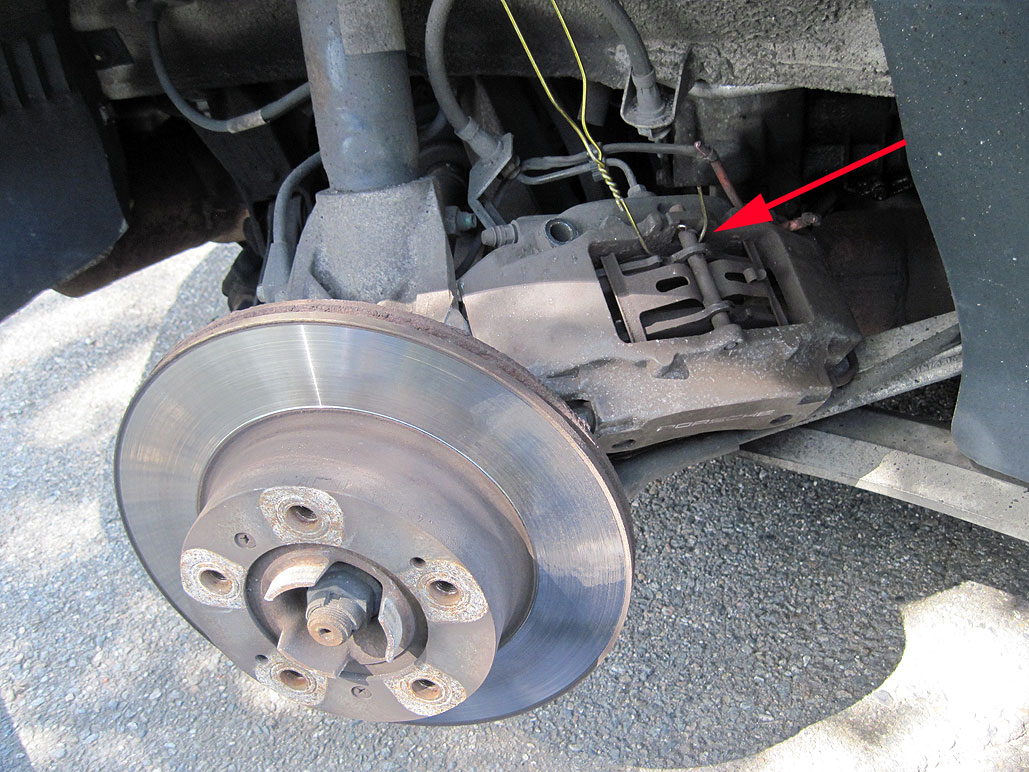
- Remove the brake caliper (2 bolts, 1 screw – allen key, screwdriver)
- Remove the rotor (2 screws – screwdriver)
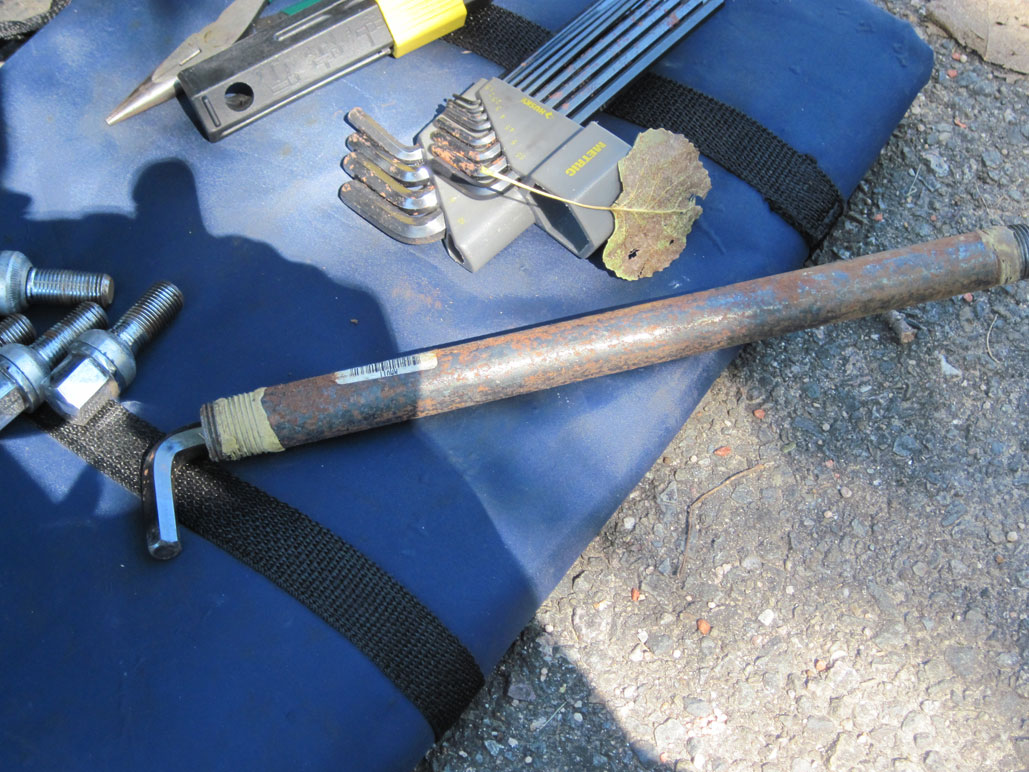
The two snags that often trip up folks are stuck caliper bolts and rusted-on rotor screws. An impact wrench may make removal easier, but a simpler solution is to increase the leverage. By using an iron pipe, the amount of torque we can apply to the allen wrench can be increased many fold. It is a low-tech way to solve the “stuck bolt” problem. The only caveat is that care must be taken to not break the tool or rip the head off the bolt. When in doubt, go slow.

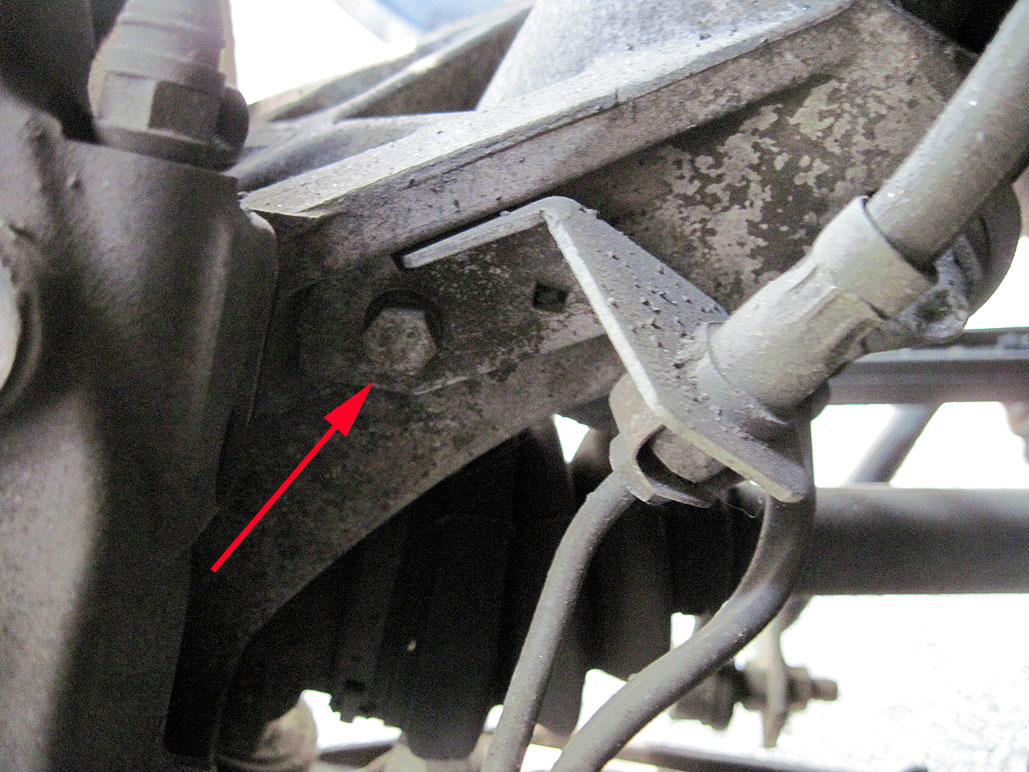
Since two big bolts hold the caliper in place, removing them is the first step in freeing the caliper. However, in order to remove the caliper, the brake line mount must also be detached from the frame. To prevent the brake line from getting crimped, the trick is to use a hanger to hang the caliper from the spring. The caliper is pretty heavy, so we suggest using a thicker wire hanger, like one for a heavy winter coat (i.e., not a cheap, flimsy one).

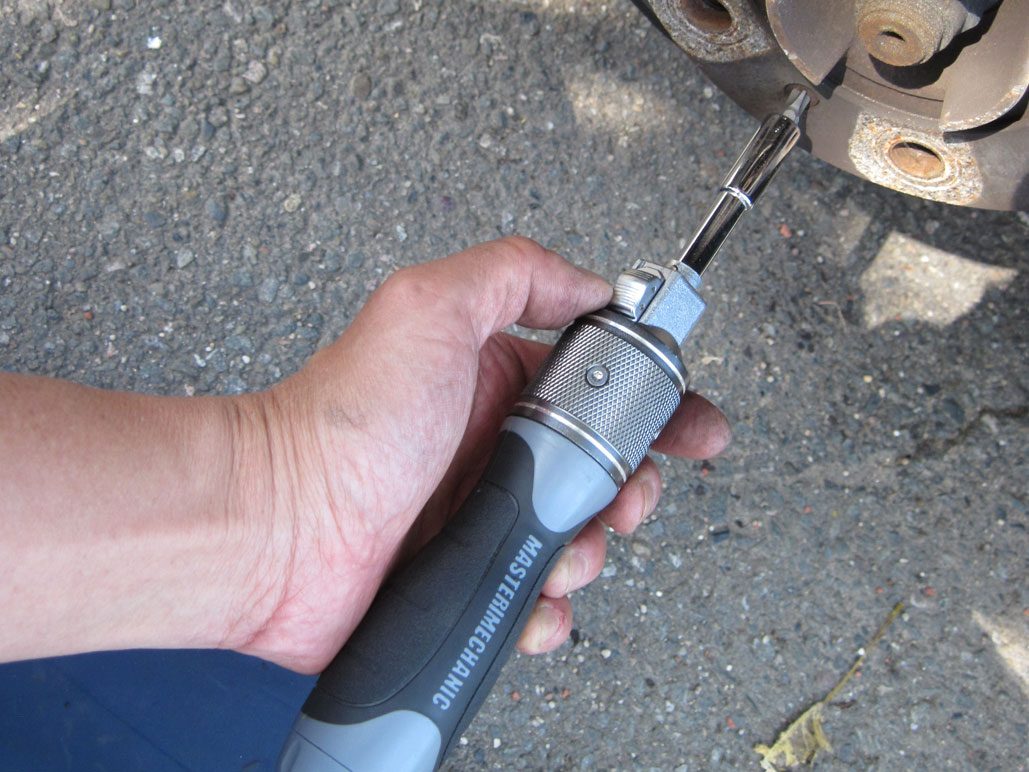
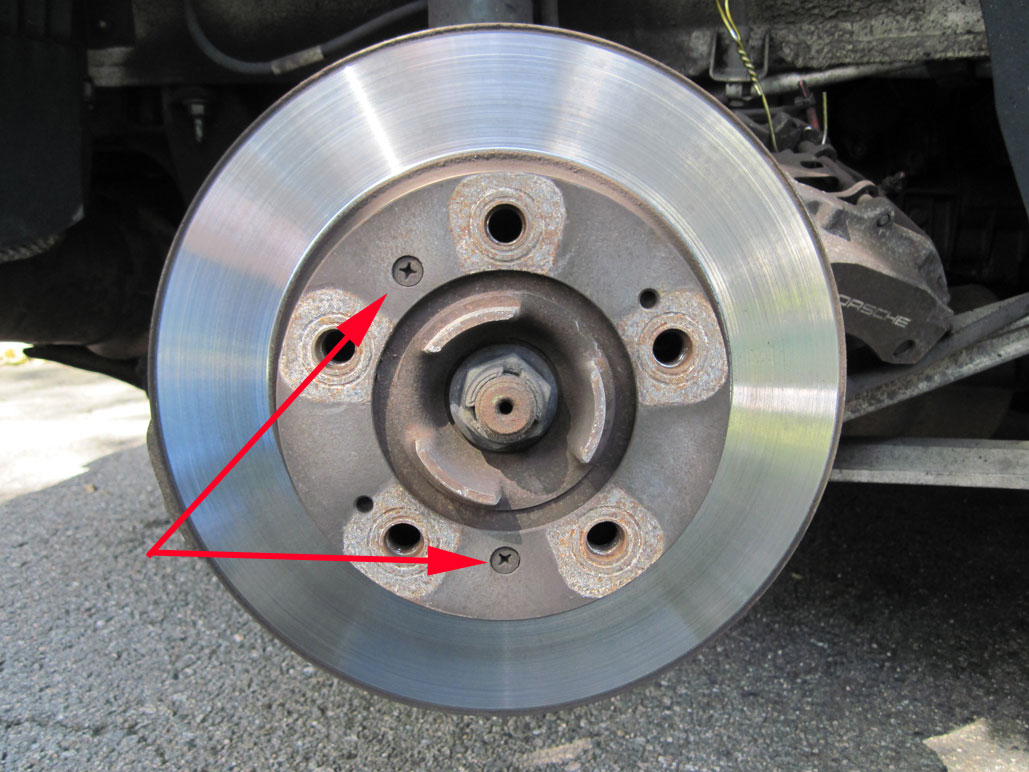
Once the caliper is out of the way, only two small screws hold the rotor in place. Of course, they are not what is carrying the load of affixing the rotor to the hub. The five heavy-duty lug nuts are what is really keeping the rotor secured when everything has been put back together. The screws are purely there for convenience. The Master Mechanic SwiftDriver made getting the screw out fast and easy.

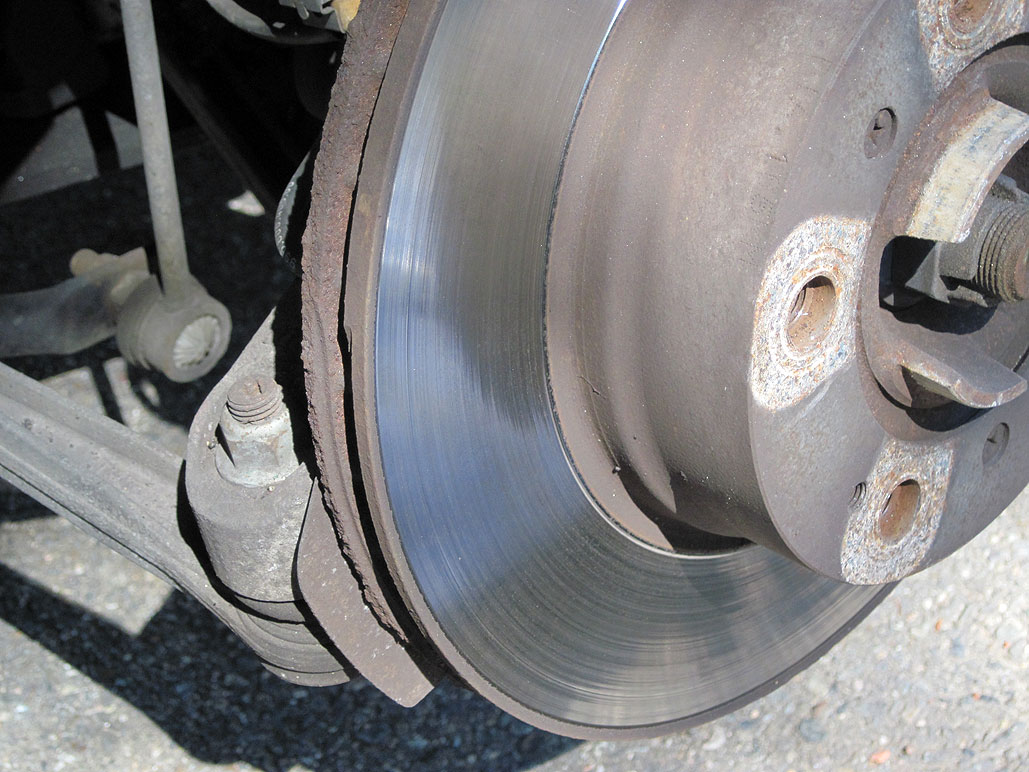
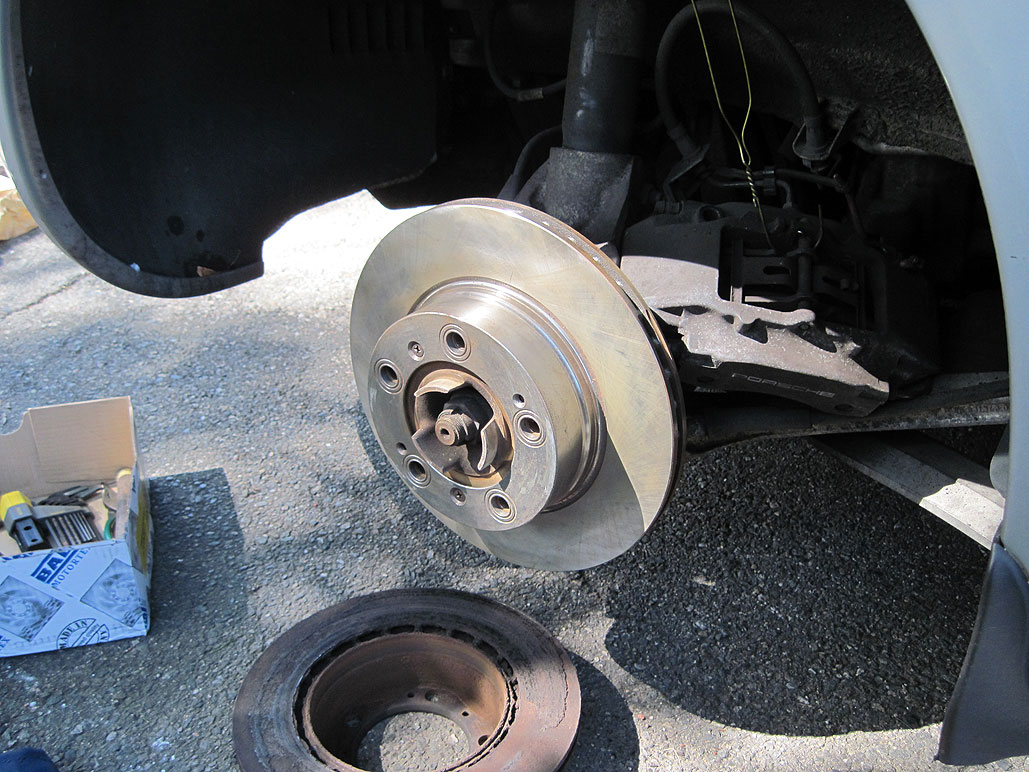
After the screws have been removed, the rotor may be removed from the hub and the new one installed. A little rocking motion and the old rotor came free. An examination of the old rotor revealed what had caused the thumping we felt when braking. The inside face of the rotor had pretty much been worn off. It is kind of amazing that we had passed the MA inspection in June.

It will take a few hundred miles for the pads to “get used to” the new rotors. Until then, we will leave plenty of room between us and the car in front. Come to think of it, that is probably a good strategy regardless of the car’s stopping power. [Permalink] –


Leave a comment