Boxster Project: LED Side Marker upgrade
No tools needed...REALLY!!!
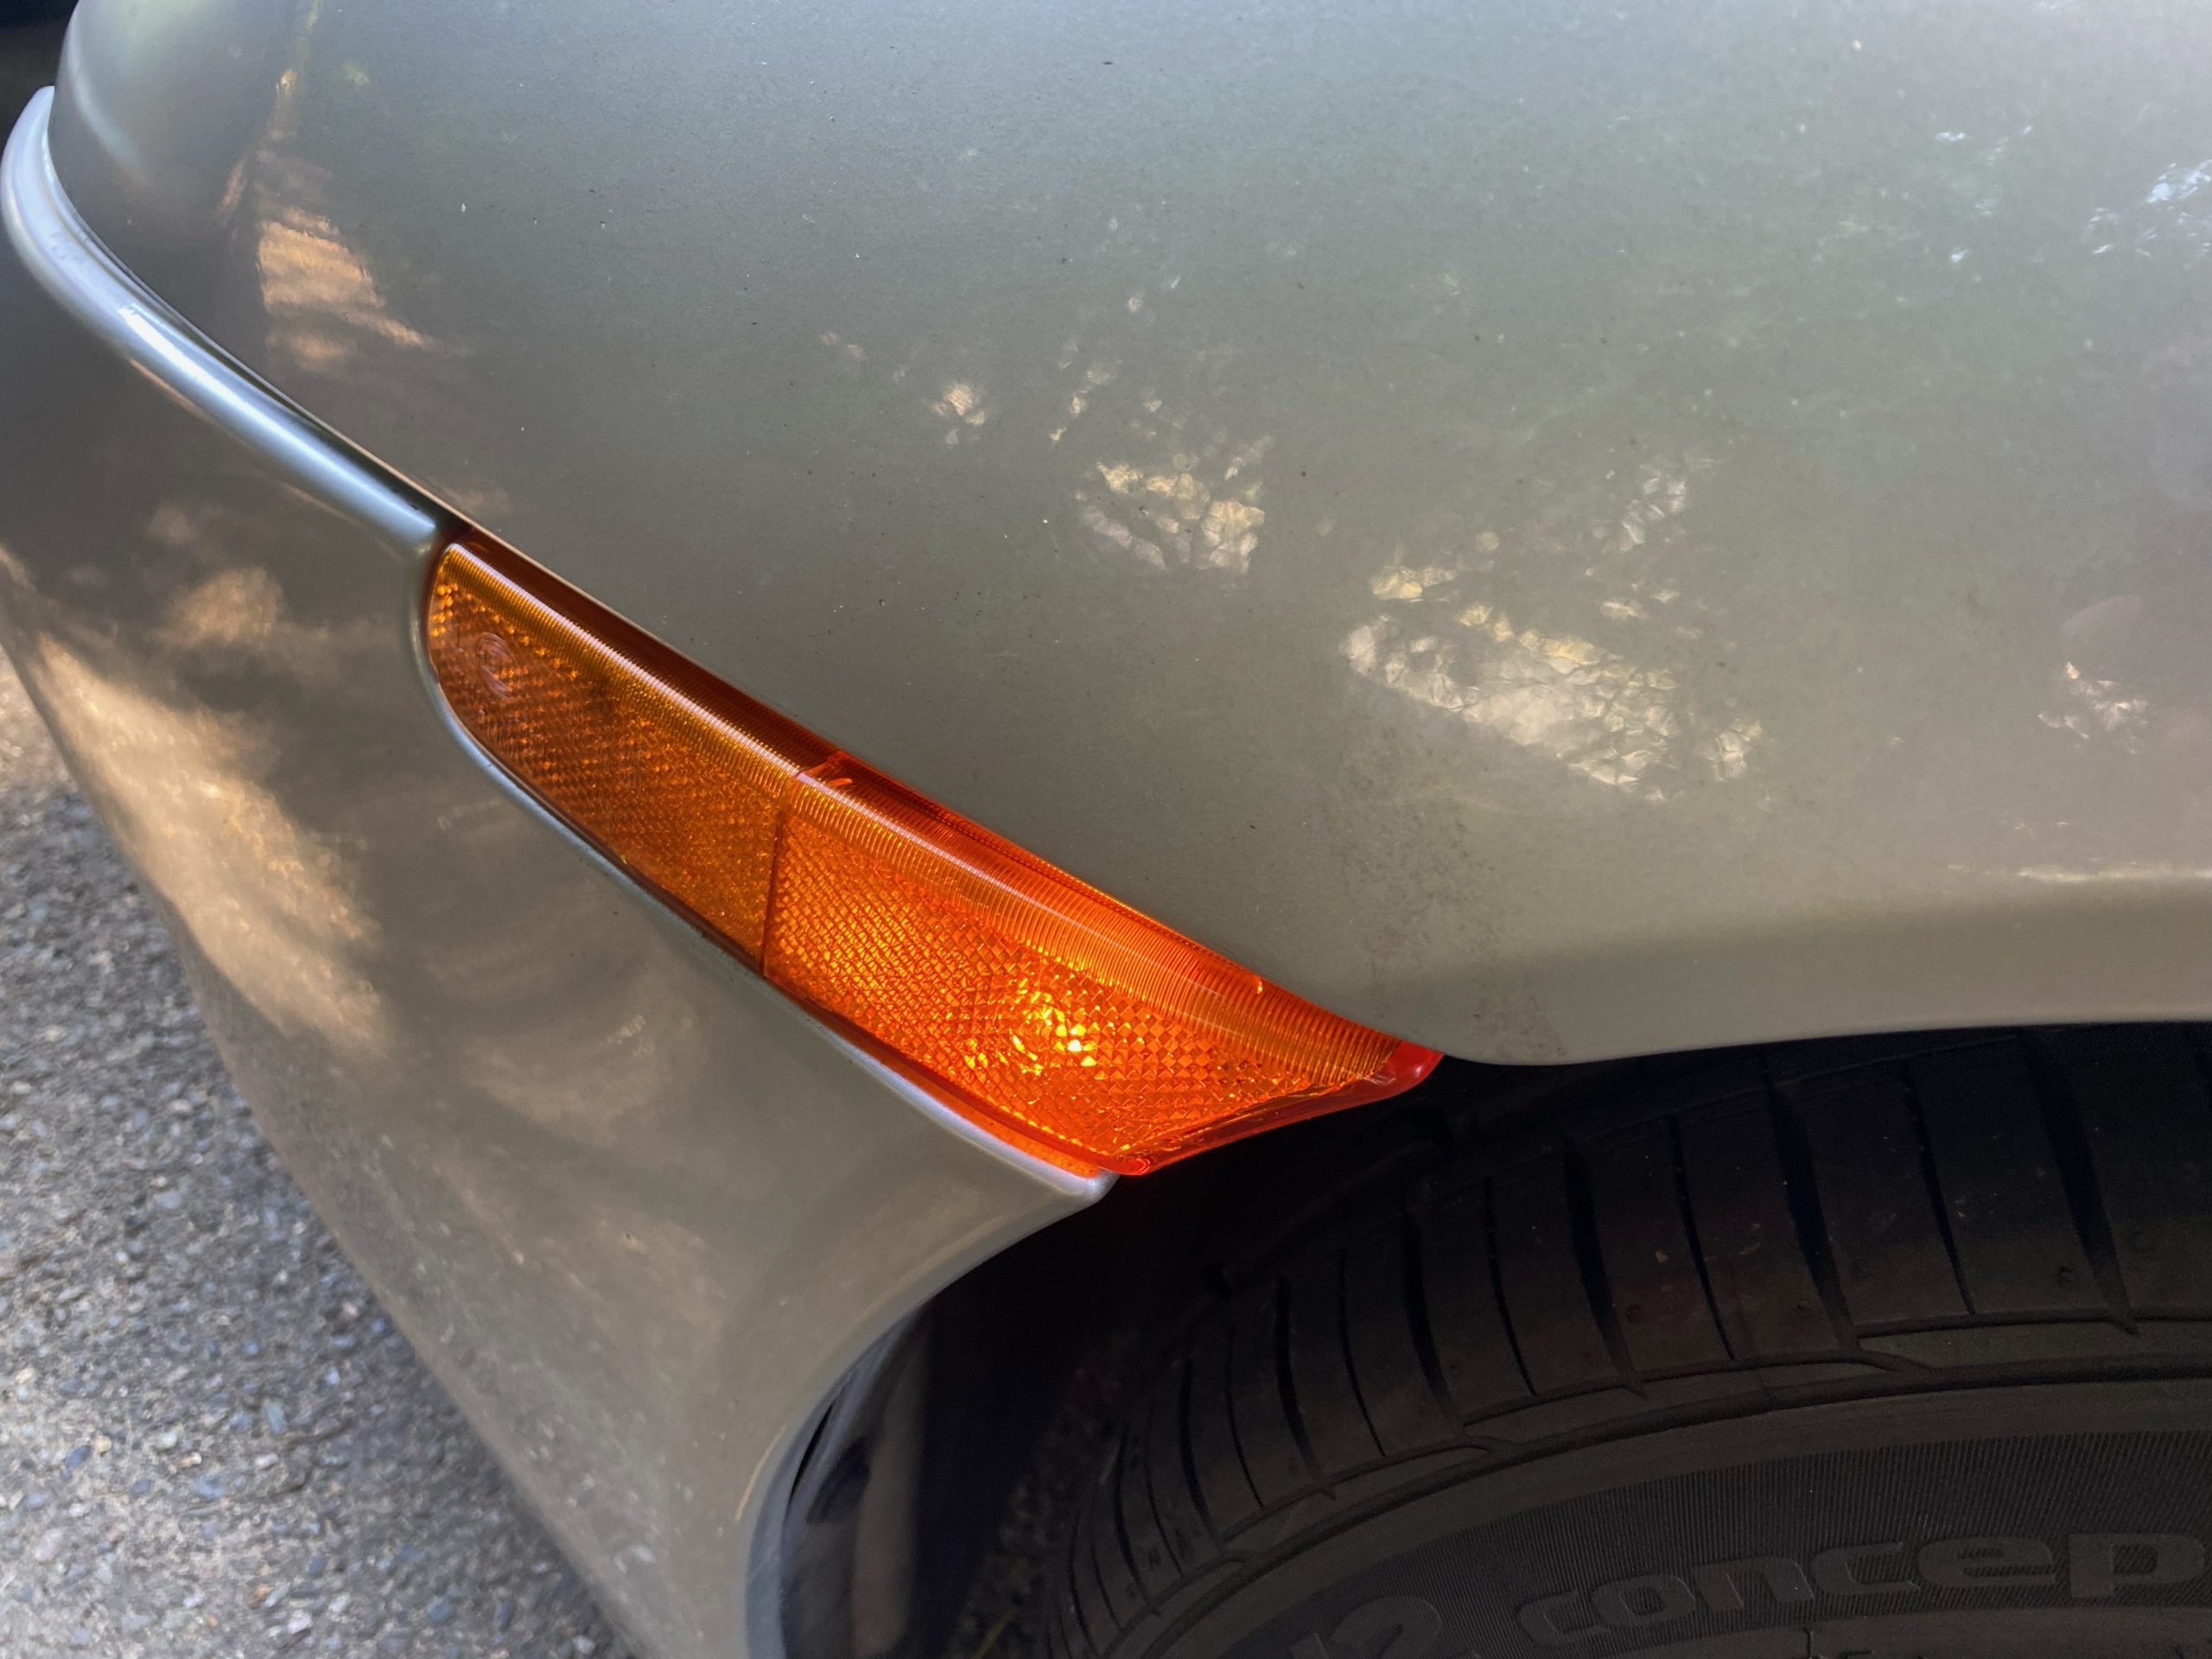
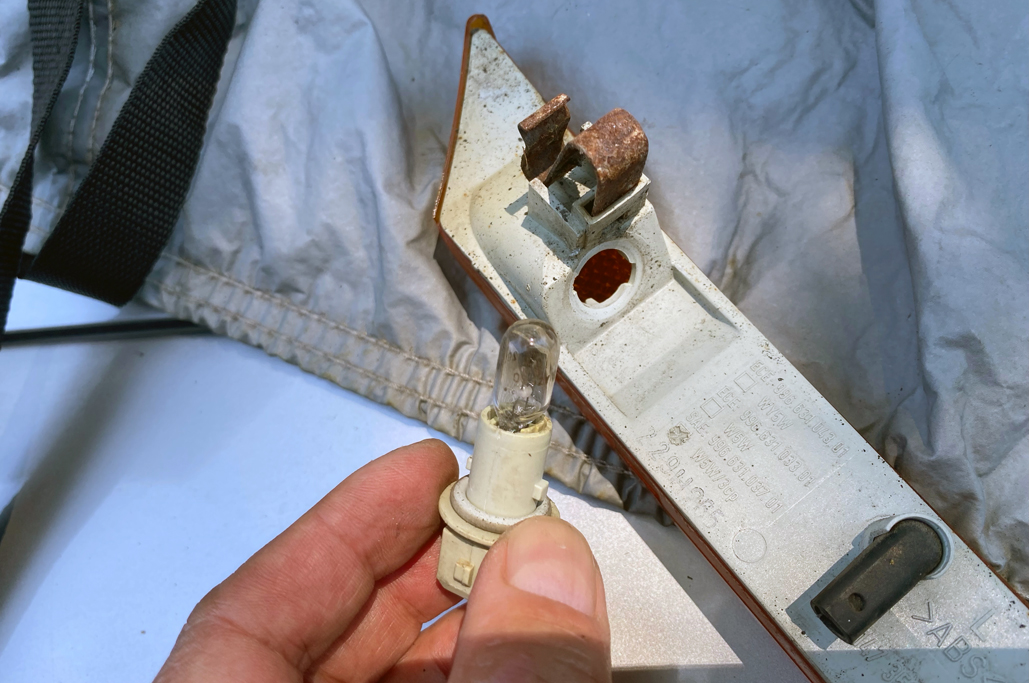
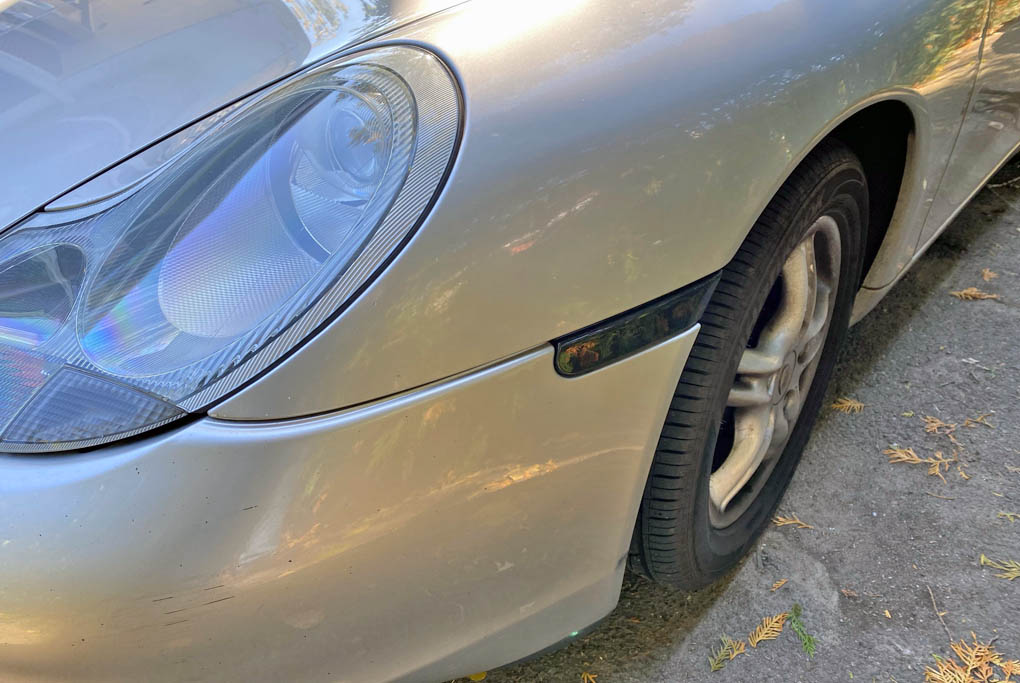
The bulbs of both side markers on the Boxster were out. Changing the bulbs was easy, and a very simple DIY project—once we figured out how to pop off the markers to get at things (just pull from the end).
And guess what? NO TOOLS WERE NEEDED!!! Total bonus.

Mark my words, these side markers needed to be replaced.
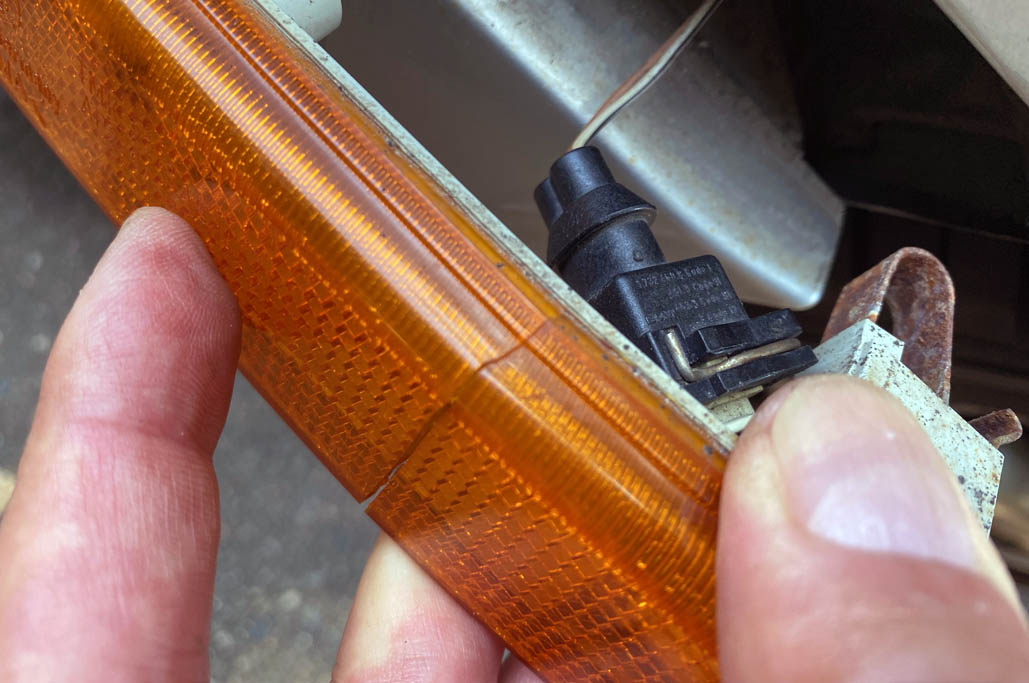
When we commenced with the replacing of the bulbs, we noticed that one of the orange side lenses had a crack in it. It didn’t affect the function of marker, at least at the moment, but we convinced ourselves that we would rue the day we decided not to replace it. Naturally, we go to thinking that maybe it was time to upgrade the markers to the LED version, because seriously, who can leave well enough alone? Certainly not us…

Thank you for brightening the sides of our automotive vehicle.
LED Side Markers
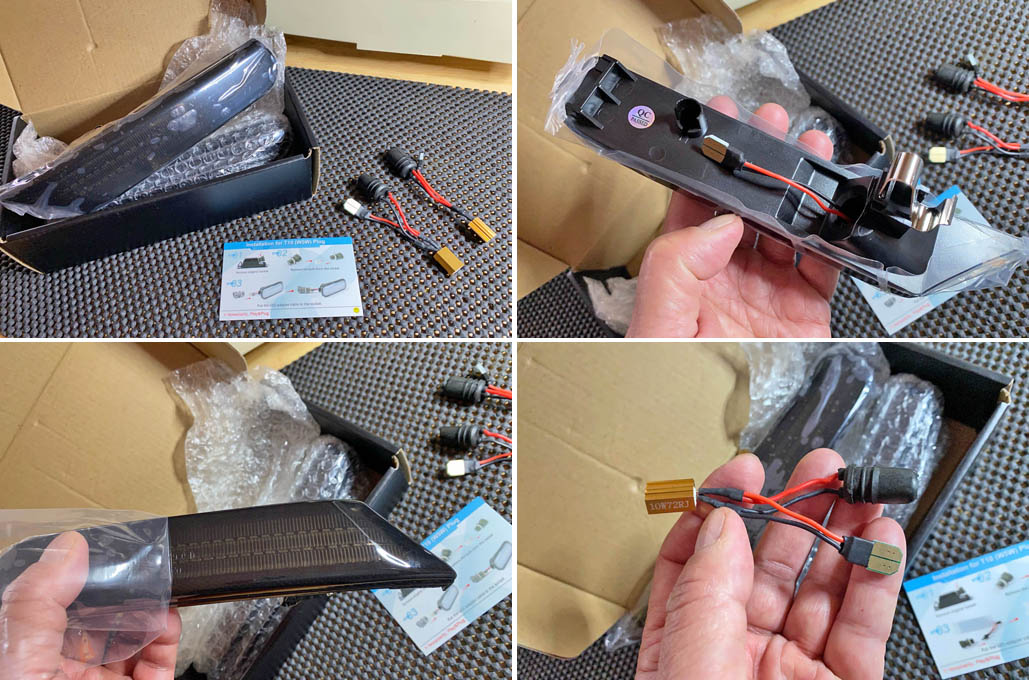
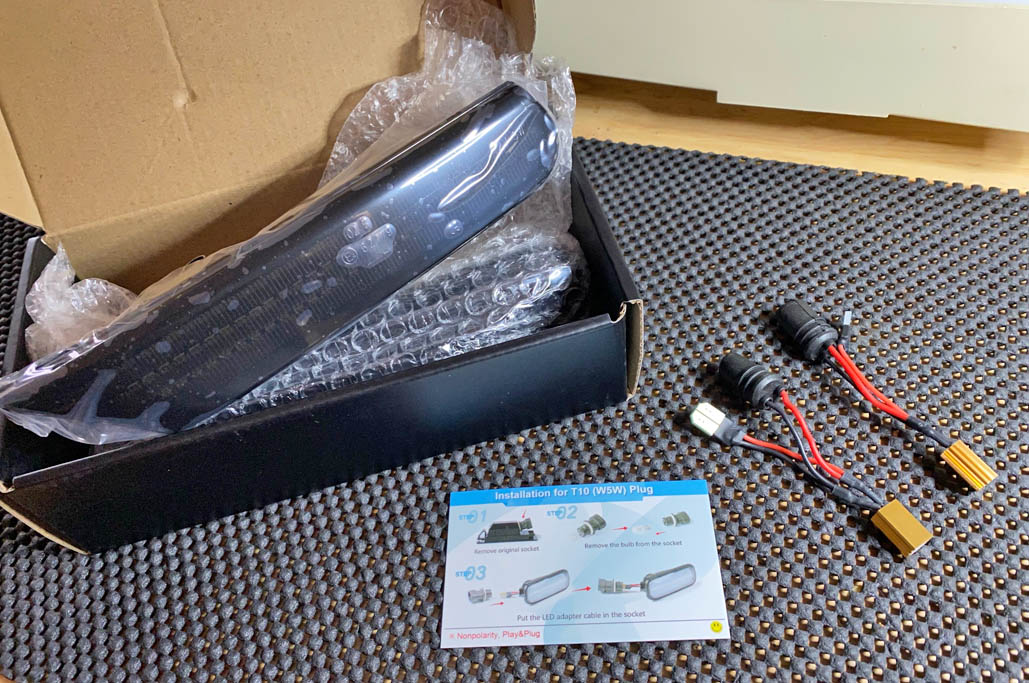
We did a search on both Amazon and Ebay for “Boxster LED side markers” and ended up with a whole raft of options. We didn’t realize there were so many LED side marker sellers out there, but this is the one we used.

As a matter of fact, we ARE going to make you our LED side marker!
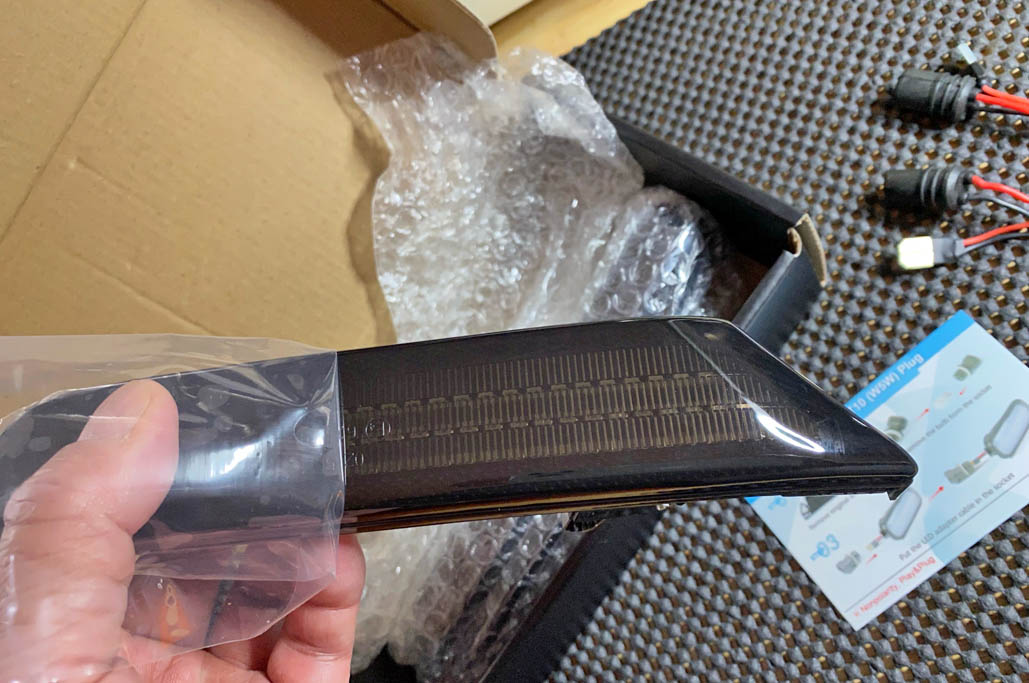
The seller offered markers with clear or smoked lenses, the communications were clear, and was competitively priced. We made sure we ordered the one specific to our model year (986, 2000) as the shape has changed since then. Also, we liked that this seller shipped fast. The package showed up in about a week.
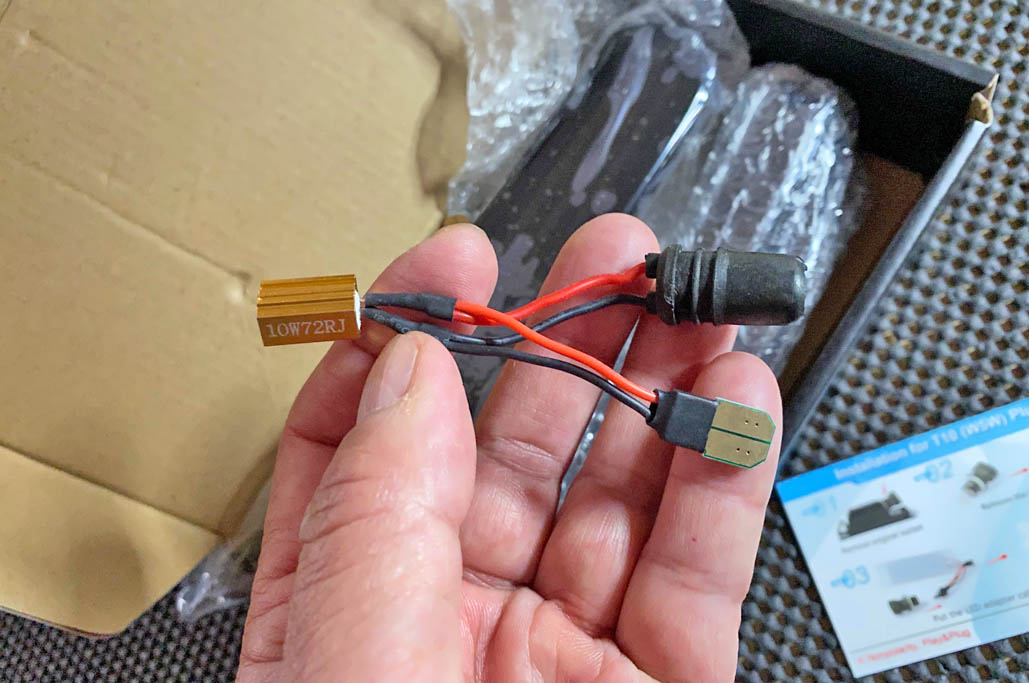
- Left and right side markers;
- Adapters (not needed in our case); and
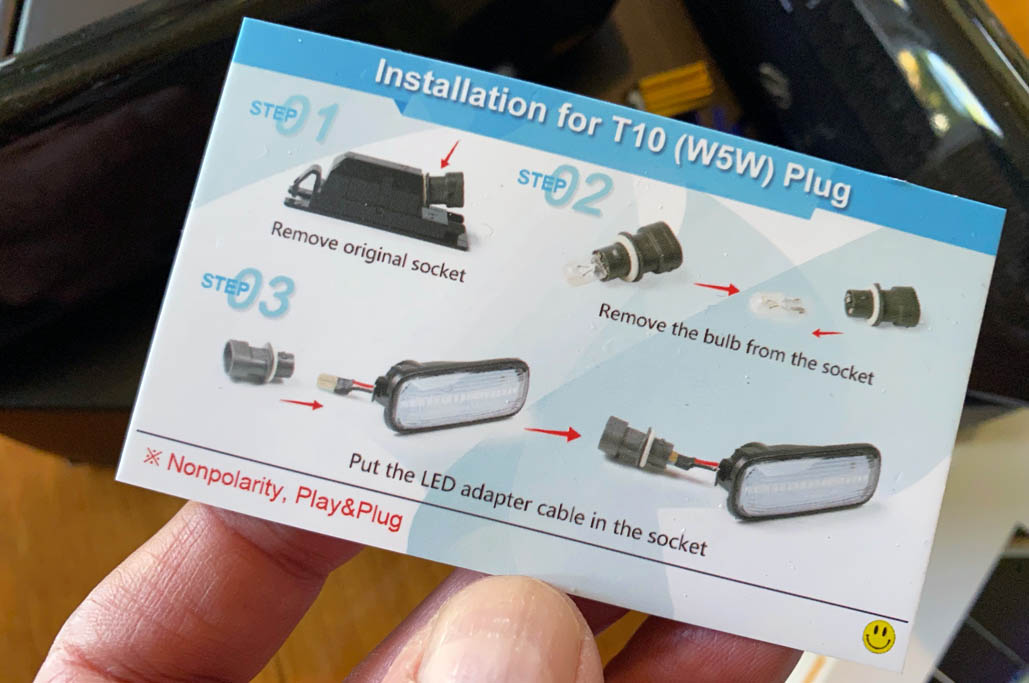
- Printed instructions.
Easy-peasy

Yup, this plus that makes the other thing.
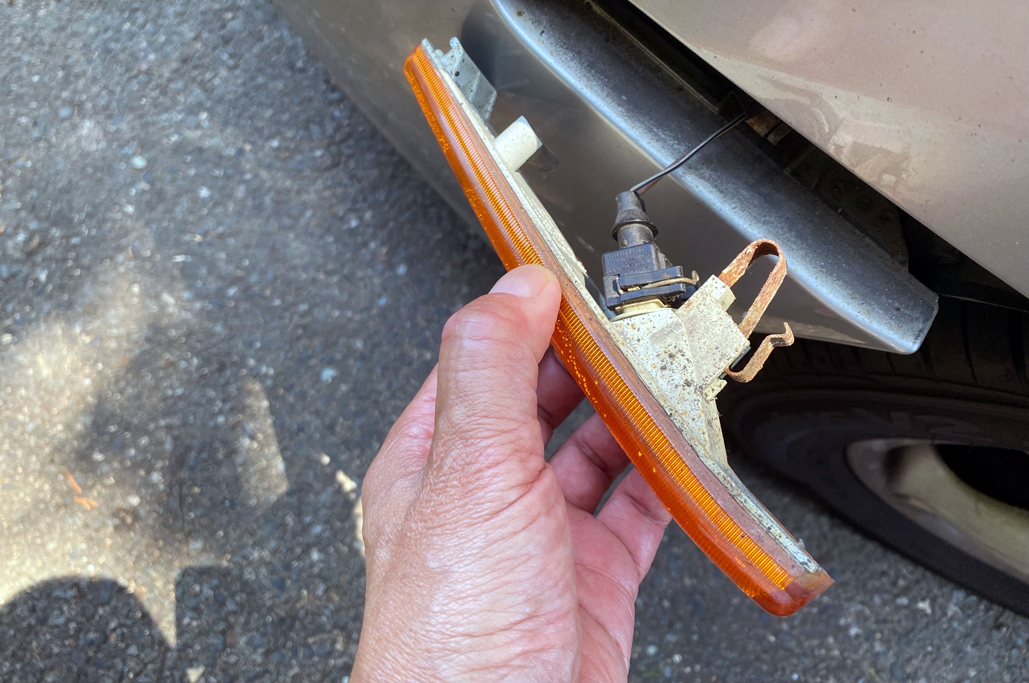
Removal
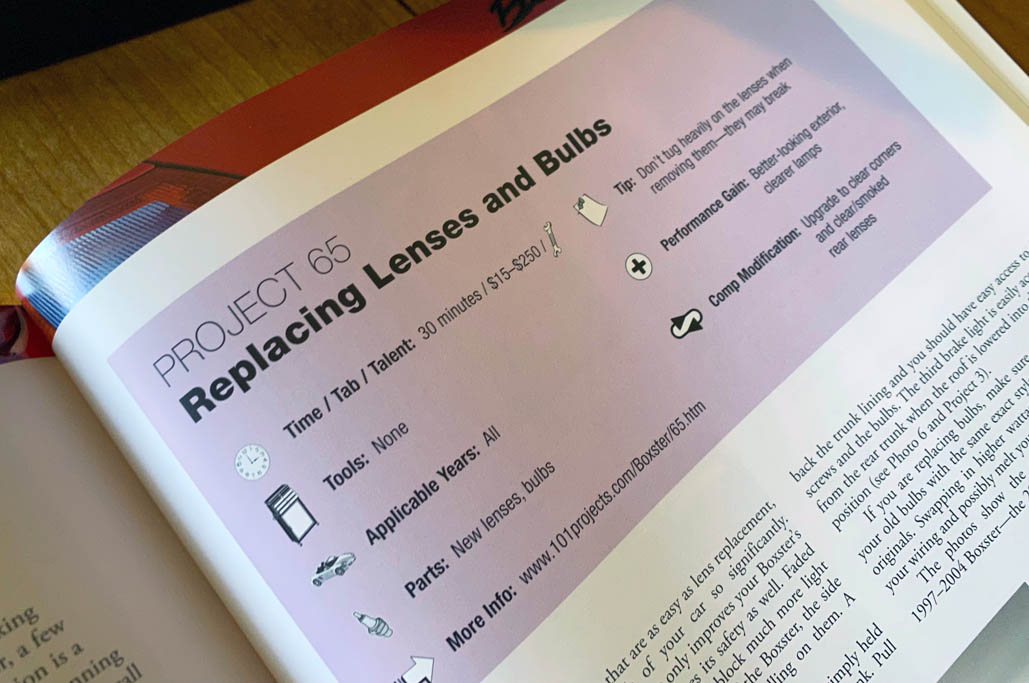
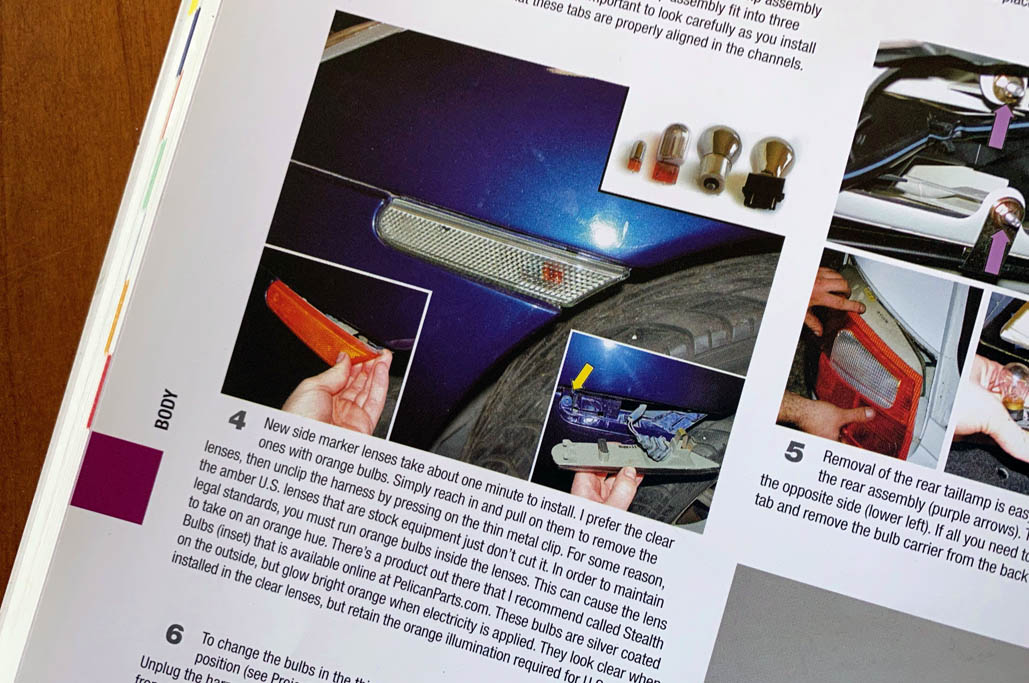
For reference, this is Project 65 in the 101 Boxster Project book by Wayne Dempsey.
We followed the steps in the book for removing the side marker. We have outlined below a few snags that were not mentioned in the book, which will hopefully make this DIY easier to successfully complete.

Many pictures make light work of replacing the side markers.
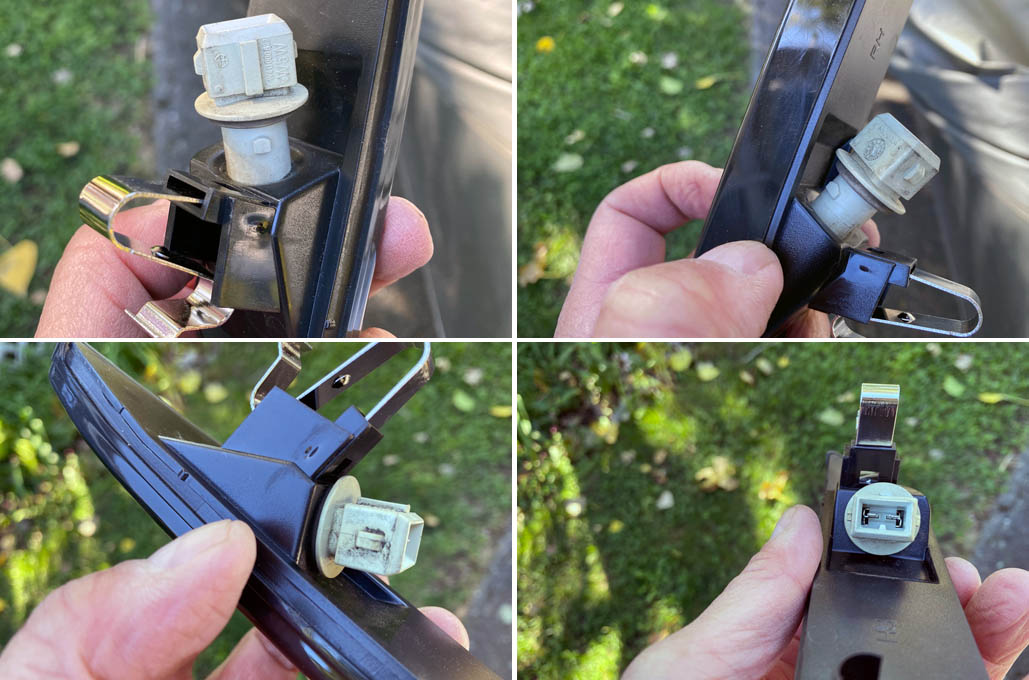
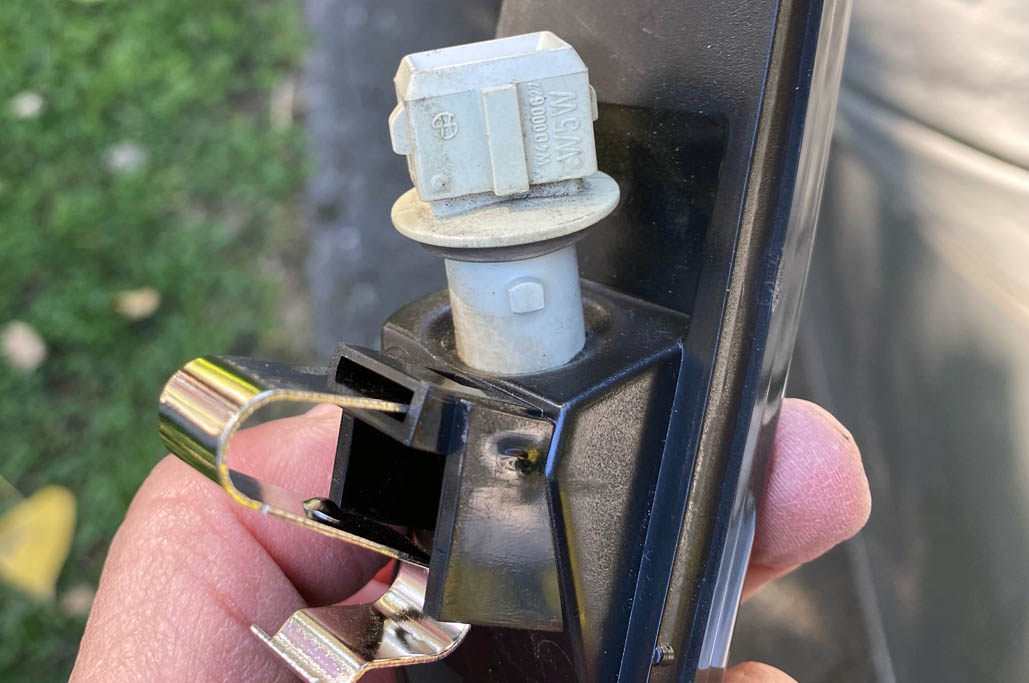
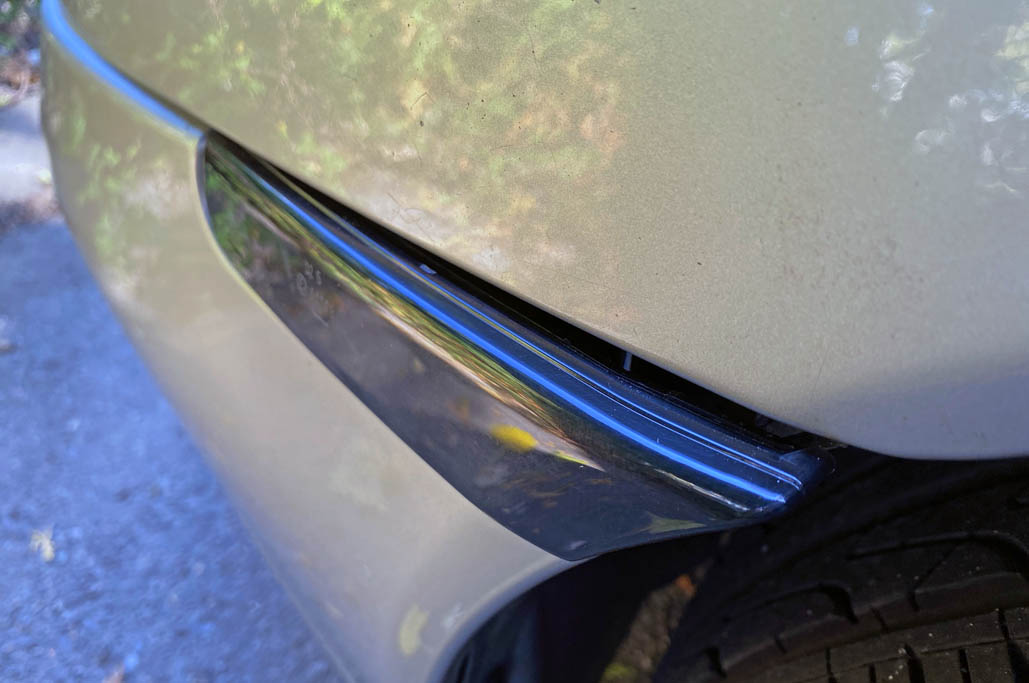
Snag #1 – the Spring Clip
If the side markers have not been removed in a while (a.k.a. years), it is likely that the spring clip will have some corrosion. To free the marker, use a finger and apply steady pressure from the backside of the marker and pull out. It will come free. Just go slow and be patient.

Thank you for lighting up my automotive life.
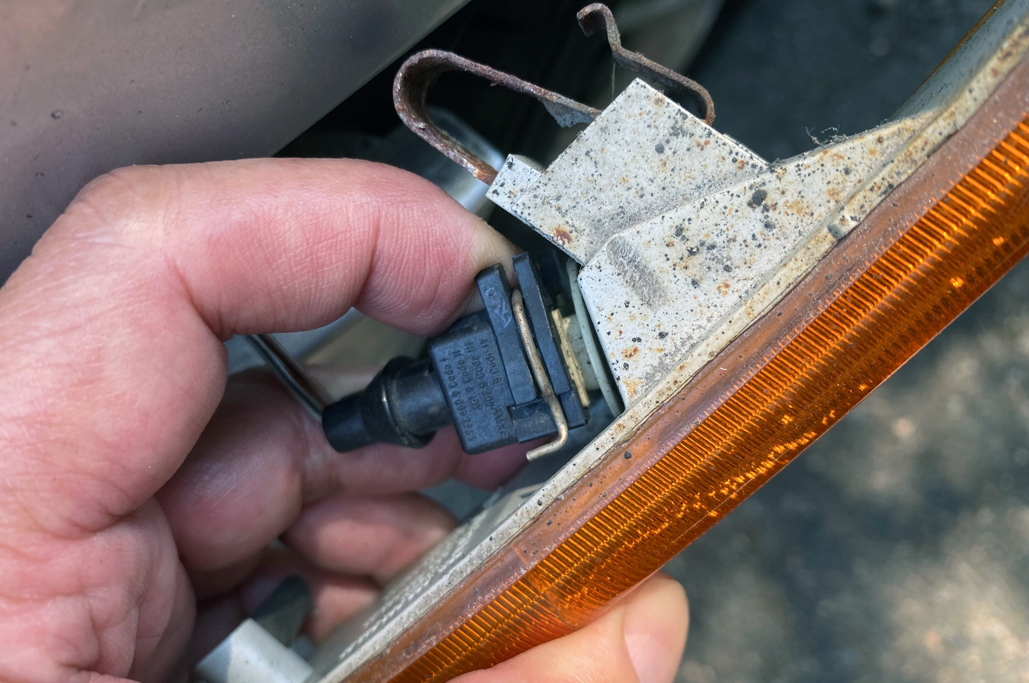
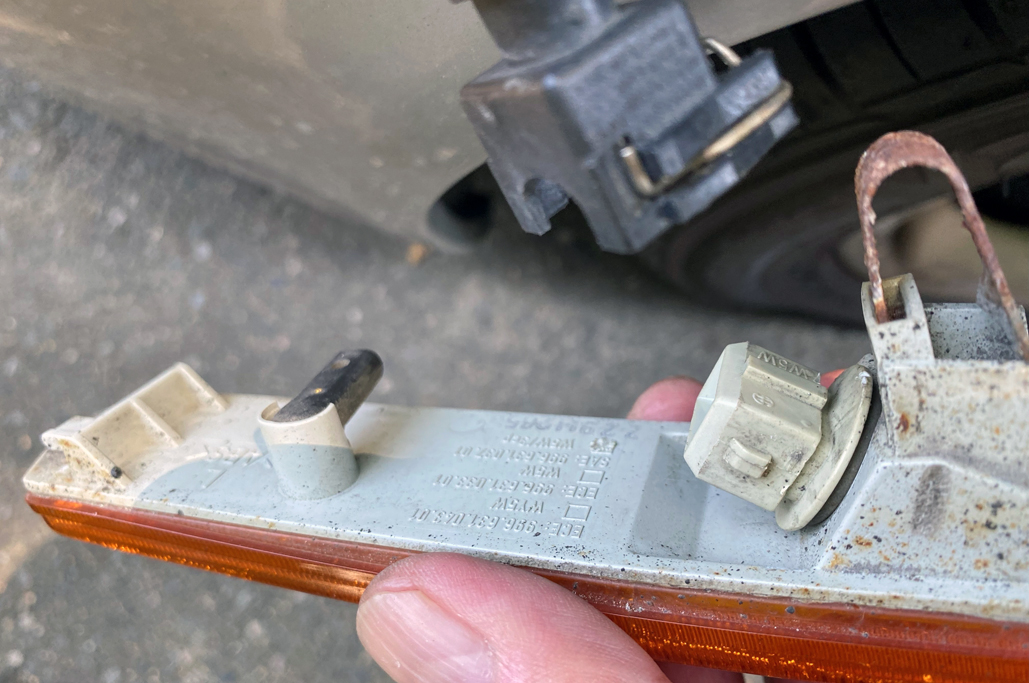
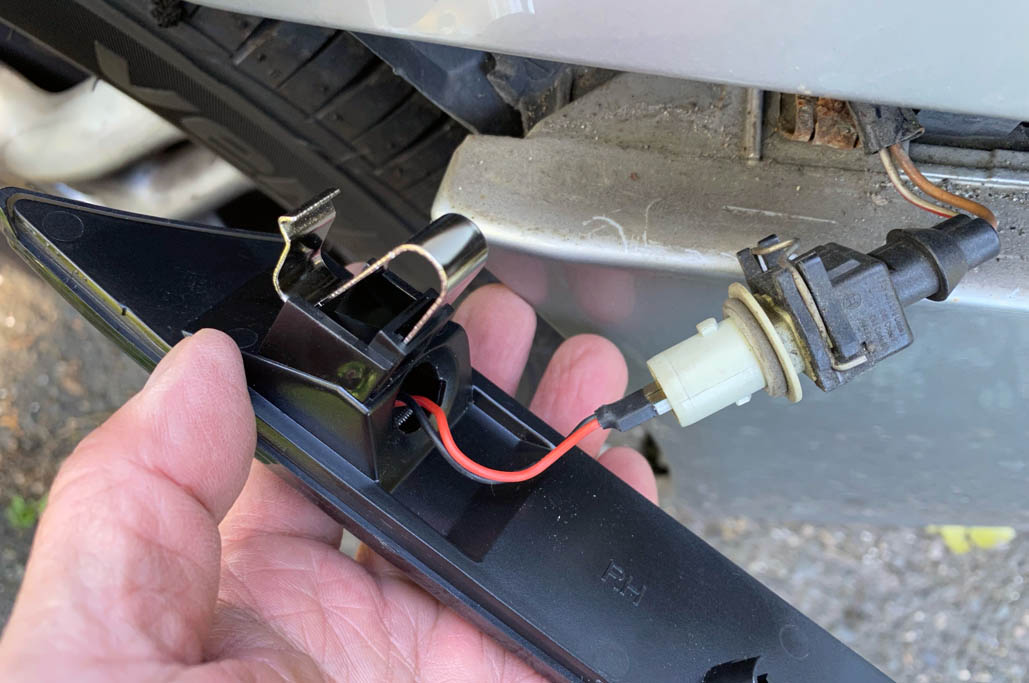
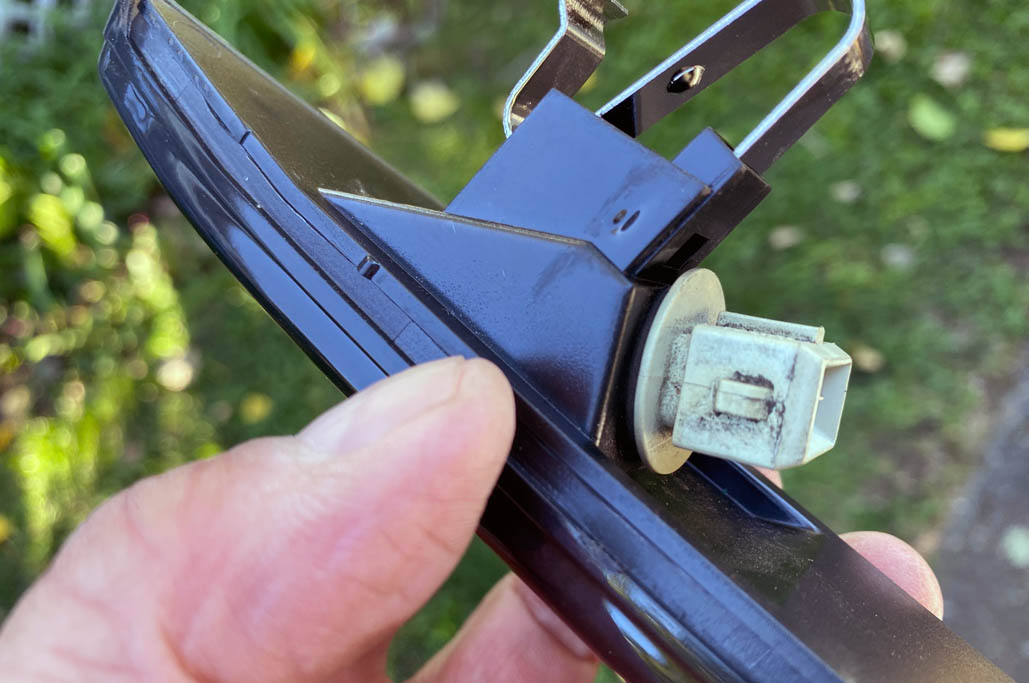
Snag #2 – the wiring harness
To free the side marker from the wiring harness, push DOWN on the metal locking clip, then pull it away from the socket.
To free the bulb socket, twist and turn it so the locking pins are aligned with their respective notches. The socket will come free when properly aligned.

A this and a that and then you’re done.
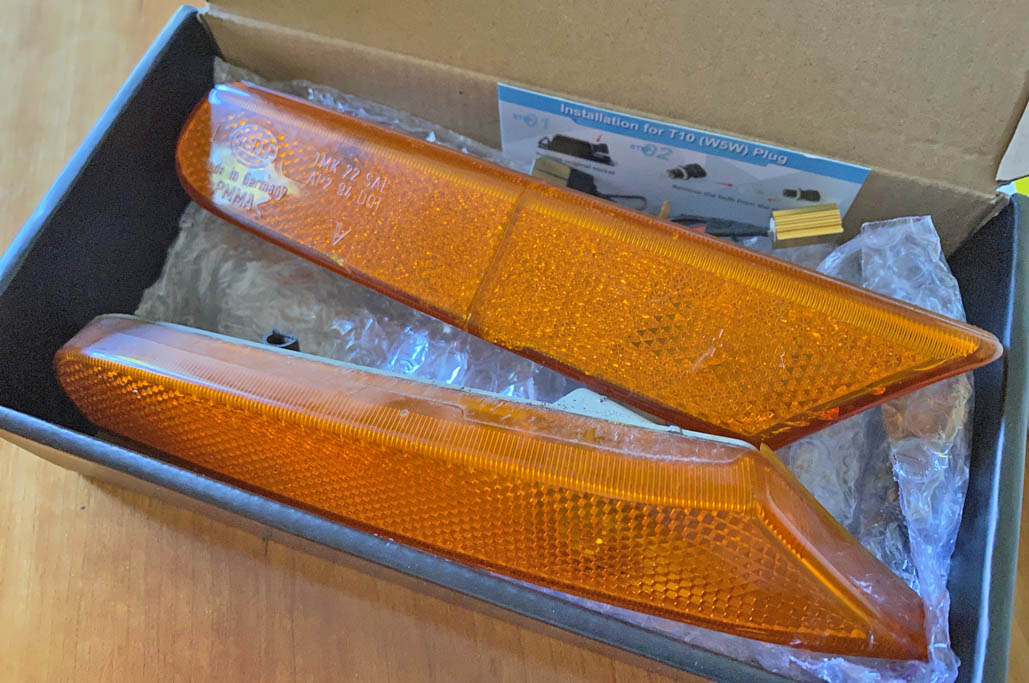
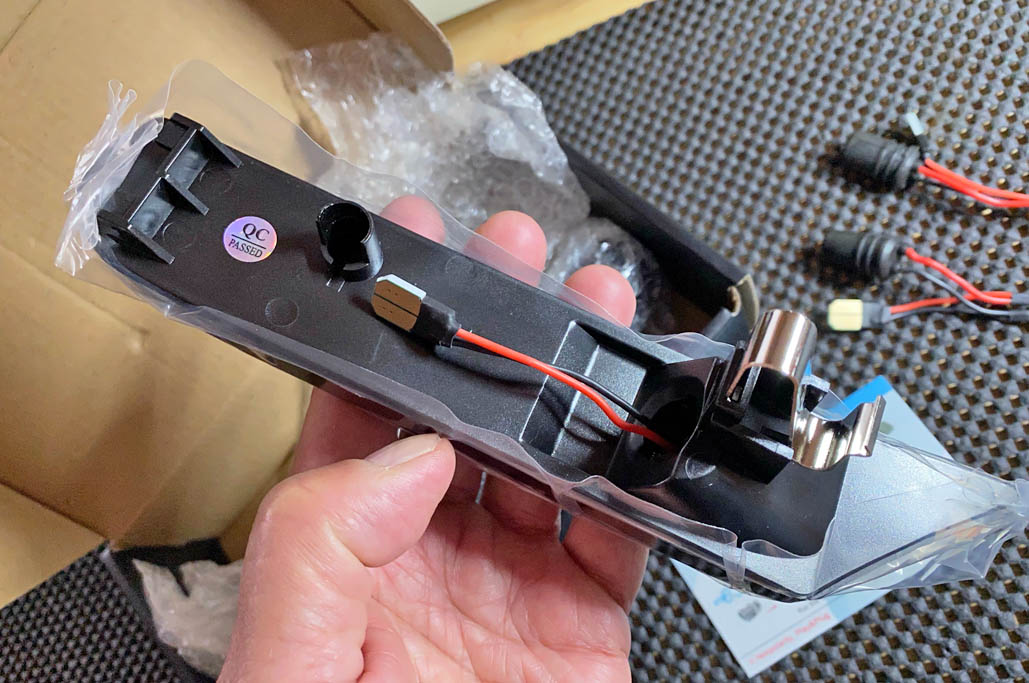
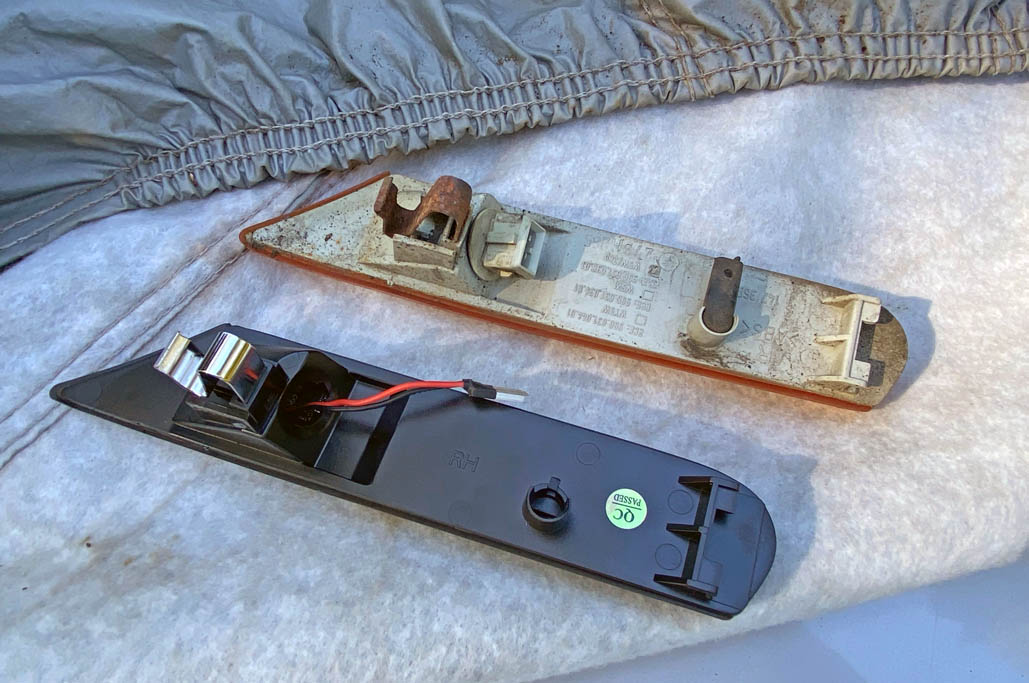
Below is a visual comparison of the OEM and aftermarket side markers. The fit is exact, and no, we have no idea of what that little grey rubber thingy on the orange marker does, but we didn’t transfer it to the LED marker and so far, it seems not to matter.

Almost exactly the same.
Installation
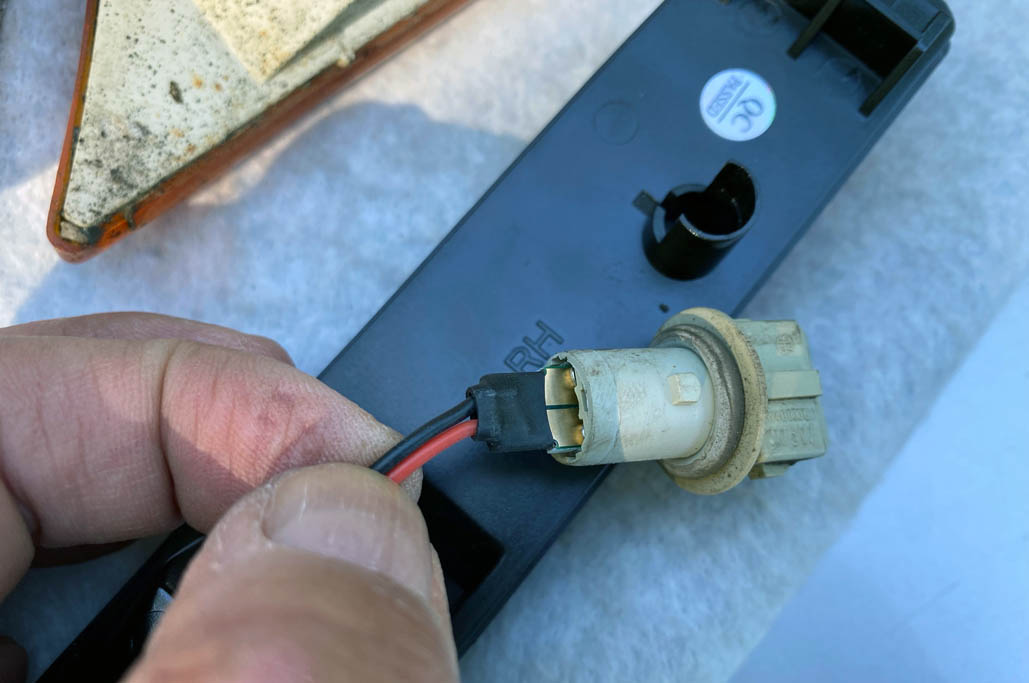
Snag #3: reconnecting sequence
When we connected the LED to the socket the first time, we reconnected the harness before inserting the socket into the housing. This turned out to be the wrong first step, because it would not let us we rotate the socket to fit into the hole.

Looks right – but it’s wrong.
The proper sequence is:
1. Insert the LED lead into the bulb socket;

Kind of like the Lime in the Coconut song. Kinda.
2. Align the connected socket with the marker housing;
3. Push and twist the socket to llock it into the marker housing; and finally
4. Connect the wiring harness from the car to the bulb socket.
THAT’S WHAT I’M TALKIN’ ABOUT!
Once everything was reconnected, fitting the LED marker back onto the car was just the reverse of removal.
We fiddled with the spring clips of both markers a little to get them to “catch,” but once we got the adjustment right, they held fast. It is important to make sure they are on securely or they can pop loose when the car hits a bump.
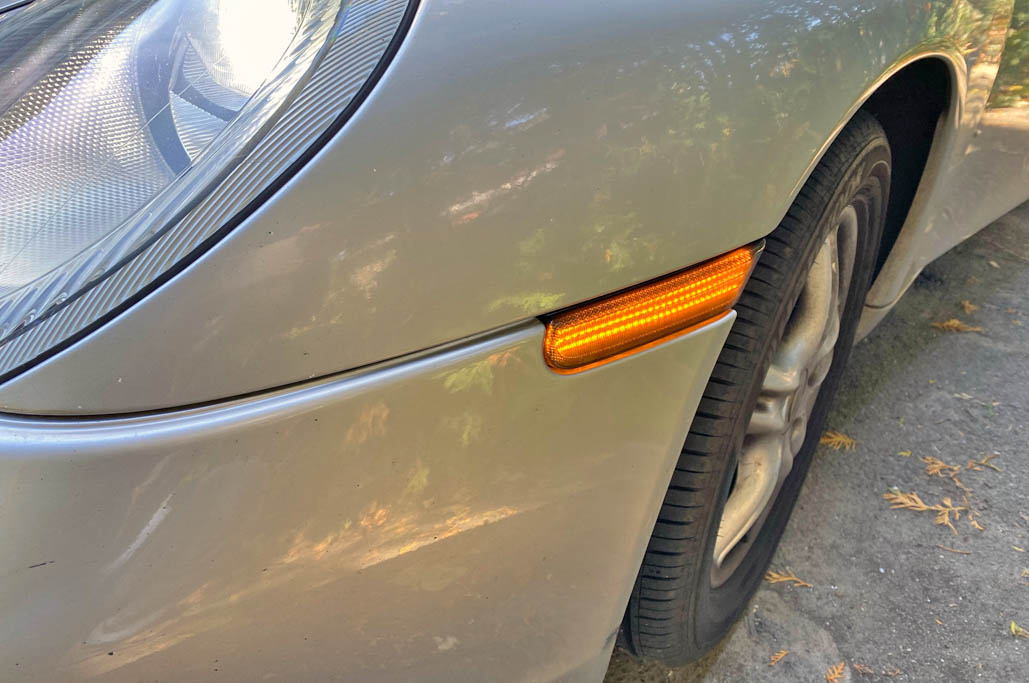
The LED market lights up orange…very bright and, unlike the light-bulb version , the entire length of the strip is lit. Apparently, it is possible to “make” the side marker into a turn signal. OF course, we’ll be ing look into that in a Spring DIY project !!!

Oo, bright! Oo, and shiny, too!
There is a clear option of the marker available, but we felt that the “smoked” version would make for an interesting contrast. While the verdict is still out, the look is growing on us 🙂

Very smart looking indeed.
We saved the old markers just in case we ever want to go back to all original parts. After all, this 2000 Boxster has been officially declared a “classic” by Porsche!
Never hurts to hold onto things – if you have a basement, with a lot of shelving…
FinalThoughts:
This very simple DIY project required no tools and took about 15 minutes to complete (if everything worked as they should). We hit some snags, but readers should be able to avoid them by heeding our tips.
One last snag of note: it took a few tries before we were able to properly adjust the tension and angle of the spring clips of the new side markers. If the clips are NOT well affixed, they will pop loose when the car hits a bump.
The good thing is that the wiring harness will still keep the marker from flying off the car!
Links to items mentioned:


Leave a comment