Blackvue Front/Rear Dashcam Installation
DR550GW 2CH WiFi
When we got back from Summer Vacation we posted an article with some clips taken with our Blackvue dashcam. We had posted a FirstLook in 2013, and a few readers pointed out that we had been remiss in not posting a write-up of the installation of the 2-channel unit. We apologize for our oversight and will remedy that today.

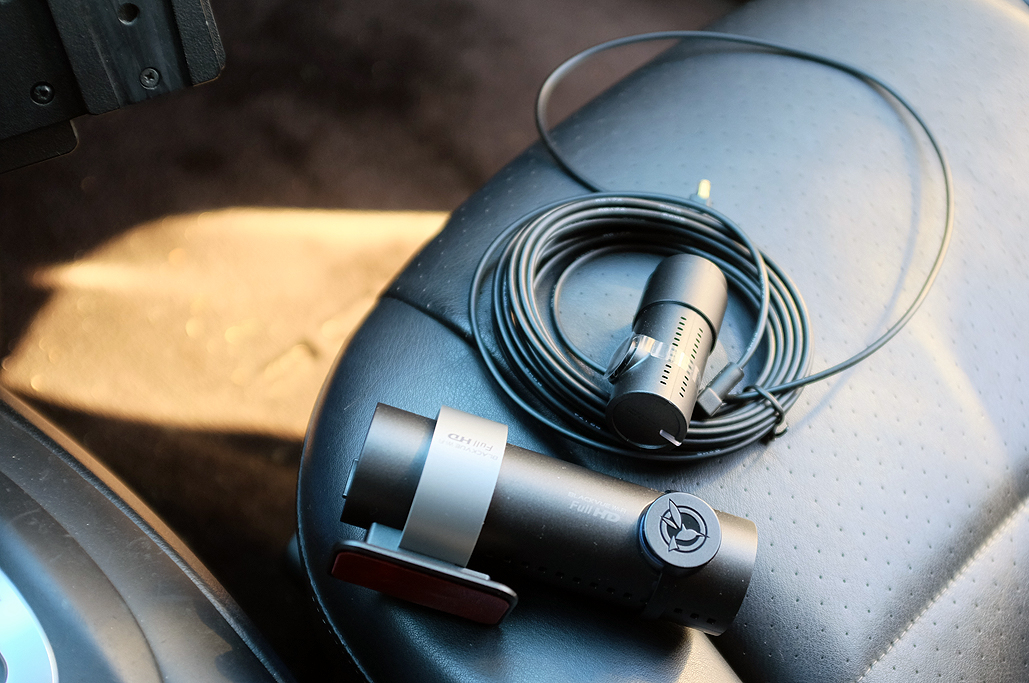
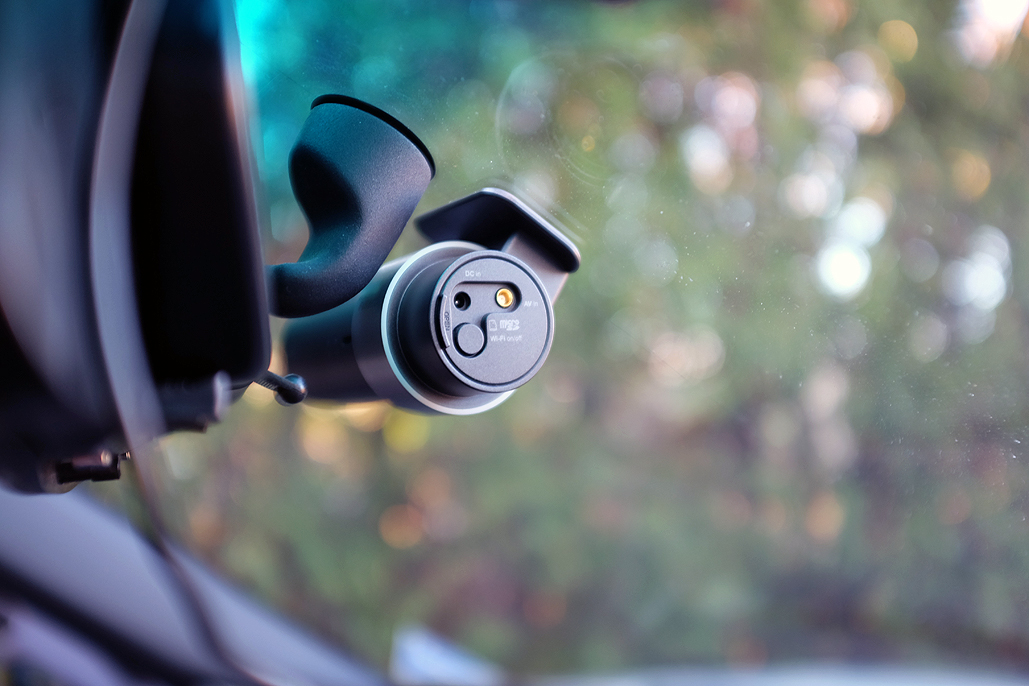
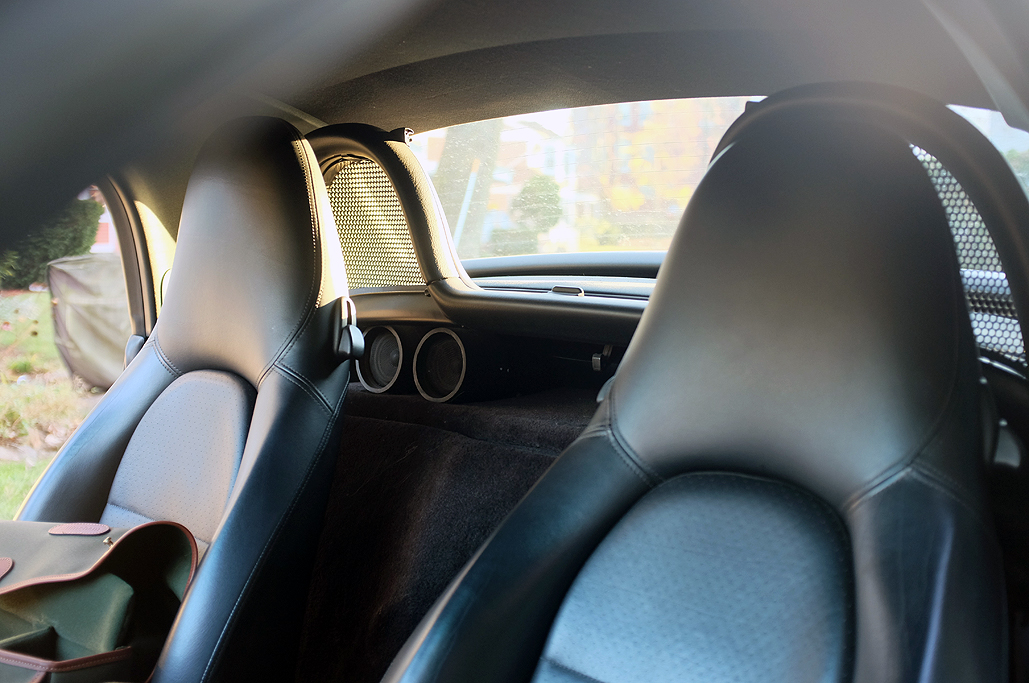
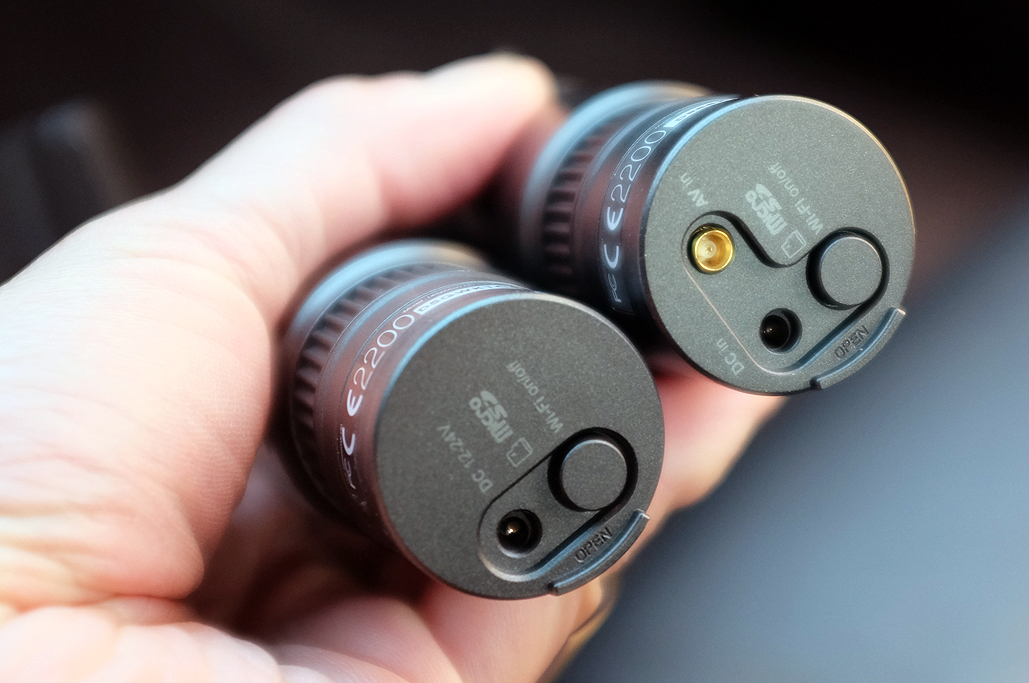
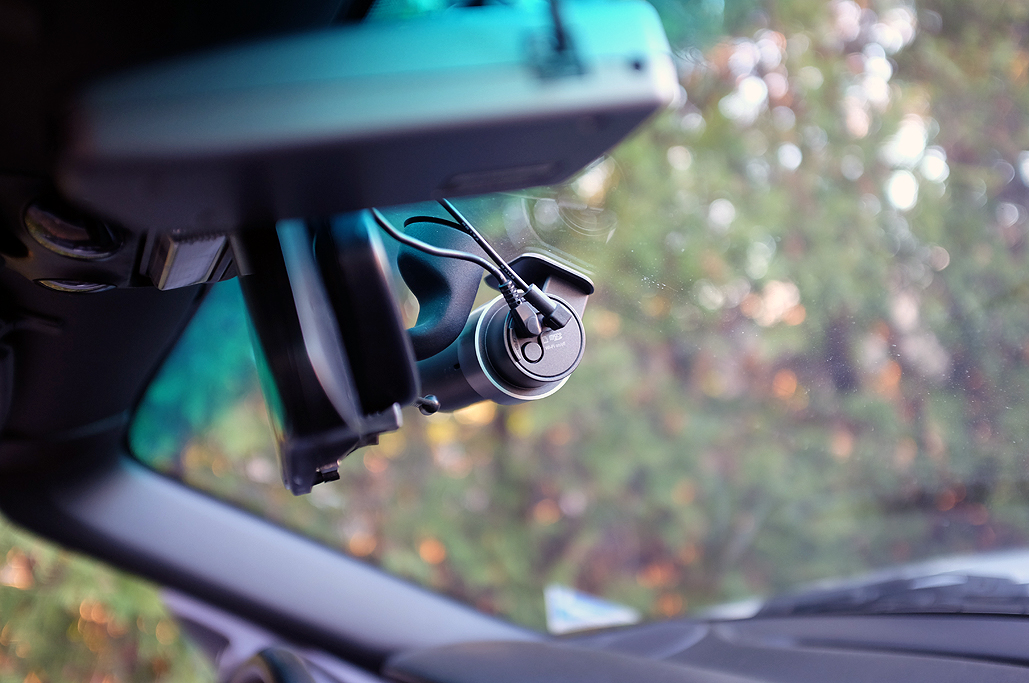
Upgrading our dashcam from the single unit to the dual front/rear DR550GW was quite straight forward. The front unit of the DR550 is the same dimension as the DR500 and will fit into the previous mount, so no change was necessary. The only decision we had to make was which side to run the cable for connecting the rear camera to the front unit. As the connector on the front camera was on the right, we decided it would be easier to run the cable along the passenger side of the car to the rear. Fortunately for us, the cables were thin enough that we could just tuck them under and didn’t have to take anything apart to hide them.

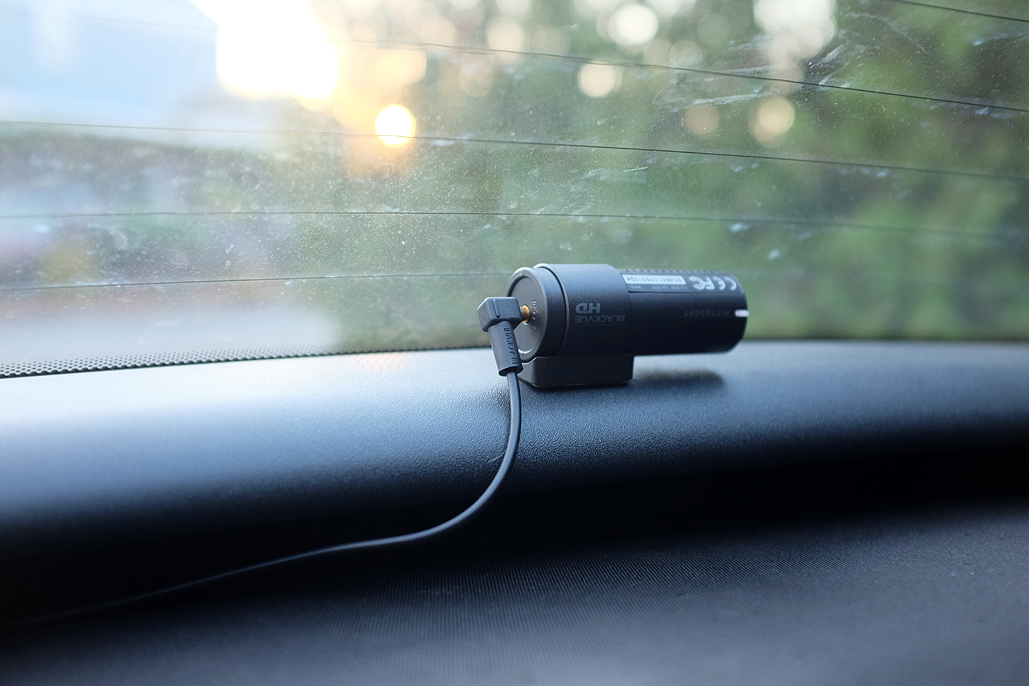
As the rear unit gets its power from and sends its signal to the front camera using the same cable, the installation is very clean. Blackvue did a very nice job with the design of the 2-CH unit. We liked that the front unit was the same size with just the addition of a new connector. With the cable to the rear in place, we swapped out the front camera, and connected the rear to the front.


Blackvue has since updated the DR550GW with the DR650GW. The latest unit has an upgraded 2.4MP Sony EXMOR CMOS sensor and records in full HD 1080p/30fps. We just got that unit in-house and will give our take on it in October.


Leave a comment