Celestron NexYZ Adapter: FirstUse w/the Questar
Is this the perfect afocal astrophotography pairing?
Astrophotography is the original social distancing activity from before it was a “thing:” just you, your telescope, and the celestial bodies above (which are waaay more than 6 feet apart).
When the sky cleared the other night showing the waxing moon , we took it as a call for us introverted stargazers to breakout the gear and get in on the action! All by ourselves 🙂
While we have had some success in the past taking photos of the Moon and other objects in the heavens, the process was cumbersome in every aspect—transport, setup, focusing, taking the shots—and the results were always unpredictable.
A lot of our frustration, we admit, was because of our desire to have a grab-and-go setup for those occasions when opportunity—clear skies, interesting celestial events, free time—and desire aligned, and not a more permanent, observatory-like installation.

Our quest for a “dream” portable astrophotography setup continued to evolve as new gear came onto the market. We have:
- swapped out the DSLR and replaced it with various smartphones;
- tried various types of tripods; and
- peered through a bunch of different scopes/OTAs.
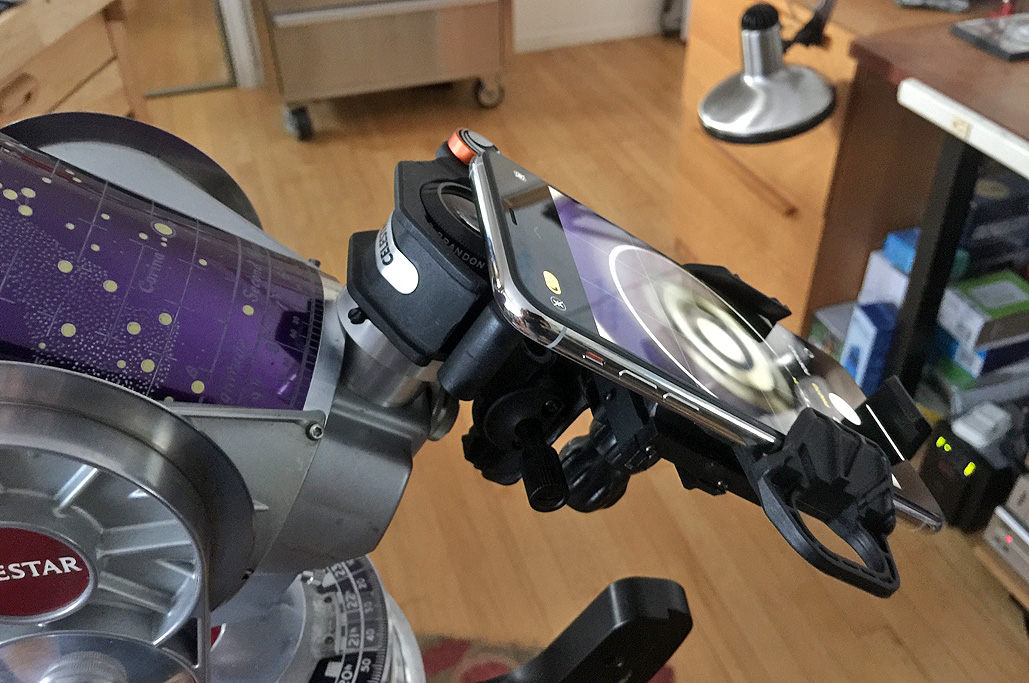
Recently though, we have been playing with the Celestron NexYZ smartphone adapter for afocal imaging. The adapter works with a variety of optical instruments and smartphones. It is easy to set up, very stable, and not cumbersome to use (a quality sorely lacking in all of the other adapters we have tried).

What we like about the Celestron NexYZ adapter is how easy it is to dial the correct positioning and focus for the smartphone camera over the eyepiece.
More importantly, if we have to take the smartphone/adapter off the eyepiece (A phone call? Really? I’m trying to look at Venus here!), reattaching it and getting everything working again is not a major hassle. That fact alone makes the NexYZ worth the asking price!

When the iPhone 11 was announced, we were eager to see how far we could push the afocal envelope using it with our mount/scope setup. If the clouds cooperate, we will have a chance to find out!!!

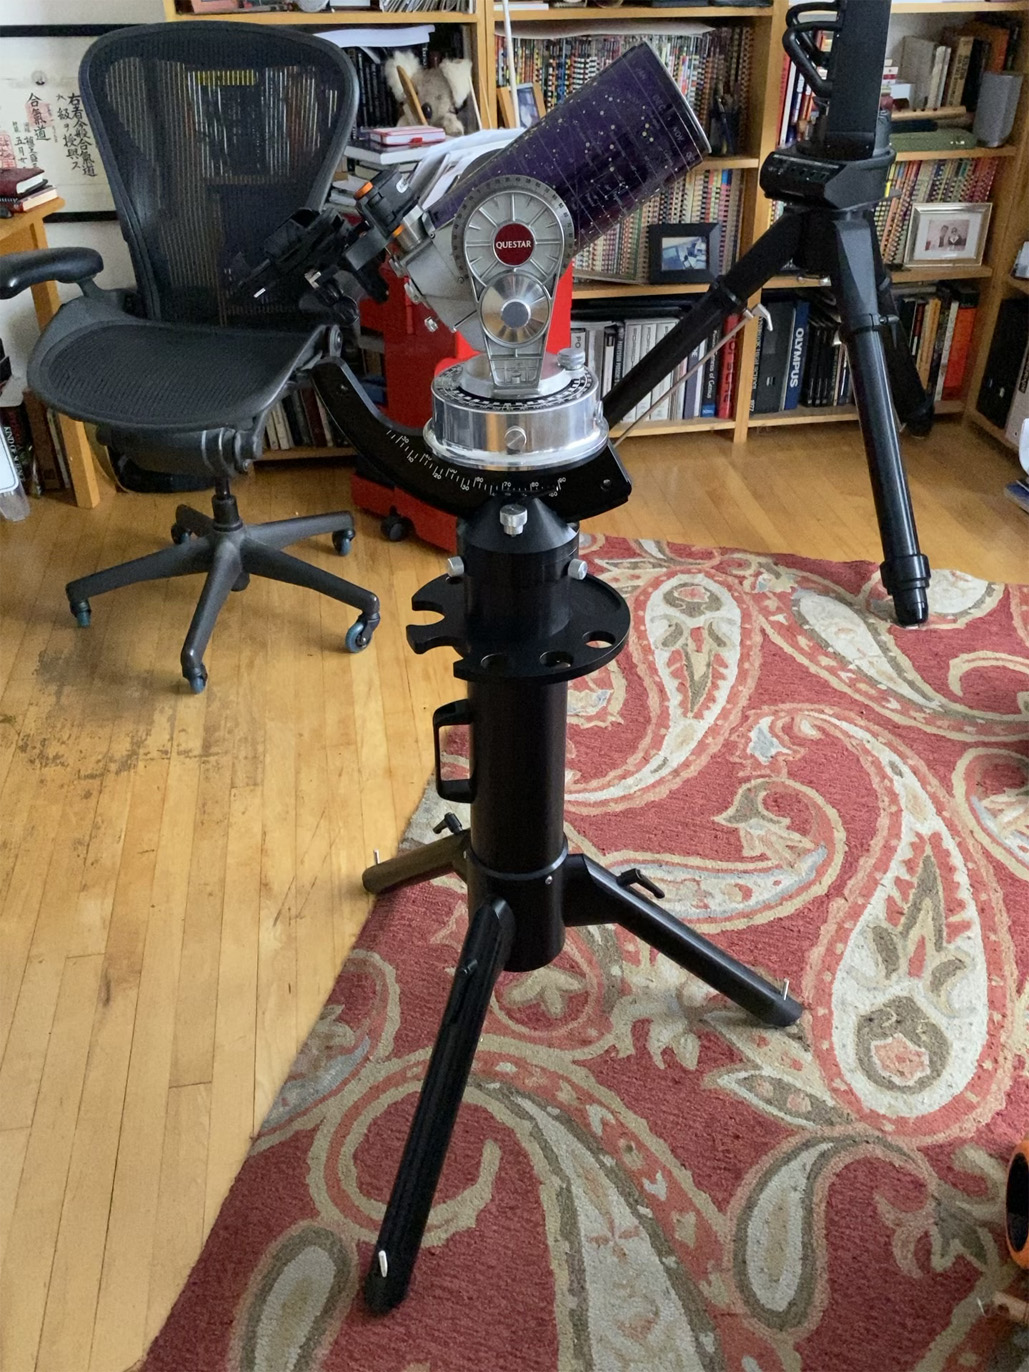
Here is our current configuration (Questar 3.5, pier, NexYZ adapter, iPhone 11 Pro Max)
- Platform: Questar 3.5″ scope, Tristand w/ head, Celestron NexYZ smartphone adapter
- Setup time: About 15 minutes, no tools needed
- Imager Resolution: iPhone 11 Pro Max 12MP camera
- Combined weight: About 20 lbs.

FirstLight

The Questar scope setup outside with the iPhone mounted onto the eyepiece
The Questar’s ability to allow for easy flipping between “spotting” and “observing” modes made finding the Moon really easy, and we were taking shots after 15 minutes! Granted, all we had to do was go out on the back deck, but still…not bad compared to all the fiddling we used to have to do just to align the camera w/ the eyepiece!

Below are images taken with the iPhone 11 Pro Max. We didn’t have to do anything special with the native camera app to get exposure correct. In fact, all we had to do was to lightly tapp the “take photo” button and the app did the rest (focus, exposure, shutter speed, etc).

While setting the camera’s focus was a job left to the iPhone, focusing the telescope was still something we had to do manually. Getting the focus sharp was not as difficult as when shooting with a point-n-shoot or DSLR, because of the high screen resolution of the iPhone 11 Pro Max.

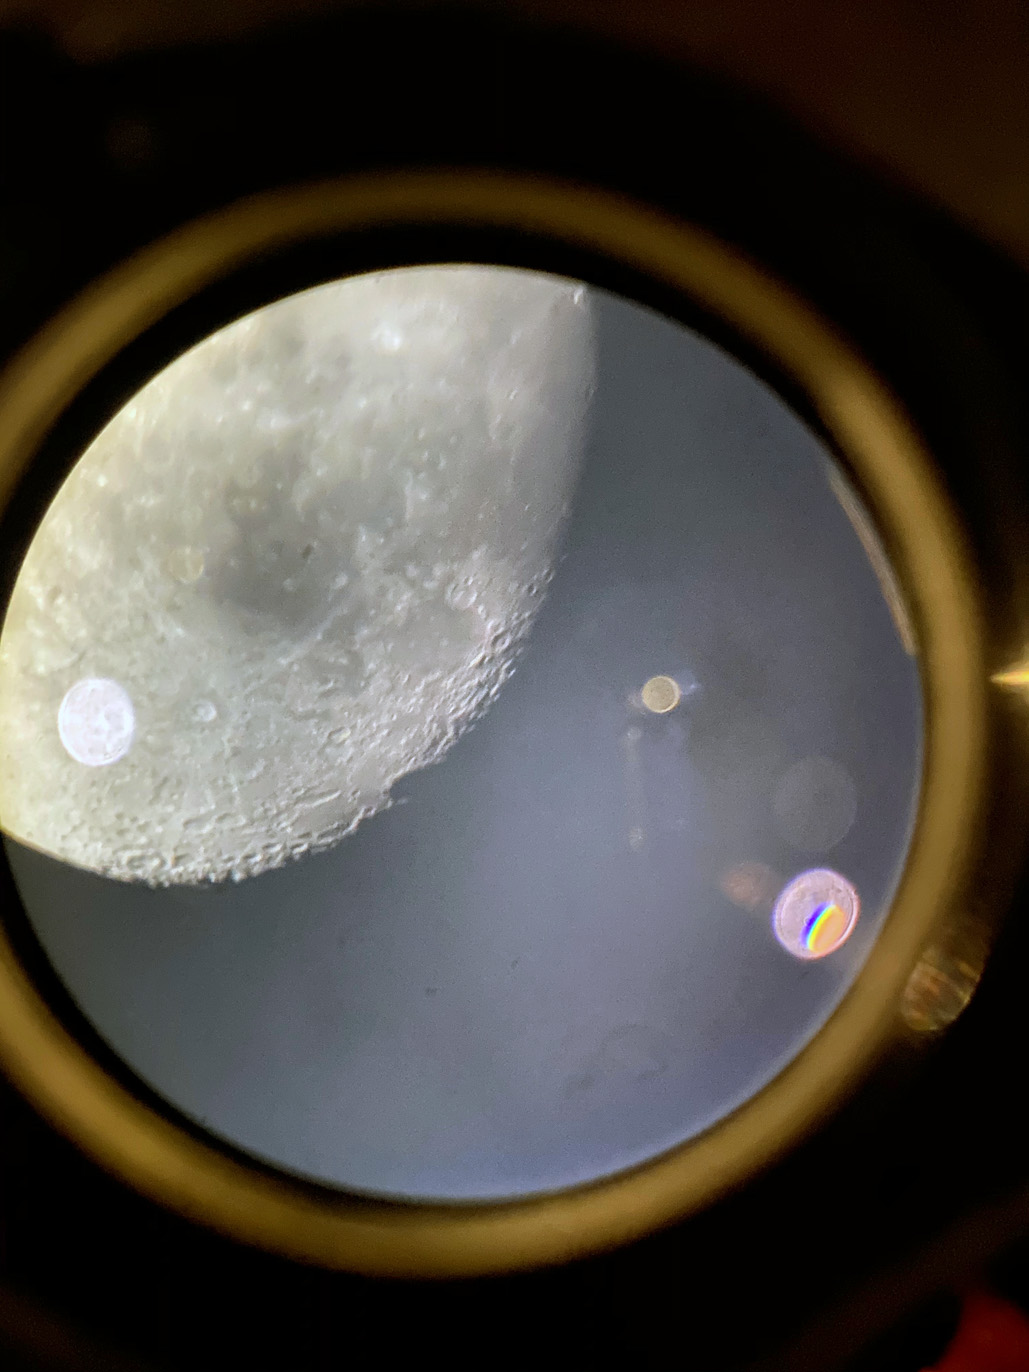
Another thing that was easier to do was to take a shot of what the view of the Moon through the eyepiece looked like, something hard to photograph using a regular camera, and very cool.
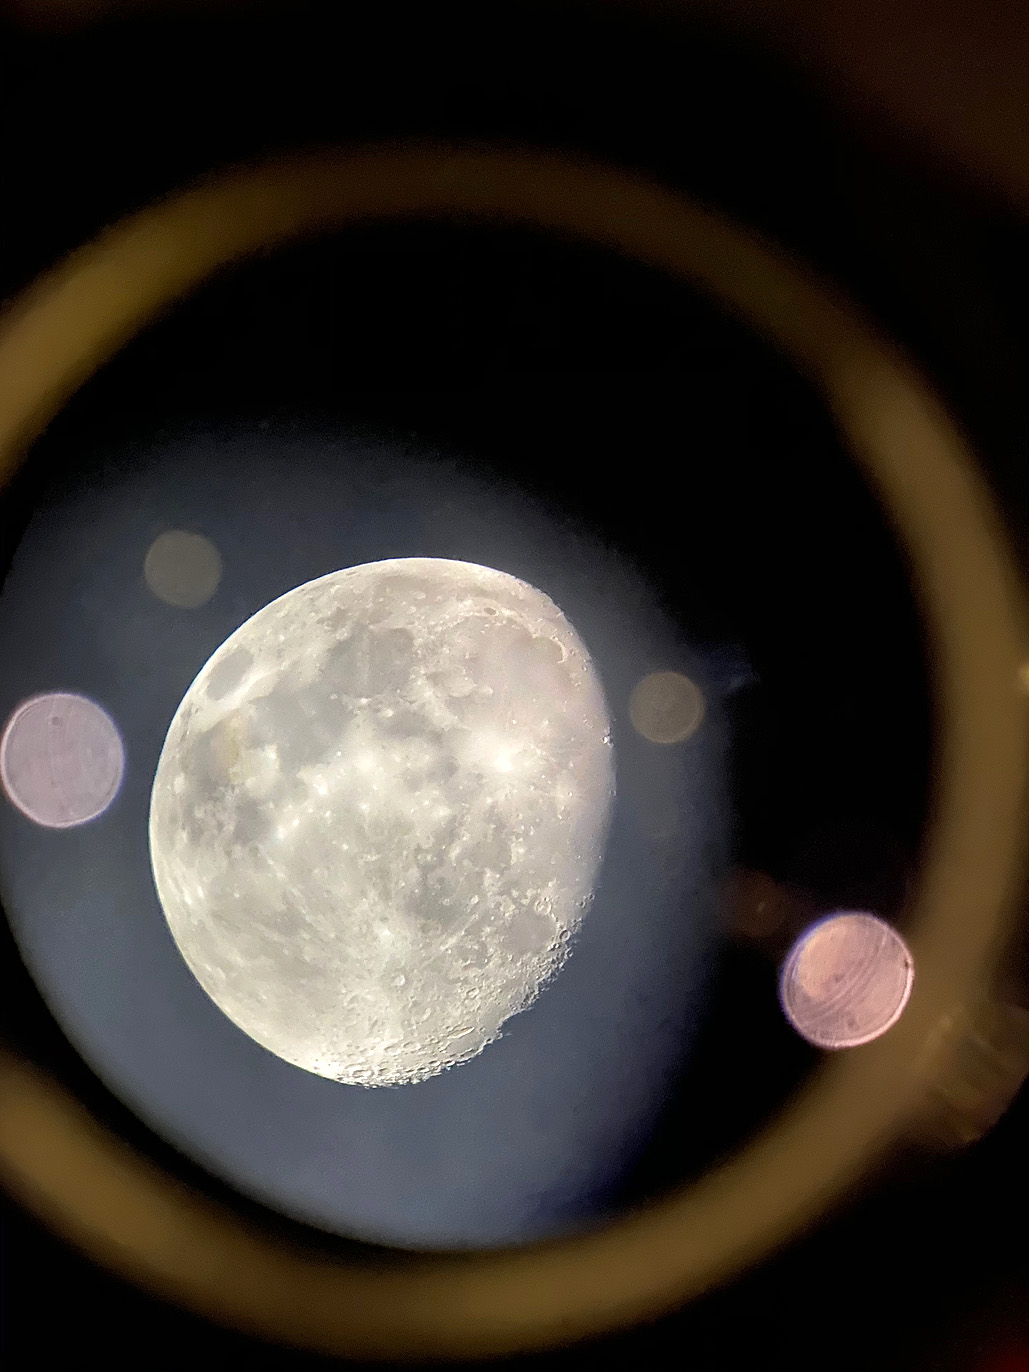
Some people thought the reflections were distracting, but we like the internal reflections in some of the shots. They look like little “moonettes” circling around the actual Moon 🙂


The resolution of the iPhone image taken through the eyepiece is pretty impressive for a single shot attempt. As we gain familiarity with the iPhone/Celestron mount combo, we expect future efforts to improve.

The iPhone 11 Pro Max’s 1x camera was used in all of these photos. We will try using the 2x lens next time to see if we can get in closer. We are still getting used to this iPhone camera’s features and capabilities. When we have it all “dialed in,” we are hopeful the images will be even better!
Amazon links to items mentioned:


Leave a comment