
Boxster Project: Parking light bulb replacement
...a simple DIY, heoretically :-)
When we took our 26-year-old Boxster in for its annual inspection and sticker recently, the inspector passed us, but noted that the bulb for the parking light on the passenger side had gone out and should be replaced.
Parking lights are small, low-intensity lights on the front and rear corners of the car. They are not bright enough to illuminate the road for driving, because their purpose is to make the parked car visible to other drivers in the dark/poor weather without draining the car’s battery.
Removal
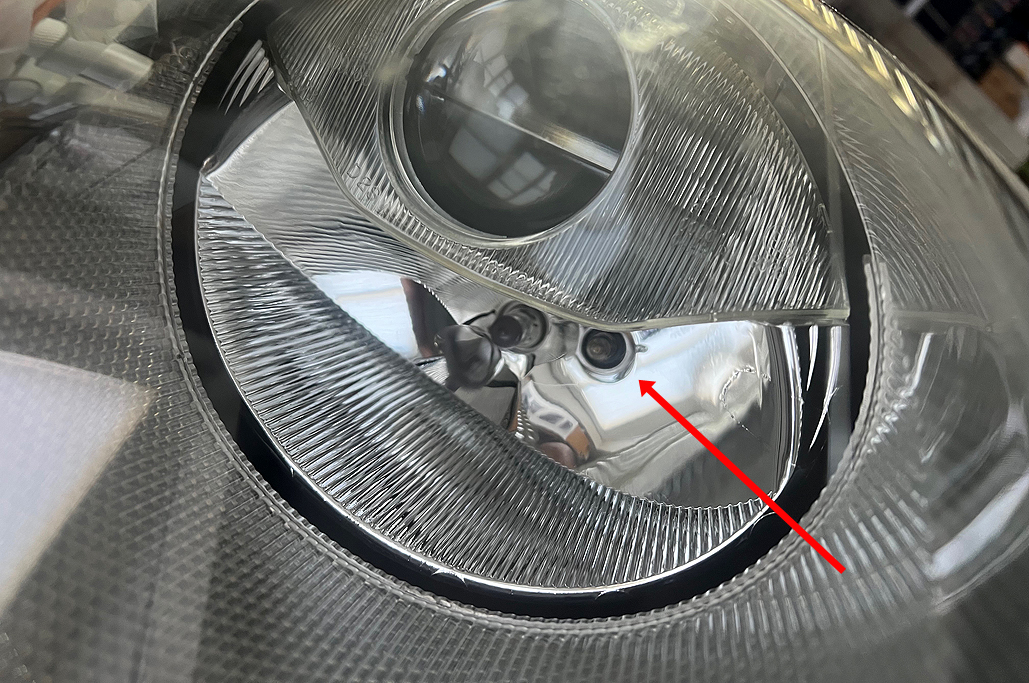
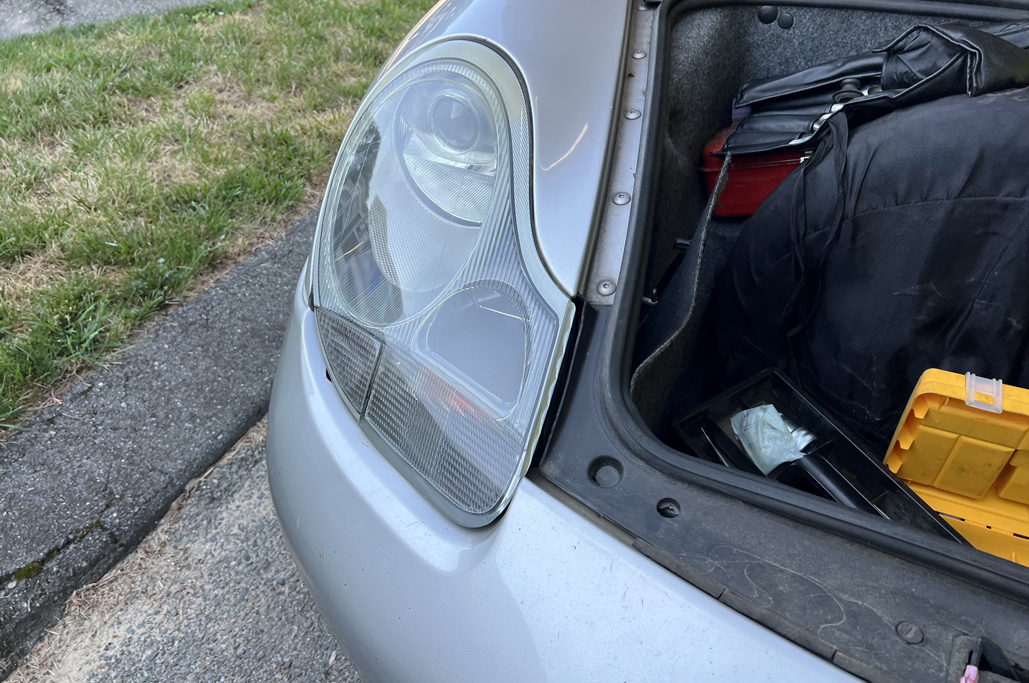
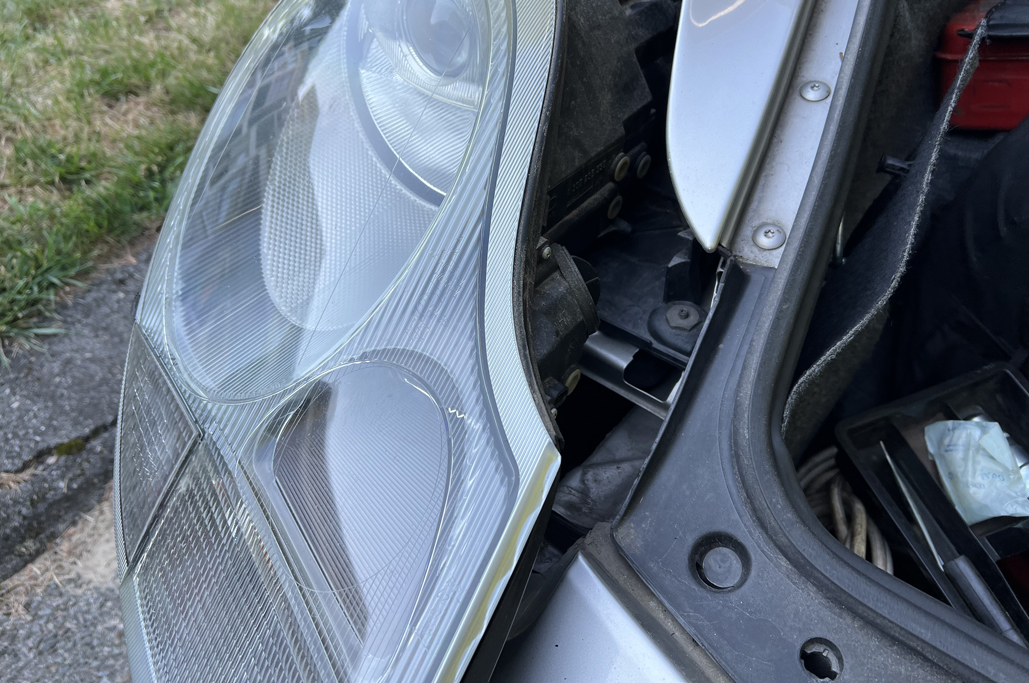
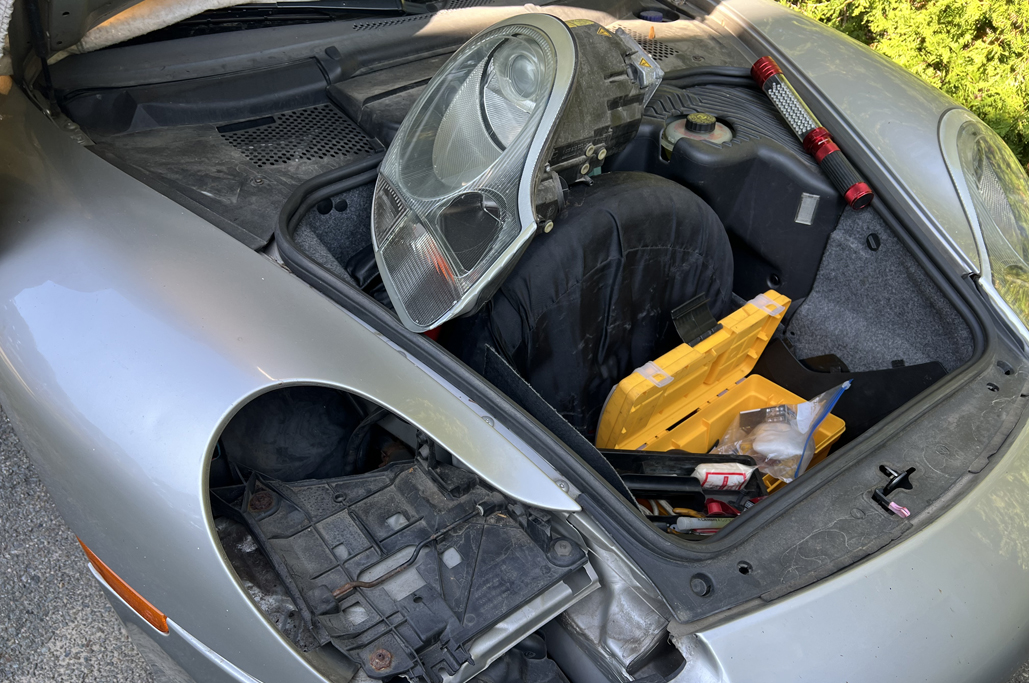
On the Boxster with the Litronic lights, the parking light’s bulb is inside the headlight assembly. To replace it, the entire assembly must be removed.

Fortunately, removing the headlight assembly in a Porsche Boxster is a simple process:
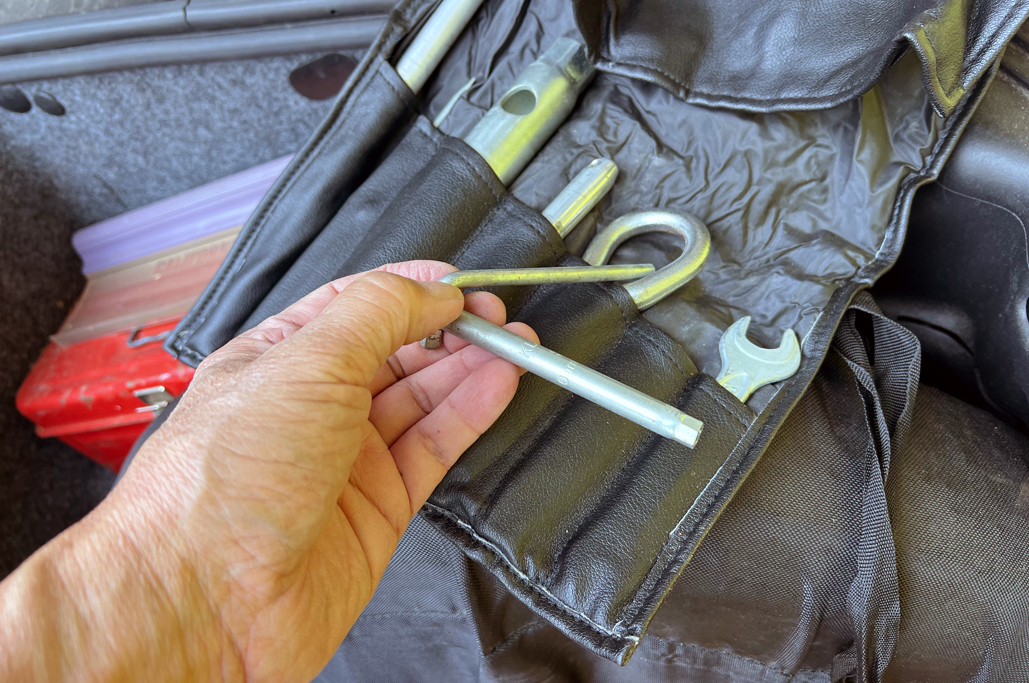
- The headlight assembly release tool is in the standard kit;
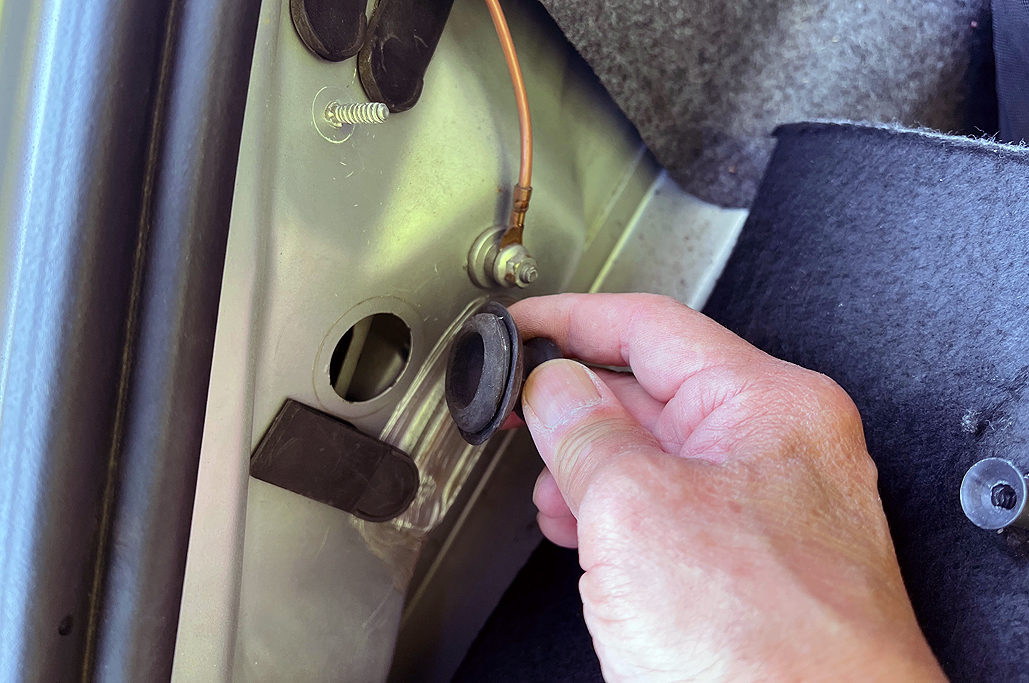
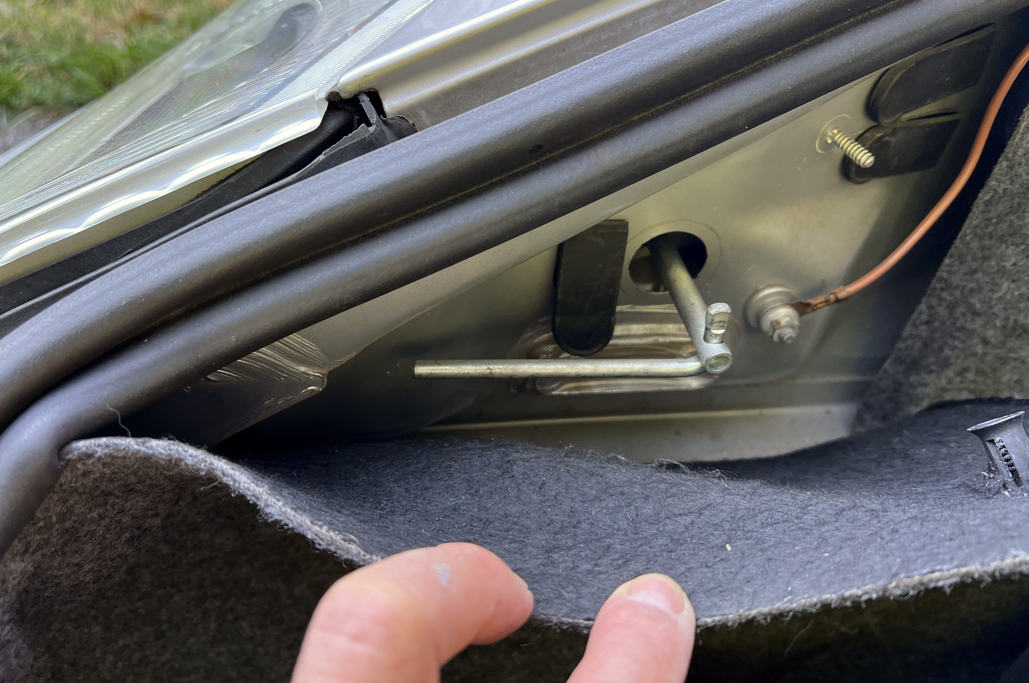
- Pull back the liner and remove the rubber plug from the port;

- Insert the tool into the port; then
- Turn the key clockwise to release the headlight assembly.

Replacement
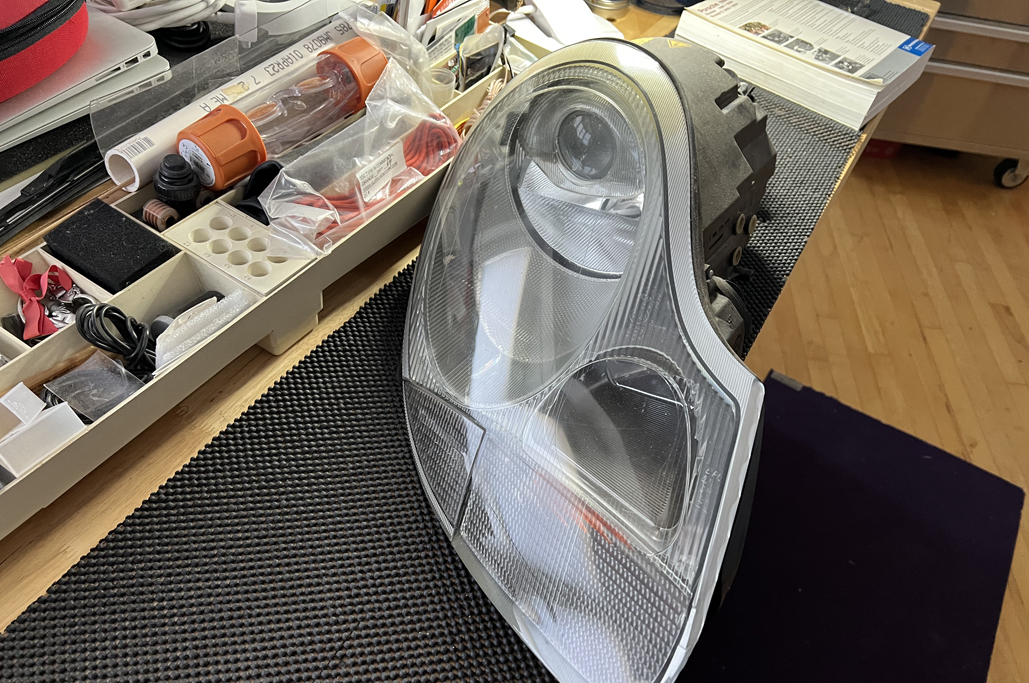
Replacing a bulb, while it can be done in the driveway, is best done on the bench. A steady surface and good lighting make the task MUCH easier…trust us on this.

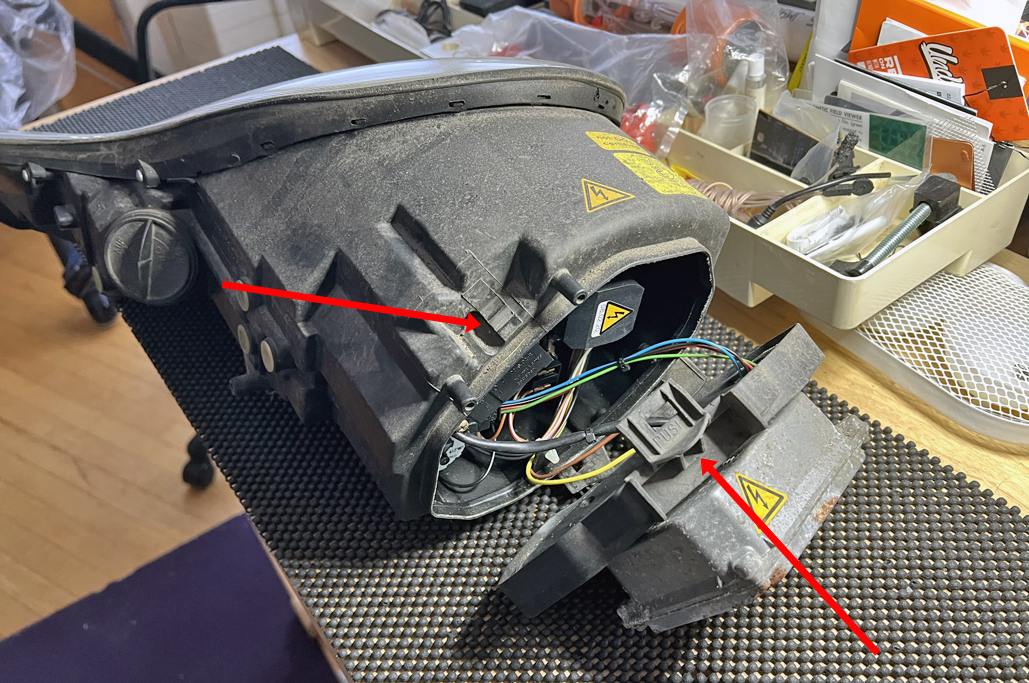
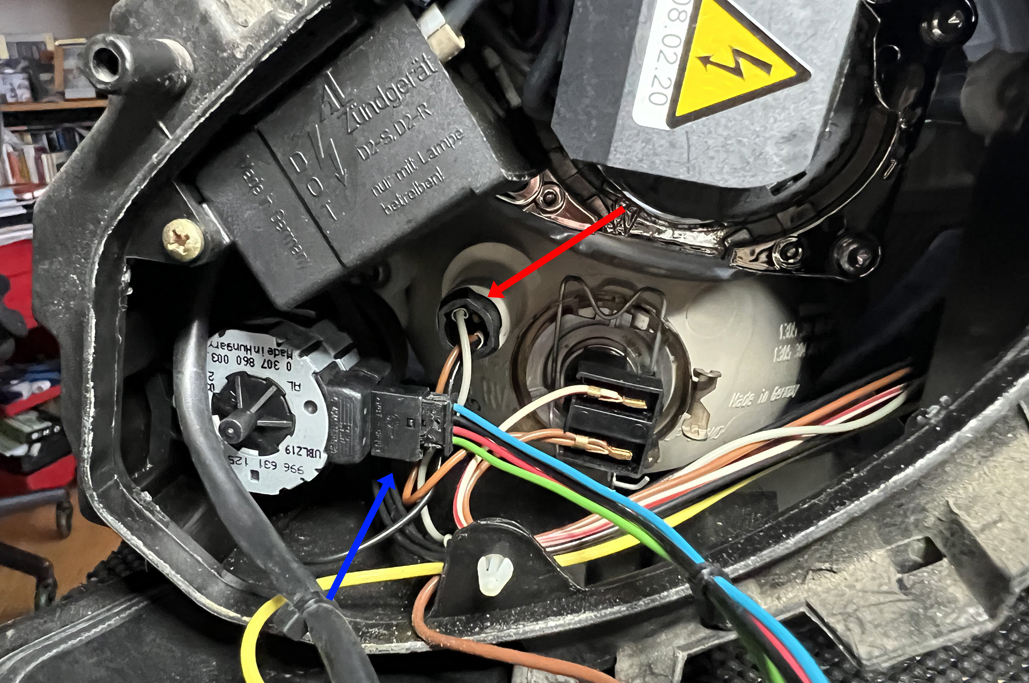
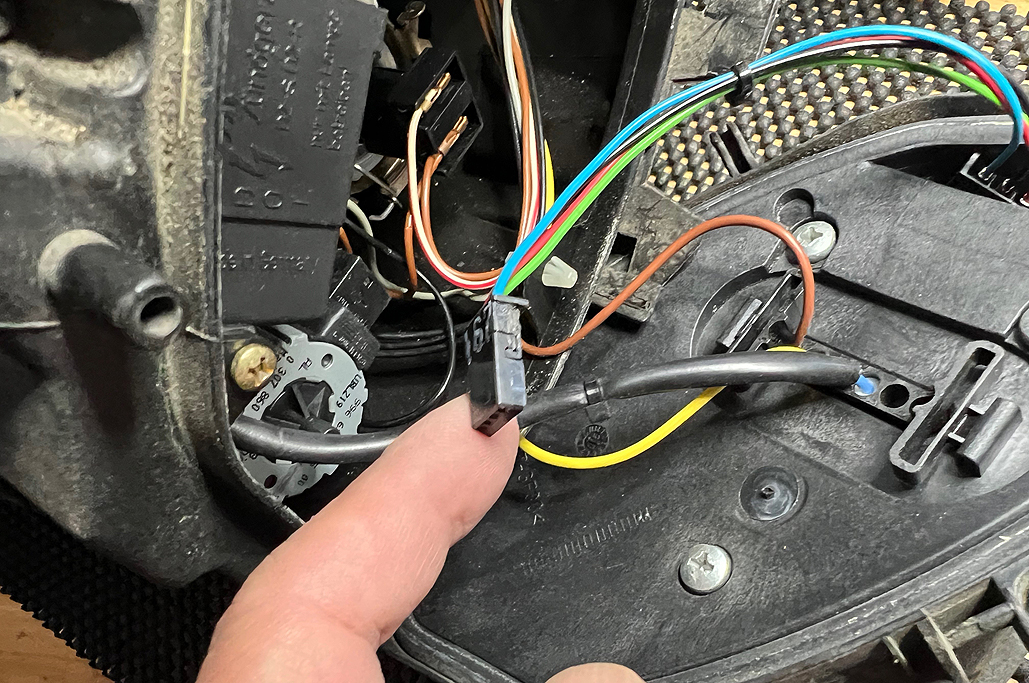
To access the parking light’s bulb, release the back plate. The bulb is buried in the assembly, and the wiring harness directly in front of the bulb has to be pulled out for the bulb to be accessible. Don’t even think about trying to work around it…it looks like it can be done, but it is not worth the effort.

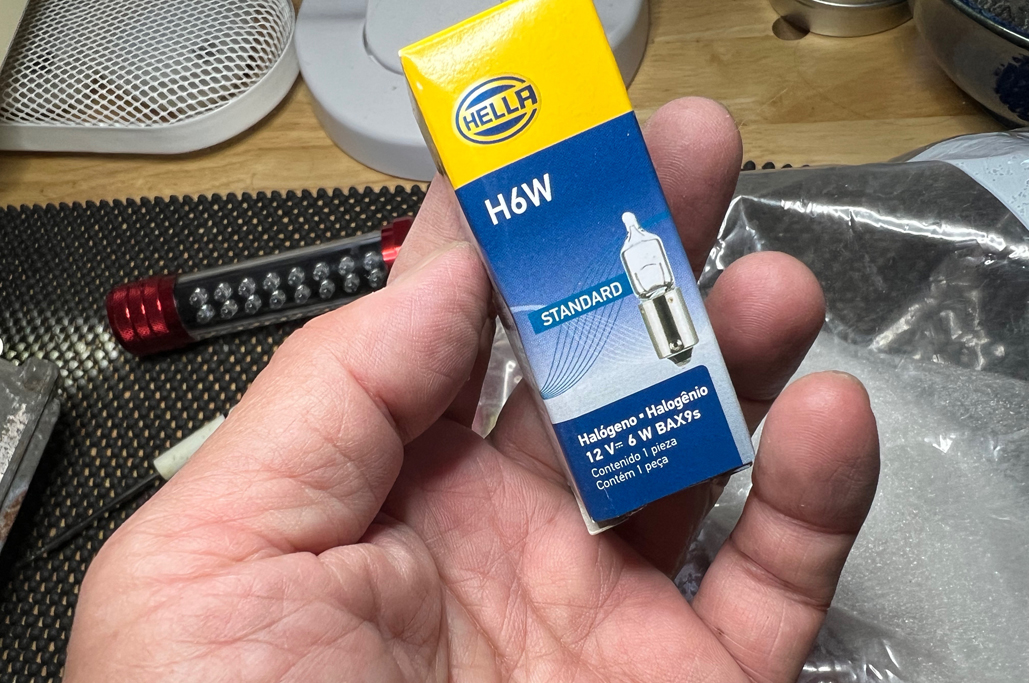
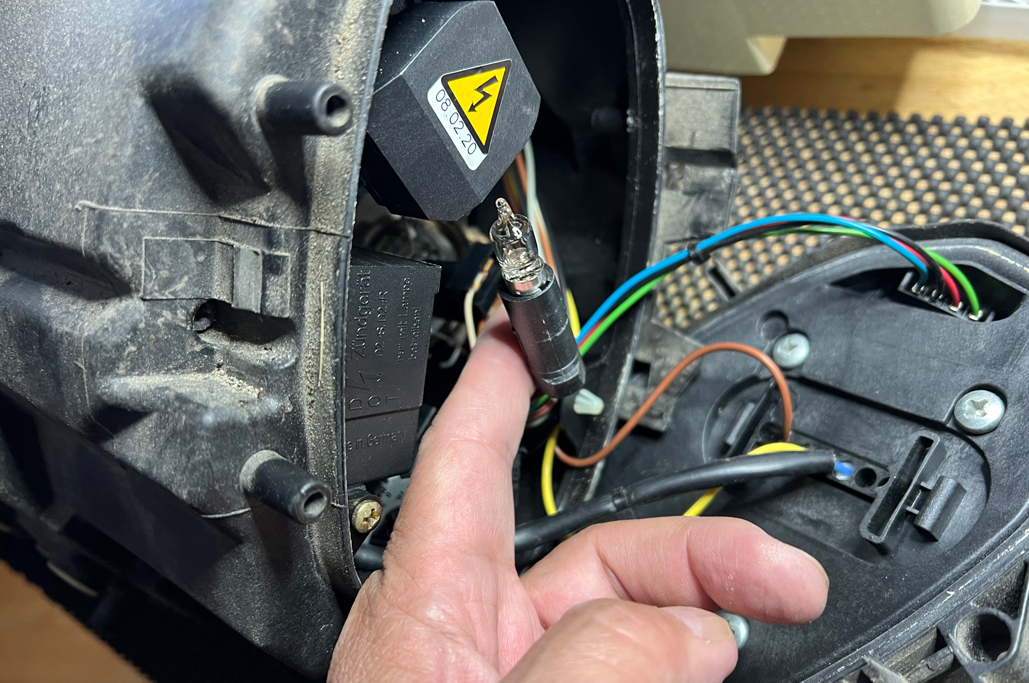
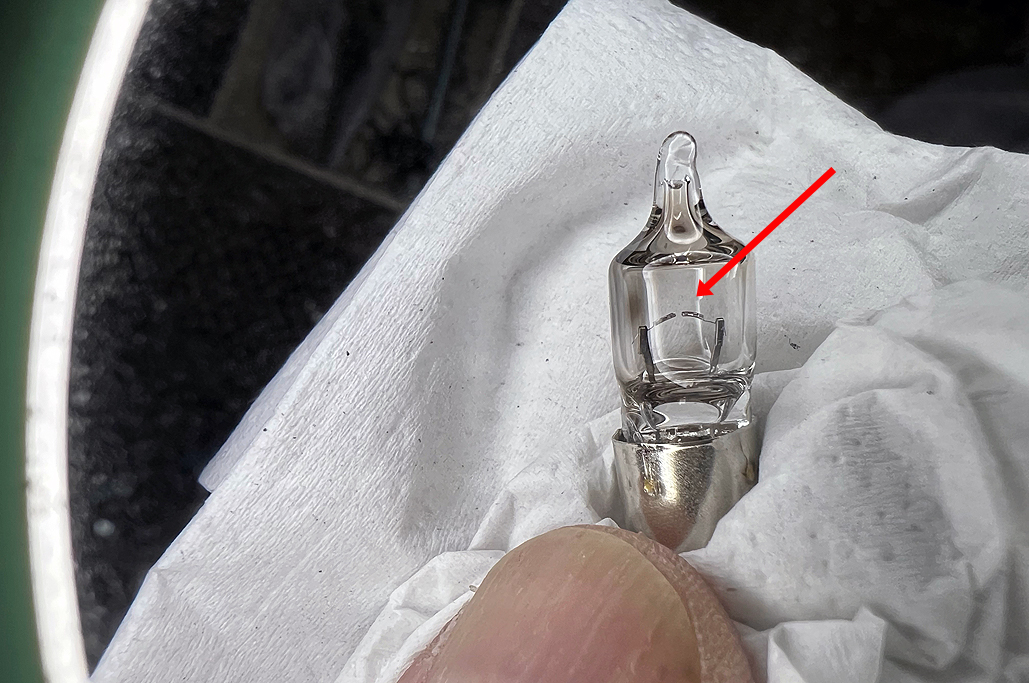
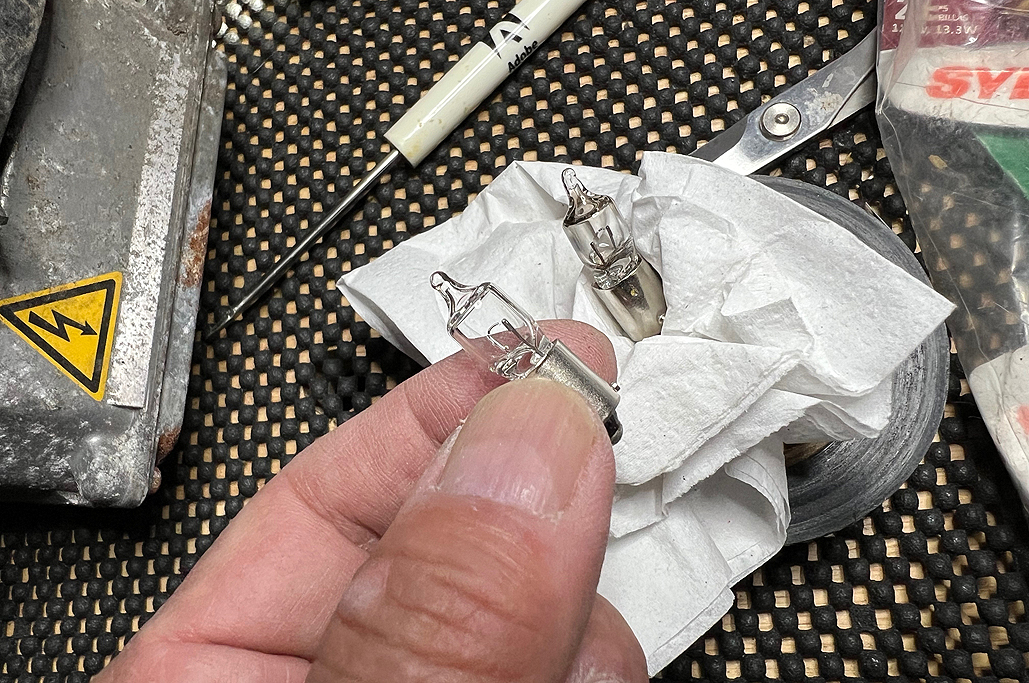
The proper replacement is an H6W. We like to confirm that the old bulb has indeed failed by looking at it under magnification and finding the break in the filament. A little obsessive-compulsive, but we have replaced bulbs before only to find that the actual problem was elsewhere 🙂

To remove the old bulb, just push down, turn, and pull. It should come right out. BTW, make sure your fingers are clean and free of oil when handling the bulb. Residue left on the bulb will cause it to fail prematurely…at least, that is what we have been told.

Maintenance
Changing a bulb in a car is a simple DIY…theoretically, but there is always something 🙂
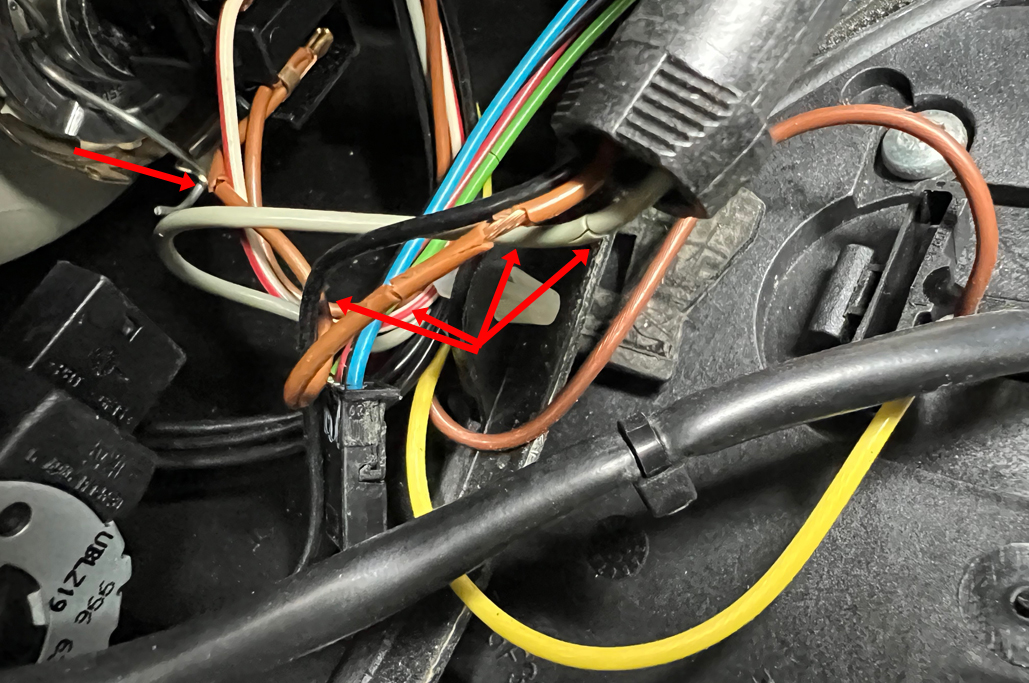
When a car is 25 years old, the plastic shielding around the wires will start to crumble, especially since German car makers had to have biodegradable plastics for all plastic parts. The heat causes the wiring insulation to break down…especially in components such as headlights.

AFTER replacing the bulb…check for cracked shielding. If the car is 25 years old, the shielding will look fine before you start trying to pull the assembly out, but once you do any twisting, it will likely have cracked.
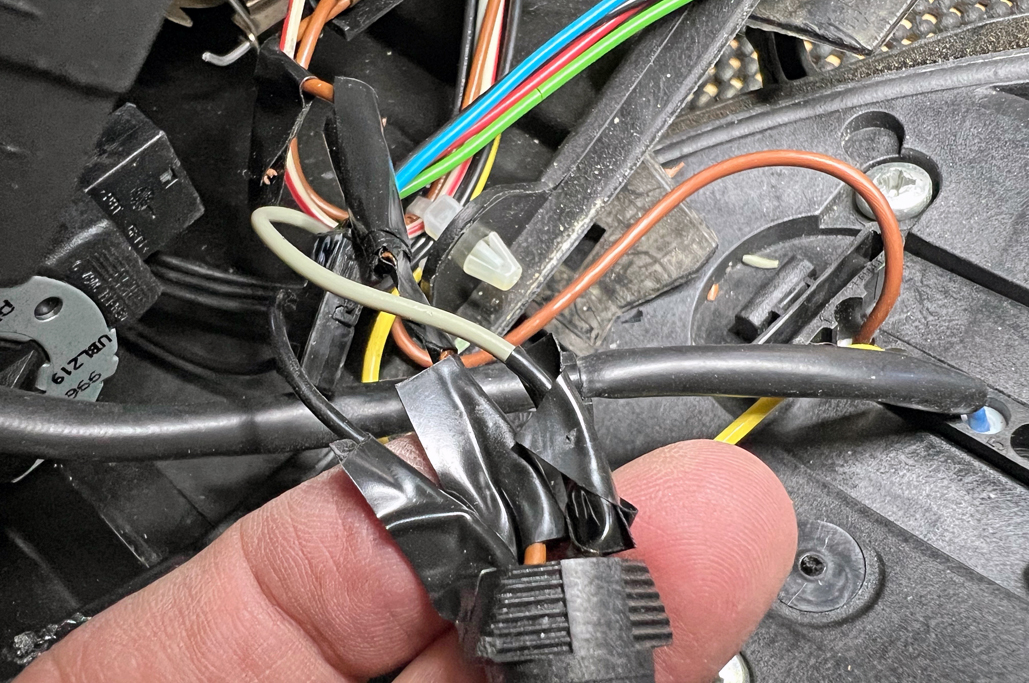
Why take the chance that the wires will make accidental contact with each other and short things out? All of the exposed wires should be wrapped with electrical tape or some other insulating material.
Installation
Putting the headlight assembly back into the car is a straightforward process. The trick is to make sure that everything is lined up correctly before locking things down.

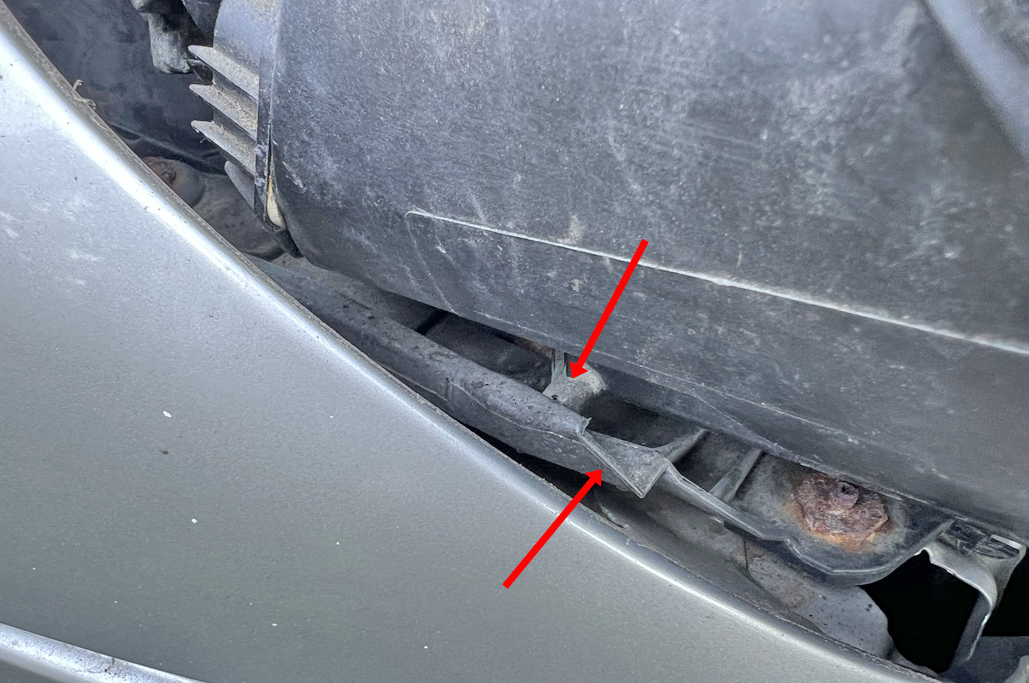
The important step is to confirm that the guide pin is properly seated on the track. Once in place, the assembly should slide in almost effortlessly. Push the unit as far as it will go, then lock it in place with the tool. There should be no gap when it is locked down.

LastThought
When changing bulbs, look for cracked shielding and take appropriate action if needed. Timely preventative action will hopefully avoid the introduction of any “electrical gremlins”

Links to items mentioned:


Leave a comment