Reolink All-in-One Solar Floodlight: Install
Lights, Camera, Action...mounted!!!
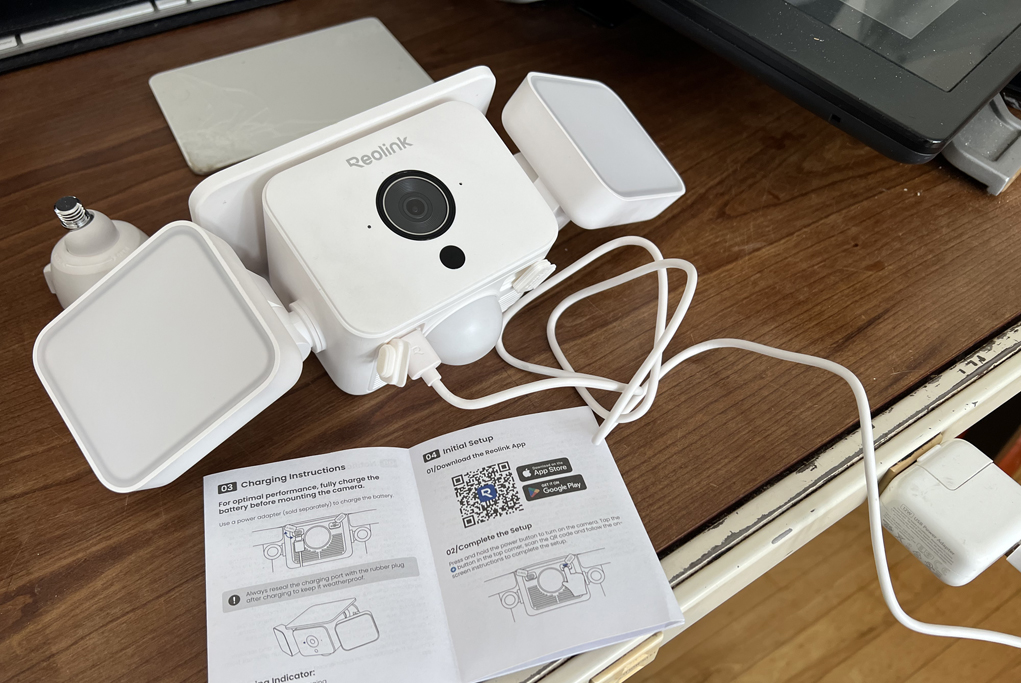
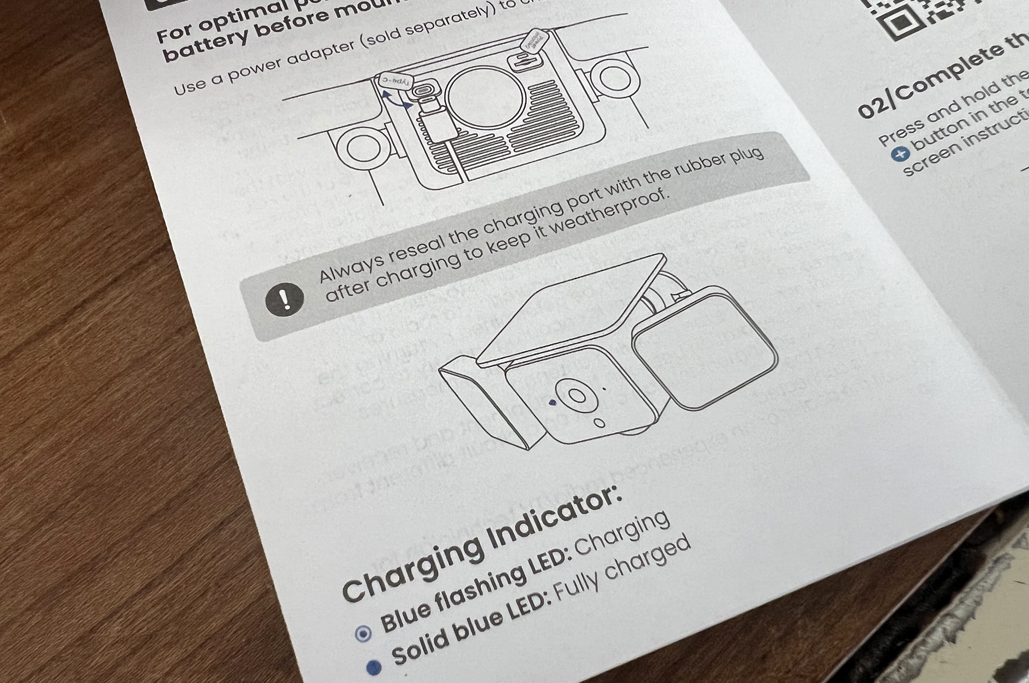
The Reolink All-in-One Solar Floodlight is a self-contained security camera. The installation process is straightforward, but the camera needs to be powered up, initialized, and configured before its first use. The voice prompts made the process easy to follow, fast, and hassle-free.

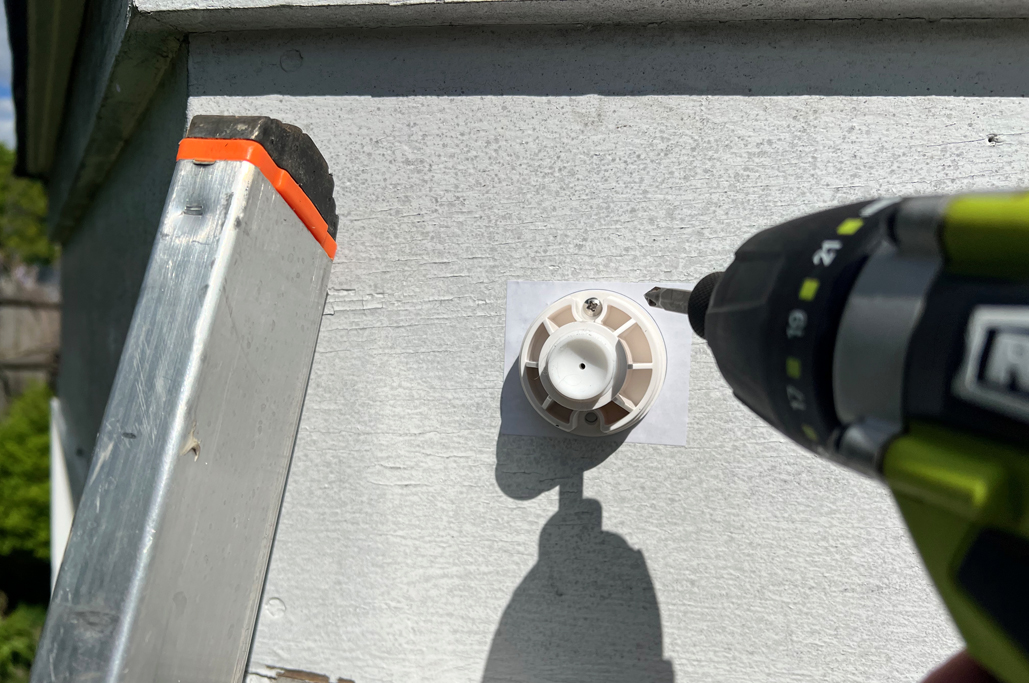
Mounting
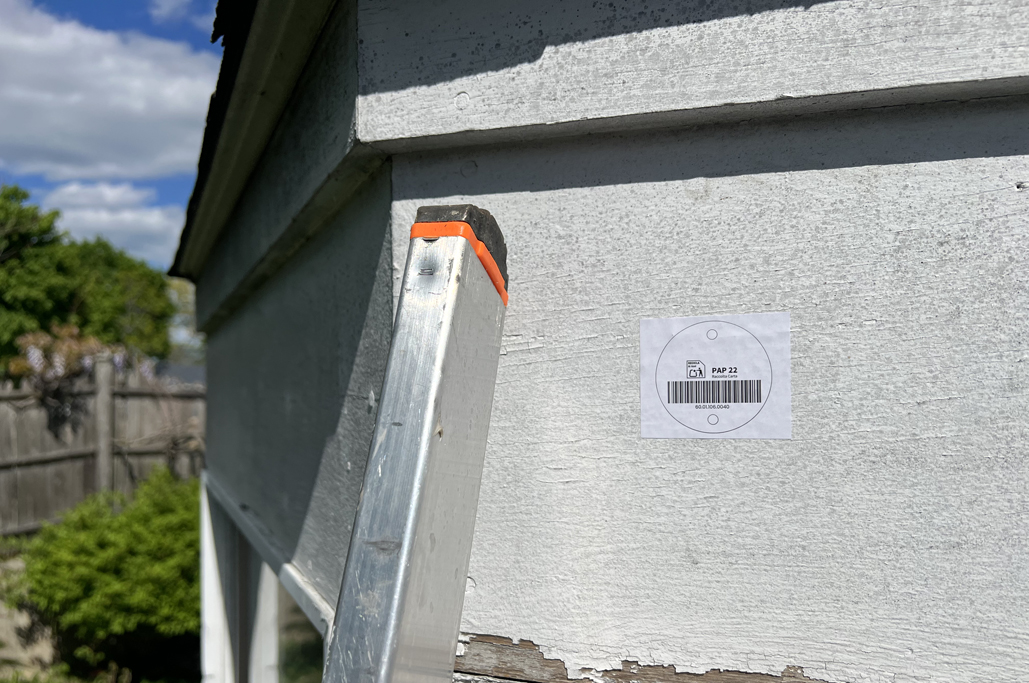
Mounting the camera is made simpler by the stick-on template provided. All we had to do was to place the template where the base should be attached, stick it down, secure the screw-on base plate, and mount the security camera.

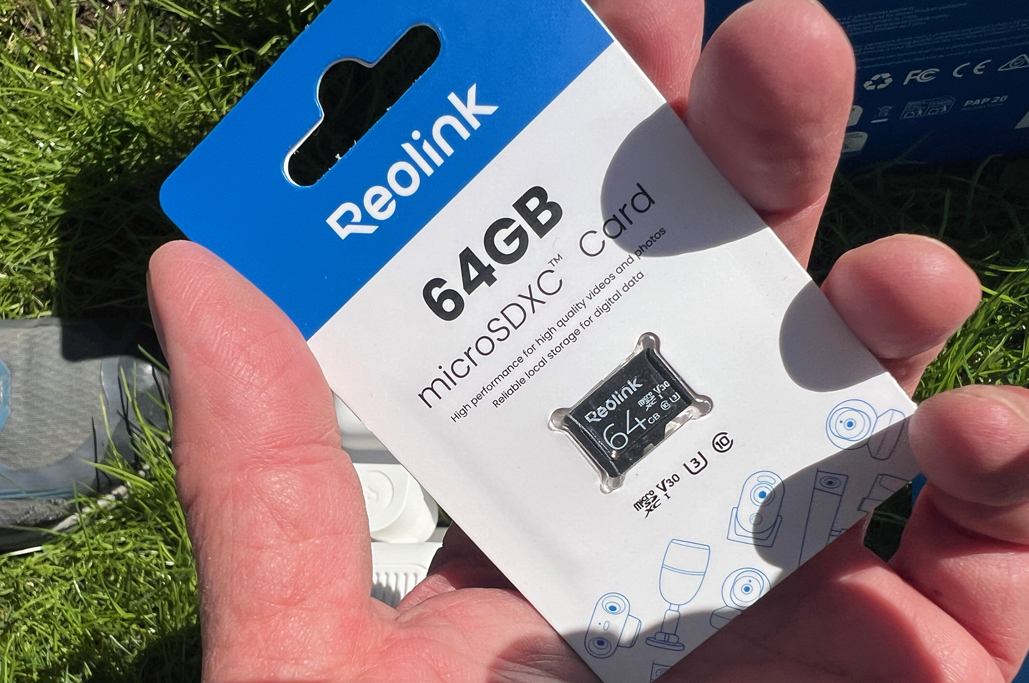
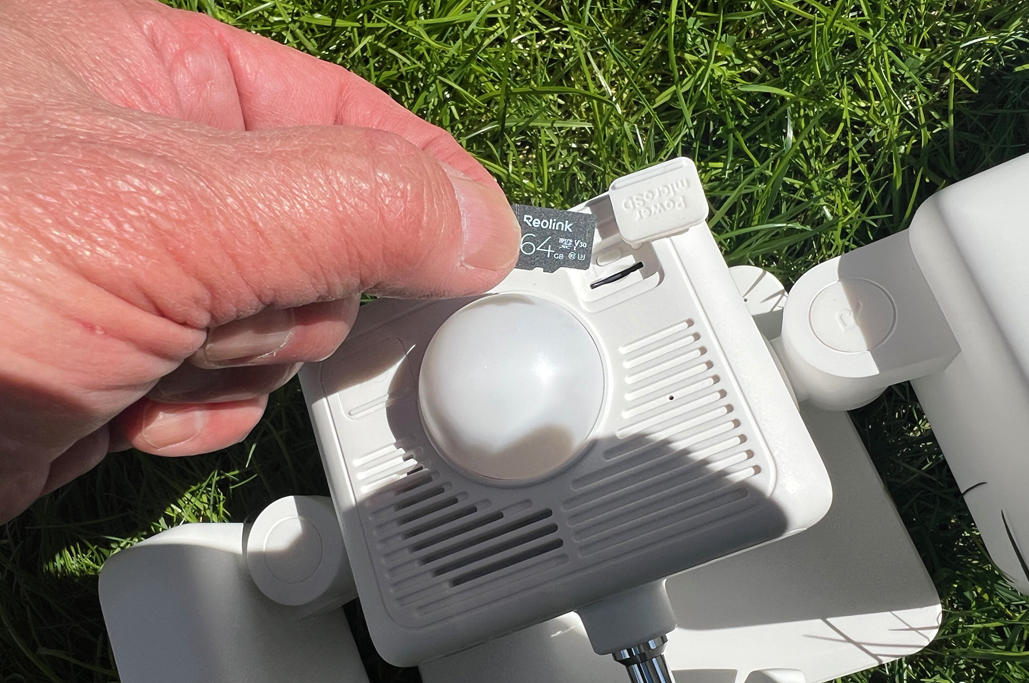
The data acquired by the security camera is stored locally and can be transferred to a mobile phone via the Reolink app. Before mounting the camera, it is necessary to install the microSD card since the slot is on the back of the unit, and not accessible once the camera is mounted.

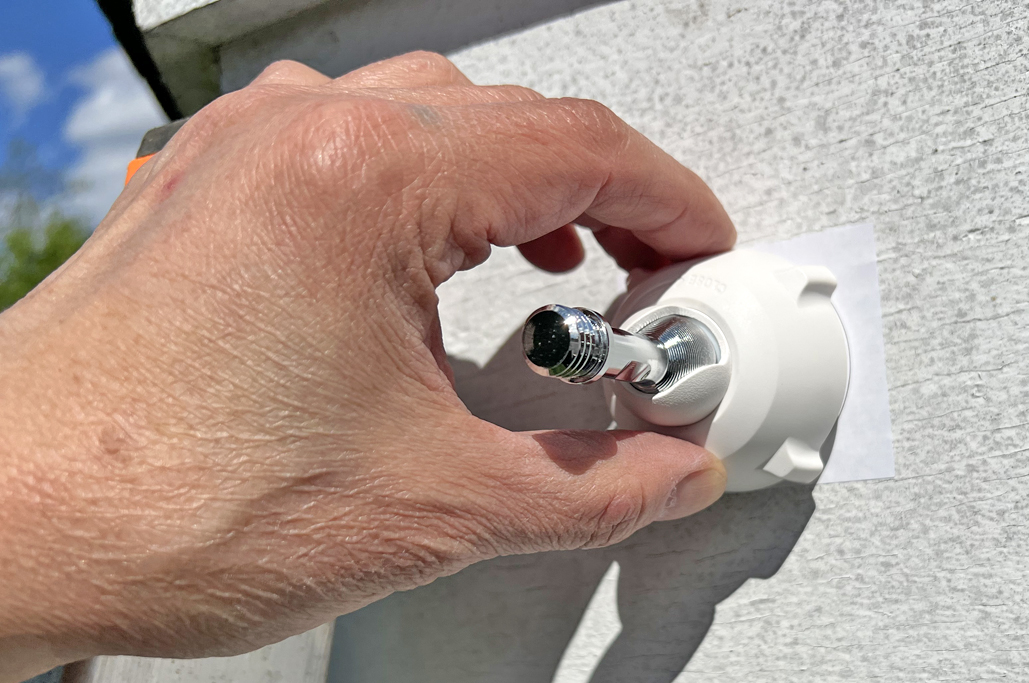
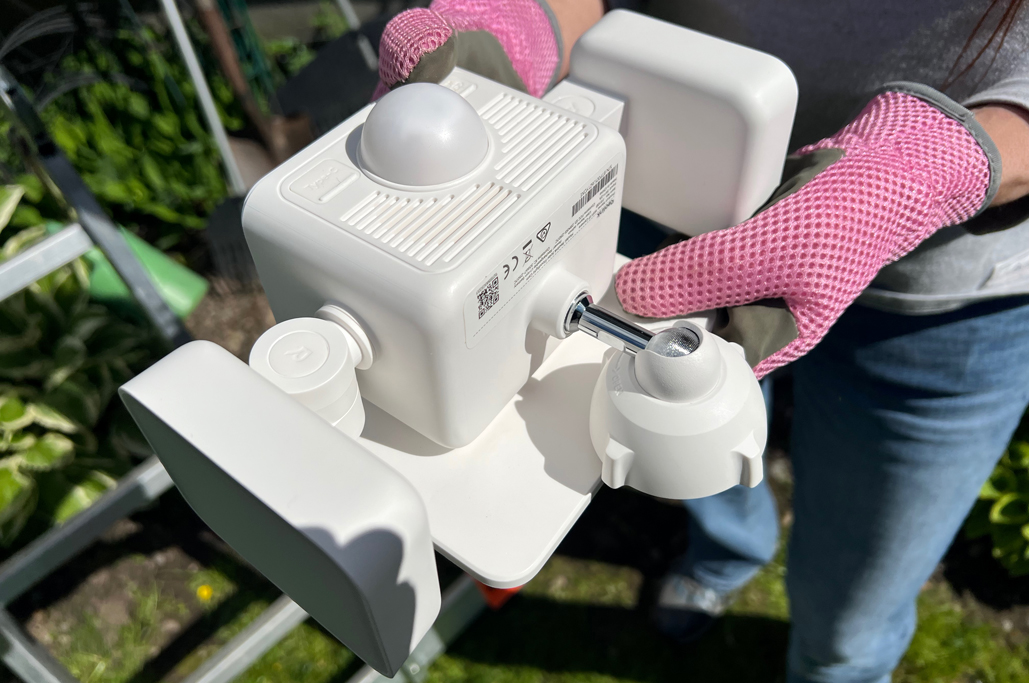
Attaching
With the MicroSD card installed, the camera can be mounted. We found it easier to attach the post to the camera unit, then screw the whole thing onto the base. To position the camera, it was best to hand-tighten the cap securing the post to the base just enough to hold it in place, move the camera around until it was in the desired position, and then tighten the cap.

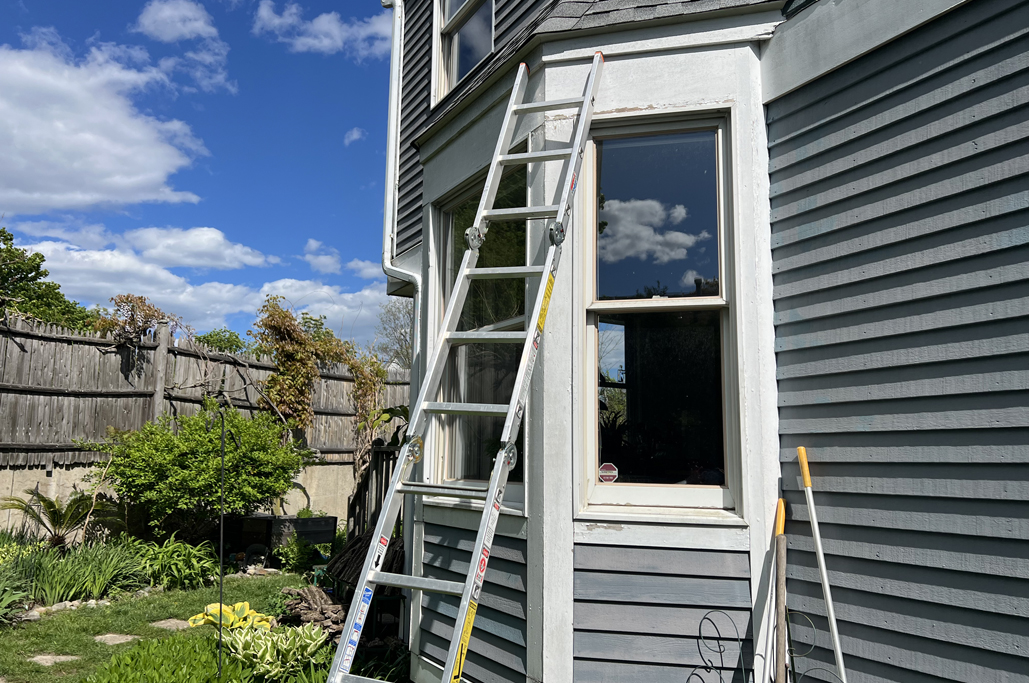
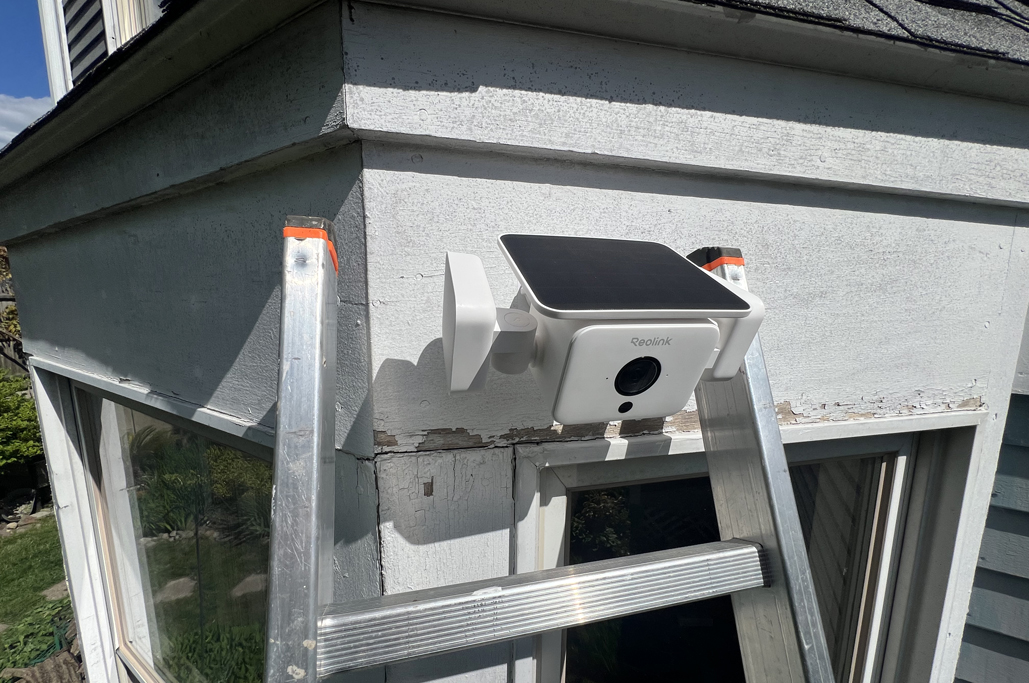
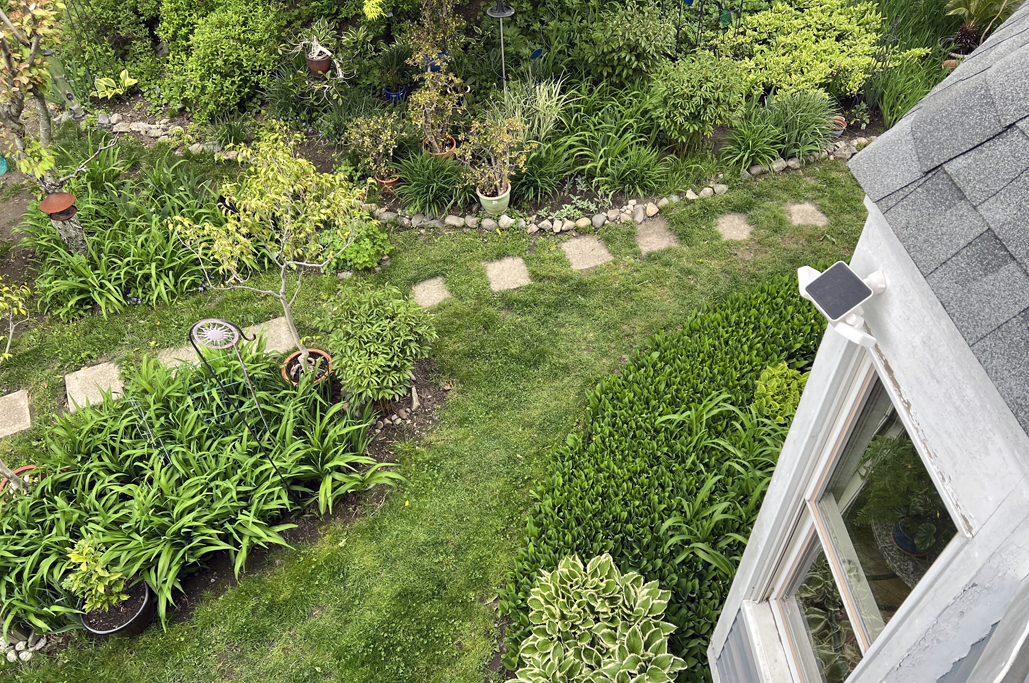
The nice thing about the Riolink All-in-One Solar Floodlight, since we didn’t have to run a power line, is that it can be placed anywhere. We selected a spot high up on the wall, with a good view of the area we wanted to monitor, and had good solar exposure most of the day.

FirstThoughts
This was one of the fastest and easiest security camera installations we have ever done. The directions were clear and easy to follow, and we spent more time getting the ladder in place than we did actually attaching the camera!
The best part is that, because the camera is solar-powered, we didn’t have to run a power line. We found EXACTLY where we wanted to put the camera, and placed it there. No fuss, no muss.
Links to Items Mentioned:


Leave a comment