DIY: Herman Miller’s Aeron Chair Repair
Gas Cylinder Removal and Installation
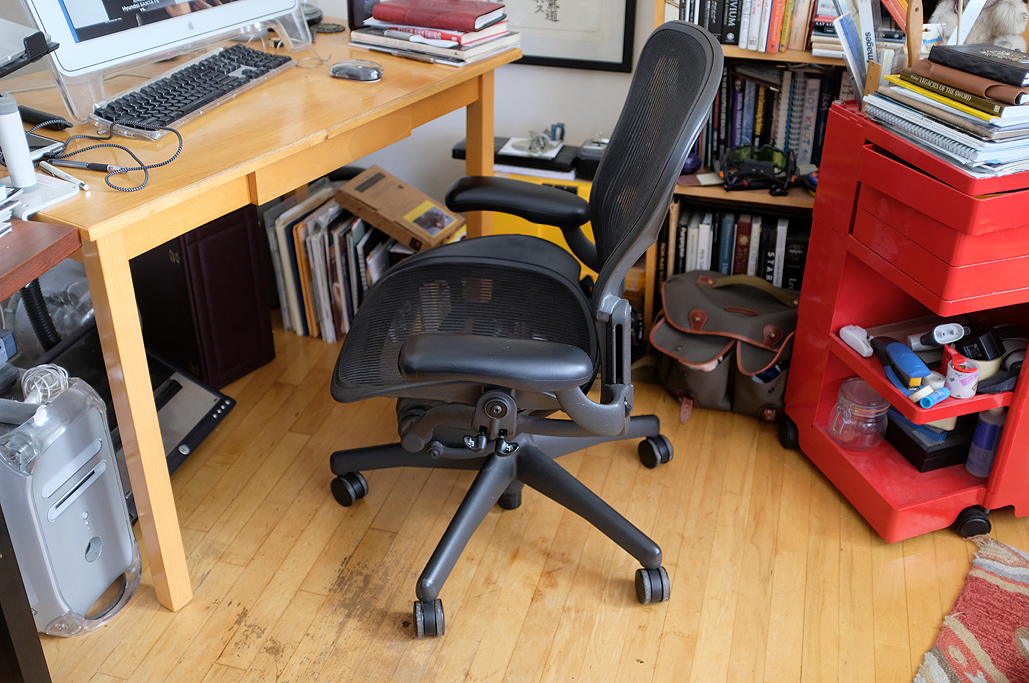
The Herman Miller Aeron is an iconic office chair that is exceptionally adjustable and extremely well made. The one in the RainyDay office had been in service for a long time but after twelve years, the pneumatic cylinder for adjusting the height finally gave way.

At first we weren’t quite sure what to do because there didn’t seem to be an obvious way to remove the cylinder. Did we need some special tool? Did we have to send the entire chair in for service? Get a whole new chair? Whaaat?

We eventually came to the conclusion that the cylinder was probably a standard item and that it would not be hard to swap it out ourselves…and that there would be a YouTube video on how to do it 🙂
The Office Oasis
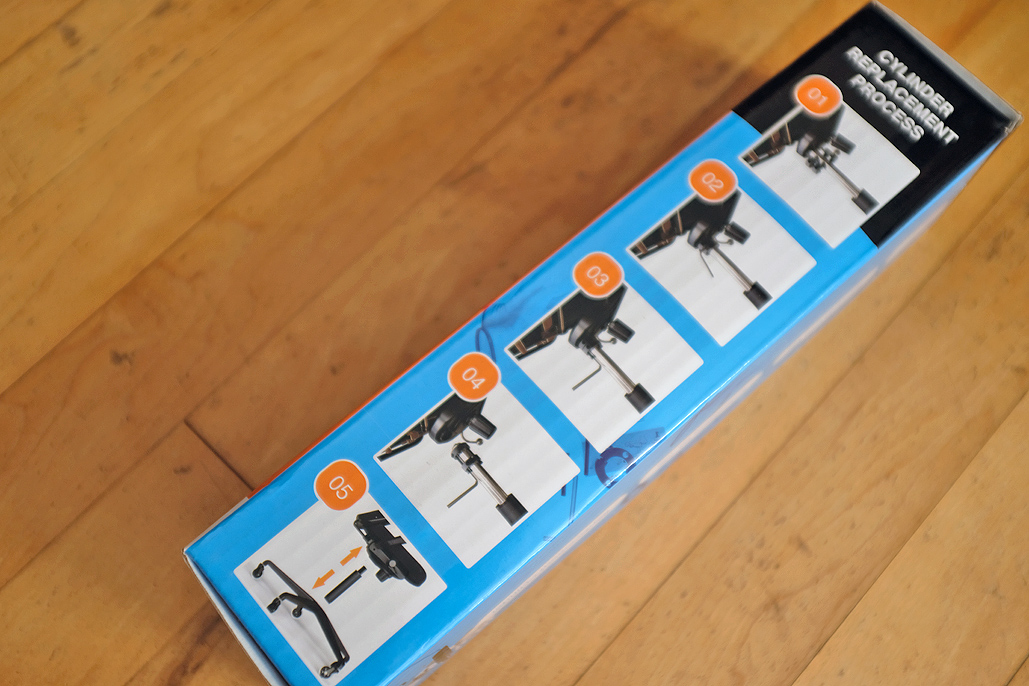
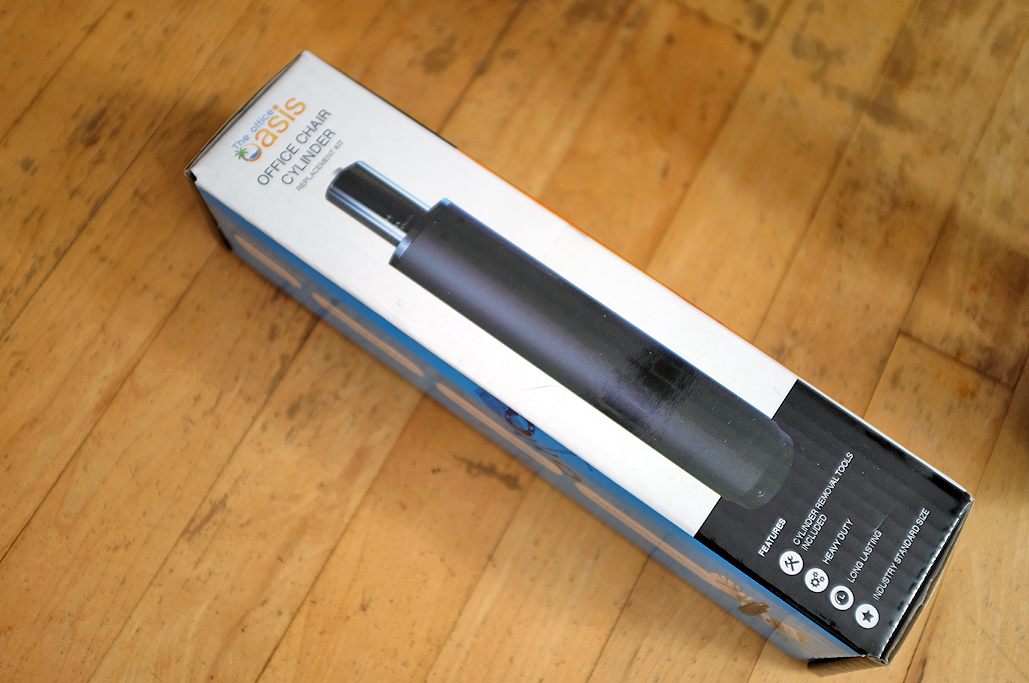
A search on Amazon led us to The Office Oasis, which provided us with everything we needed. Not only did they offer instructions on how to do the repair, the package we bought from them included both the right part AND the tools to the job!

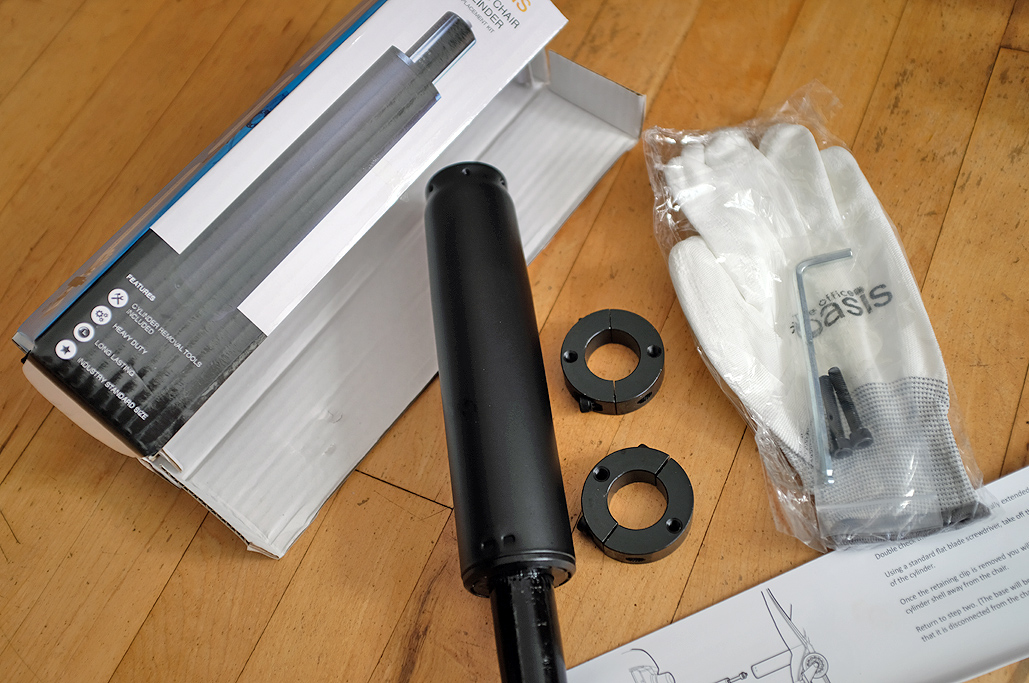
The Office Oasis’s Cylinder Replacement Package contained:
- Class-4 pneumatic piston cylinder
- Cylinder removal tool and gloves
- Detailed step-by-step installation instructions
- Money-back guarantee
- 6 year warranty
Because we ordered this from Amazon during Christmas, the package arrived in a few days without having to pay extra for the fast service!
BTW, it seems to us that whatever is ordered around this time of the year gets 2-day shipping, whether you pay extra for it or not…
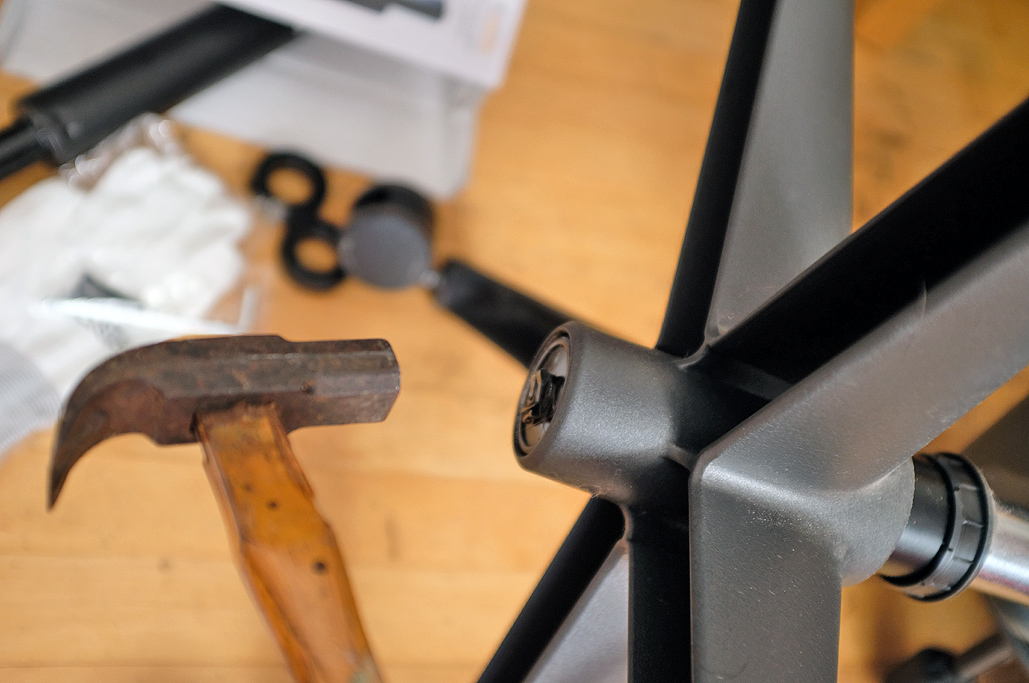
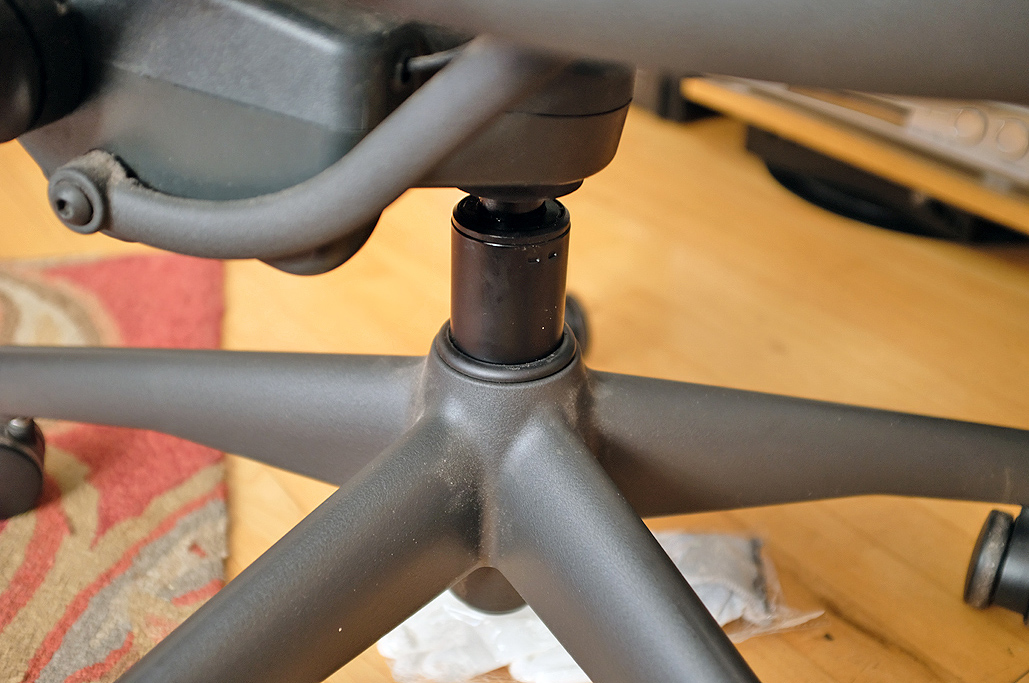
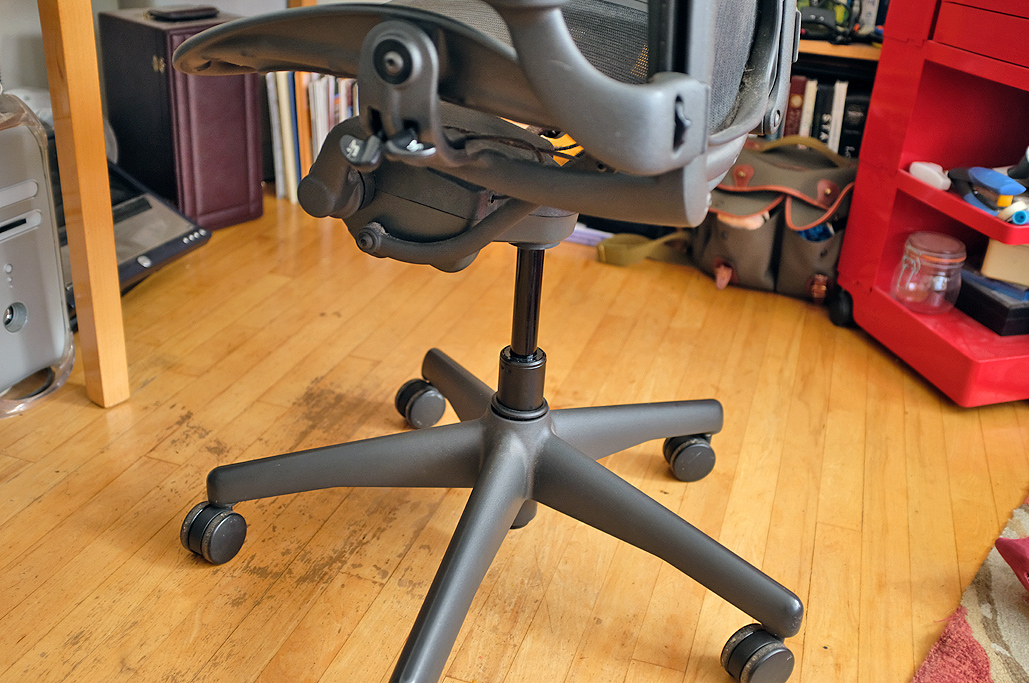
Step 1: Remove the wheeled base

With the cylinder extended as much as possible, brace the base so it will not move when you whack the bottom of the cylinder…yes, whack it! (The bottom of the cylinder is the dark piece sticking out of the bottom of the base.) The instructions suggested a rubber mallet, but any hammer would do. If you have people around, have them turn the chair upside down and hold the base while you whack the cylinder, and let gravity give you a hand.
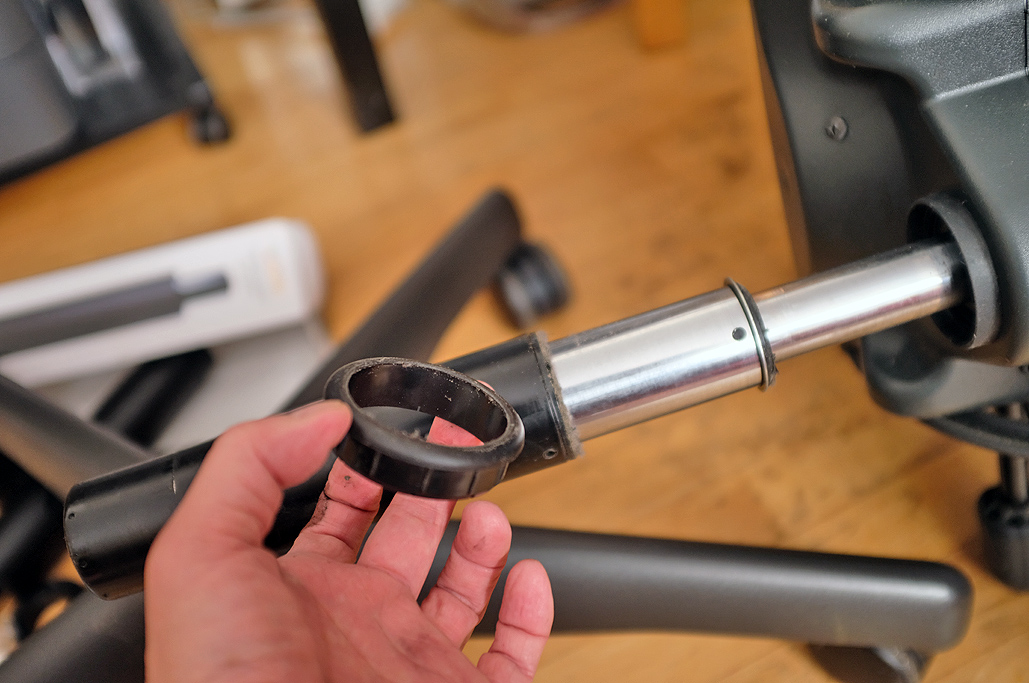
The key here is to not let the base move when the cylinder is being whacked. After a few strikes, the cylinder should slip out the top of the base as it is only wedged in place by a plastic collar at the top of the base. Don’t lose that 🙂

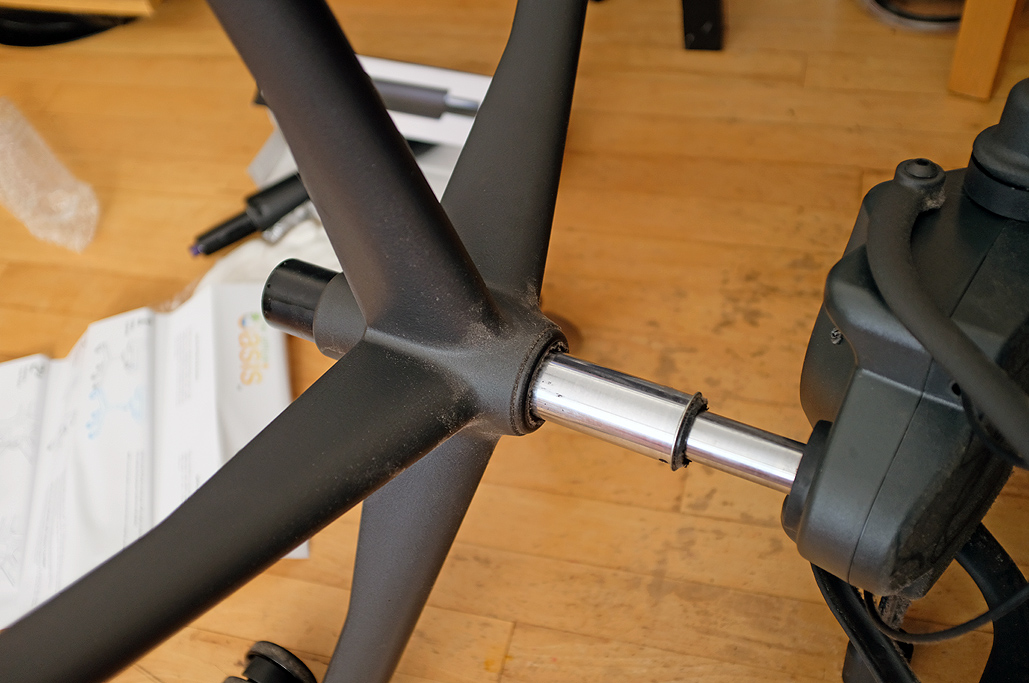
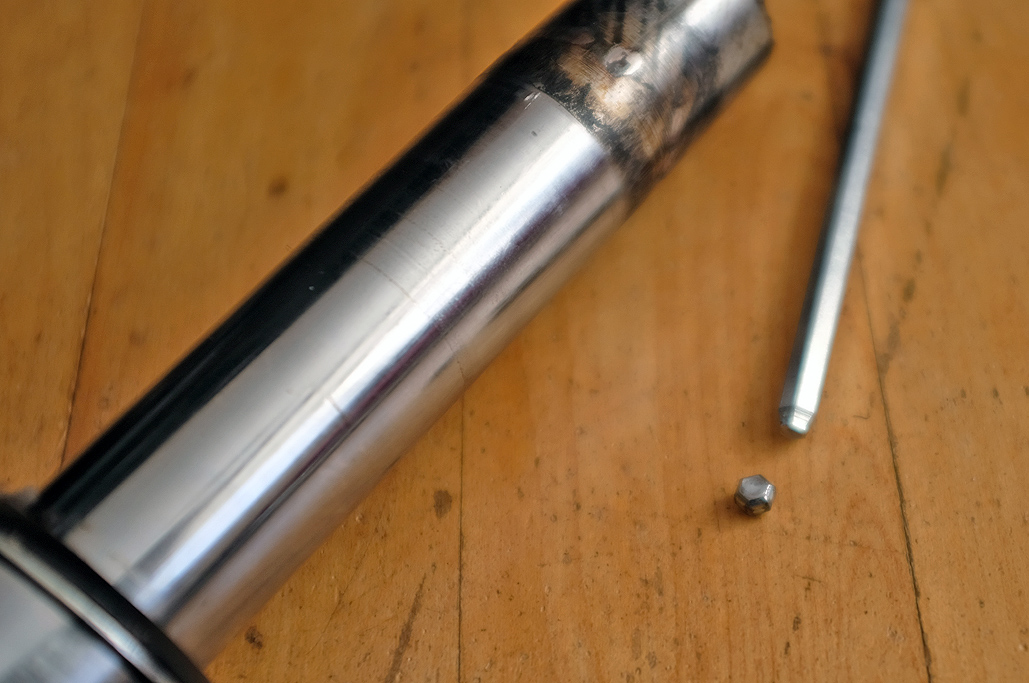
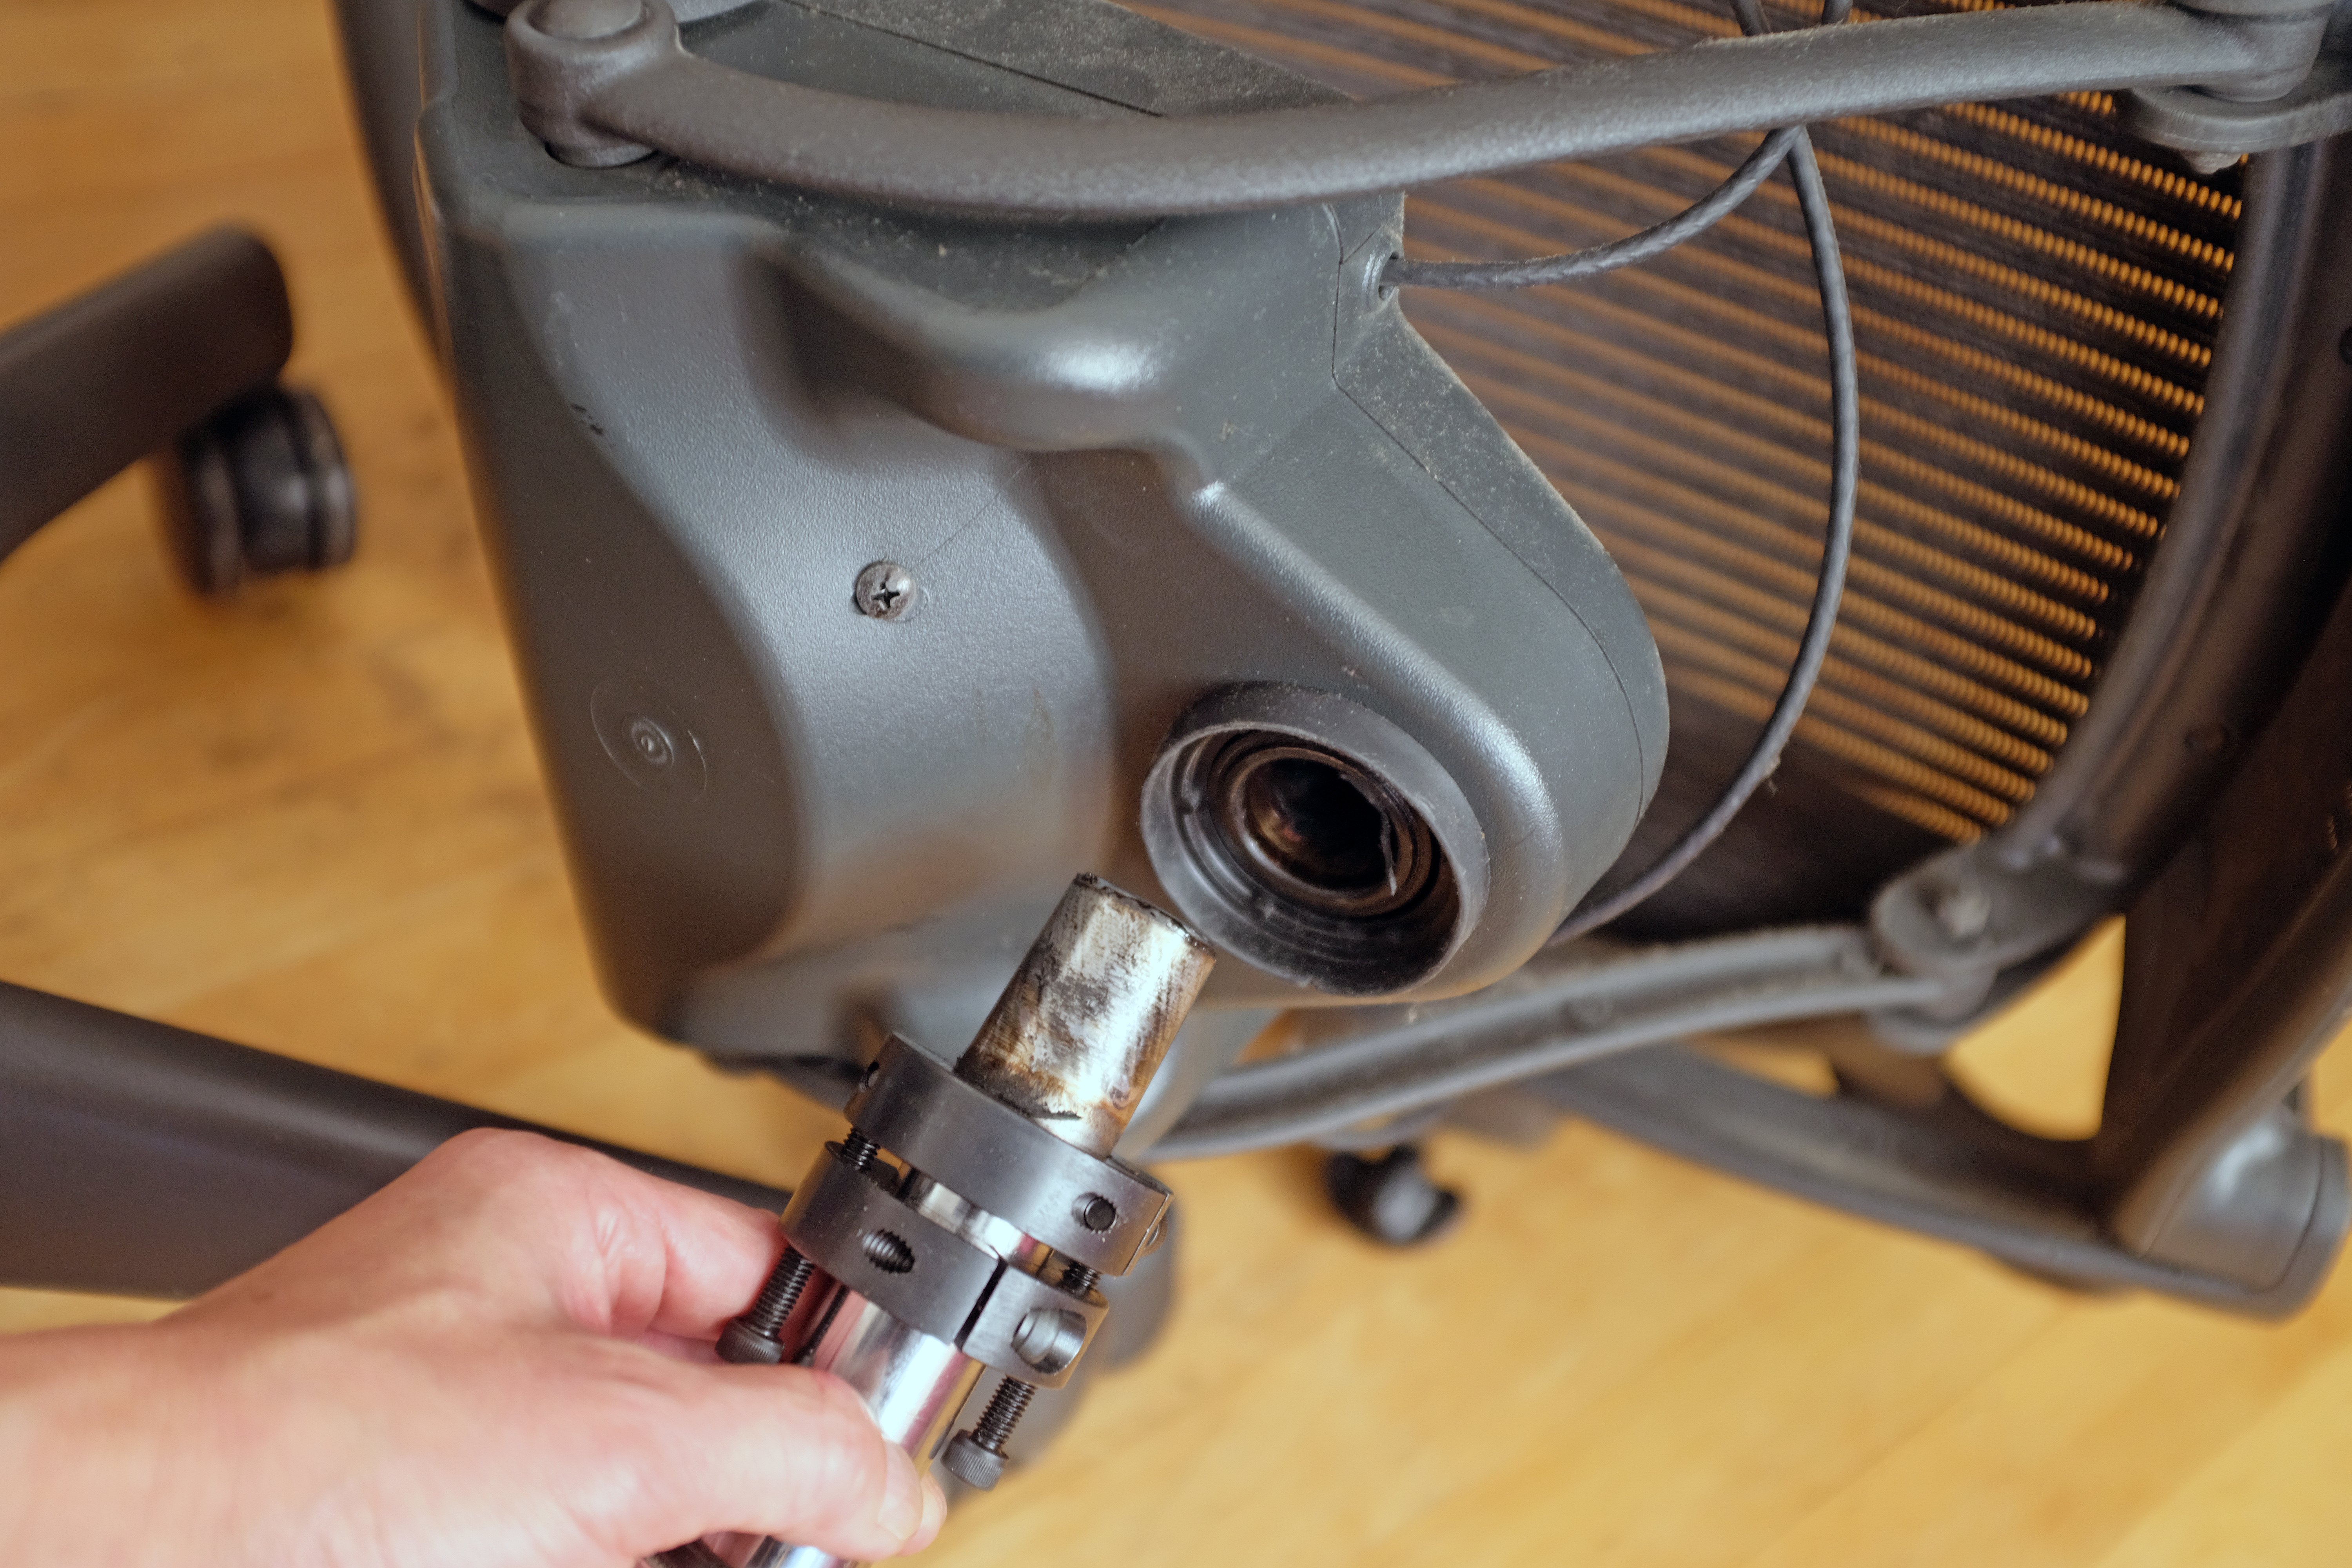
Step 2: Remove the old cylinder
With the base separated, remove the cylinder from the column. Sounds simple (if you were the HULK), but a “special tool” was supplied for this step (for everyone who is not the HULK), so…it wasn’t. Was. Kinda.

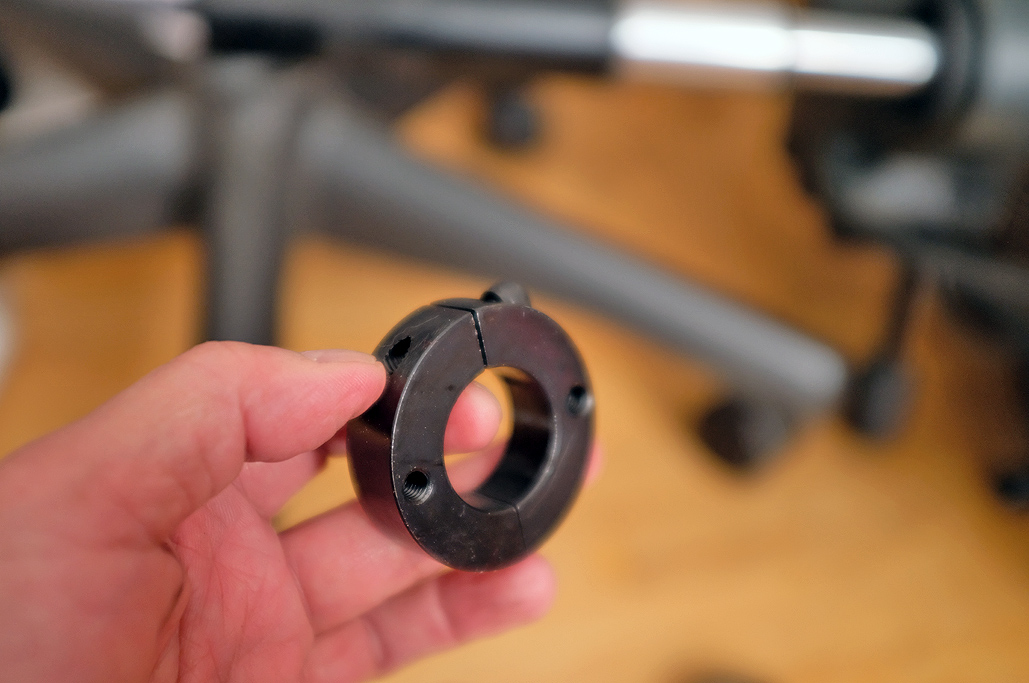
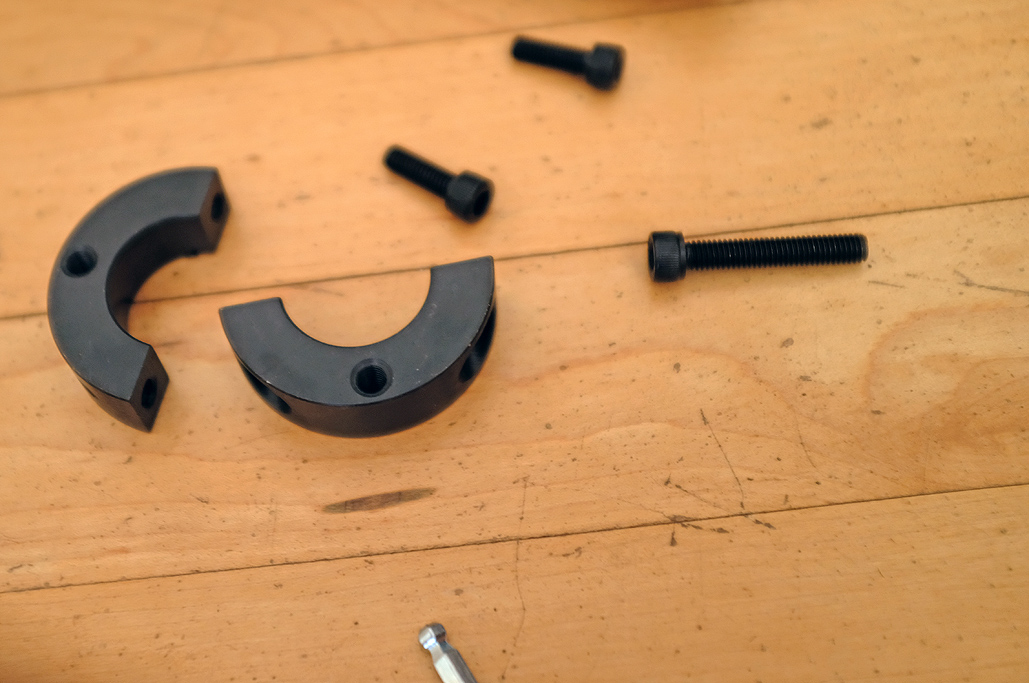
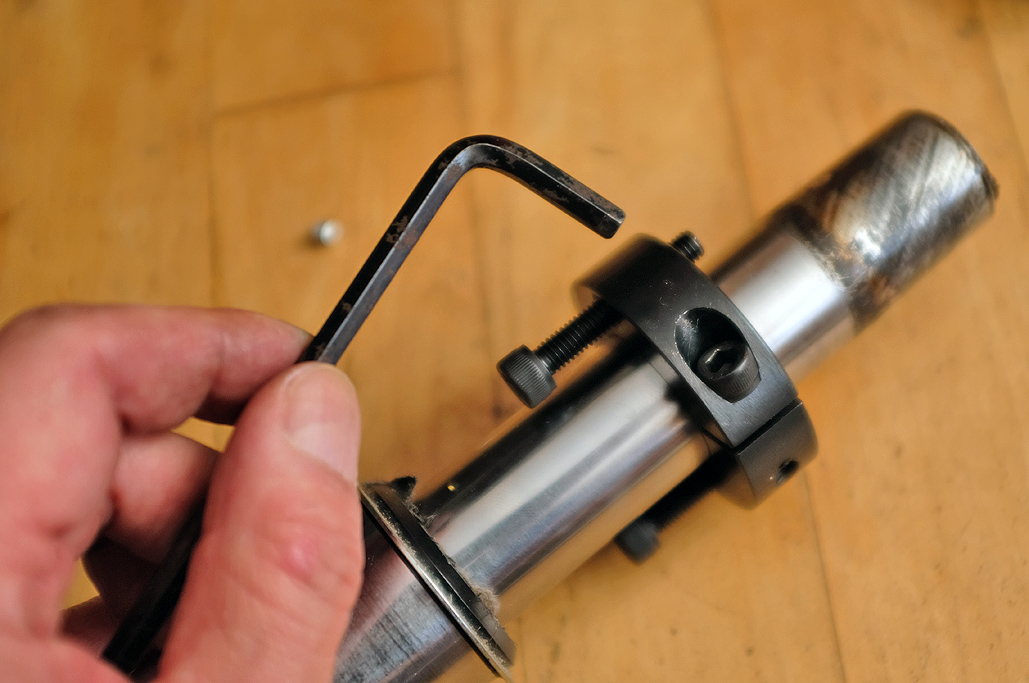
The tool consists of two collars and two long bolts. The collars have two halves that clamp around the stem of the old gas cylinder. When the collars are attached to the old cylinder, rotating the long bolts will push the two collars apart (the two collars, not the two halves), thus “pushing” the seat away from the cylinder.

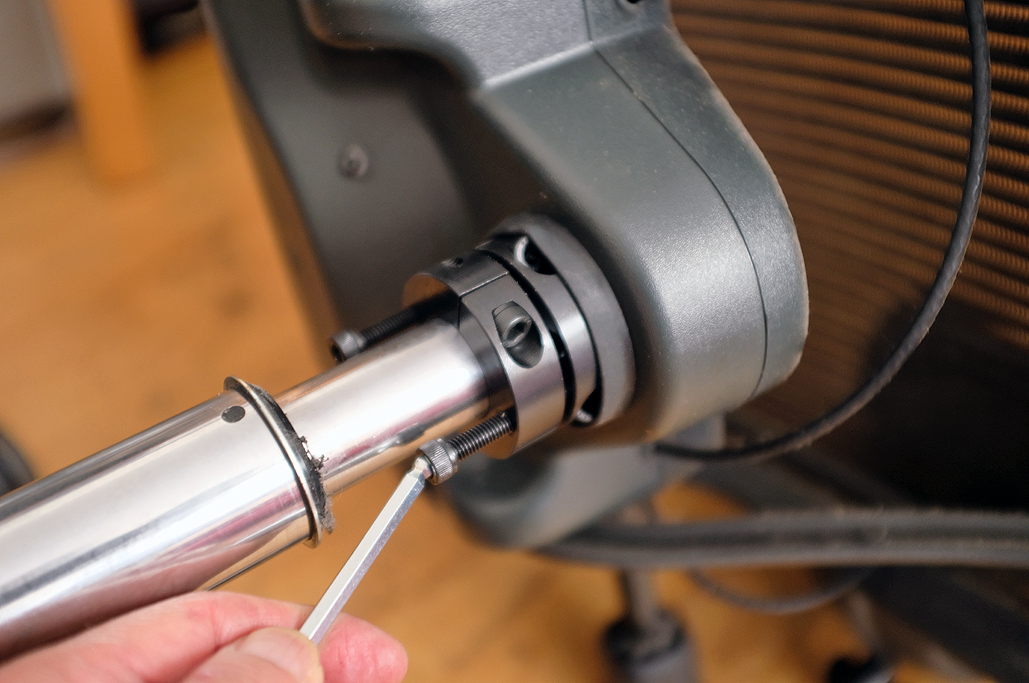
The first collar needs to be attached loosely so it can slide along the cylinder. This collar is meant to push the seat off the cylinder, and clamping it tightly around the cylinder would prevent that. The ball end of the hex key is used to adjust the bolt, as there may not be enough room for the other (long) end.

This next step was trickier for us, but hopefully you will be able to learn from our experience.
Attach the second collar right up to the first one, but rotate it 90º so the holes of the two collars are not aligned. This is so the long bolts that go through holes of the just-attached collar do not end up going through the holes of the loosely-attached collar. You want the those bolts to PUSH ON the that first collar, not GO INTO that first collar.
If you see a long bolt threading into the collar but don’t see the two collars moving apart, then the bolt is GOING INTO the other collar…which is not what you want.
Also, it is IMPORTANT that the second collar be on the stem AS TIGHT as possible. This second collar, unlike the first one, should remain unmoving on the cylinder, or this method will never work.

DO NOT use the ball end of the hex key or you will break it off! Trust us on this. Use the short end of the hex key for this tightening step. (The ball end is good for odd angles, but cannot take the stress of being twisted)

Alternate between the two bolts when turning them. You might run out of room on the bolt with the seat is still on. We had to reposition the bottom collar twice before we could push the seat off. Make sure that bottom collar is clamped onto the stem TIGHT each time after moving it! After moving the collar a few times, we finally were able to get the seat off the old cylinder.

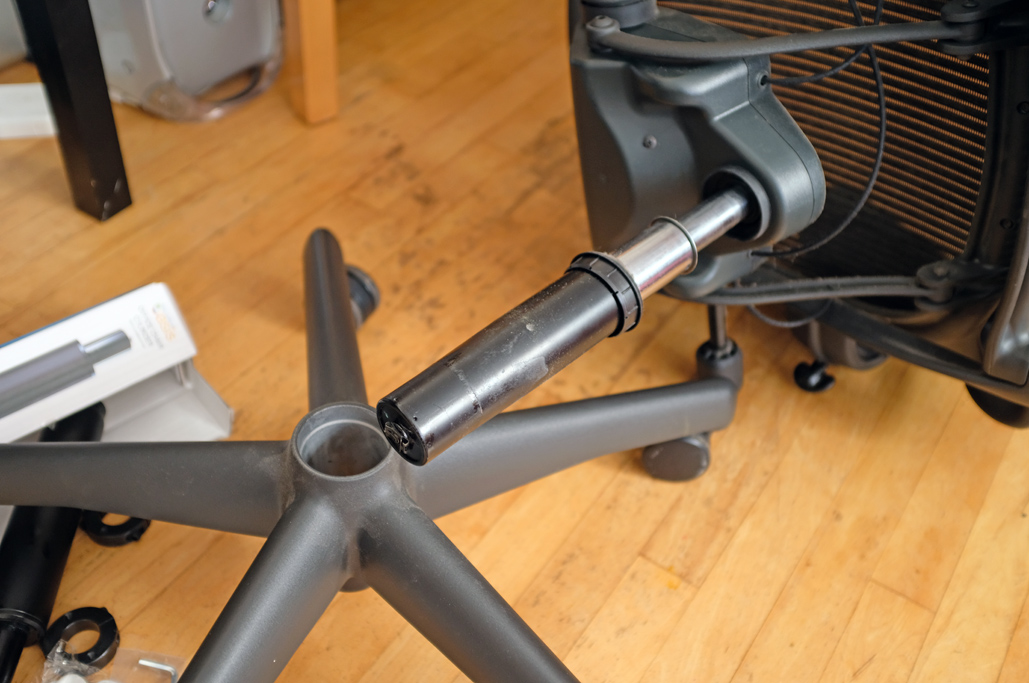
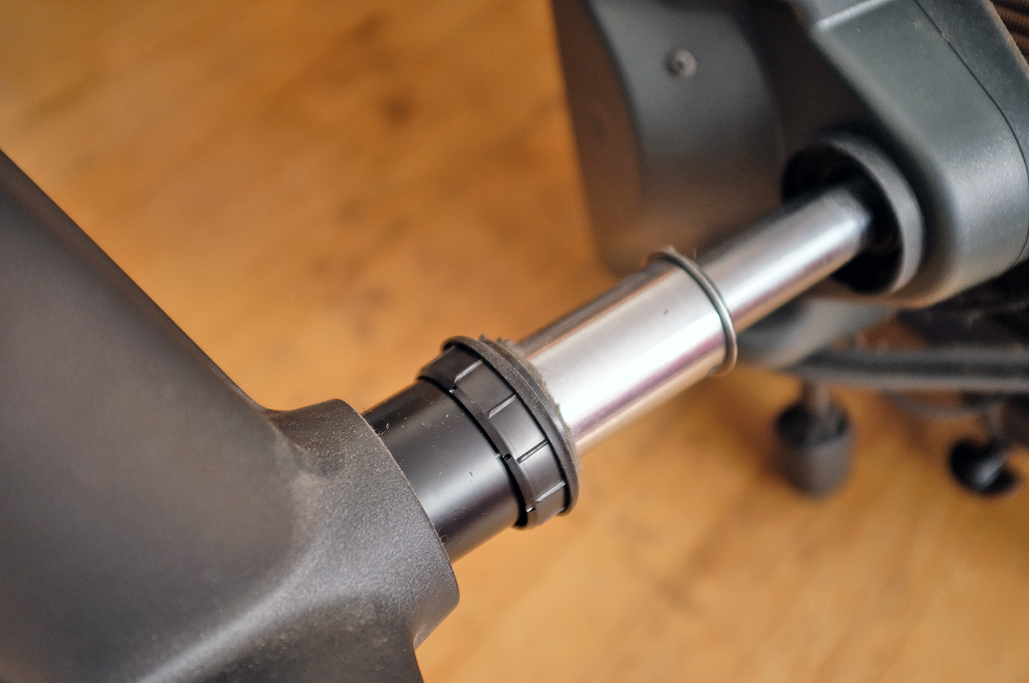
Step 3: Install the new cylinder

Slide the plastic ring (which you saved from step 1) onto the new gas cylinder, place said cylinder on the wheeled base, and finally slip the seat onto the the top. Done and done!
Step 4: Test
Of course, the proof of a successful DIY repair is the “live test.” Passed with flying colors!!!

This DIY is do-able by anyone. The only tool not supplied with the package is the hammer. It took us about 20 minutes to complete the project only because it was our first time. If we had to do it again, we could probably do it in five minutes…it is really that easy, if you get what we got for the job 🙂
Amazon links to items mentioned:


I Bel eve the aeron chair has different types of initiator mechanism for the cable head. Some are top others are side ways. Found nd an old chair and can’t figure out what years it is. I did see a strong xker inside the plastic cover fro. 2013
Couldn’t have been easier! Replacement only took an hour because I gave the chair a deep cleaning as I was going. My cylinder had completely exploded, so I think it was far easier to remove the cartridge from the base (because the rest of the chair was already separated.
Thank you for the detailed suggestion.
The chair minimum height is about 2″ taller than before with the single stage piston. This may work well for many people but not if you’re short. Does anyone sell the original two stage cylinder?
Worked perfectly, I have a chair looking very much (some visual differences like a chrome cylinder) the same but I do not know the make or model. Still ordered the parts+toolset and followed the easy steps. And have a working chair again. Thanks!
For step 2, my base no longer is clipped to the cylinder. A bearing ring or something inside was cracked, so my cylinder now pushes out through the hole of the base when extended.
Can I loosen the plastic ring from the base if I hit the legs of the base on the top sides, pushing down?
[SOLVED]
I put a block of wood over the end of the base and rod and smacked that with a mallet until the base ring popped loose. The wood block kept both base and rod from moving separately.
Thanks for the article. Is the replacement cylinder 2 stages like the original? Does it raise to the same height?
It does raise the chair to the same height as the OEM cylinder…at least in our case 🙂