Starlight Instruments – FeatherTouch
Microfocuser for the Celestron C6
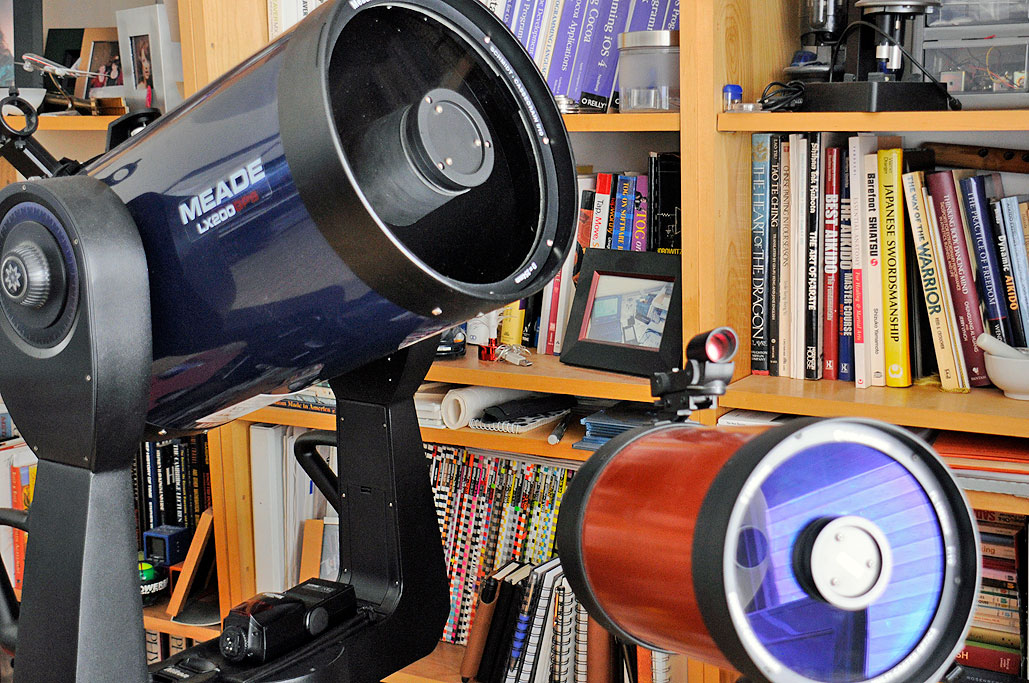
Six years ago we installed a Starlight Instrument’s FeatherTouch micro focuser onto a 10″ Meade telescope. A micro focuser is probably one of the most impactful upgrades one can do to increase the performance of a good telescope. Even though we use our 6″ “grab-and-go” Celestron a lot more than the 10″ Meade, especially for moon and planetary observations, we never got around to upgrading that telescope as well. We are not really sure why it took us this long, but we finally did it this weekend.

Starlight Instruments (SI) offers micro focusers for quite a few telescopes. It is important to get the proper retrofit unit as they are model-specific. Even within the same model, there can be changes over time. If in doubt, ask the folks at SI; they know their stuff and are very responsive.
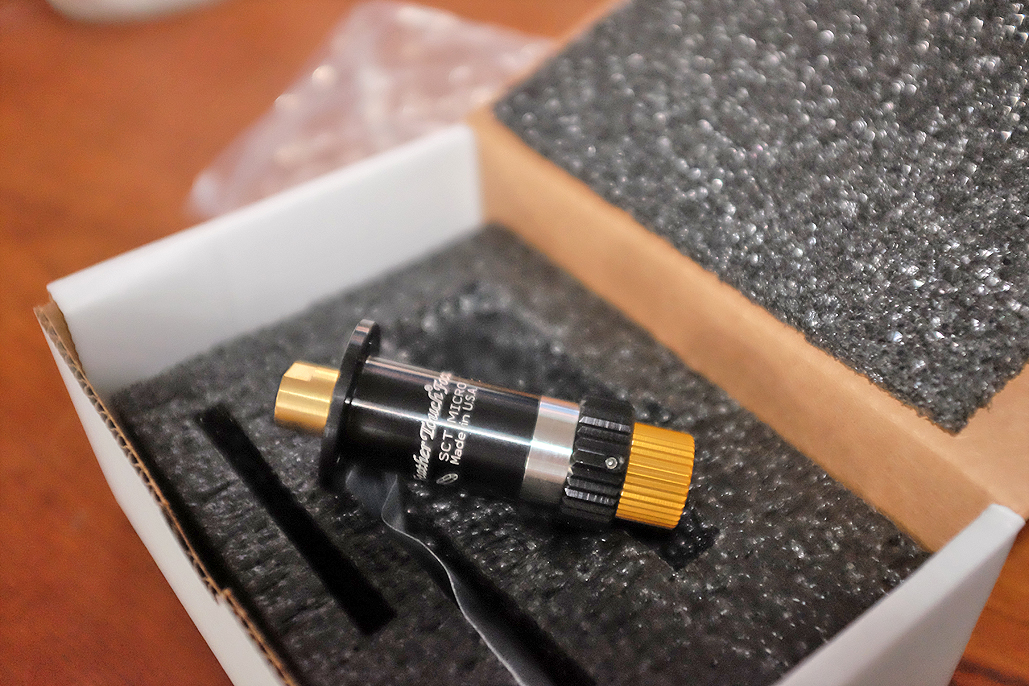
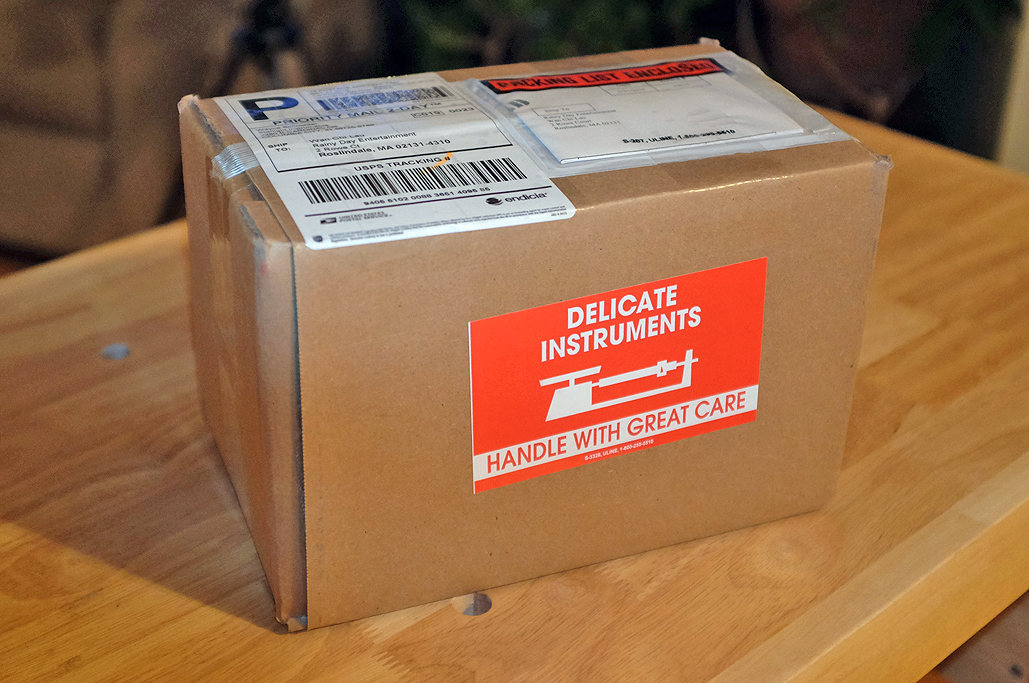
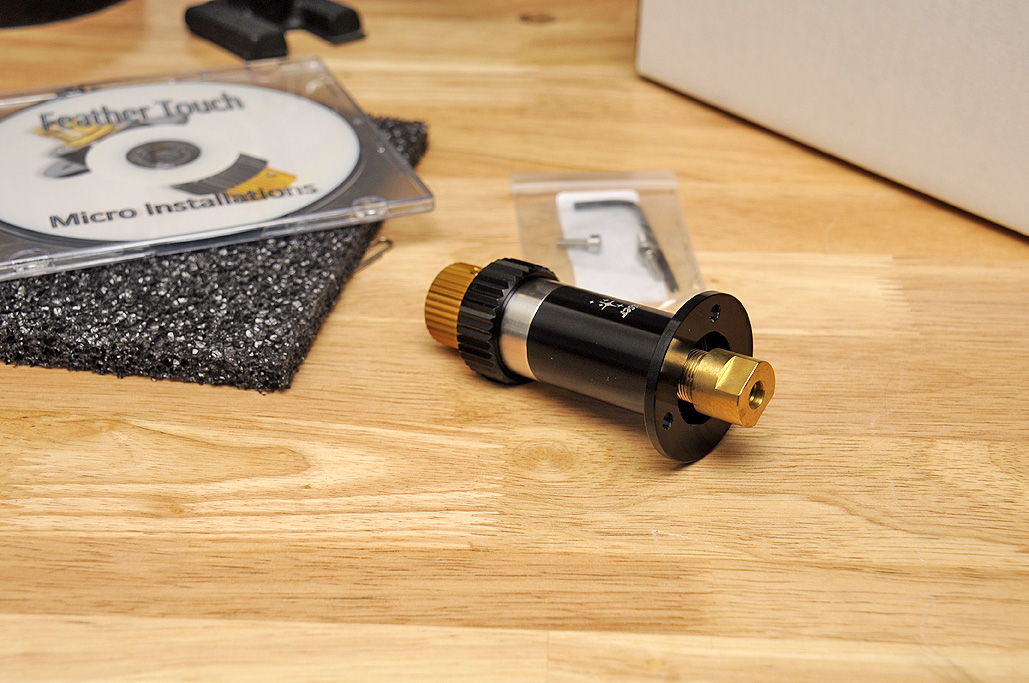
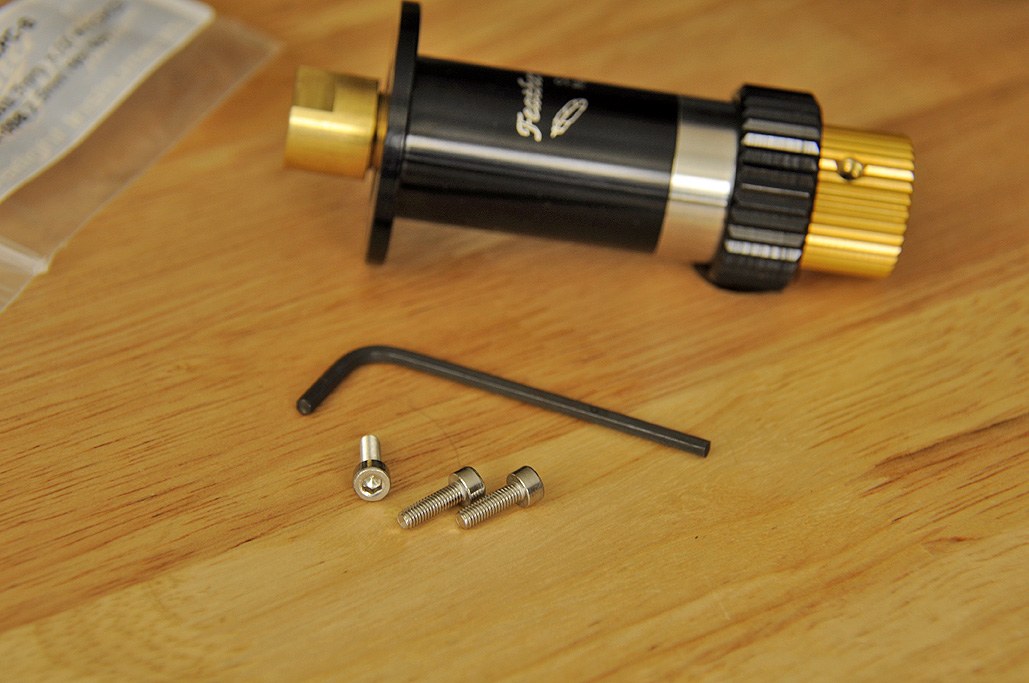
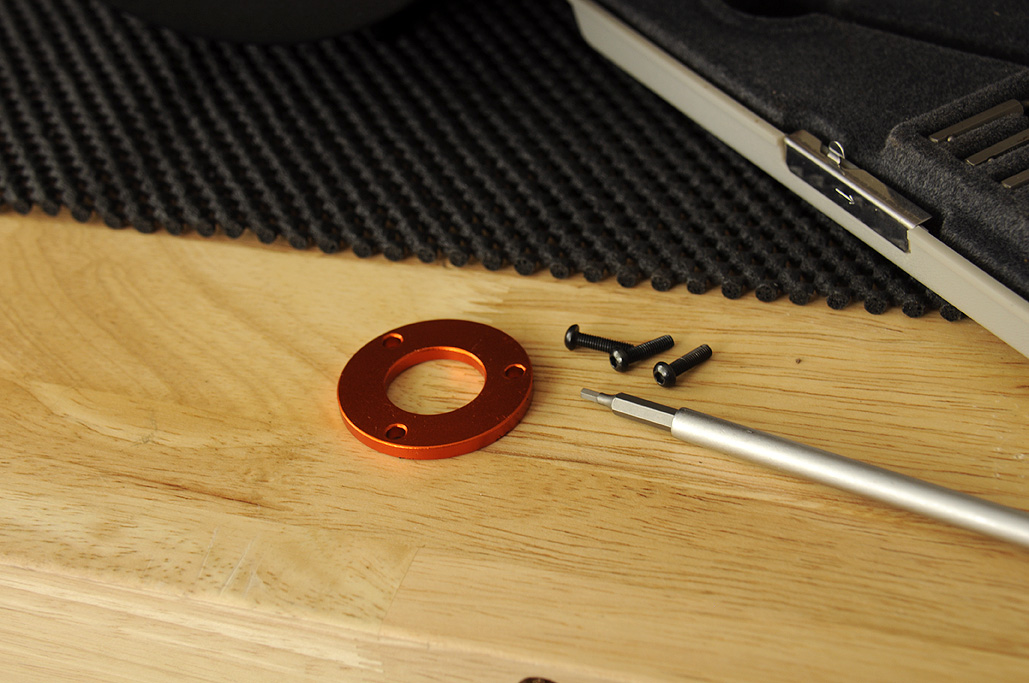
Our FeatherTouch came securely packaged and well protected (double boxed and protected by a custom-cut foam insert). We thought the external label was a nice touch 🙂 In the box is a CD with installation instructions, the micro focuser, and a small bag containing three stainless steel machine screws and a hex key.

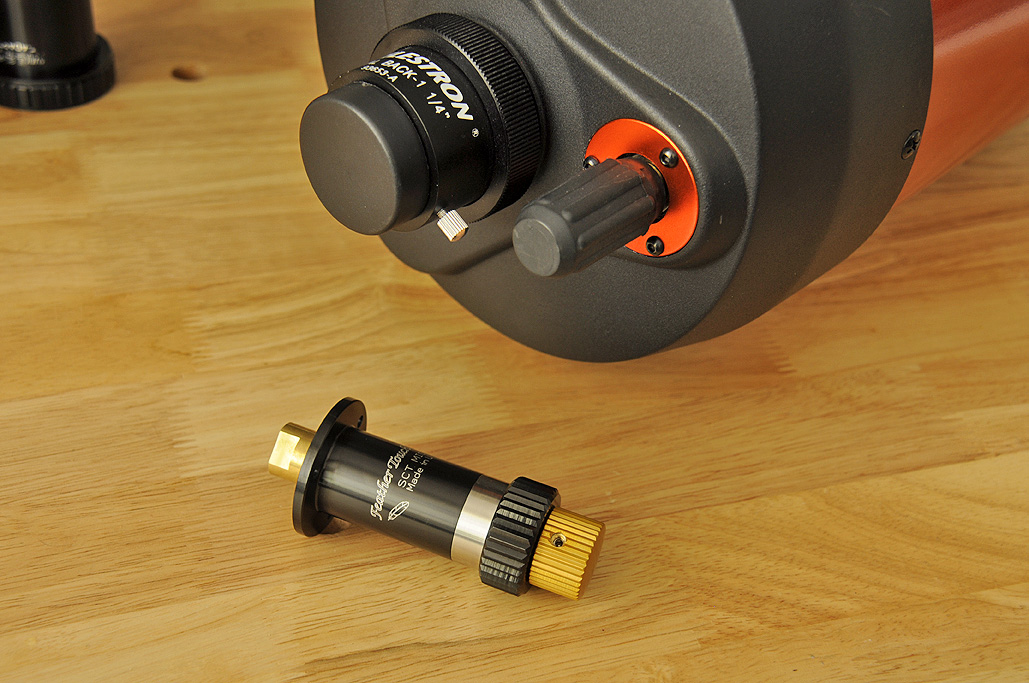
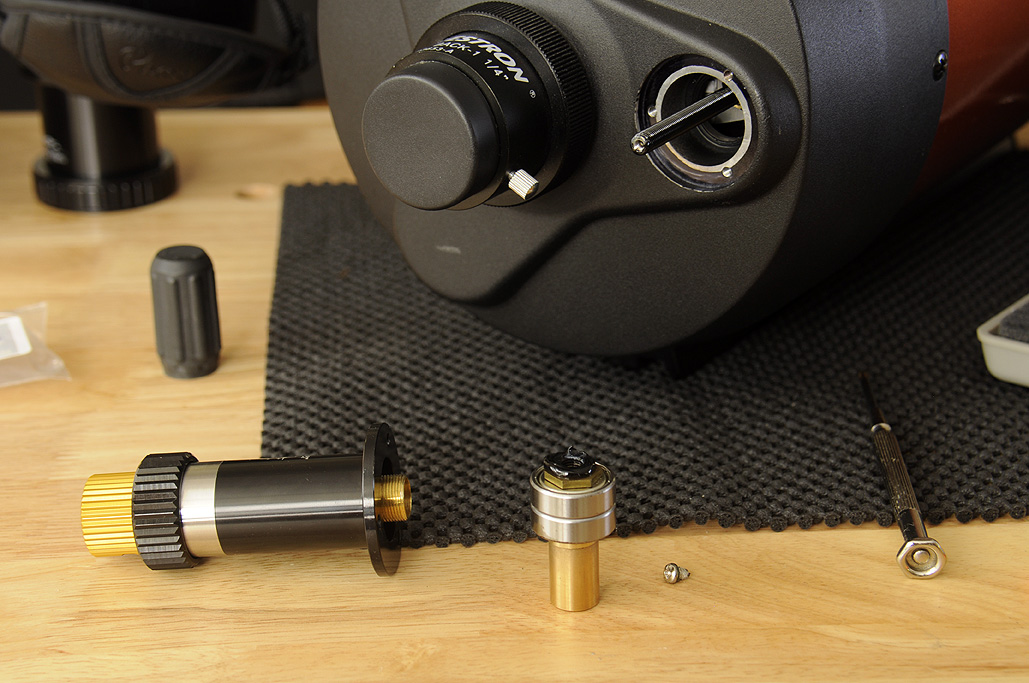
The differences in the two knobs are pretty clear. The OEM focus knob is about two inches long, has a rubber sleeve, and ridged to provide a good grip. The FeatherTouch is about an inch longer and has metal teeth on both of the knobs. Having metal teeth on the knobs is helpful if one wants to attach a motor to control the knob remotely.

Removing the OEM focuser and the installing the Starlight Instrument until went exactly as per SI’s excellent instructions. We have documented the major steps of our installation and commented as appropriate to further clarify certain steps.

- Remove rubber sleeve: We were not able to just pull the sleeve off and had to kind of pry from the back to work the sleeve off the stem.
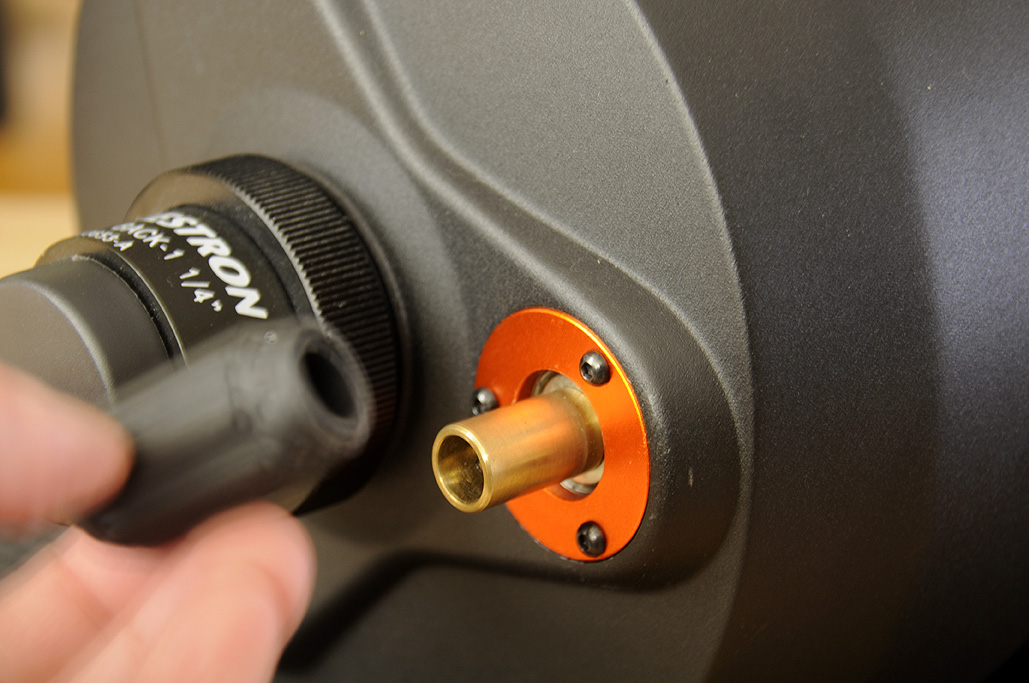
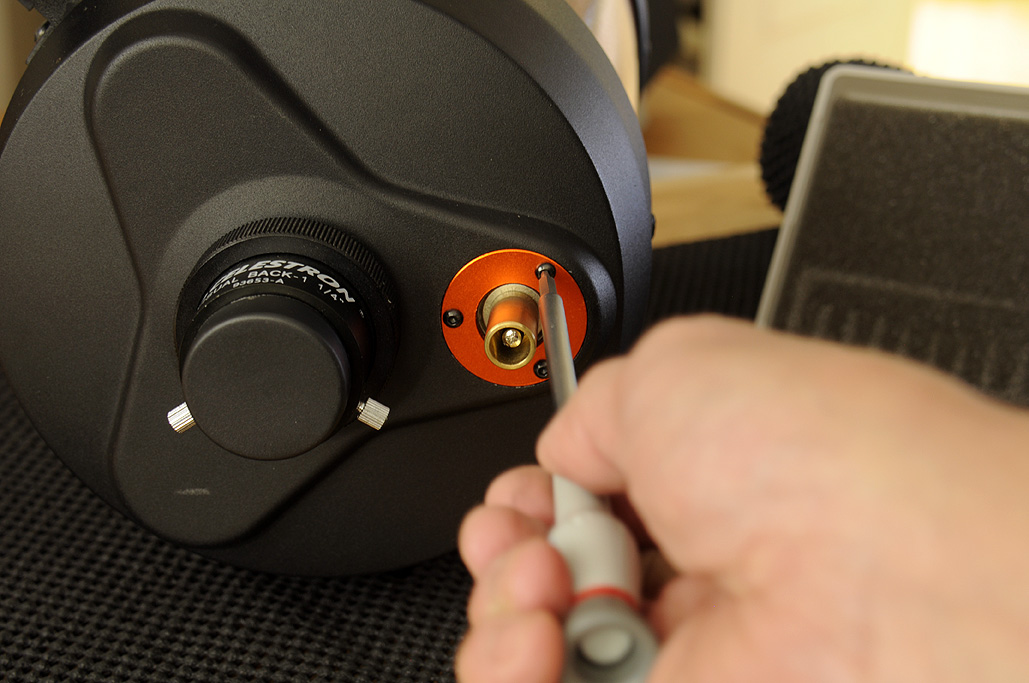
- Remove three screws and metal orange cover.
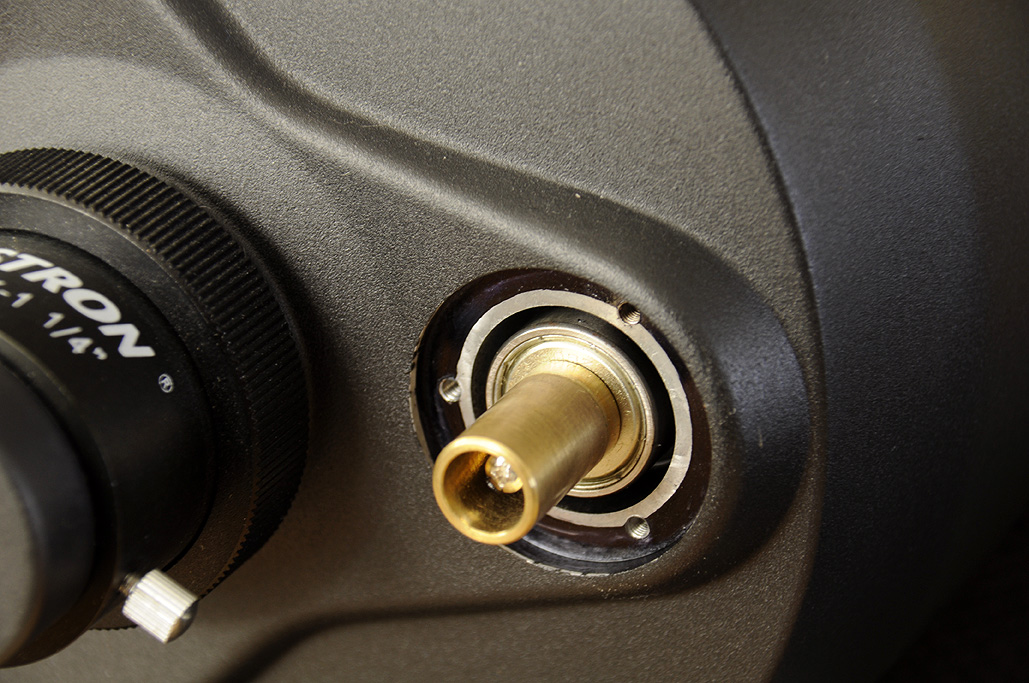
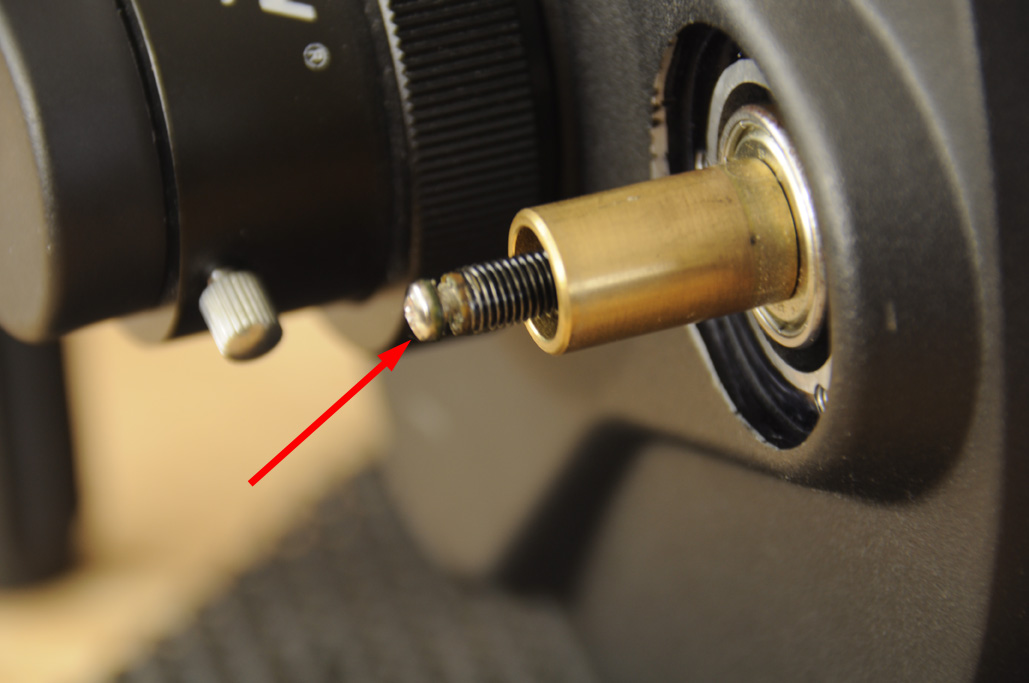
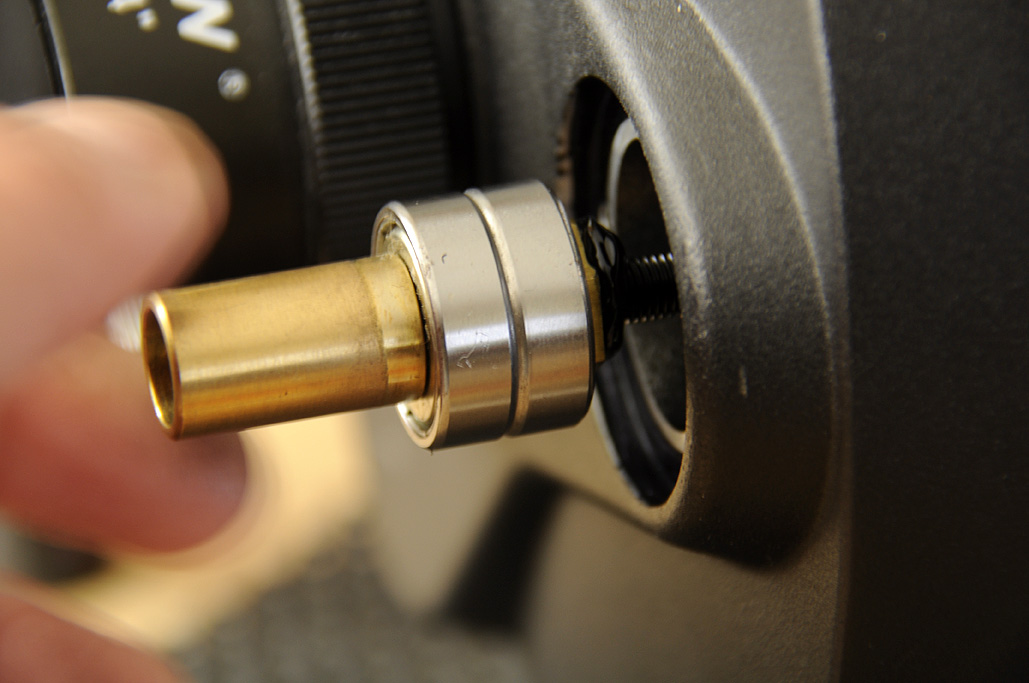
- Turn the brass stem clockwise until the locking screw is exposed.
- Remove the locking screw.

- Remove the focusing assembly by turning it counter-clockwise (mind the grease).
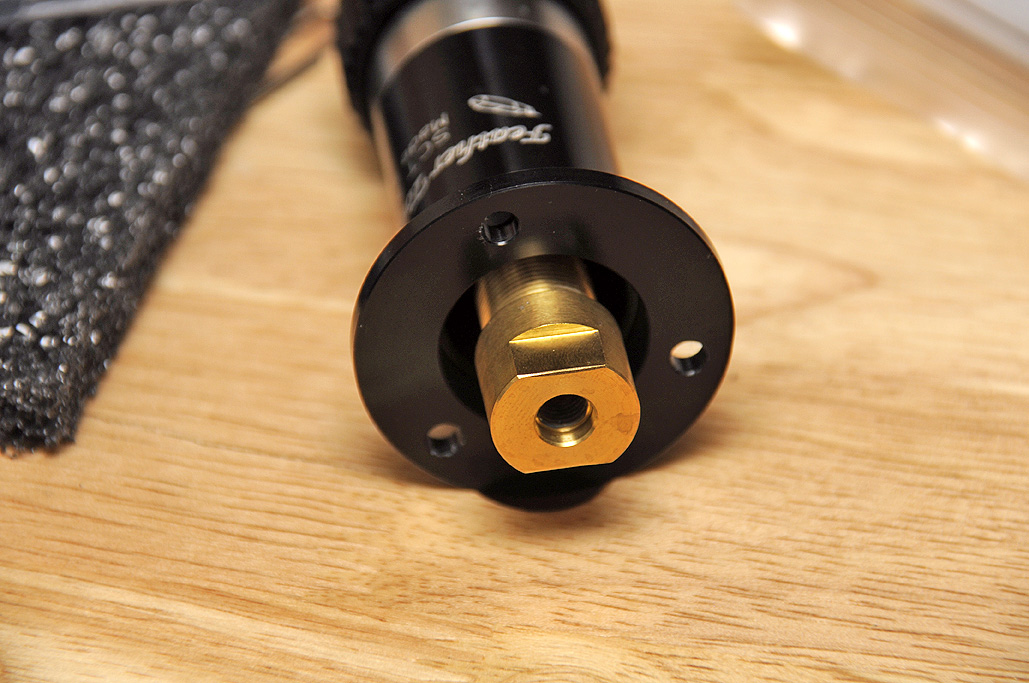
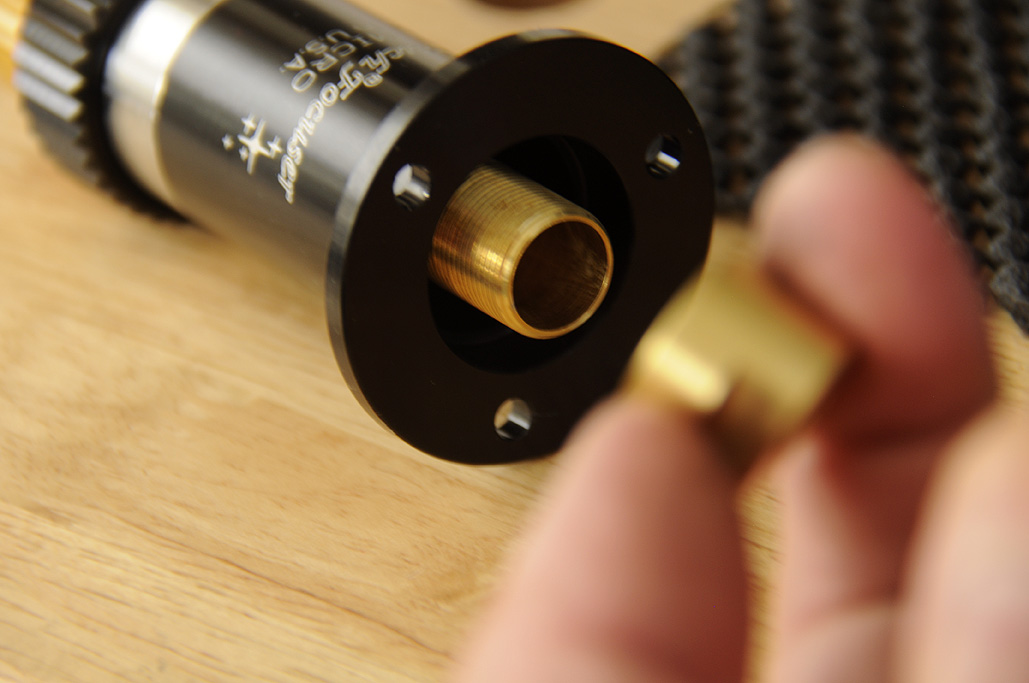
- Remove the nut from the FeatherTouch.

- Thread the FeatherTouch nut onto the shaft.
- Re-install the locking screw.
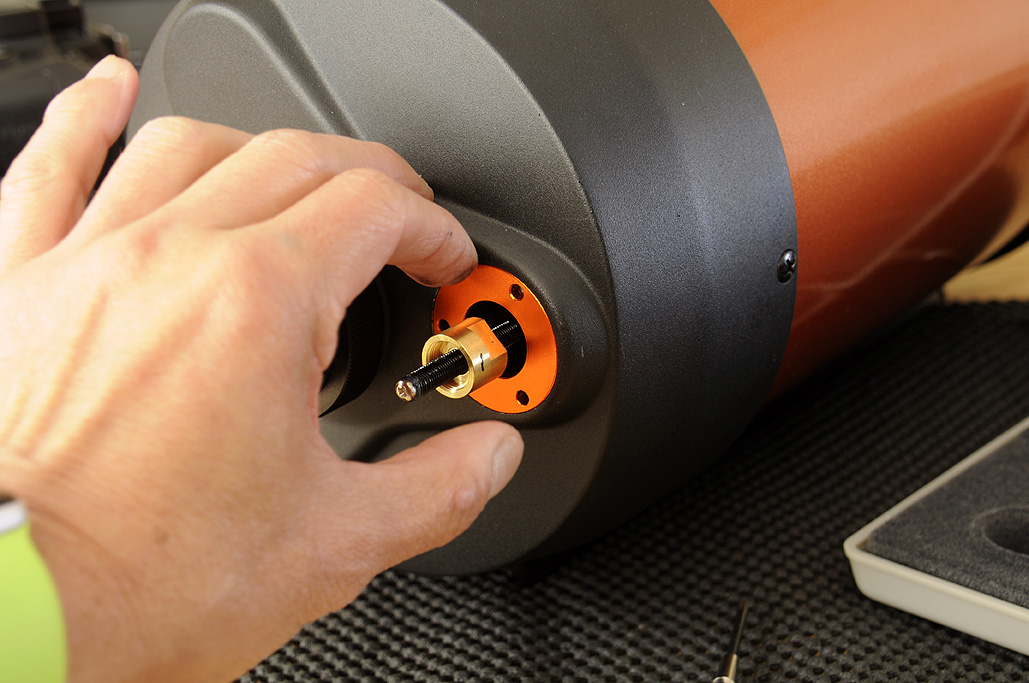
- Replace the orange metal cover (note the alignment of the holes).

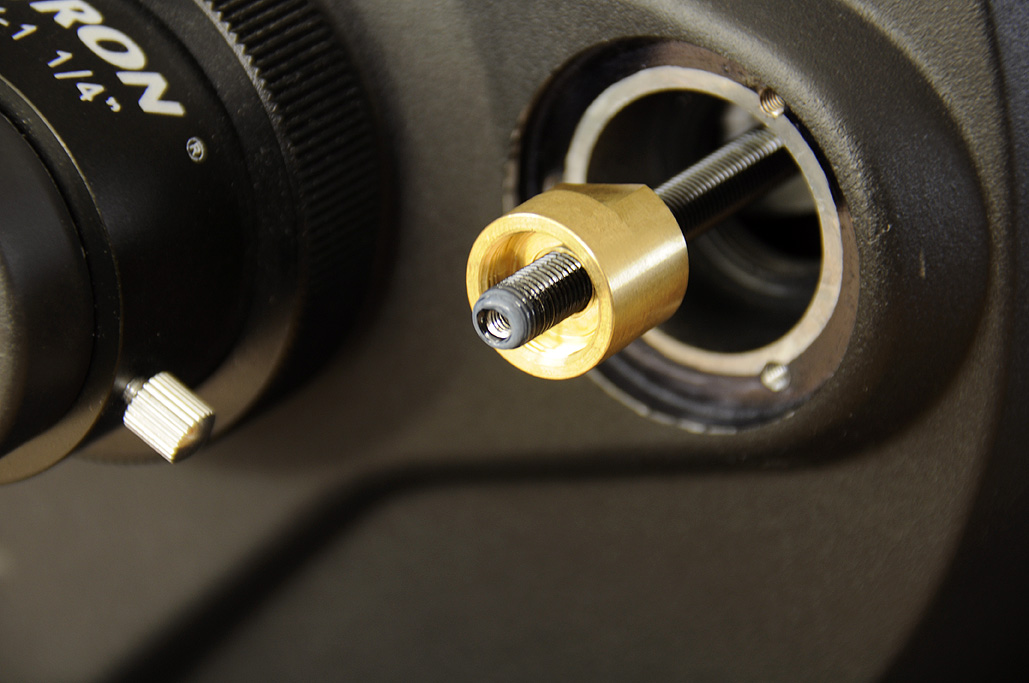
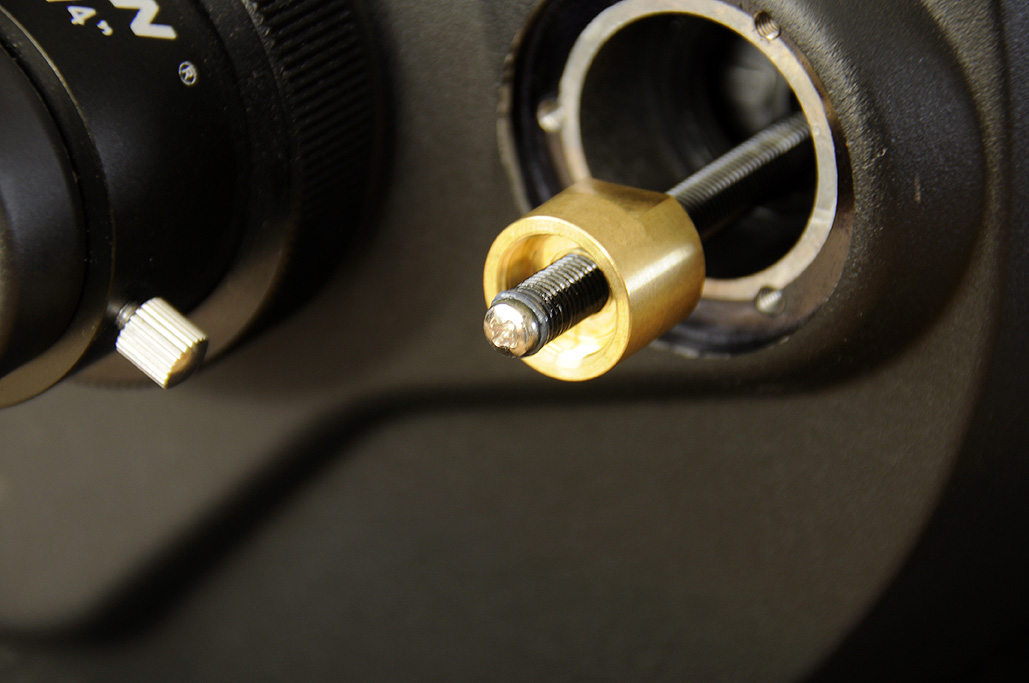
- Thread the FeatherTouch into the brass nut.
- Tighten the brass nut against the FeatherTouch (will need to turn it against a wrench).
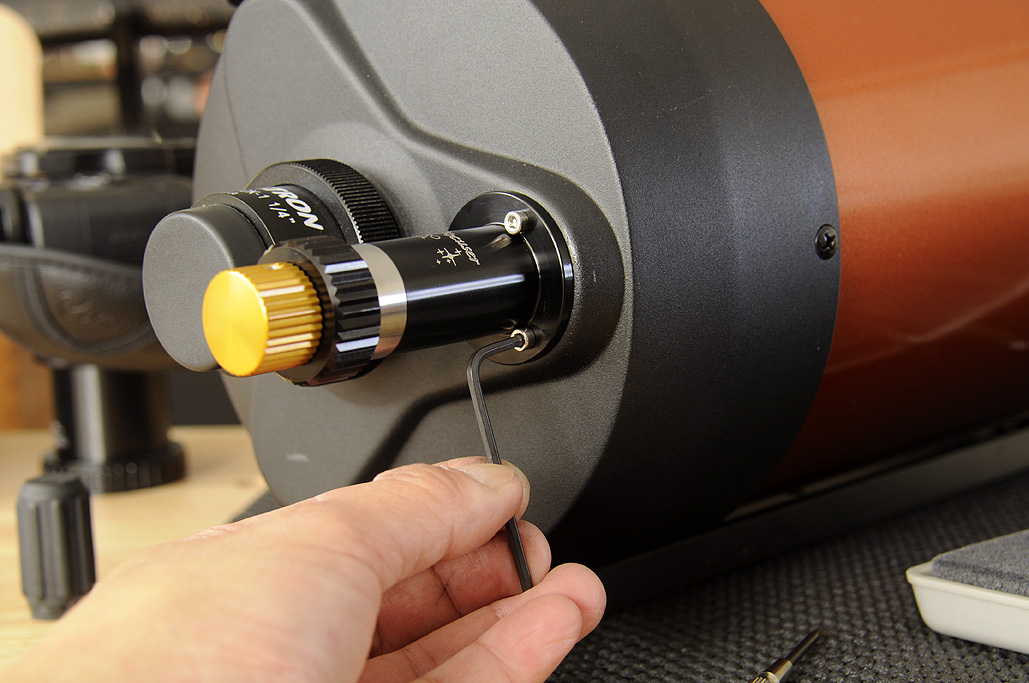
- Turn the FeatherTouch clockwise until it is against the orange cover, take care to align the holes, then install the three stainless steel machine screws to lock things down.

The installation took us about 30 minutes, including the time it took to take the photos. After we completed the installation, we attached some gear just to make sure everything was operational. The new focuser worked exactly as expected. It was pretty exciting to be able to make the super-fine adjustments without having to rely on luck and the constant back and forth.


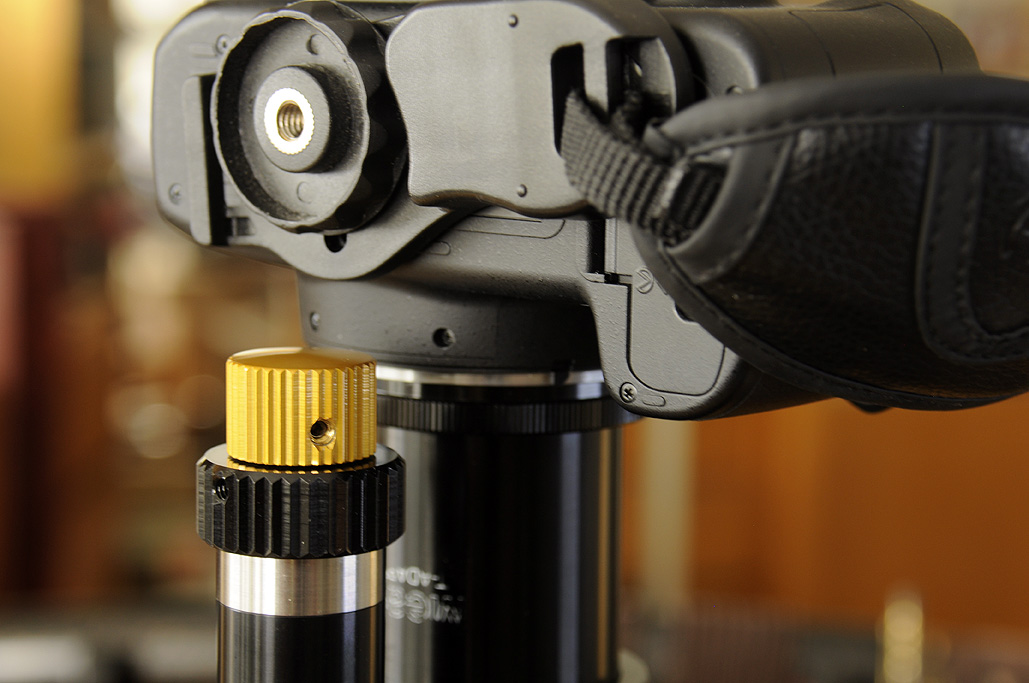
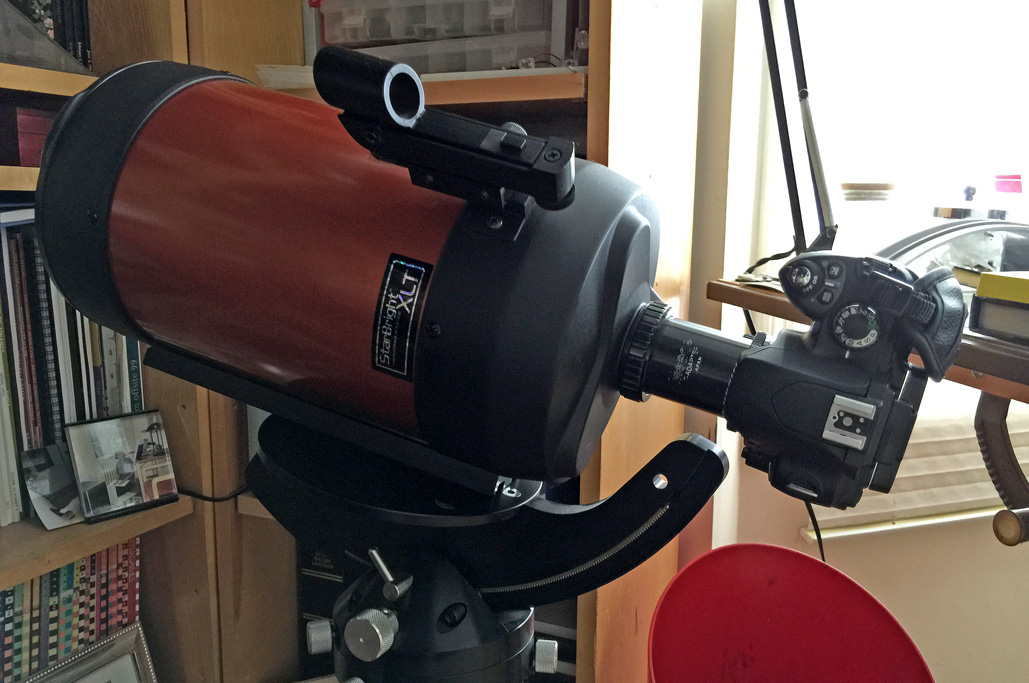
One thing we did notice which is not really a big deal and more of an FYI. We noticed the grip of our Nikon D40 body did not clear the FeatherTouch stem when attached to the OTA using a standard T-adapter. This means we will only be able to use the camera in portrait mode.
While this upgrade will be useful even just for casual viewing, we expect that it will be especially helpful to us in our astrophotography efforts. We are looking forward to some clear skies and hope to have some results for comparison soon!


A great set of instructions … and excellent photos. One thing I noticed, though, is that you installed it OVER the orange cover. Other instructions I have seen on the web do not use that cover. Is that a mistake, or are the other instructions using a newer version of the focuser?
Yes…it was installed over the orange support plate. There is no reason NOT to use that support plate as the plate of the new focus knob sits outside and over the hole, not in it.