Fuego Element Grill – Assembly
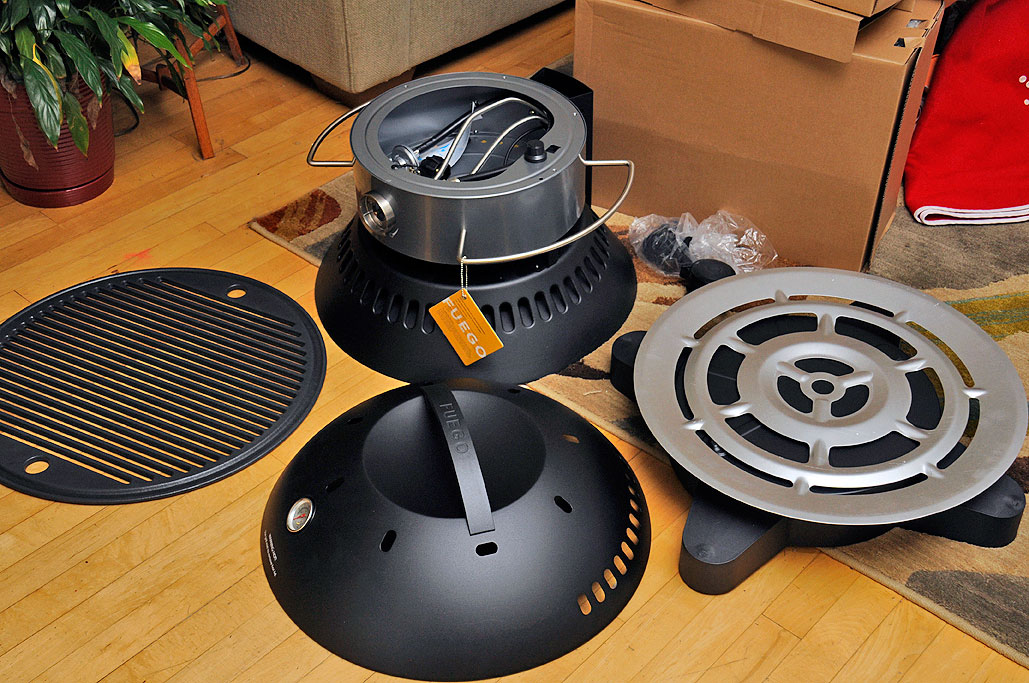
Unpacking the Fuego Element Grill was straightforward enough: cut the box, lift out the pieces, and make sure everything is accounted for. Would putting the grill together be as easy? After looking over the directions, we were pretty confident that the assembly phase would go smoothly as well.

The Fuego Element Grill is comprised of four major groups: cover/grate, burner, stand, base. Some just needed to be placed (cover/grate, burner), others required some assembly (stand, base). Following the instructions which came with the unit, the general sequence was:
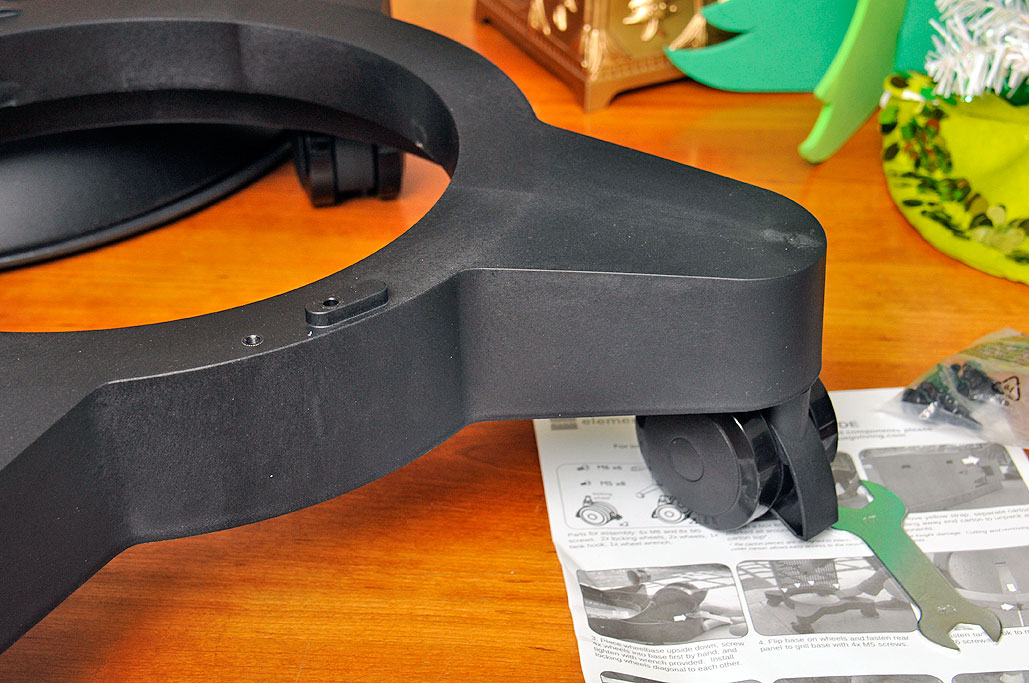
- Attach the wheels to the base
- Install the body panels
- Mount the burner
- Attach the remaining bits
The directions were quite detailed and did an excellent job of guiding us through the steps needed to put the unit together, and we will not repeat them here. Instead, we have noted some of the places where additional comments might make the process even clearer.

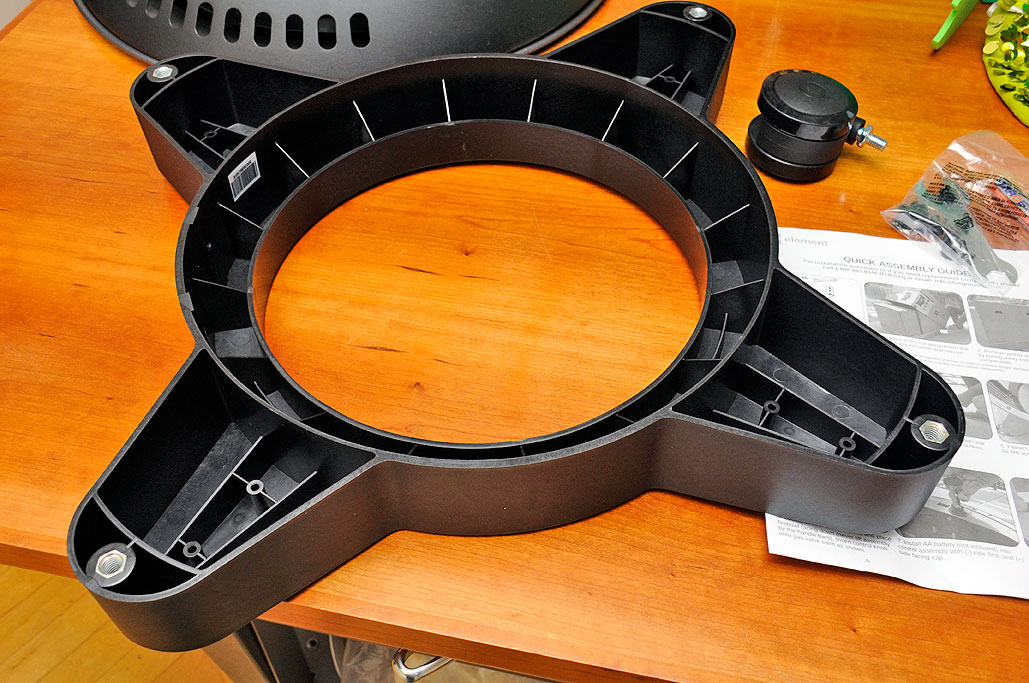
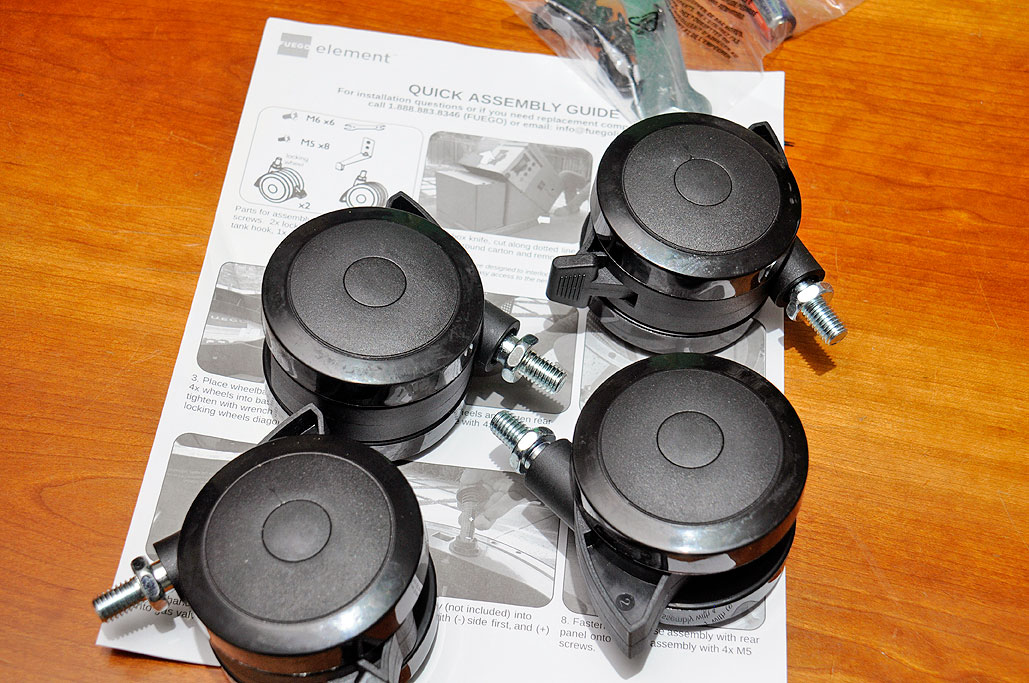
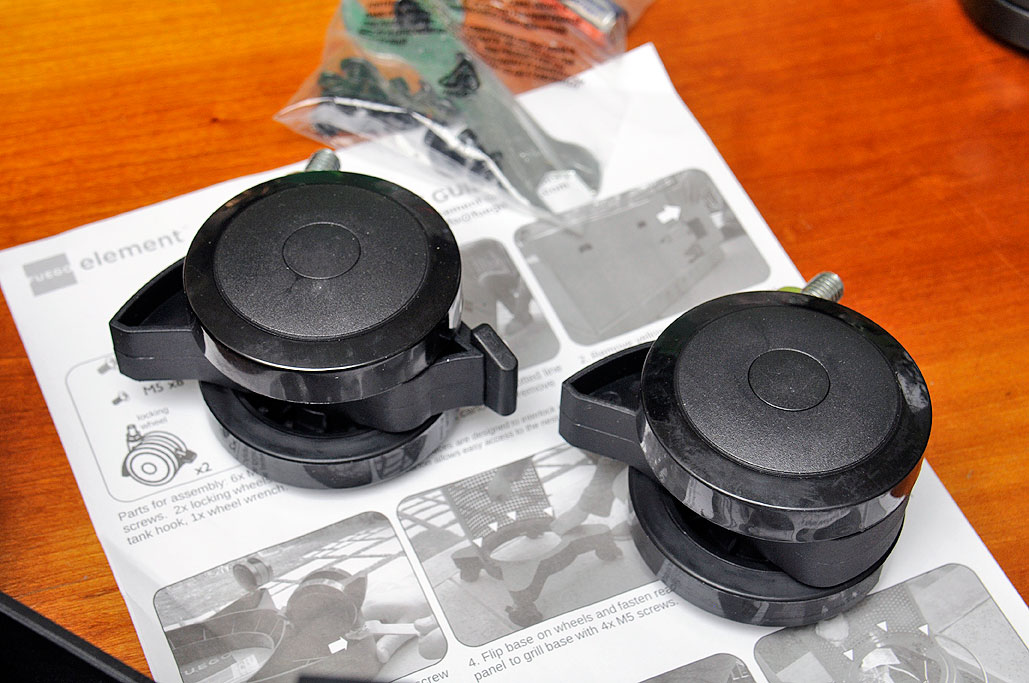
Putting the wheels on were simple enough. Fuego even included the wrench needed for the task. The instruction mentioned it, but we will highlight it here: the lockable wheels (the ones with the little pedal) should NOT be next to, but opposite to each other (i.e., back left and front right). We think that’s because such a configuration makes the grill more stable if it is accidentally pushed when the wheels are locked.

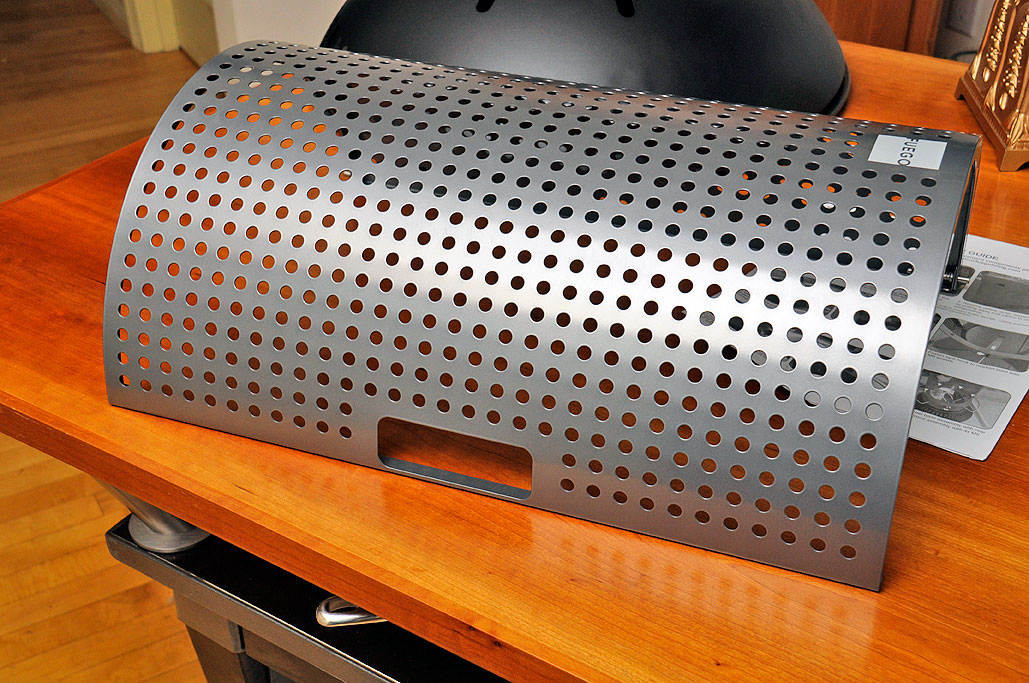
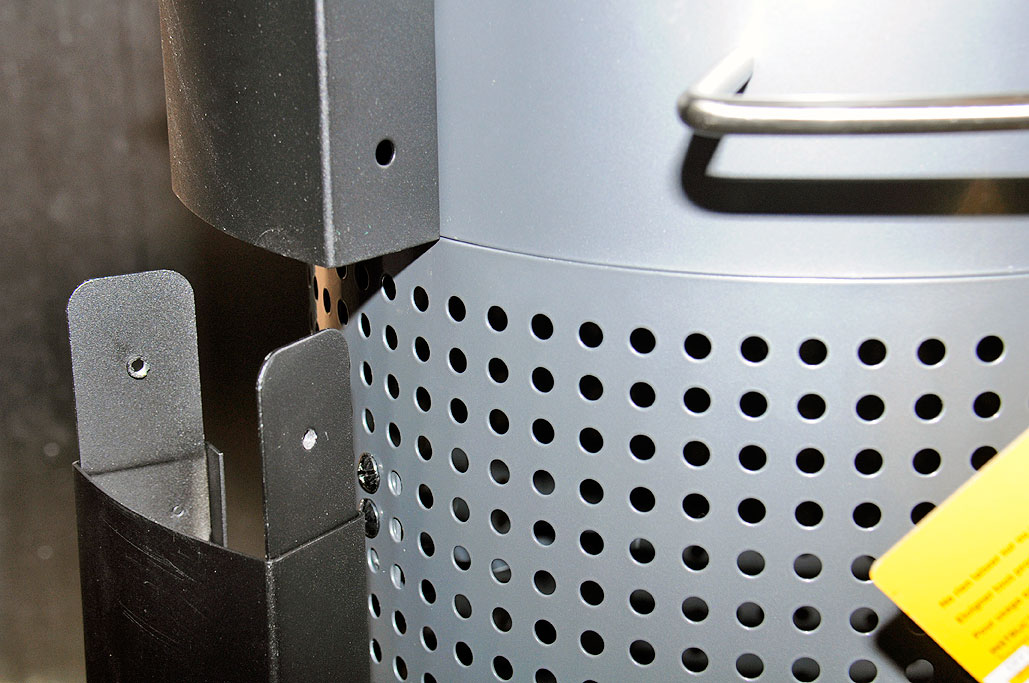
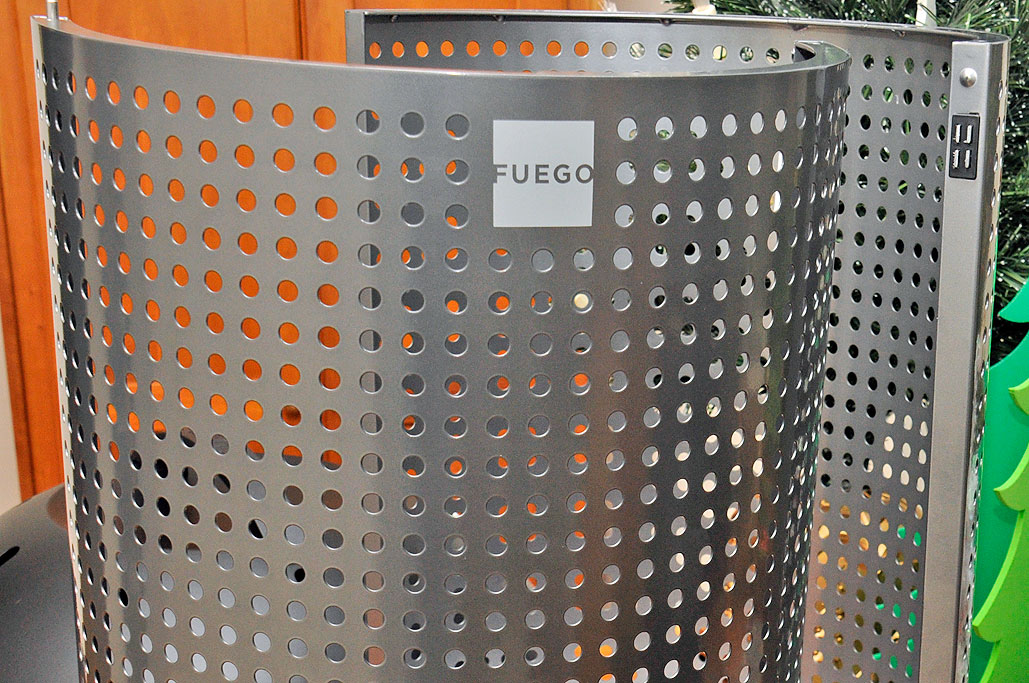
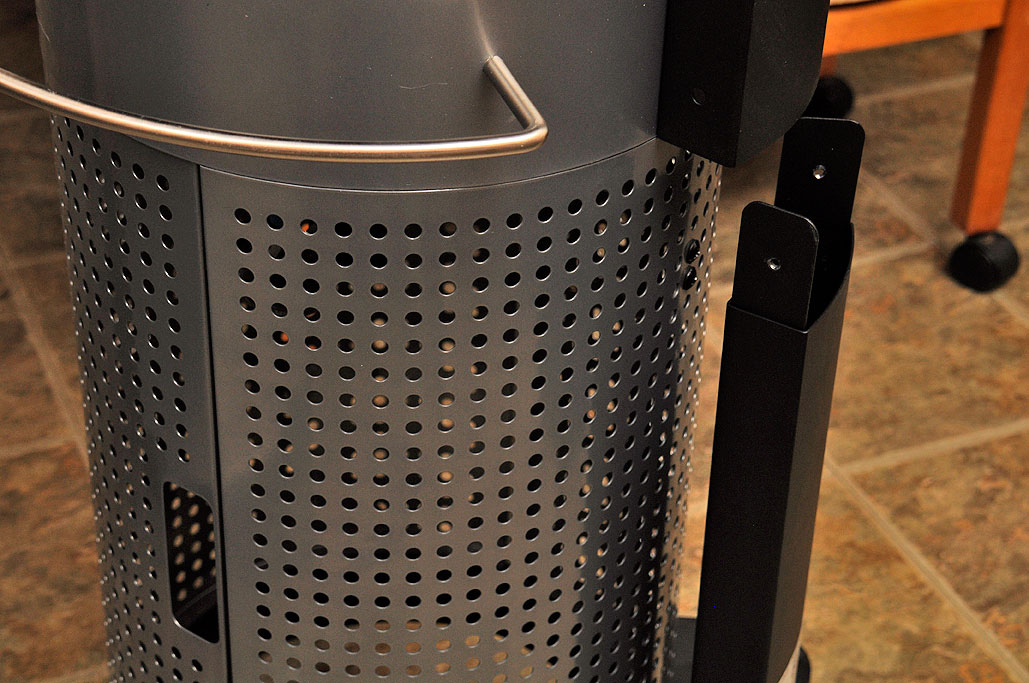
Attaching the body panels was a little trickier then we had anticipated. The predrilled holes of the curved back panel did not line up exactly with the ones in the base. It took a little “convincing” to get that last hole to shift just enough so the machine screw would slip into place. Other units may not have this problem, but if you do encounter it, don’t try attaching the two ends first. Trust us on this 🙂

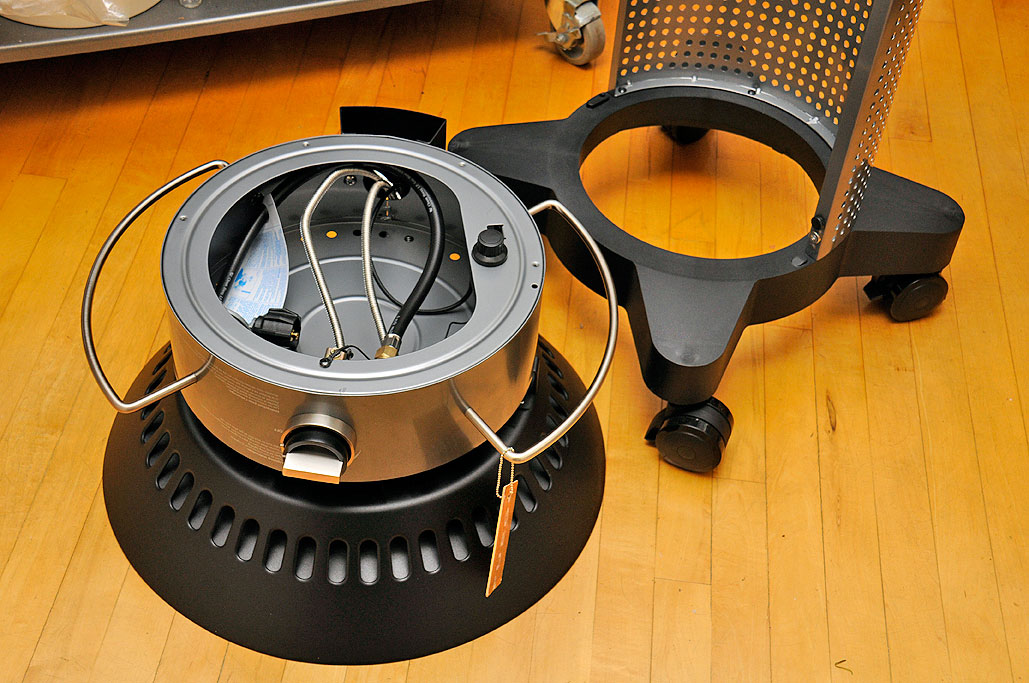
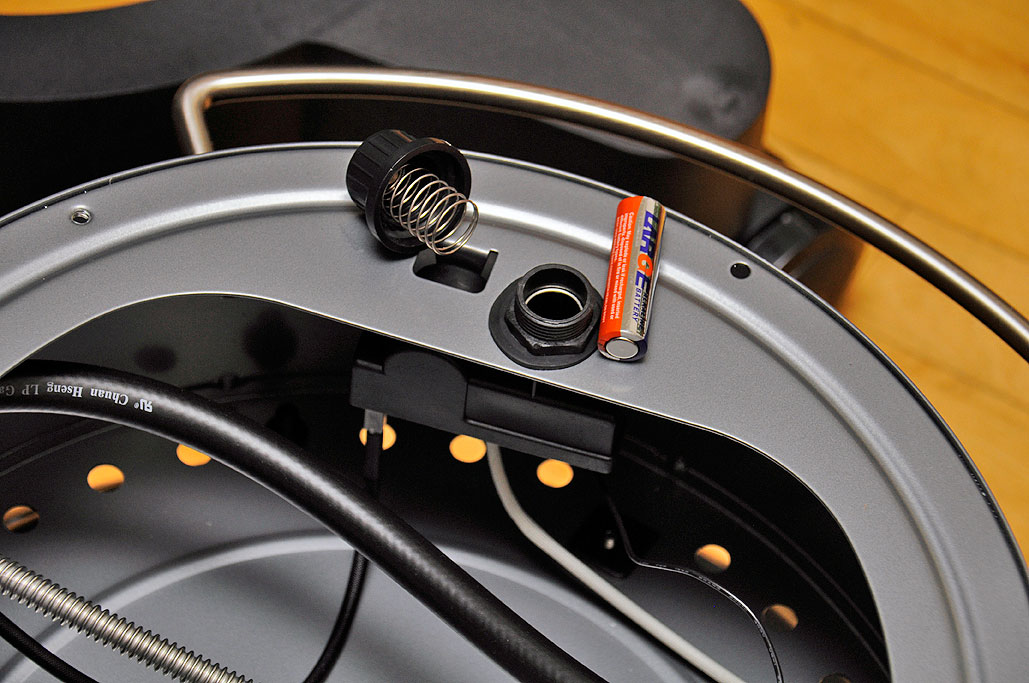
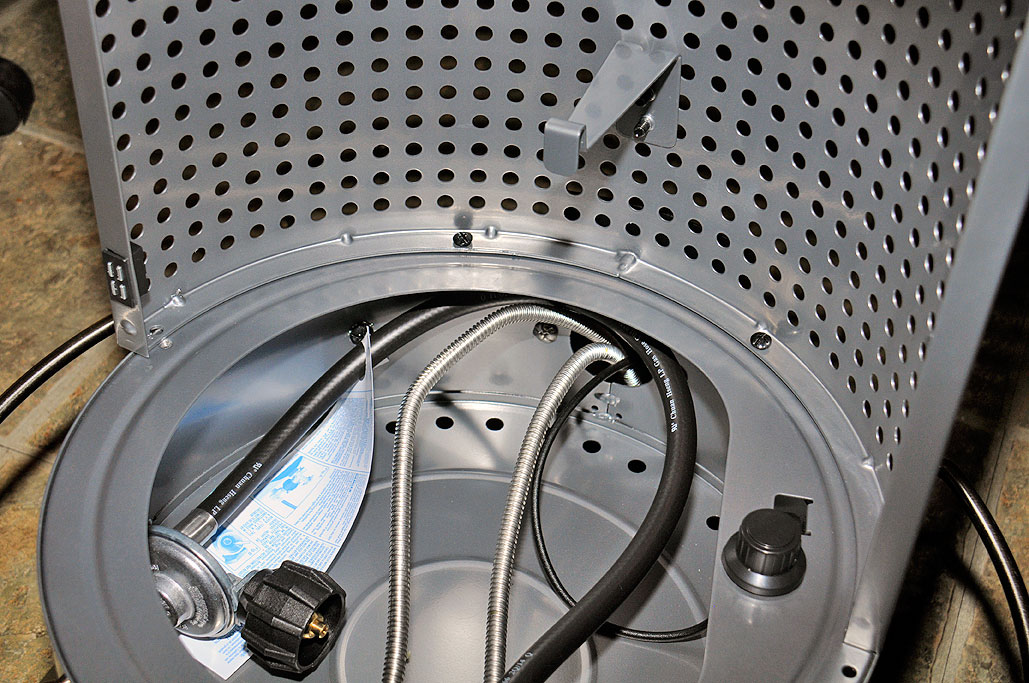
With the back panel installed, it was time to mount the burner onto the base. BUT before mounting the burner, the battery (for powering the electronic igniter) needs to be installed. The point to note here is the orientation of the +/- ends of the battery. For the record, ours has the “+” end pointing up toward the removable cap.


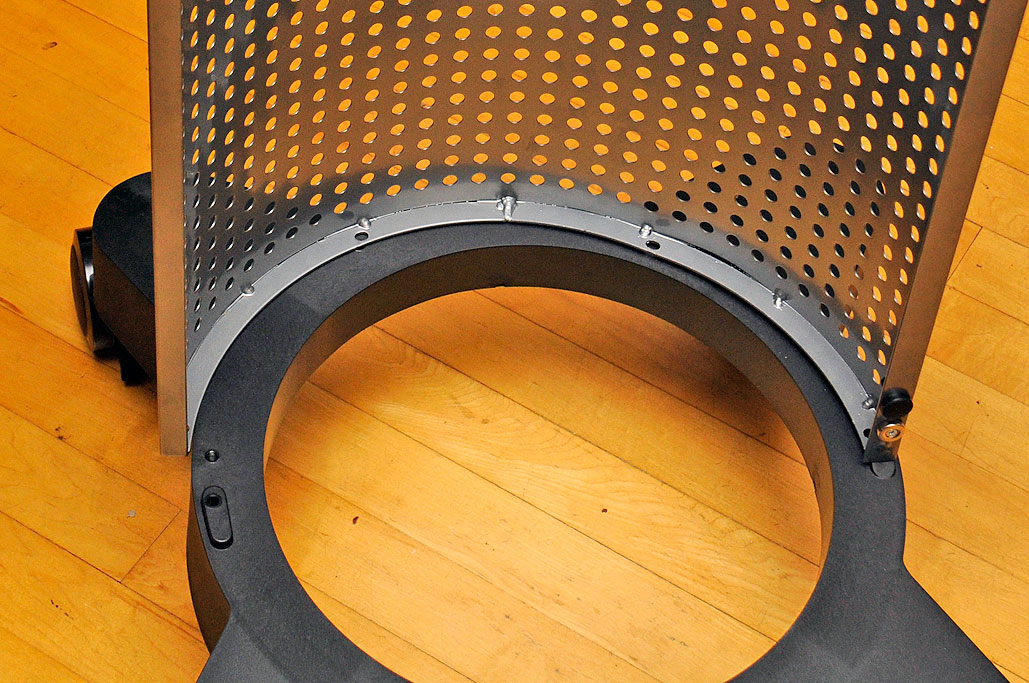
Here are a few views of the burner/body in various stages of assembly:
- Checking alignment of the screw holes
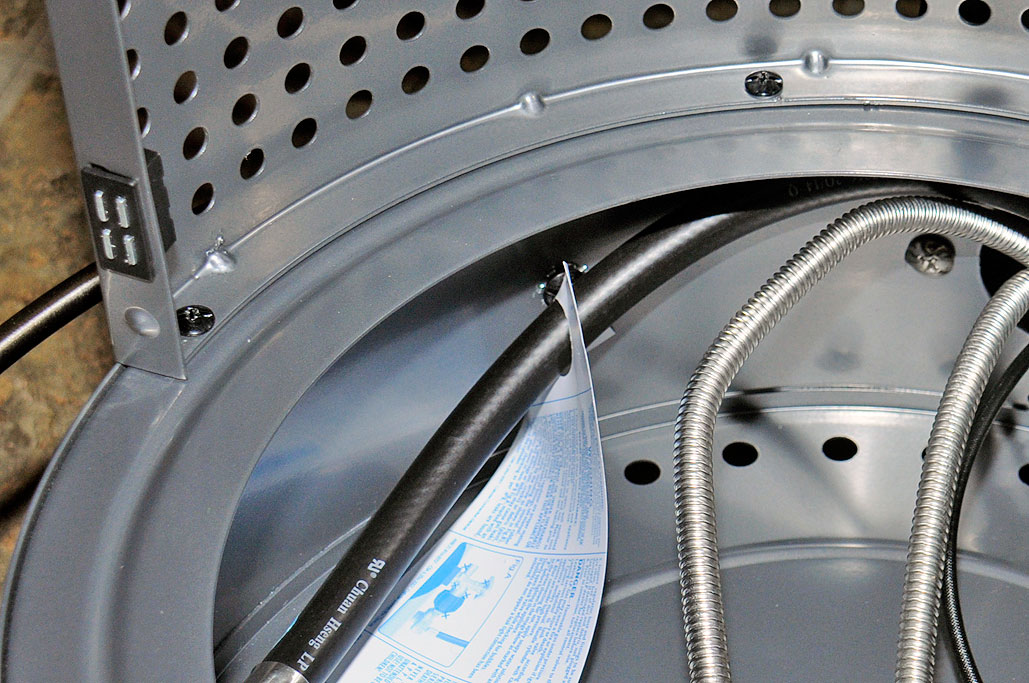
- Three of the four screws installed. Note the slight mis-alignment of the last hole.
- Last screw installed…with a little bit of “help.”
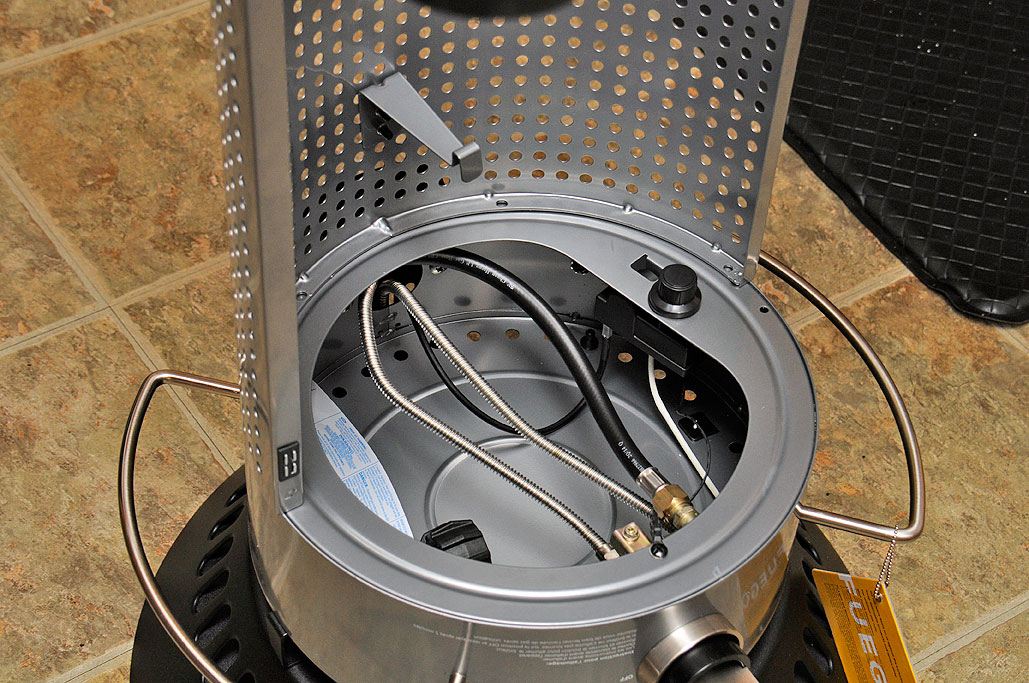
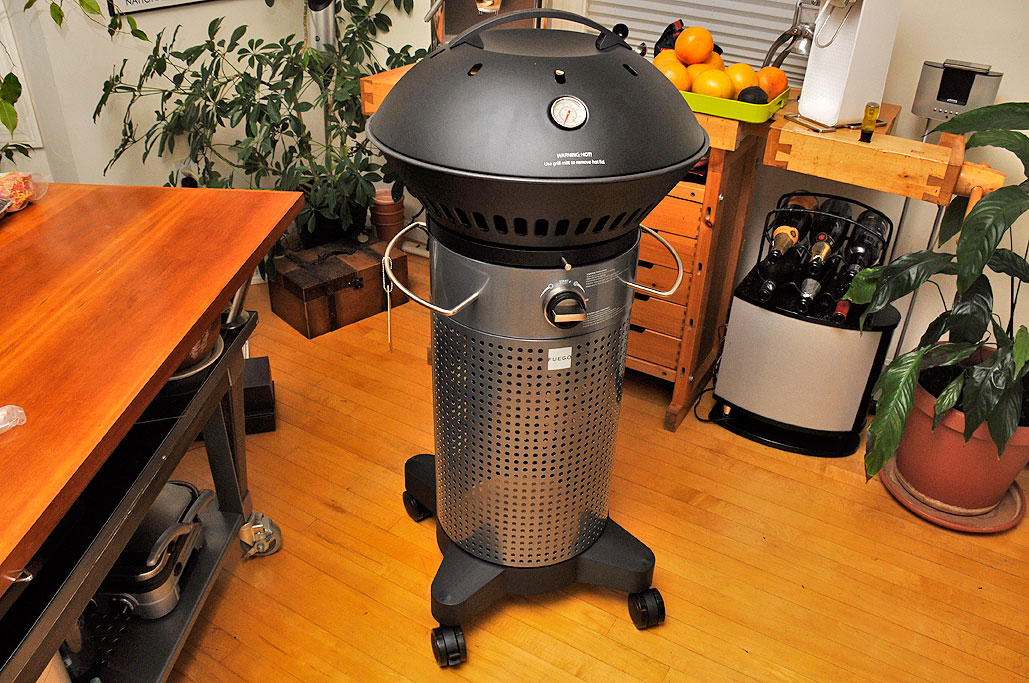
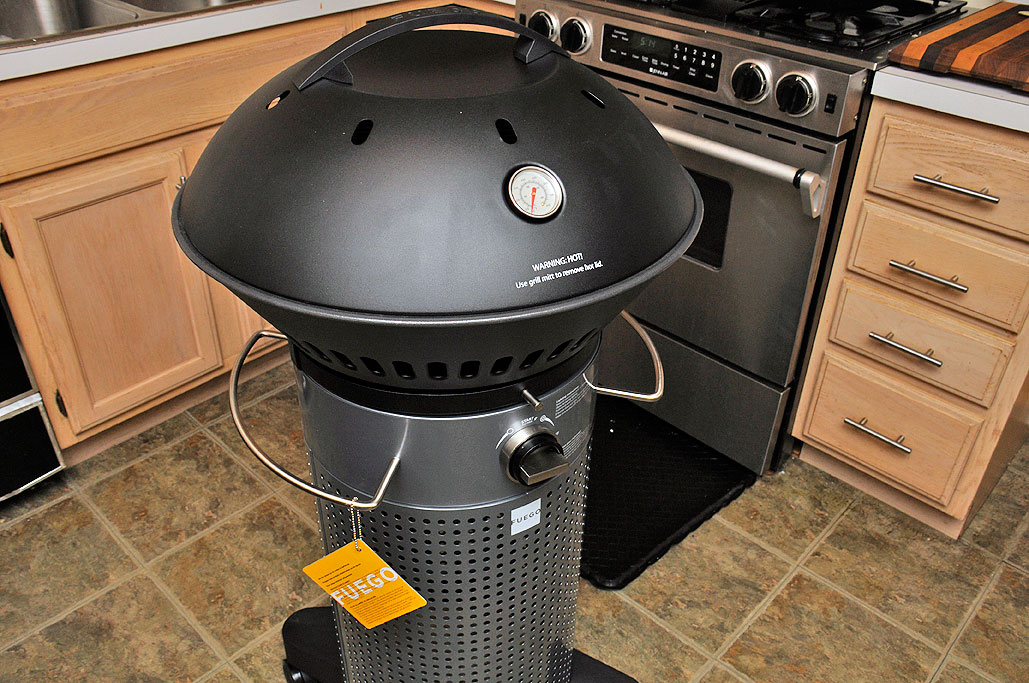
Once the burner has been securely attached to the back panel and wheel base, the grill assembly is basically complete. All that remains is to install the support spine and turn it upright.


Now that the unit is fully assembled, our next post in the series will be a FirstLook of the features and capabilities of the Fuego Element Grill. We think you will like what you see. Look for it in late April.


Leave a comment