OmniMount Power55 Installation
LCD TV Wall Mount
When we started looking at wall mounts for our Sony LCD panel, we thought a low profile one would be best because we wanted the TV to be close to the wall. The more we thought about it, the clearer it became that we needed an adjustable one. A manually adjustable mount would work, but constantly having to loosen and tighten the knobs would be a problem. We then came upon the OmniMount Power55. The Power55 has all of the angle, tilt, and extension adjustments we wanted, plus all of those can be made via a remote control.

We took a FirstLook at the Power55 earlier in the month. Our goal was to have it installed in time for the Finals of the FIFA World Cup. A few weather-related events (95º and no air conditioning) made it questionable whether we would get it up on the wall before the big game. Thanks to an intern’s suggestion that we do the installation after sundown so folks would not be sweating over each other, we managed to complete both the installation and the photo shoot without anyone fainting.

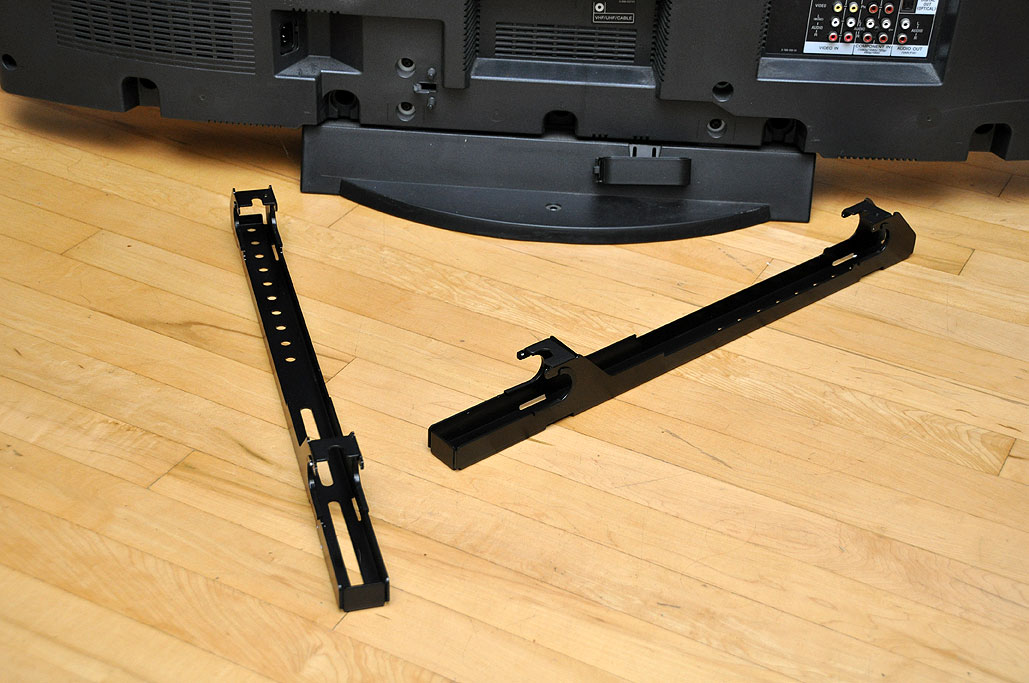
The installation was actually quite simple: install the brackets on the LCD panel, attachthe mount on the wall, hook the panel on the mount. The first and last steps were simple enough. It was the middle step which, while not diffult, required a little bit of planning and measuring.
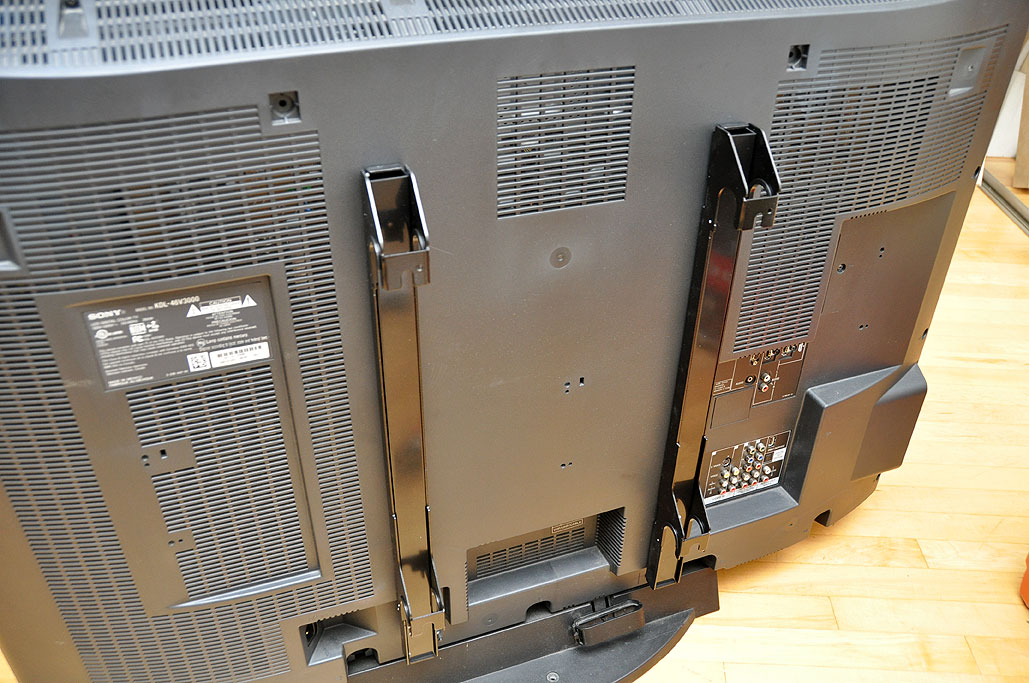
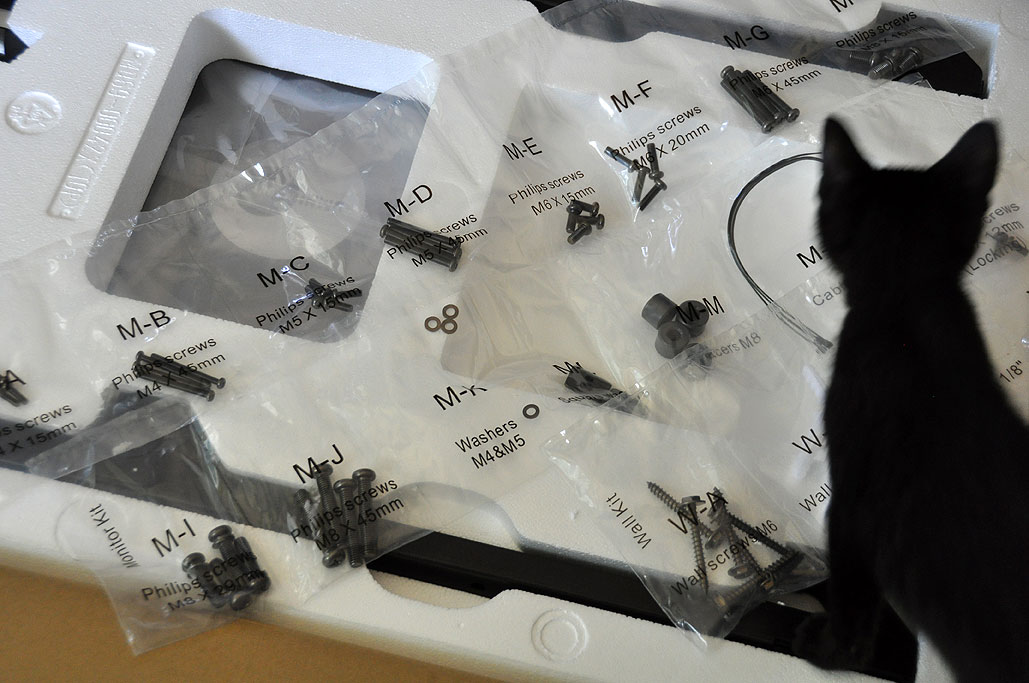
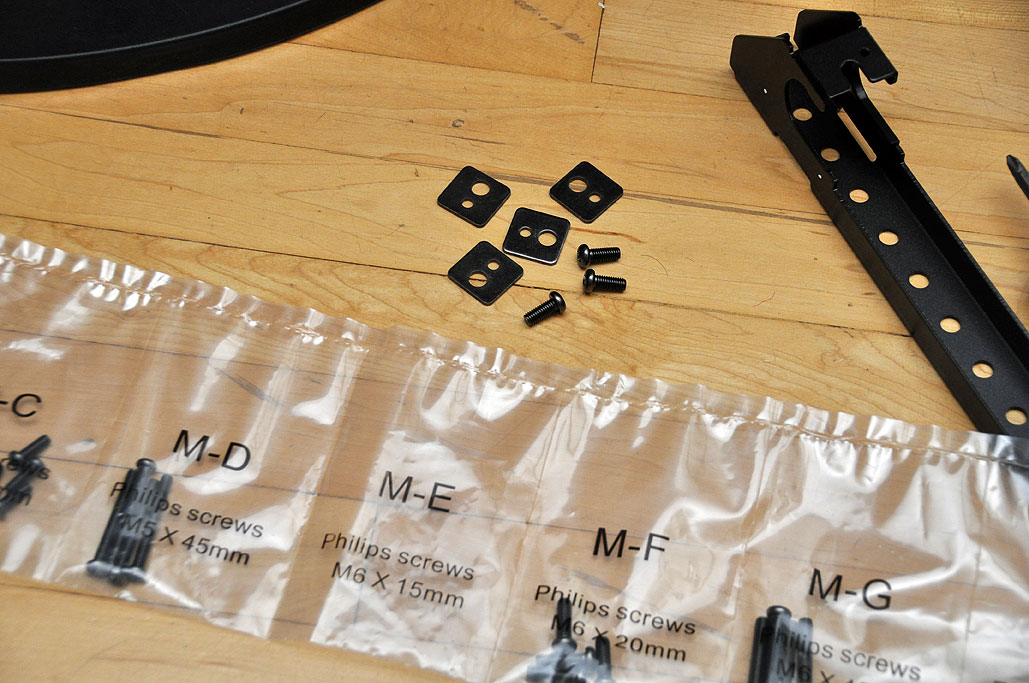
Mounting the brackets on the back of the LCD panel was just a matter of using the right size screws. The kit came with a large selection and one of the sets fit the Sony. The only caution here is to not over-tighten the screws as that could cause damage to the back of the TV.

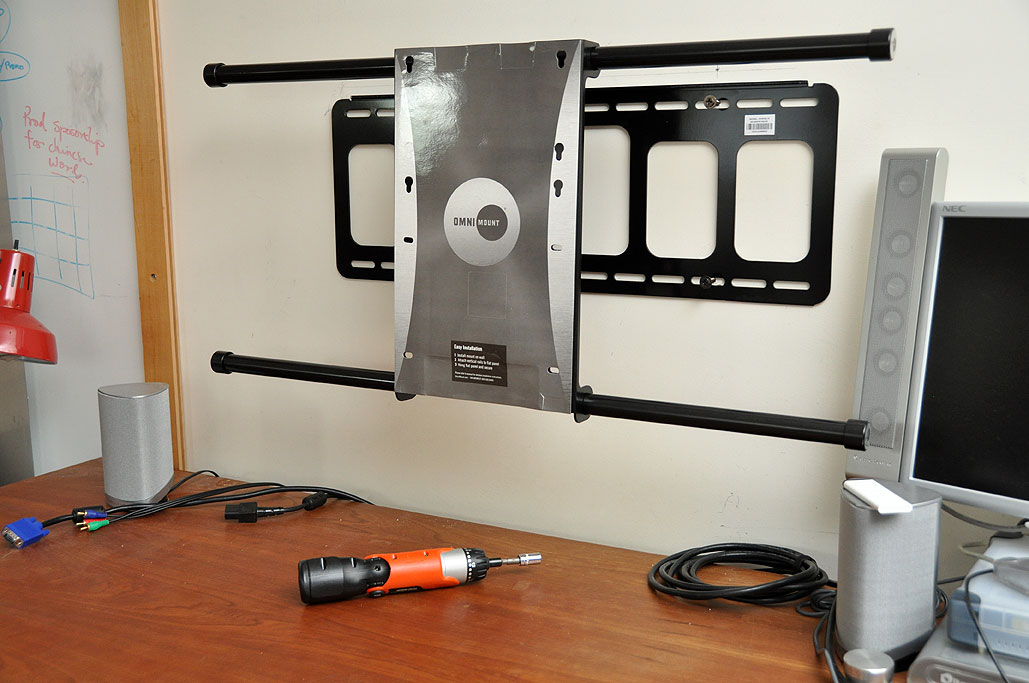
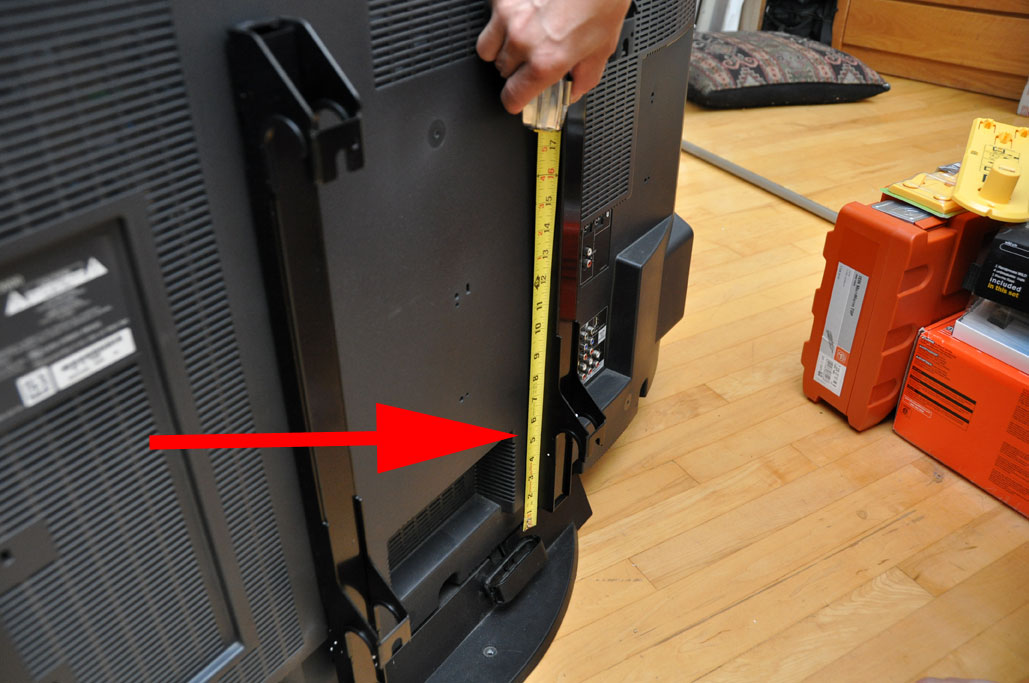
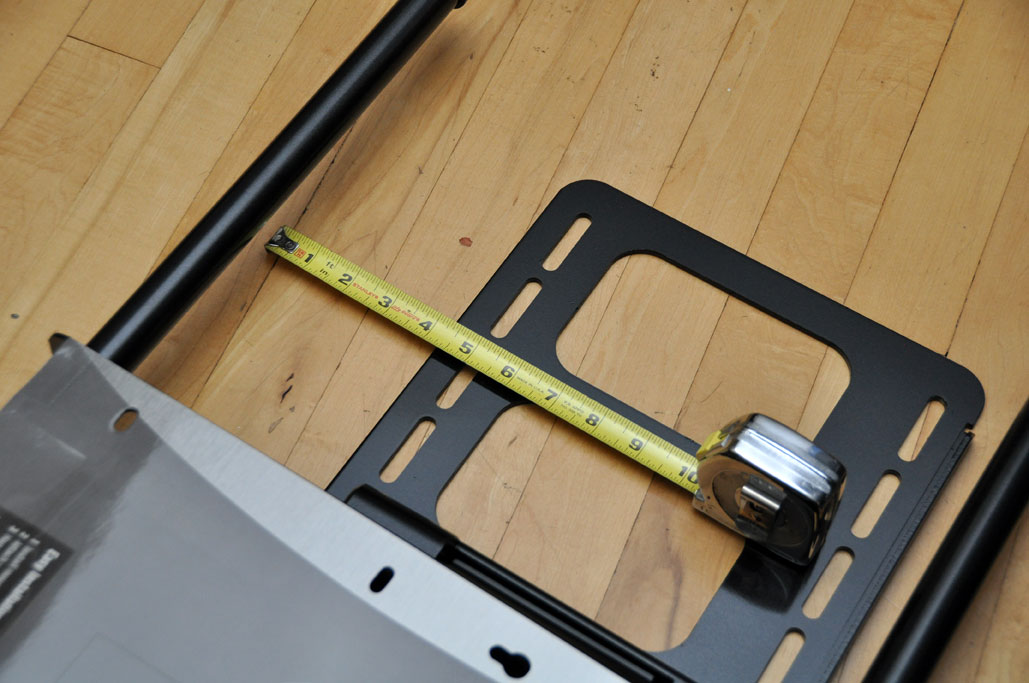
A template was included with the kit. The template takes almost all of the measuring out of putting up the mount. Not everyone has to do this next step, but as we had to make sure the bottom of the LCD panel cleared the desk, we had to take a few measurements (hook offset, rail offset) to make sure we placed the template high enough on the wall. A stud finder helped us locate the 2×4 supports behind the sheetrock. We marked the spots, computed the center of the TV, and taped the template into place. It was then easy to see how much we needed to shift the template so we could line up an available holes in the template with the studs in the wall.

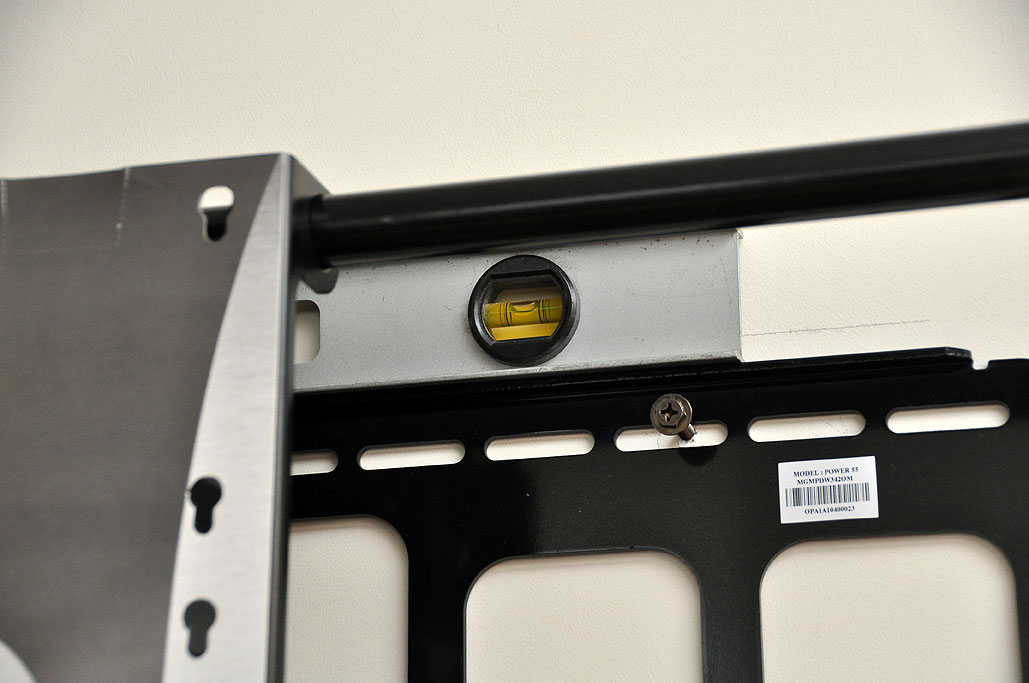
Once the template has been leveled and the calculations double-checked, we drilled the pilot holes for the mounting screws. Drilling the pilot holes is an important step as it will make it easier to screw in the bolts AND it will prevent any excessive cracking of the plaster and/or splintering of wooden stud. Note the convenient dust-catcher built into the supplied template. A nice touch, courtesy of the OmniMount people 🙂

Once the four pilot holes had been drilled, installation of the mount was straightforward. Our only suggestion here is to not tighten down any of the bolts until you are satisfied with the horizontal placement. We also did level measurements just as a sanity check. If it was grossly misaligned, then some corrective action now would be easier to do than when the LCD panel was mounted.

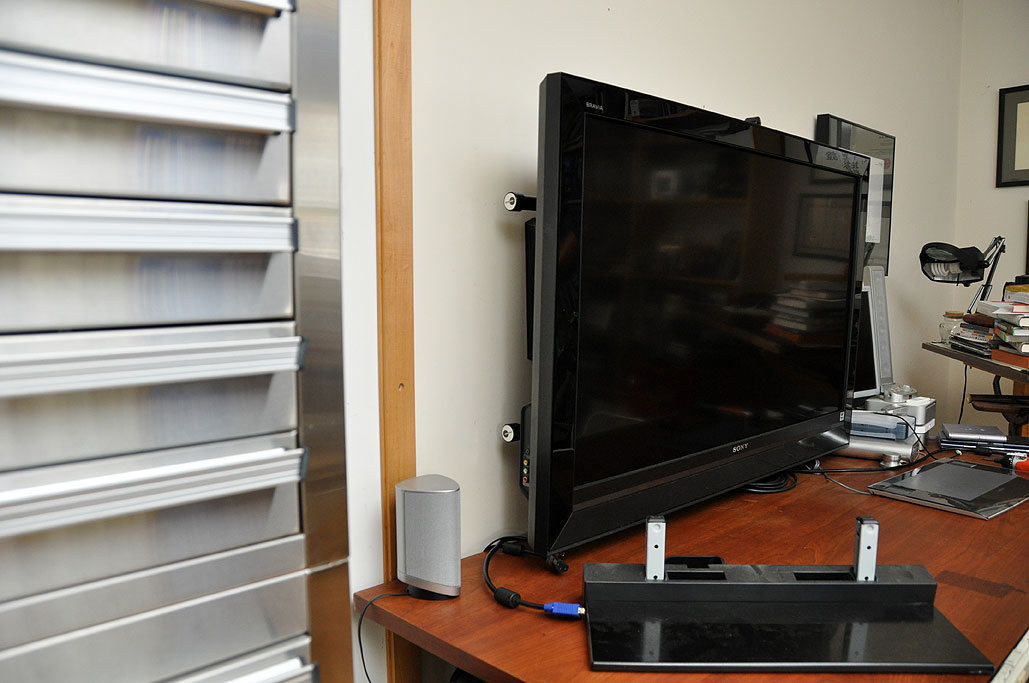
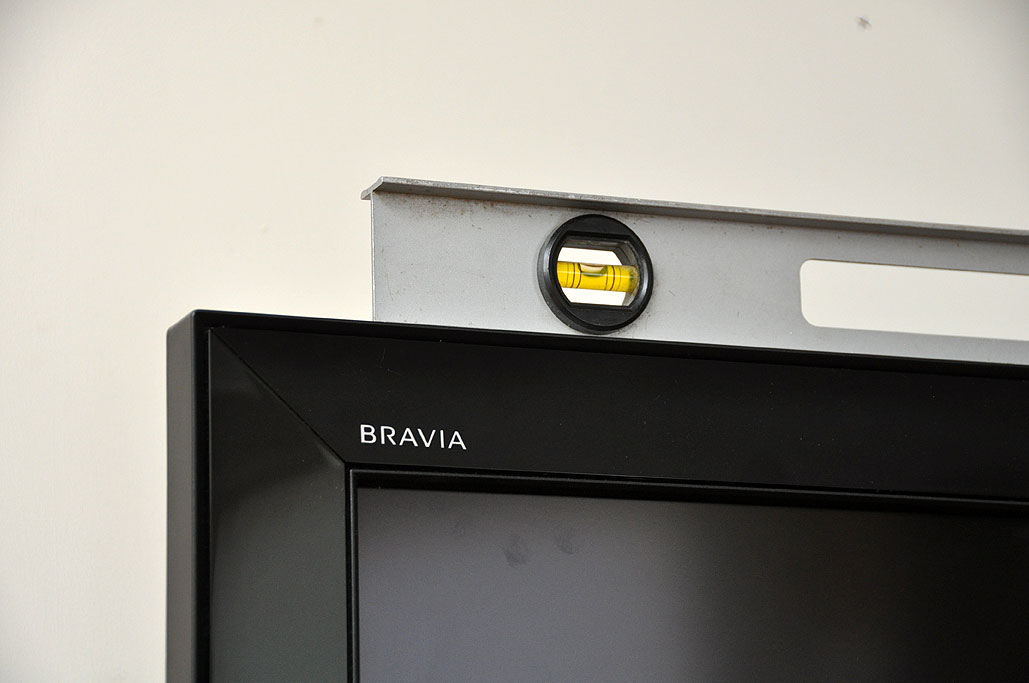
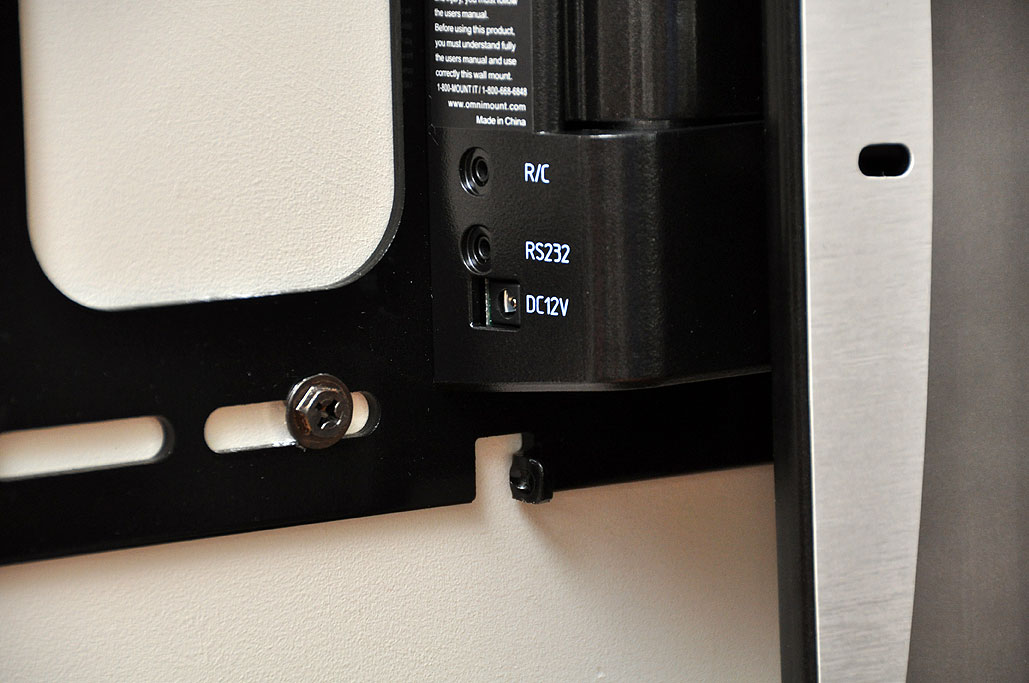
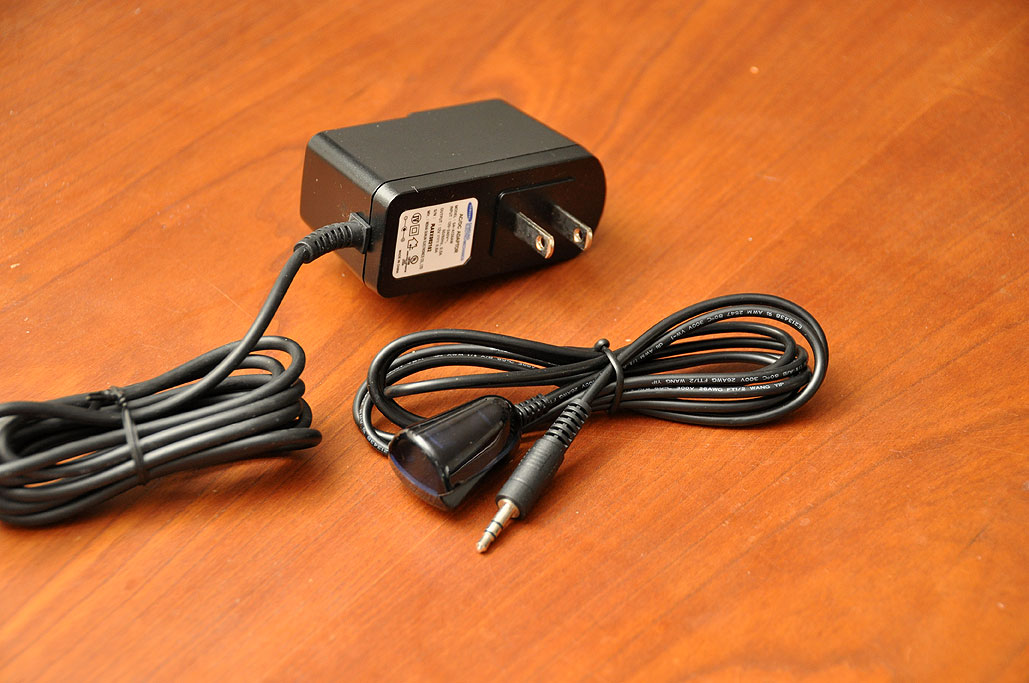
Once we were satisfied with the position of the mount, we tightened all of the bolts and hooked the LCD panel onto the mount. This mount is SOLID. There is no bouncing, shifting, or play in any of the joints what-so-ever. We rechecked and reconfirmed that everything was still level. Commands to the Power55 mount is sent via IR to the included sensor, which we placed on top of the LCD panel. It can actually be placed anywhere with a direct line of sight from the remote control.

Once everything was hooked up, we powered on the unit and calibrated the mount. The first thing we noticed how smooth and quiet the mount was in operation. We could not hear the motor at all standing at the edge of the desk. We confirmed that all of the tilt and angle functions were operating properly. We won’t go into detail regarding the operation of the Power55 mount at this time but we will say that it is very intuitive. Anyone can operate this mount.

In summary, we ran into no problems with the installation of the mount. The placement, alignment, and pilot hole drilling were made easier by the full-size template and the clear instructions. While it is possible to install the mount by yourself, this job is best done by two people. It took us a little longer to do the installation than necessary as we were constantly stopping for photos. We would estimate the job probably would take less than an hour from start to finish. If you are anything like us, most of that time would be spent measuring, double checking, and measuring again 🙂


Leave a comment