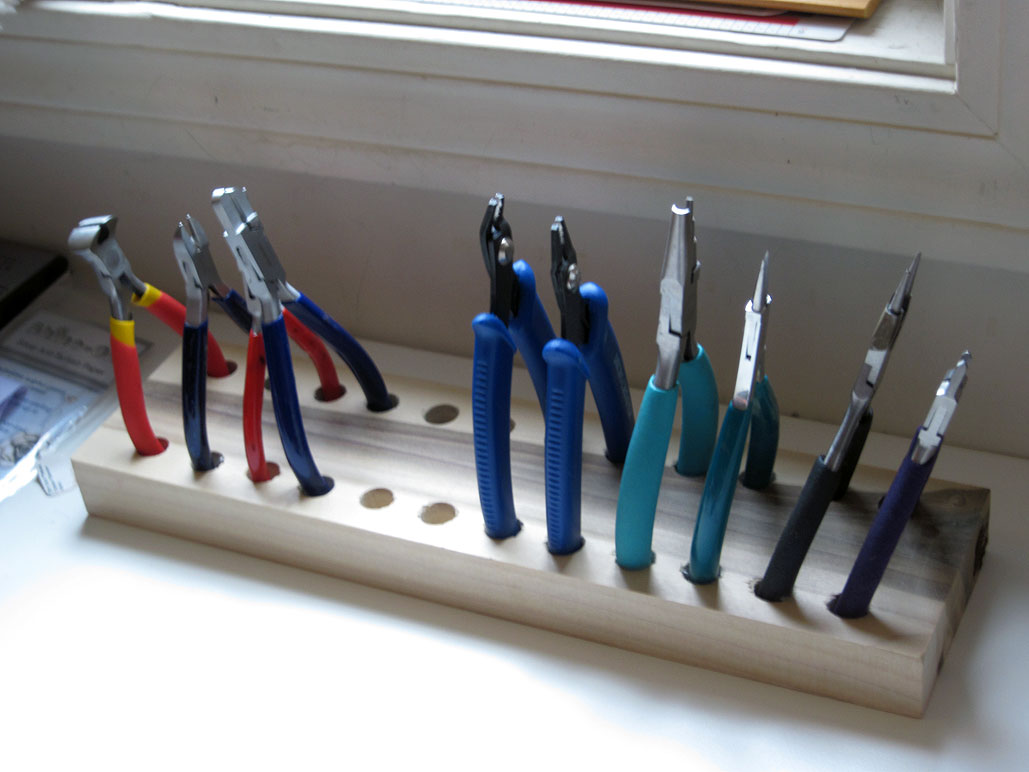
Plier Holder DIY
Not every RainyDayProject we do is involved and complicated. Sometimes the projects are spur of the moment, take less than thirty minutes, and can be done with simple tools and scraps. Our recent Plier Holder DIY was such a project.

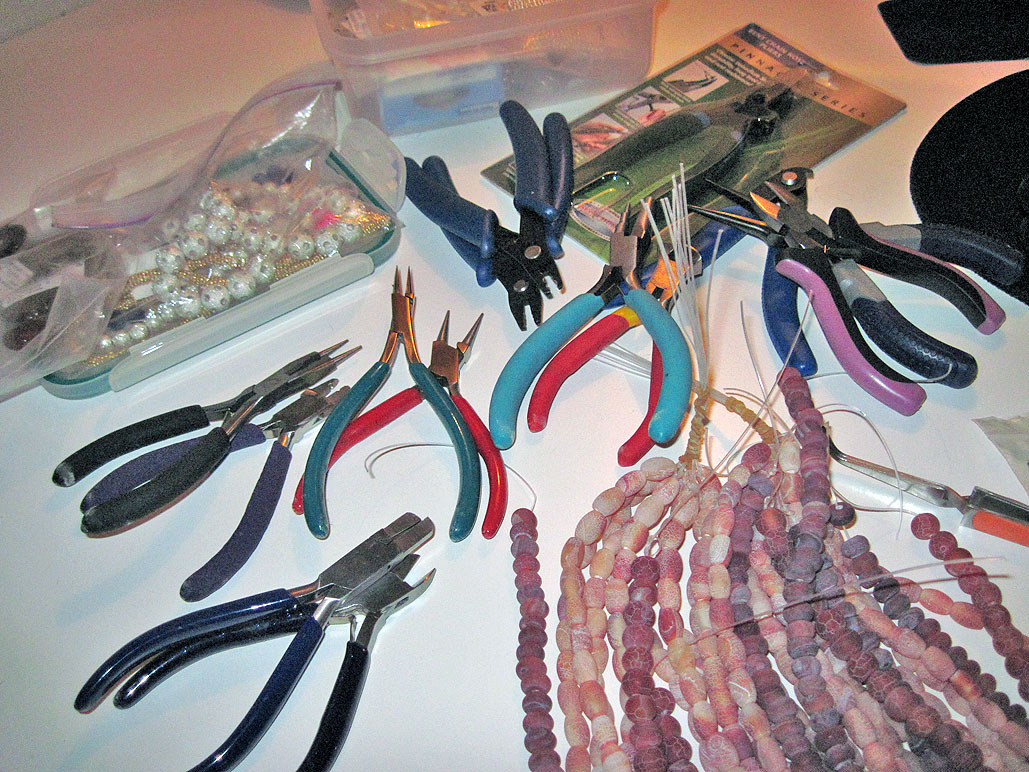
One of our editors is a beader. It is amazing the number of different pliers, crimpers, and whatsits she has managed to accumulate in the pursuit of her craft. Recently, she inquired of the RainyDayProjects crew how difficult it would be to make a holder for the pliers, similar to the ones commercially available. We took a look, and it looked simple enough: a few pairs of 1/2″ holes in a block of wood. We decided to take it on. Besides, the Patriots/Bills football game was not scheduled to start for another hour 🙂

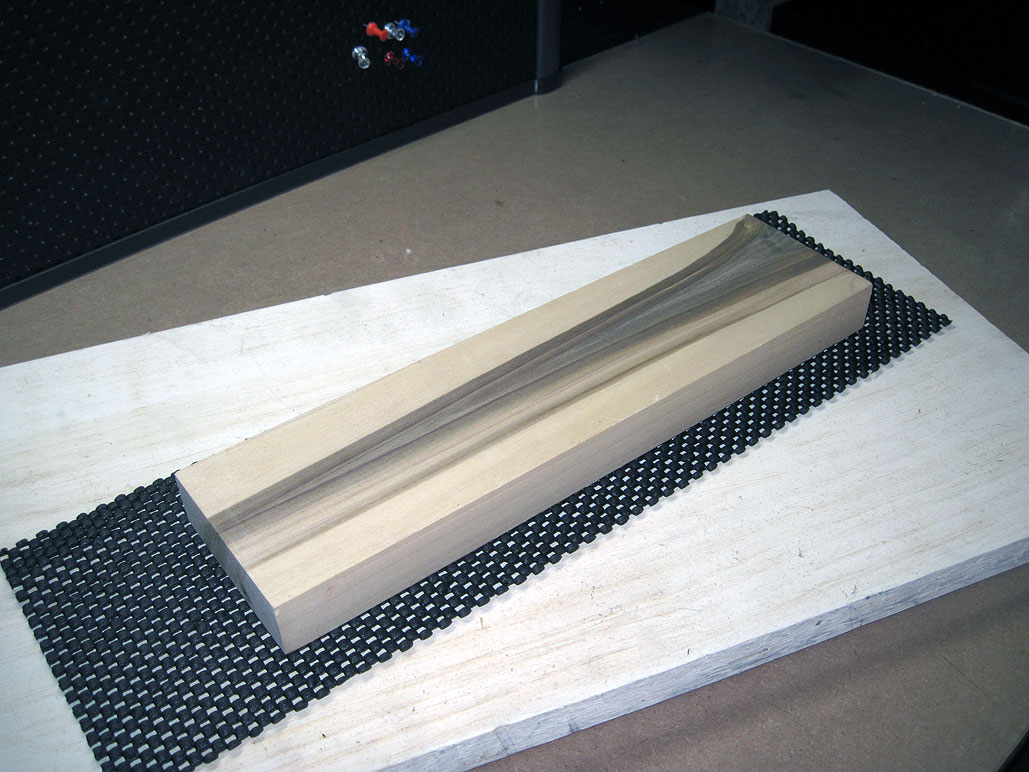
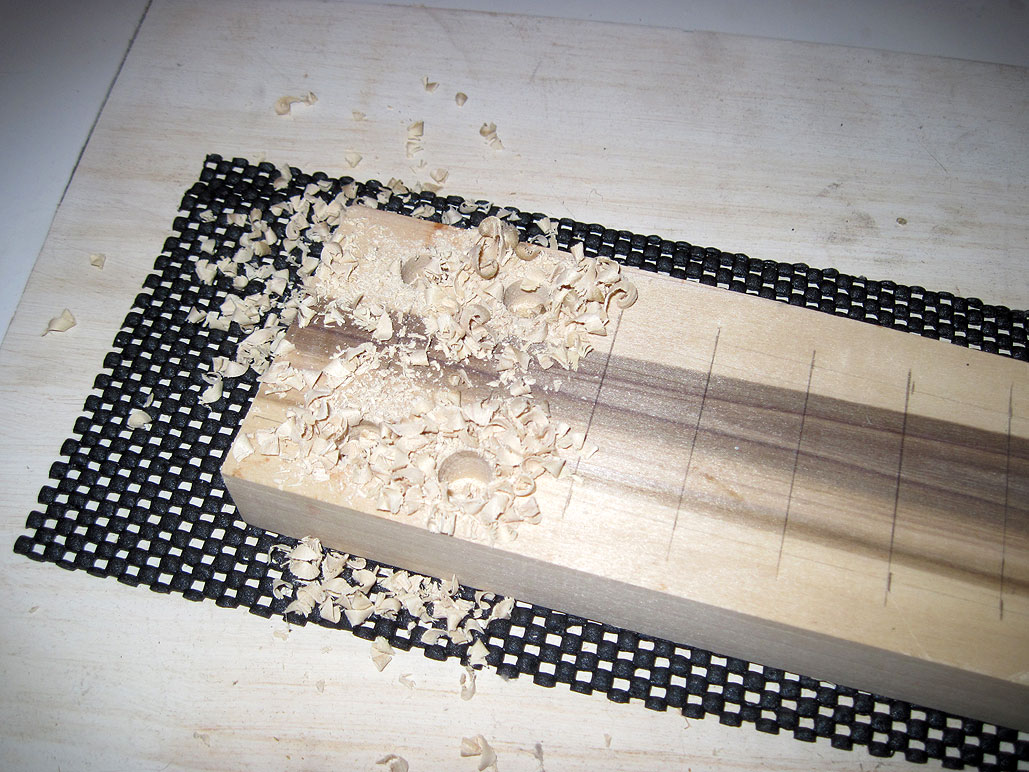
We recently visited our fine-furniture maker friend, Gary Barsomian, at his workshop. As a “parting gift,” Gary gave us a bunch of hardwood remnants to experiment with when we get the CNC machine up and running. We picked through the lot and found a nice block of maple with an interesting grain pattern that was perfect for this project.

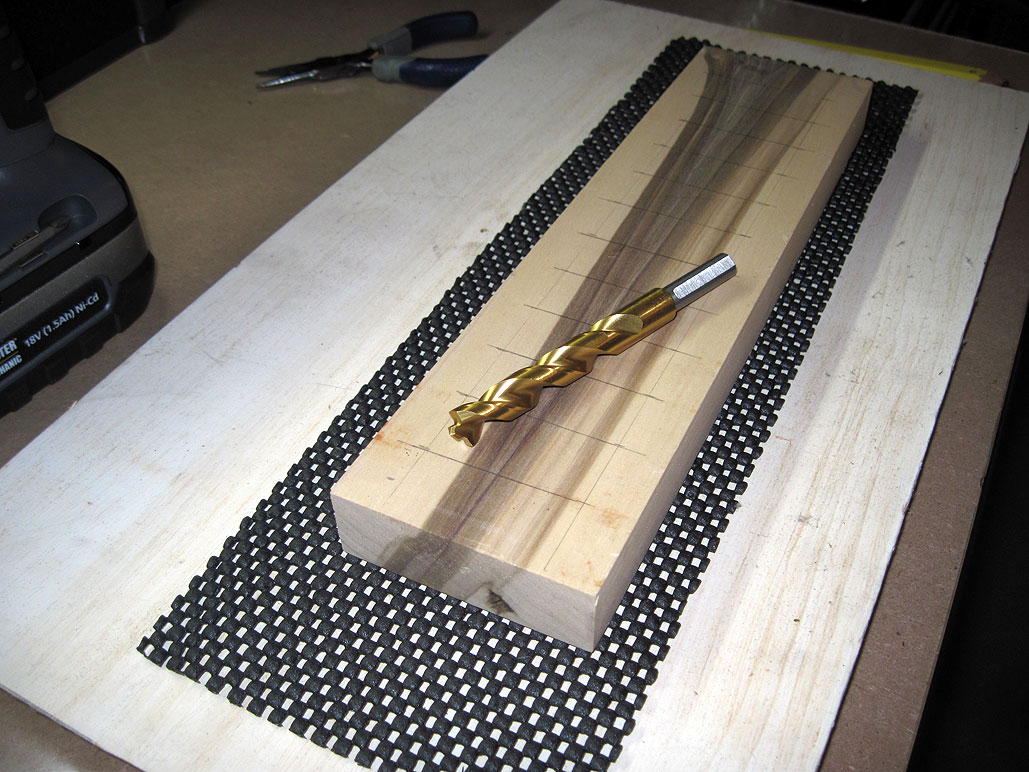
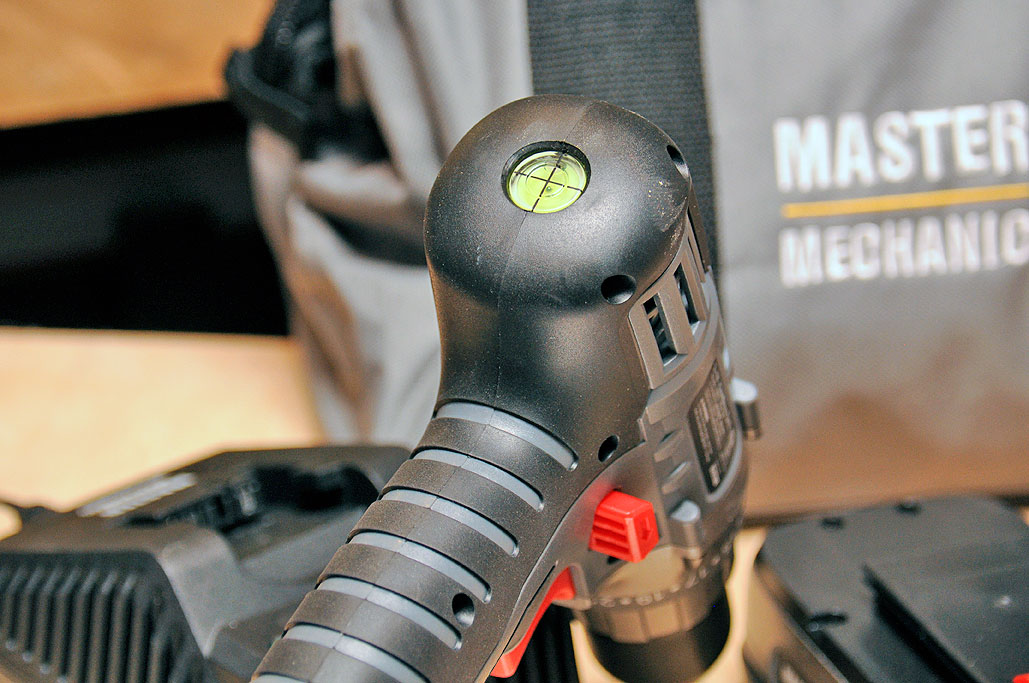
We measured and made two rolls of markers 1″ apart along the length of the block. A drill press would have enabled us to make holes which would be perfectly vertical, but we didn’t have one. Fortunately, though, our Master Mechanic drill has a bubble level which made it easier for us to keep the bit properly aligned.

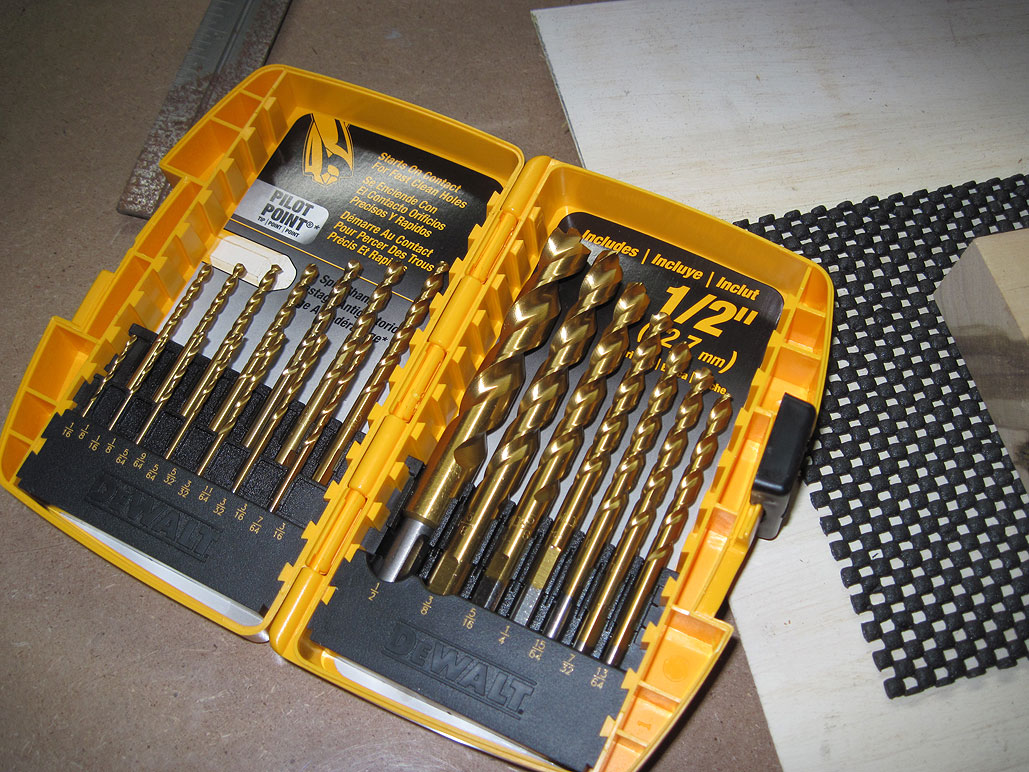
The 1/2″ holes were made using DEWALT Titanium pilot-point bits. We have bits designed specifically for drilling wood, but we thought the pilot-point bits would work just as well. The reason is that both have tips designed to prevent the bit from “crawling” on the work at the start.

The DEWALT bit worked well. It did rip the edges of the holes a little more than we had anticipated, but that may just be our inexperience with how the bit cuts. Perhaps we were too aggressive with the power at the start. BTW, this was the second project that we have called on the services of the Master Mechanic 18V drill. The drill continues to impress us with its power and ease of handling.

All in all, the result was not bad for a spur-of-the-moment RainyDayProject 🙂 The entire project took less than thirty minute to complete. If we were to do it again, we would take more care in marking the depth of the holes, make slower starts so the edges of the holes would be cleaner, and make different sized holes to accommodate a wider range of handle diameters.


Leave a comment