Boxster Project: Find the leak!
"Simple" is not the same as "easy"
Every winter we swap in snow tires on the Boxster, because we can (and do) drive the Boxster all year round, and Boston winter’s definitely require snow tires.
As it had been over six years since we got the WinterForce tires, it was time to get new ones. Unfortunately for us, Firestone had stopped making the rear-tire version in the factory spec’ed dimension of 225x50x16.
Because we didn’t want to change rim size, we opted for the 225x60x16. This version is slightly larger in diameter, but not enough to cause clearance issues. In fact, we noticed a slightly softer ride with the 225x60x16s, and the speedometer now reads closer to the true speed than previously—it is now about 1 mph slower instead of 3 mph slower, when comparing the car’s speedometer to the radar readout on the street.
Slow leak
A week ago, we noticed that driver-side rear tire was dropping about 4 pounds of air pressure every day. While not an emergency, it was enough that we needed to tend to it (instead of just topping it off all the time).
Our favorite tire inflator/battery jumper is still the Clore Automotive Jump-N-Carry. After all these years, it has never failed us and still works like a champ!

A long and useful relationship.
Regardless of whether cause of the leak is obvious or not, the first step is always—always—to take the tire off the car, since it will have to be removed anyway for the repair.
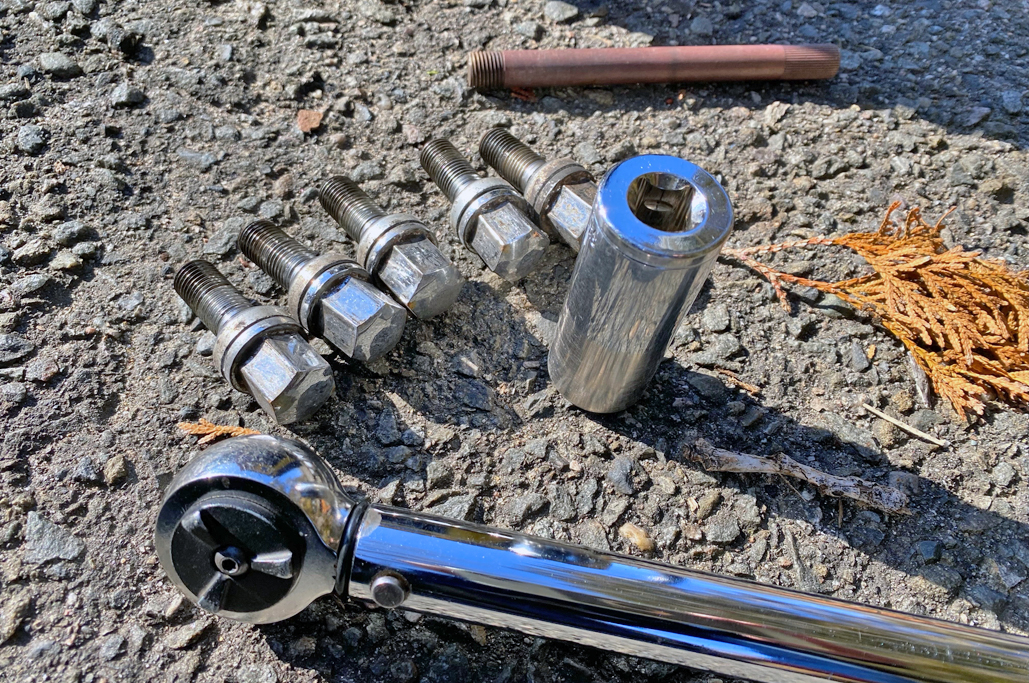
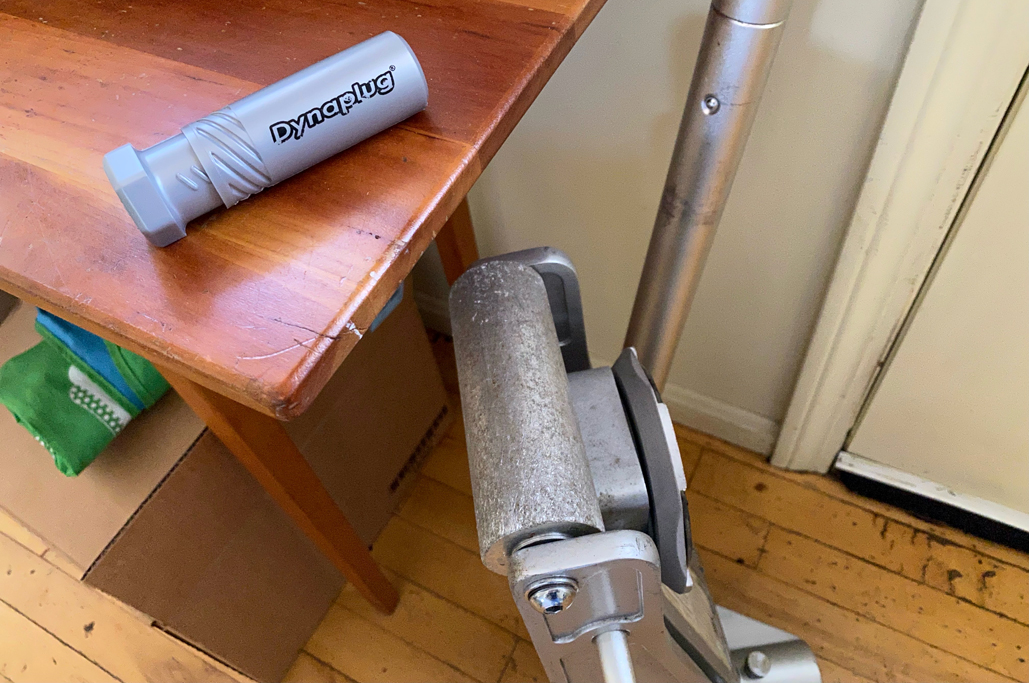
Tools needed for tire removal:
- Racing jack: slips under the car pretty easily, and gets the car off the ground quickly; and
- Torque wrench and 19mm socket: the longer length provides more leverage.

Don’t nickel-and-dime yourself with these tools; get the good ones, and the right ones for your vehicle.
Another benefit of removing the tire is being able to check the condition of the rotor and pads (they were fine).
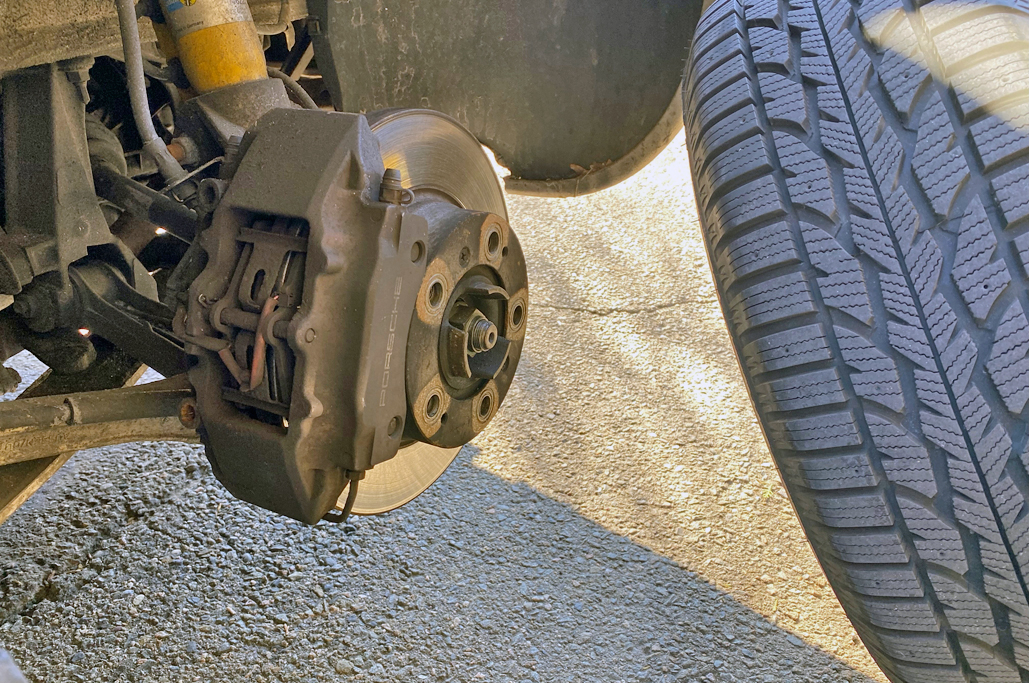
Lookin’ good.
AHAH! Um, no.
With the tire off, we spotted something which we thought was the source of the problem, right in the middle of the tire.
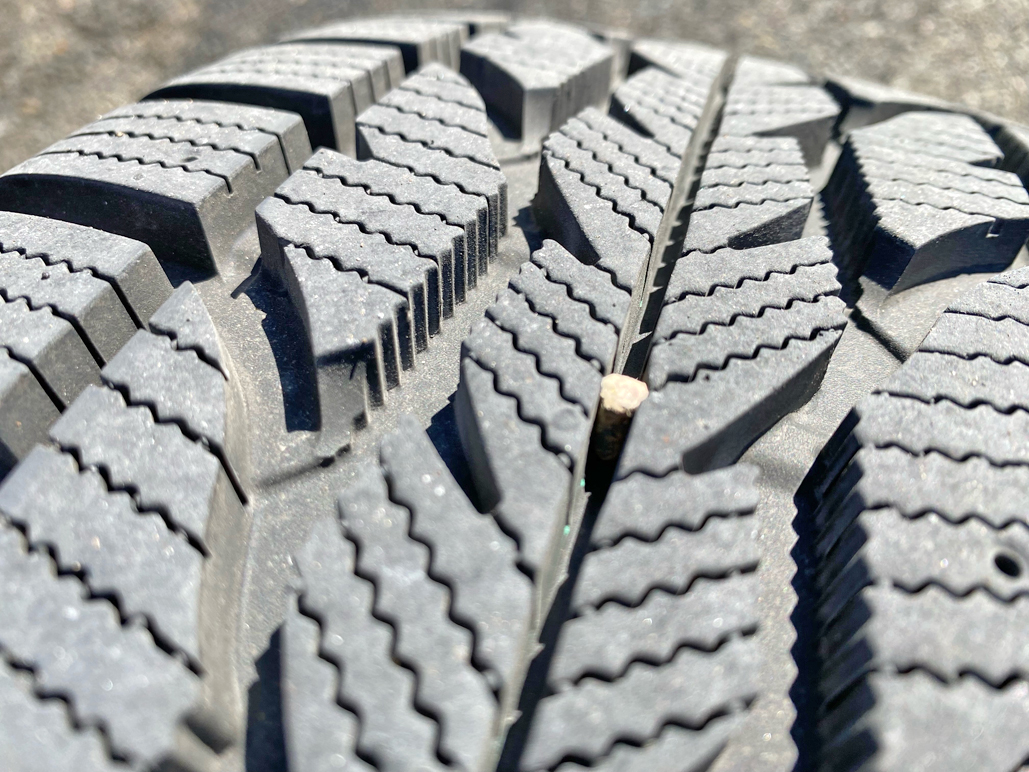
Peskipiksi Pesternomi! Yes, from Harry Potter.
However, after extracting the possible offender, it was clear that it was not the cause of the leak. it was time for a more careful examination. Three tire revolutions later, no joy.
Hmmm….guess it was time for the bubble solution.

“Get thee gone!” Yes, from Shakespeare.
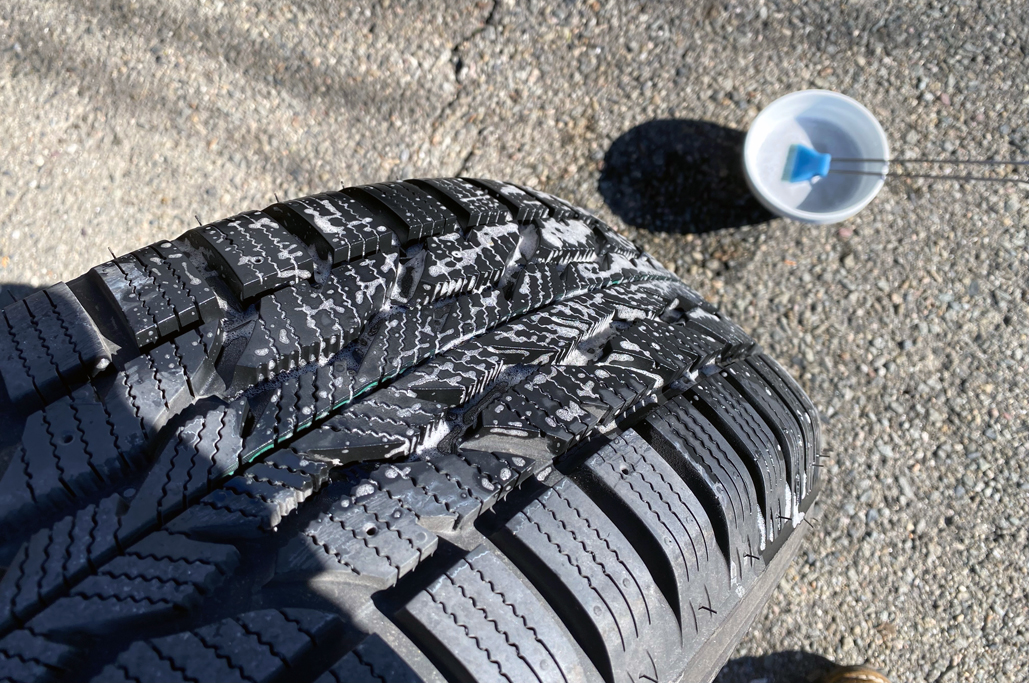
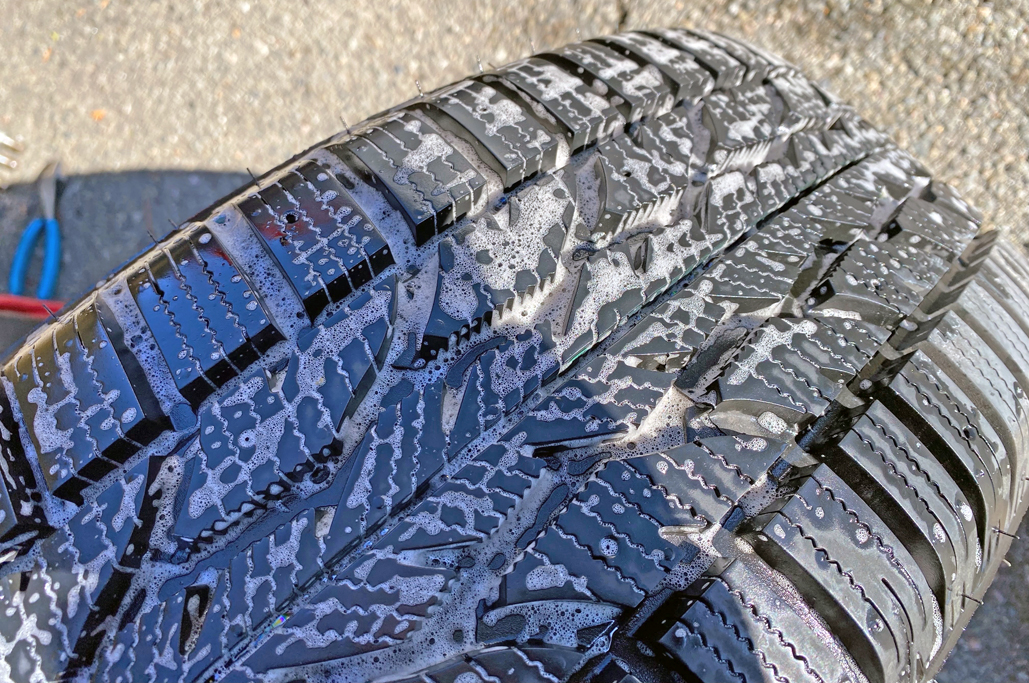
The bubble solution technique consists of:
The best way to locate a leak is to apply the soapy solution liberally but slowly with a brush, allowing the liquid to saturate the tire a section at a time. Once we had “cleared” a particular section, we rotated the tire and repeated the process. If bubbles appear, then we have located the leak.
Unfortunately, after two complete rotations, we were still unable to locate the source of the leak.

It’s gotta be here somewhere…
FOUND!
After the unsuccessful tries with the standard process, we began to suspect that the leak might possibly not be because of a puncture. So we started looking elsewhere.
Sure enough, after swabbing both the inside and the outside of the rim, we finally noticed a small section blowing tiny little bubbles…gotcha!
Go here to see the video if you need convincing 🙂

Sonofa…
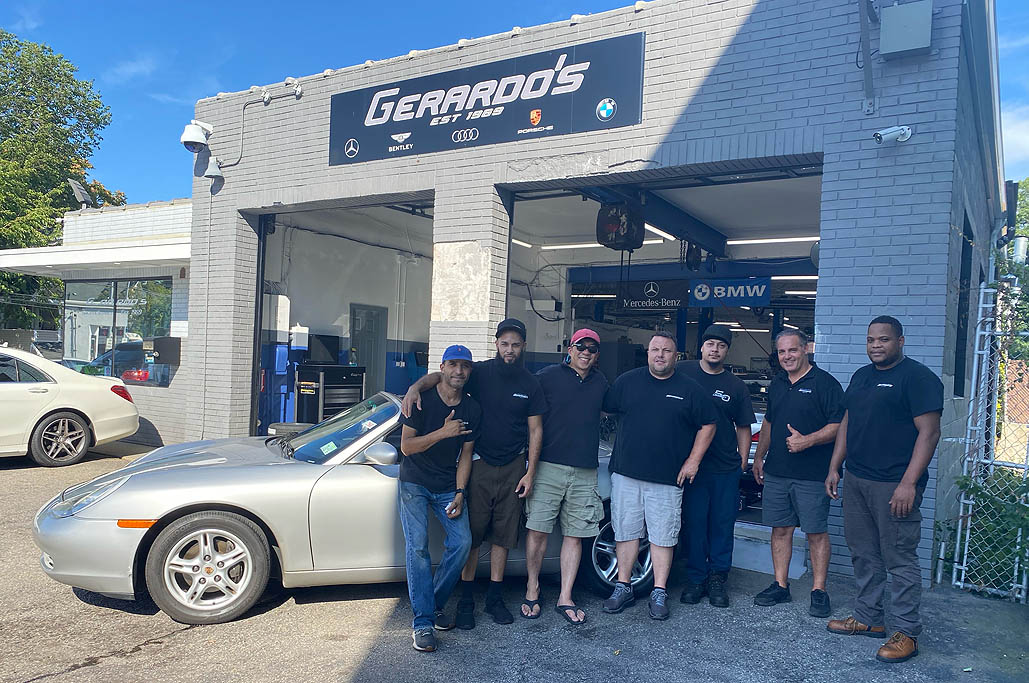
Because of the leak’s location, we couldn’t patch it using the tools we had or fix it. We had to call our local mechanic for help. When we contacted Gerardo’s, they immediately said “…bring it in, we’ll take care of it.”
And that is why we support them 🙂
Links to items mentioned:


Leave a comment