Questar : Axial port astrophotography
Interfacing the Nikon DSLR body
The Questar Standard 3.5″ telescope is probably the finest production telescope of its size in the, um, cosmos.
Old and new units are equally prized by owners the world over. And when used Questars do show up on the used market, they not only command top dollars, they get snapped up without much haggling.
Questar’s enduring popularity is obvious to those who have had the pleasure of operating and/or looking through this fine instrument.

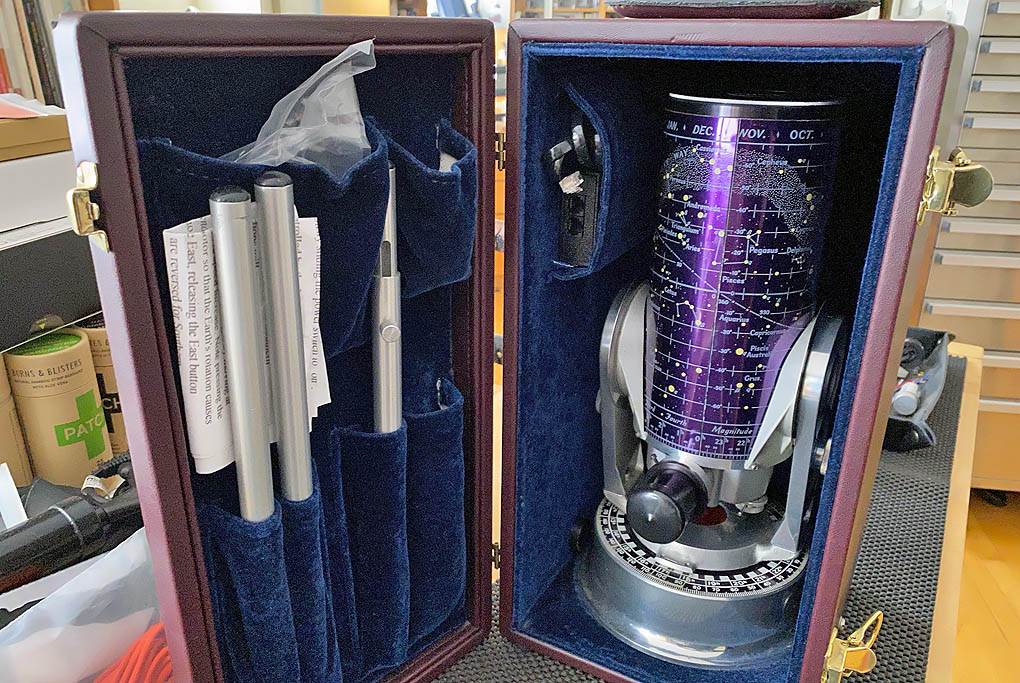
Even the box is beautiful – and useful!
For the past few years, we have been enjoying our Questar 3.5 telescopes mostly for direct observations (solar eclipse, super moon, etc). But when we did use it for astrophotography, we took the images using the afocal method.

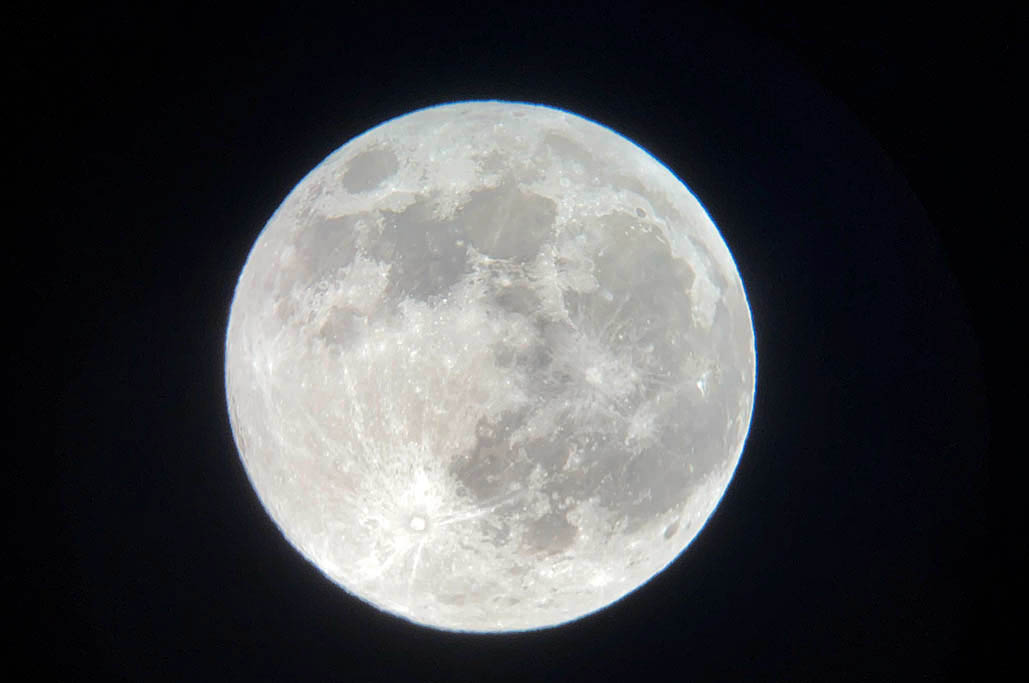
Cool setup, but just this side of blurry. Watery, maybe.
While the afocal technique is fairly simple with the right adapter, the images captured are nowhere near as crisp and sharp as what we actually see through the eyepiece.

The edge of the moon (in this photo) is just the tiniest bit blurry. Maybe it IS made out of cheese after all!
The main reason for this blurriness is the extra layer of glass that comes with shooting through the eyepiece. It will always reduce the sharpness and contrast of the image. You just cannot get around the optical physics of it 🙂
Axial Port
Fortunately, the Questar 3.5″ can direct the light coming off the primary mirror destined for the eyepiece to be redirected to an opening (axial port) in the back.

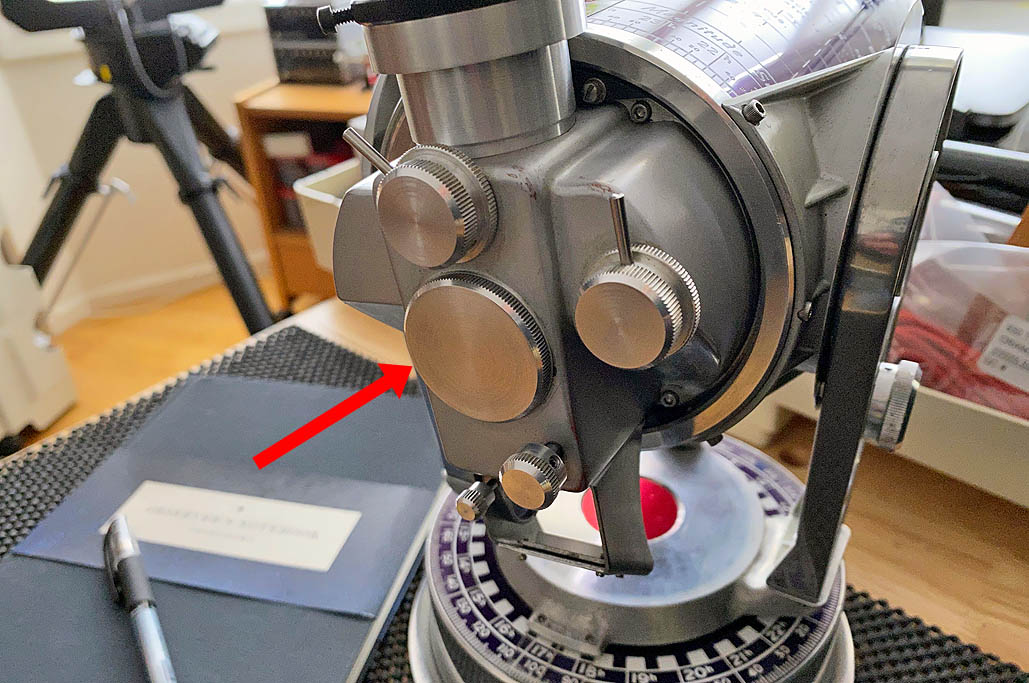
The portal to the possibilities of pellucid pictures
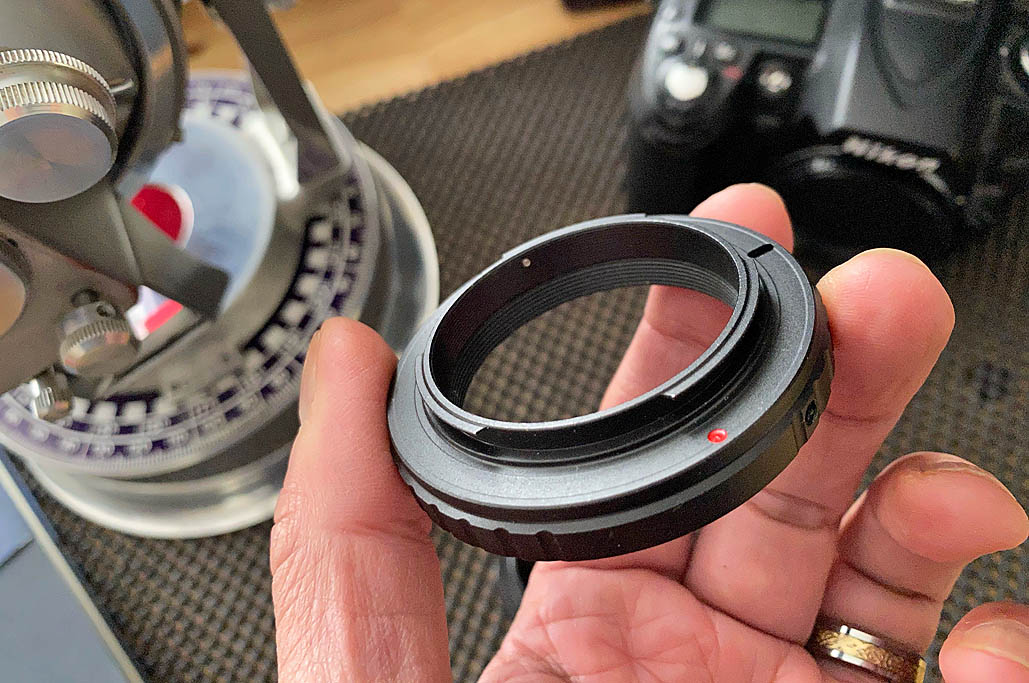
This axial port is threaded to take a special adapter from Questar that enables different cameras to be attached to the telescope.

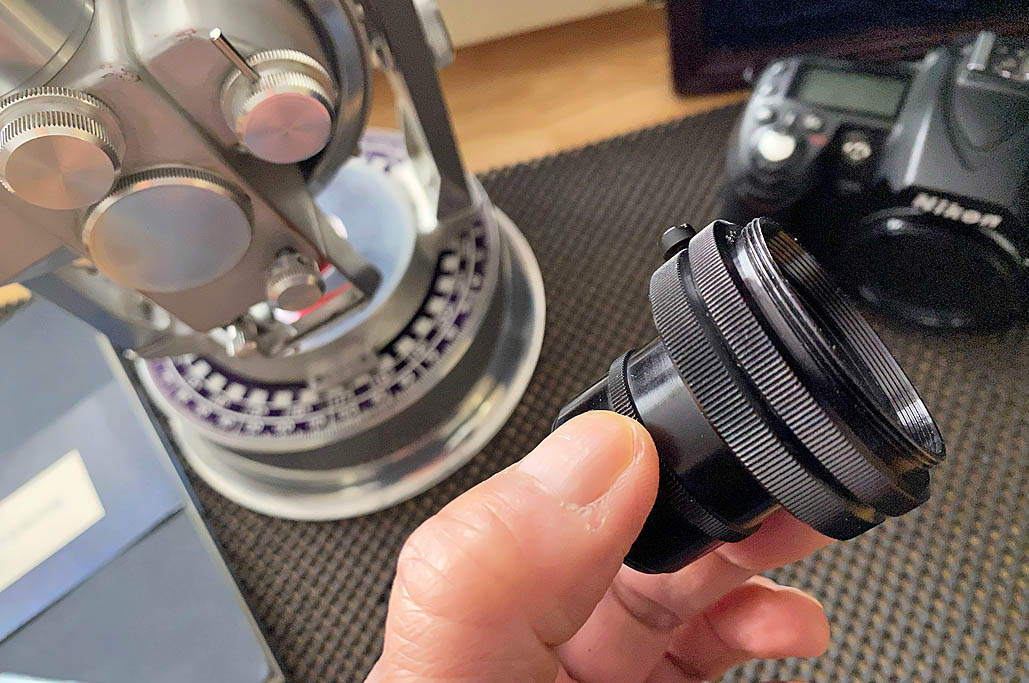
“One ring to rule them all…”
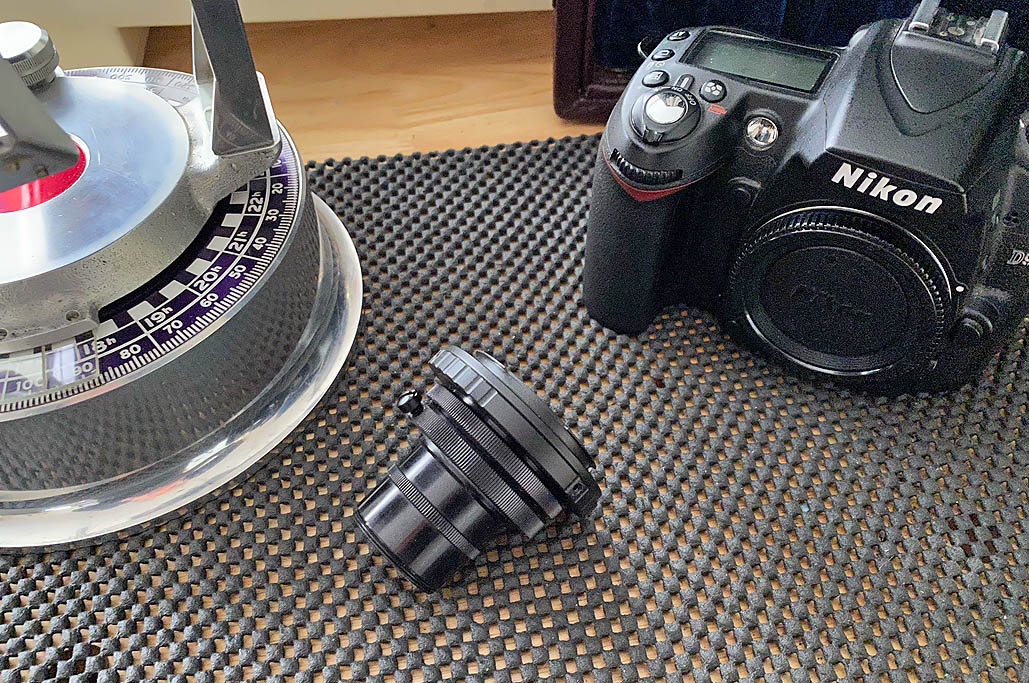
So, the complete “telescope-adapter-camera” chain is as follows:

This to that, that to that, done!
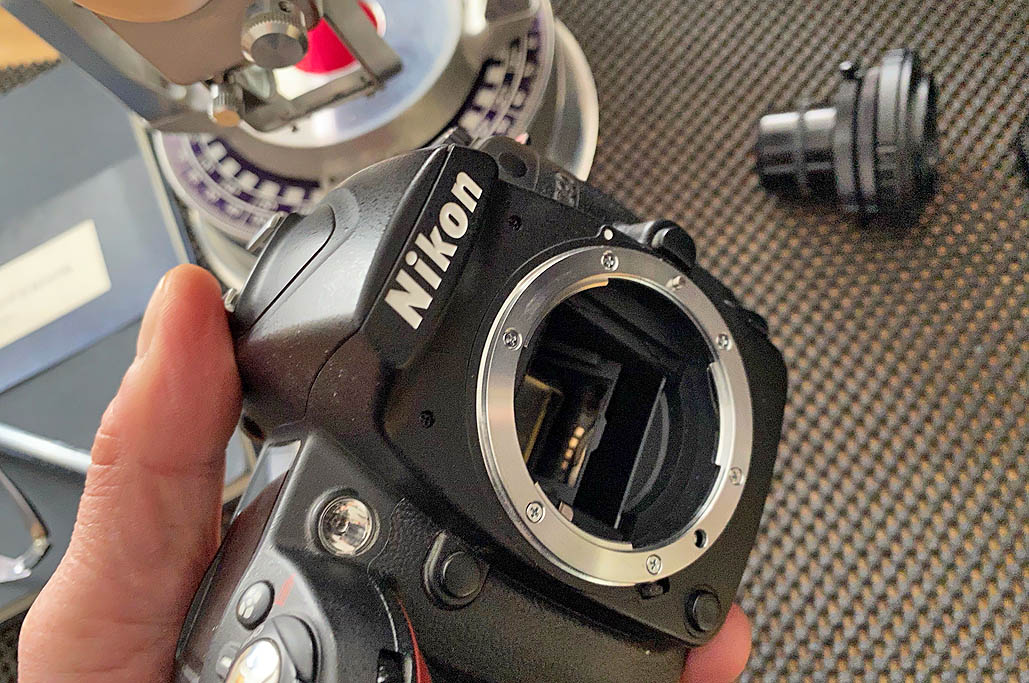
Camera Install
We tried a few different installation sequences before settling on attaching the camera to the telescope.
There are two screws on the adapter. Loosening them allows the tube of the adapter to rotate freely, without the camera body or the telescope moving.

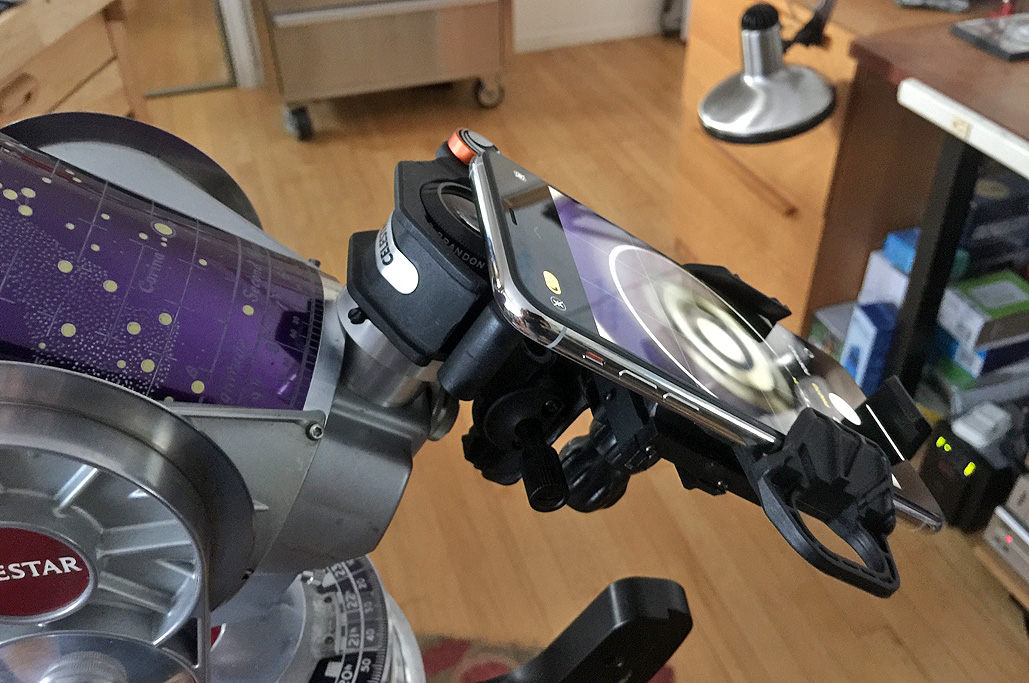
THIS is how you get a good clear shot of that man on the moon!
For us, it was easier to put the adapter on the body of the camera first, then hold the body of the camera steady with one hand, and then thread the tube of the adapter onto the scope. You can do it the other way (attach the Questar adapter to the scope, thread on the camera adapter, then attach the camera body) if that works for you.

It might look like a contraption, but wow, what a contraption!
Once the entire assembly had been mounted, we adjusted the orientation of the camera body and tightened the two screws on the adapter ring to lock things into place.

Yes, it reminds us of an International Space Station docking as well.
Calibrate
Before the Questar-Nikon setup is ready for use, the offset between when the image is in focus in the eyepiece and when the image is in focus in the camera has to be figured out. The two are NOT the same, and not figuring it out (the offset) will give you less than stellar observations (geddit?). This is best done during the day.

DO NOT POINT AT THE SUN.
The simplest way to find the offset is to: focus the camera on something far away (trees, building, etc), then look through the eyepiece and note how many turns it takes to bring the image into focus. Also note in which direction the focus knob had to be turned.
Reversing the direction of the turns (meaning: if the eyepiece was in focus after six turns to the left, the camera will be in focus after six turns to the right) will approximately bring the camera into the right focus when using this setup. Nifty, eh?
Links to items mentioned


Leave a comment