DIY: Meade ETX-60 Tristand Adapter
...so "that" will fit to "the other thing!"
Looking for a DIY projects for a rainy day? Well, telescope ones are always on the top of our list. Making adapters so “that” will fit to “the other thing” is a constant with all gear astronomical.

This would work if the mounting hole and nut were aligned, but they were not.
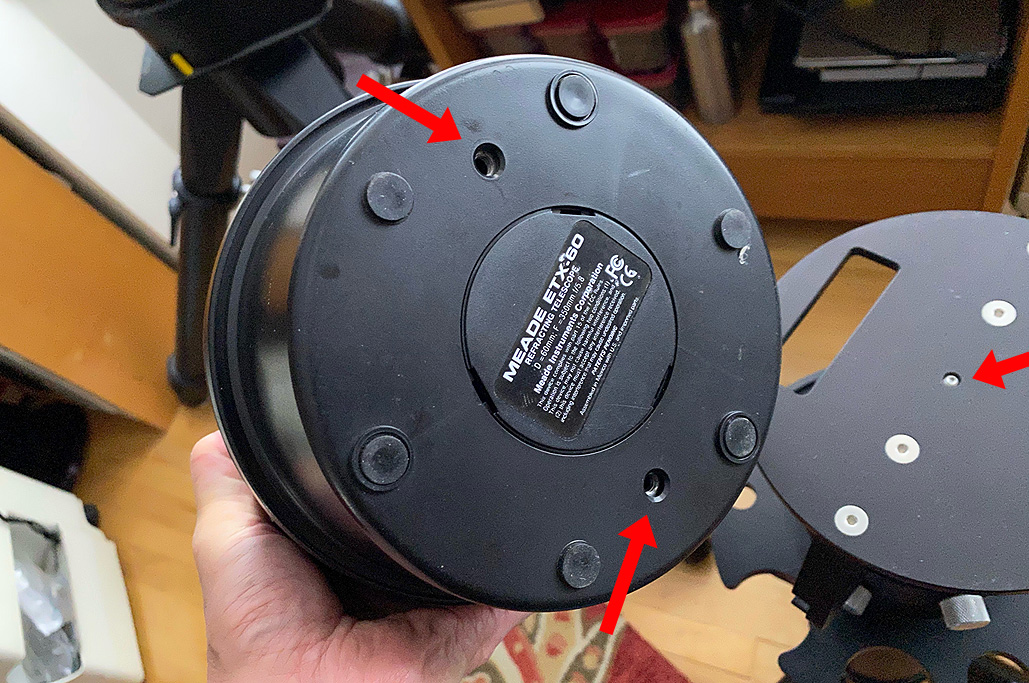
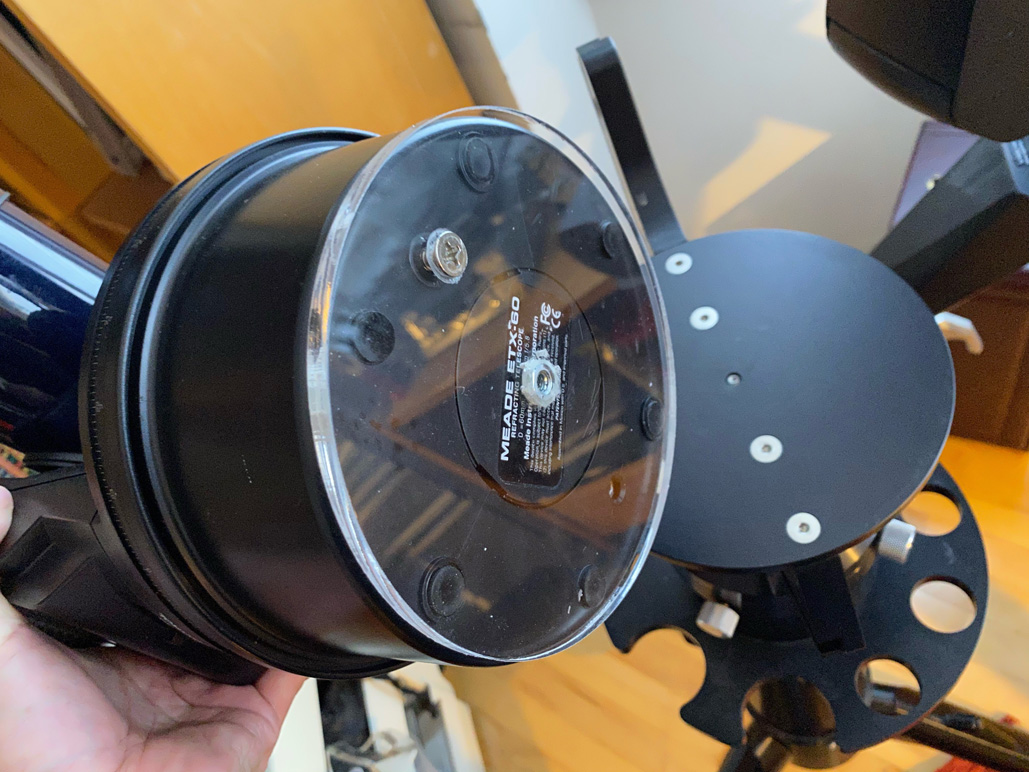
Recently, we made an adapter plate to mount the small ETX-60 desktop scope on our portable Questar Tristand pier. Why Meade didn’t just put a mounting hole in the center of the bottom plate of the scope we’ll never understand, but it gave us something to do on a rainy day, LOL.
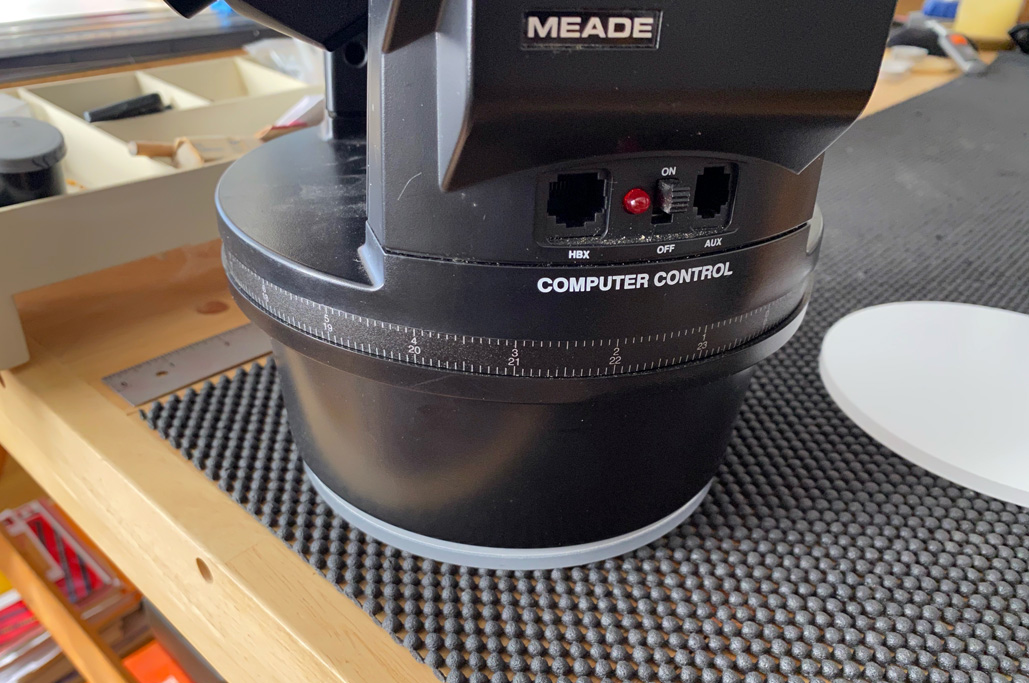
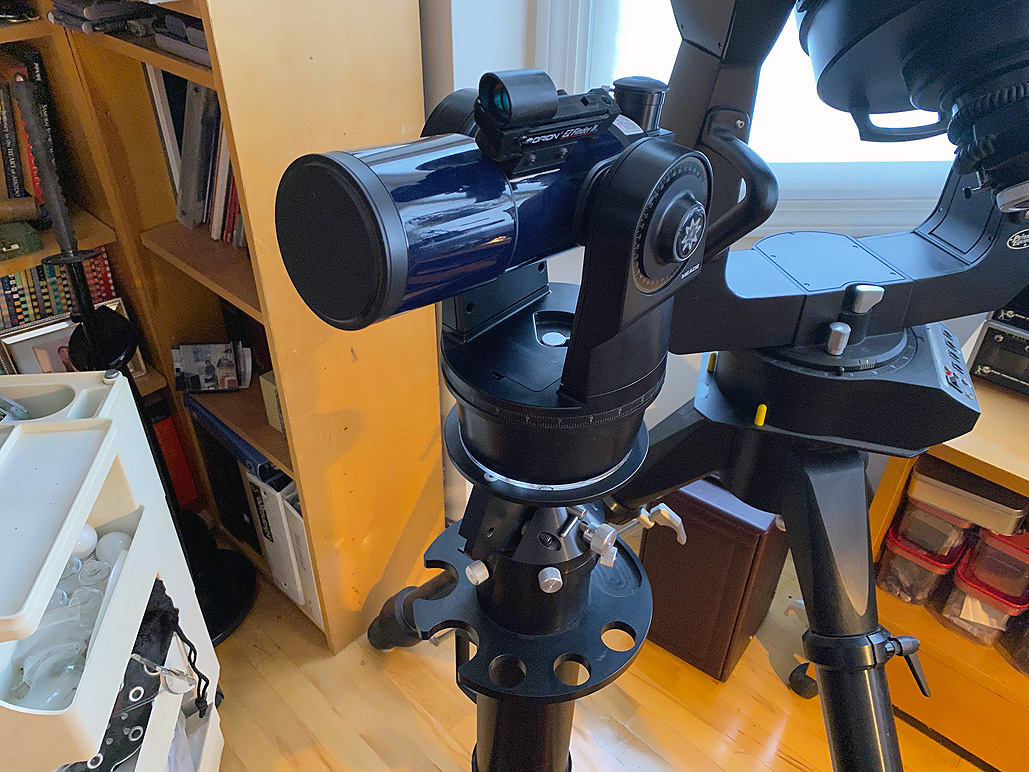
Tristand
The Questar Tristand is easy to transport and quick to setup. It is an excellent pier for portable telescopes. We have been using it for years with both the 3.5″ Questar and the 4″ Meade 2045 scopes.
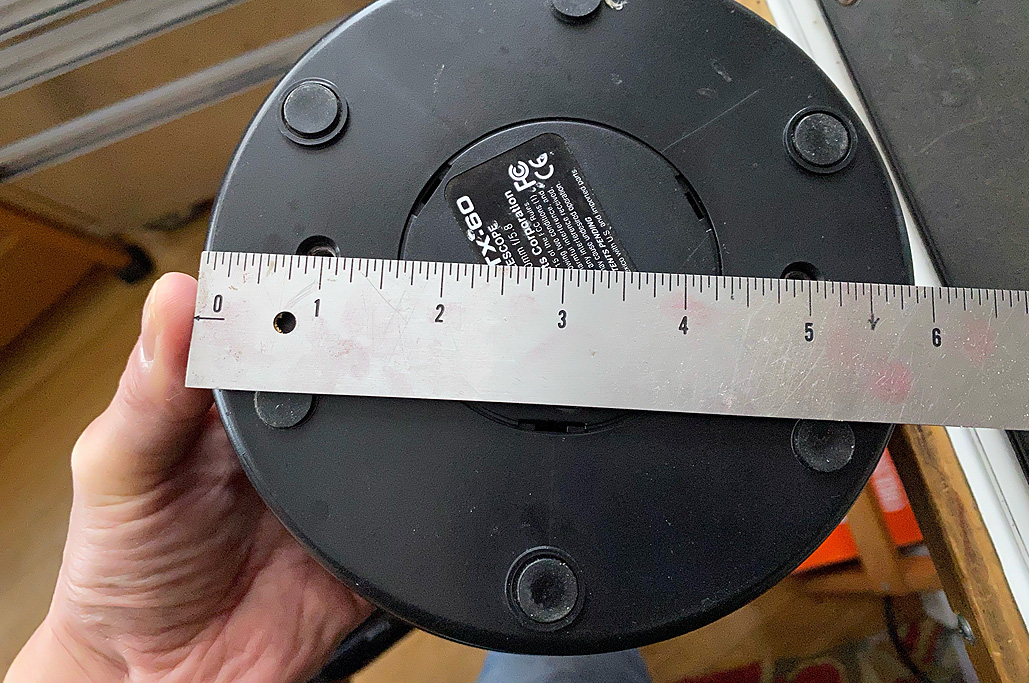
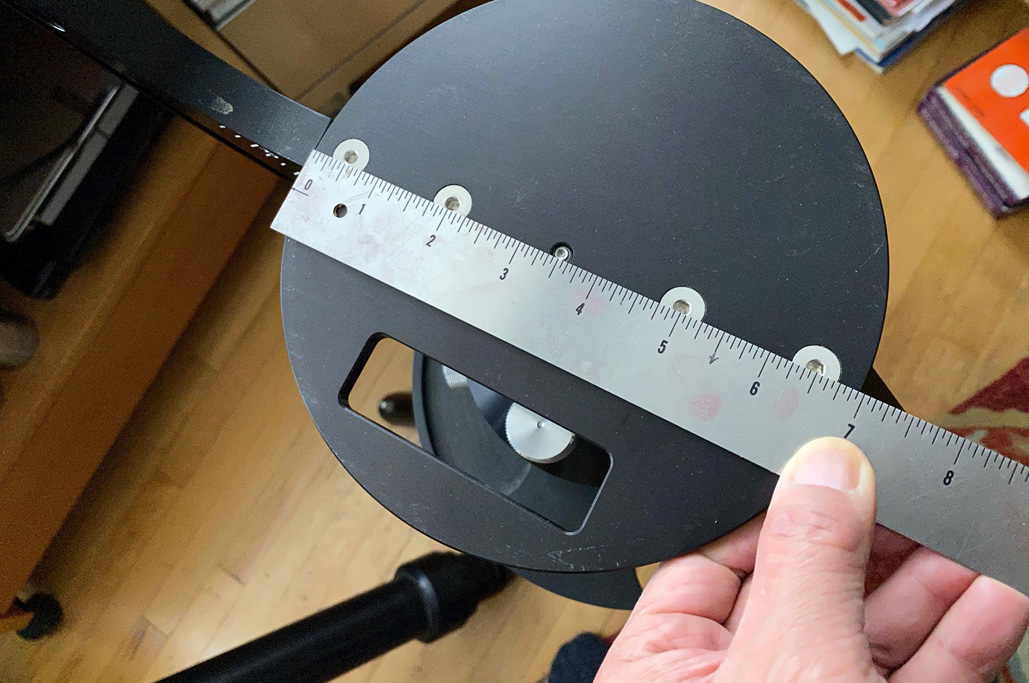
The base of the ETX-60 measured 6″ and the Tristand 7,” so we knew the tripod SHOULD work for the scope. However, the holes of the ETX-60 and the pier couldn’t be made to align in such a way that would securely support the scope. The only solution would be to make an adapter to mate the two….so it’s DIY time!

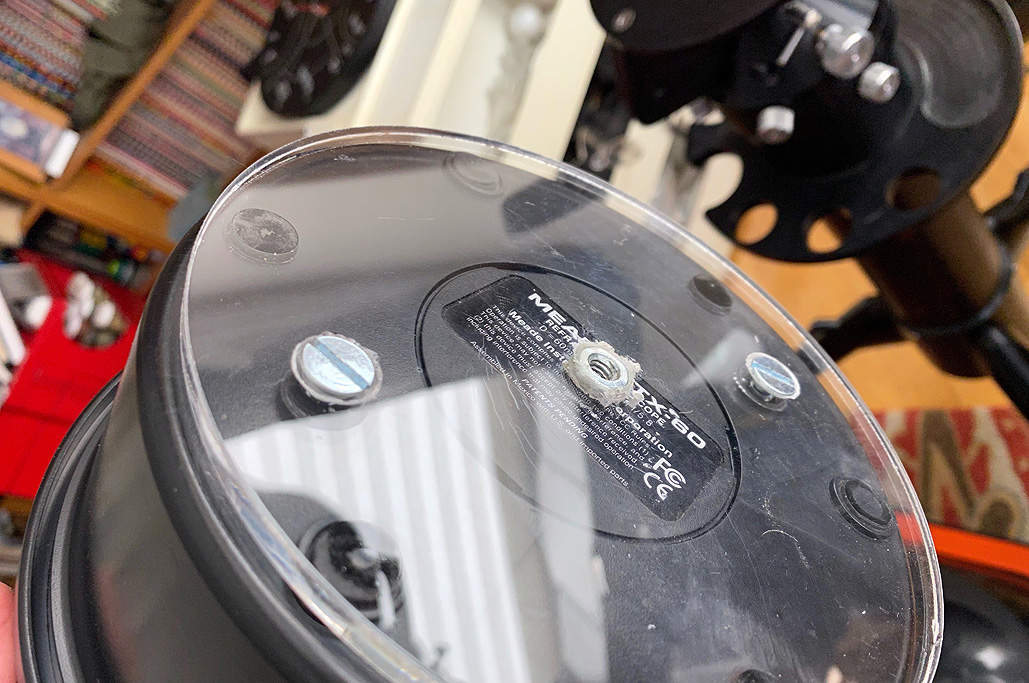
Really??? They couldn’t put a mounting plate in the CENTER???
Most consumer cameras and telescope mounts are fitted with 1/4-20 UNC threads. This is also the case for both the ETX-60 scope and Tristand pier. The holes at the bottom of the scope accepts 1/4″ bolts, and a nut with 20 UNC threading will work with a bolt on the pier.
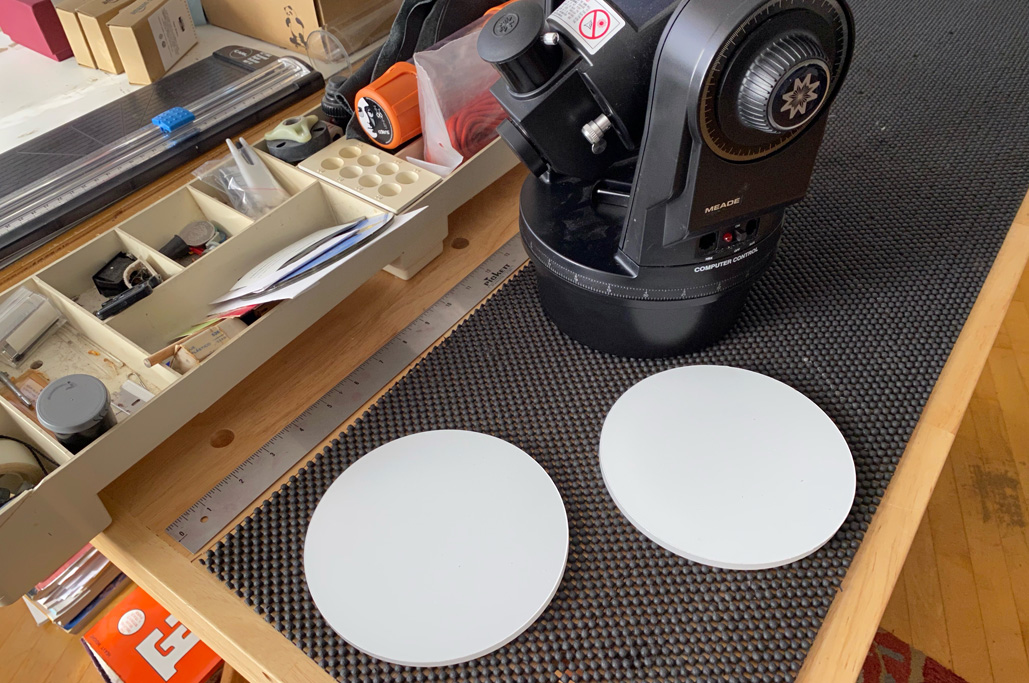
Lucite Discs
We originally planned to use aluminum discs for this project, but switched to lucite because they were a LOT less expensive. We bought two in case we messed up the first one :-).
In retrospect, lucite, being transparent, was definitely the right choice as it was probably a lot easier to work with than aluminum.

ALWAYS buy two!!! You know why…
The discs we got were 1/4″ thick, light, and plenty rigid for the task. More importantly, they are transparent. The advantage of that was not immediately evident to us, but as we got going with the project, it became obvious and was pretty key to the success of the project!

Coated with paper on both sides…
The base of the ETX-60 is 6″ in diameter and the disc we bought was a perfect fit. We could have matched the pier’s 7″ diameter, but a 7″ disc was not available without putting in a special order.

6″ in diameter—and a perfect fit.
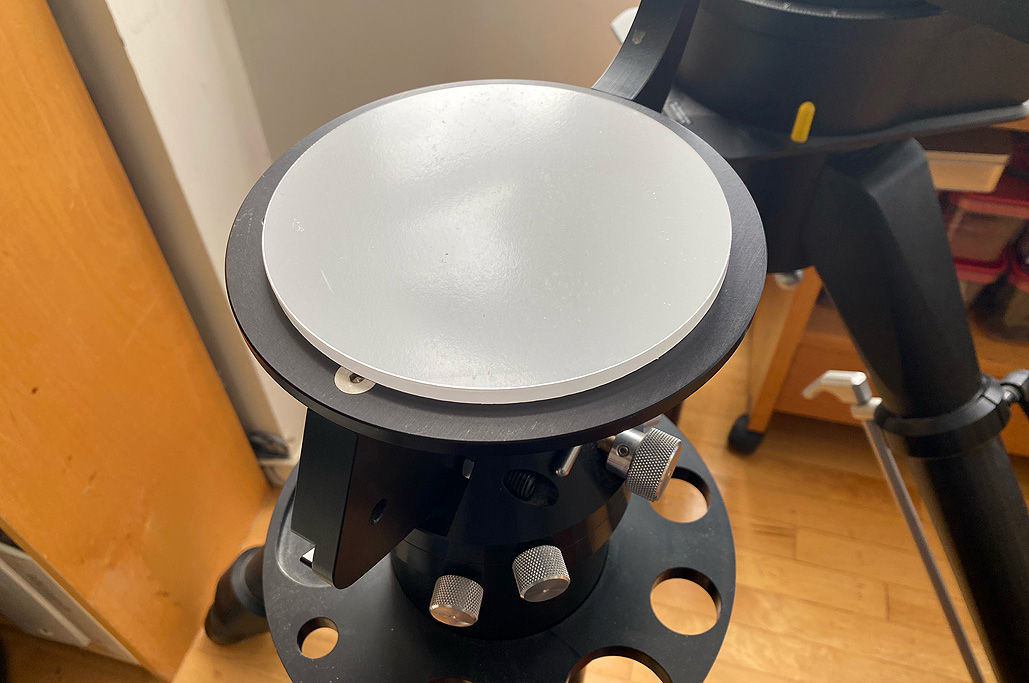
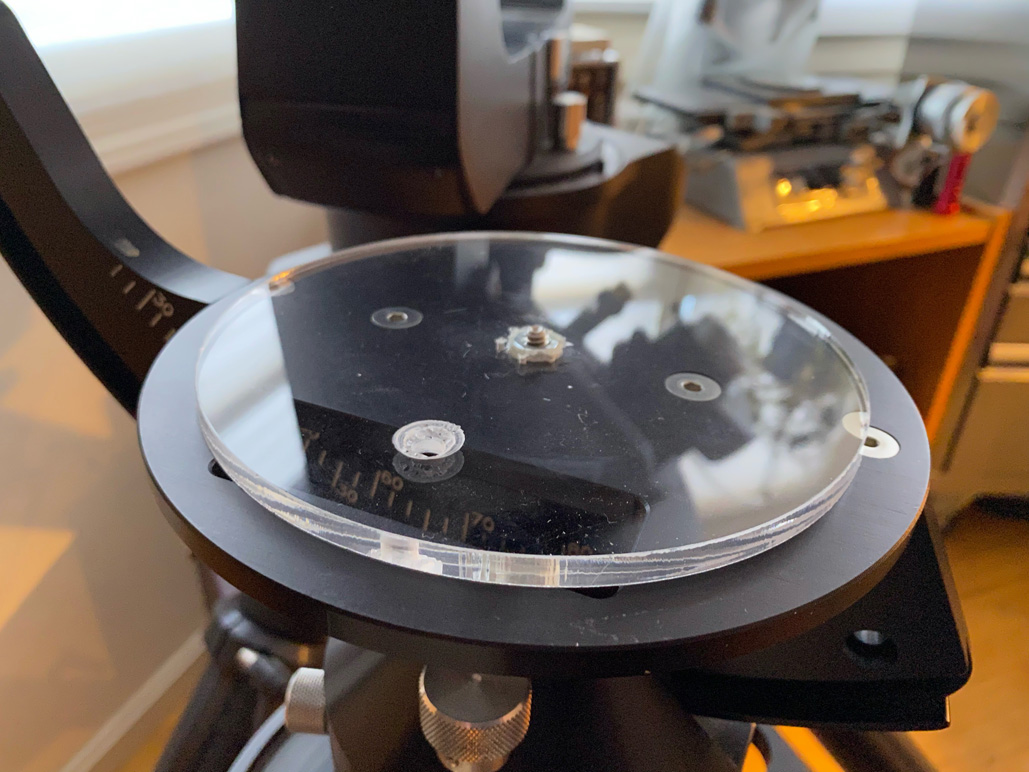
The base of the Tristand is 7″ in diameter. This meant that we had a little bit of wiggle room in mounting the ETX-60, and did not require an EXACT centering of the mounting hole. Still, it would be best to get the mounting hole as close as possible to center, even with the 1/2″ play around the disc.

Test fitting on the Tristand pier…
Drilling Holes
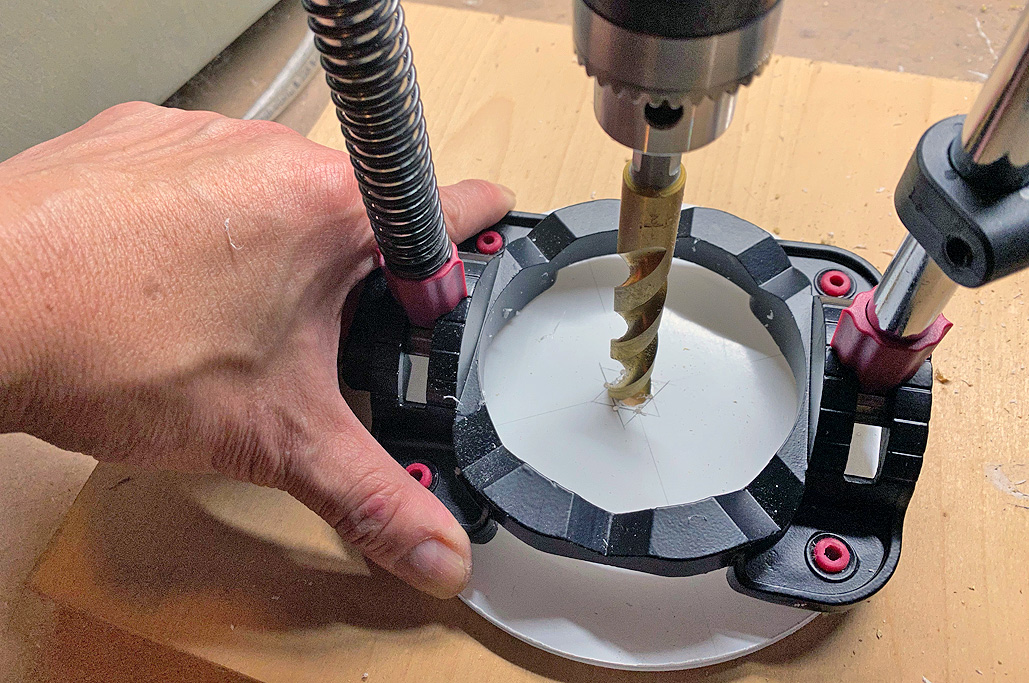
Three holes needed to be drilled:
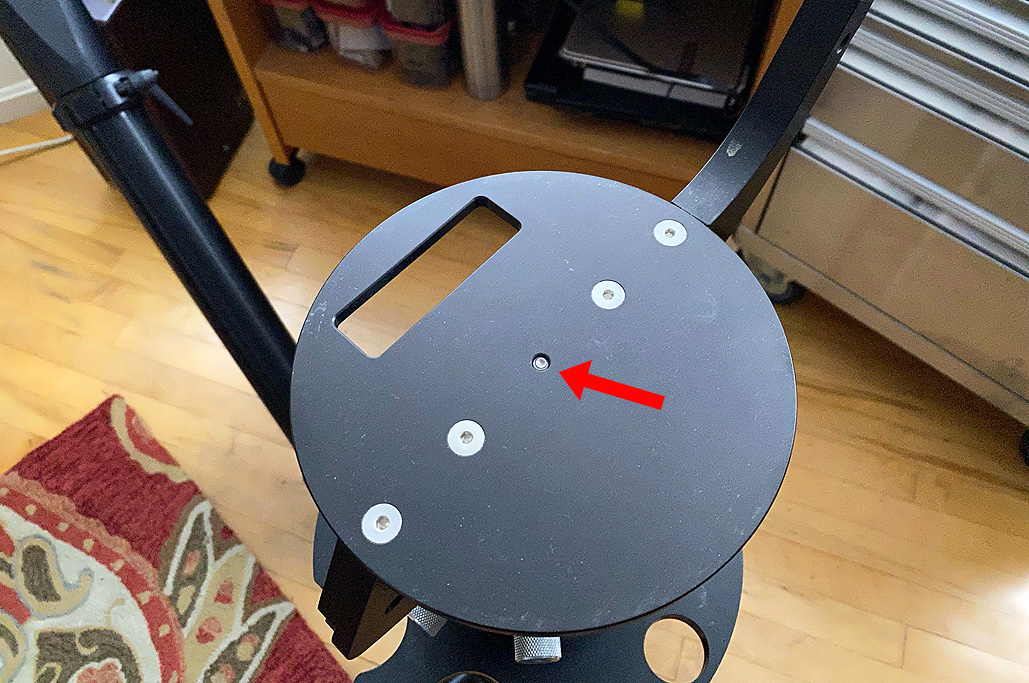
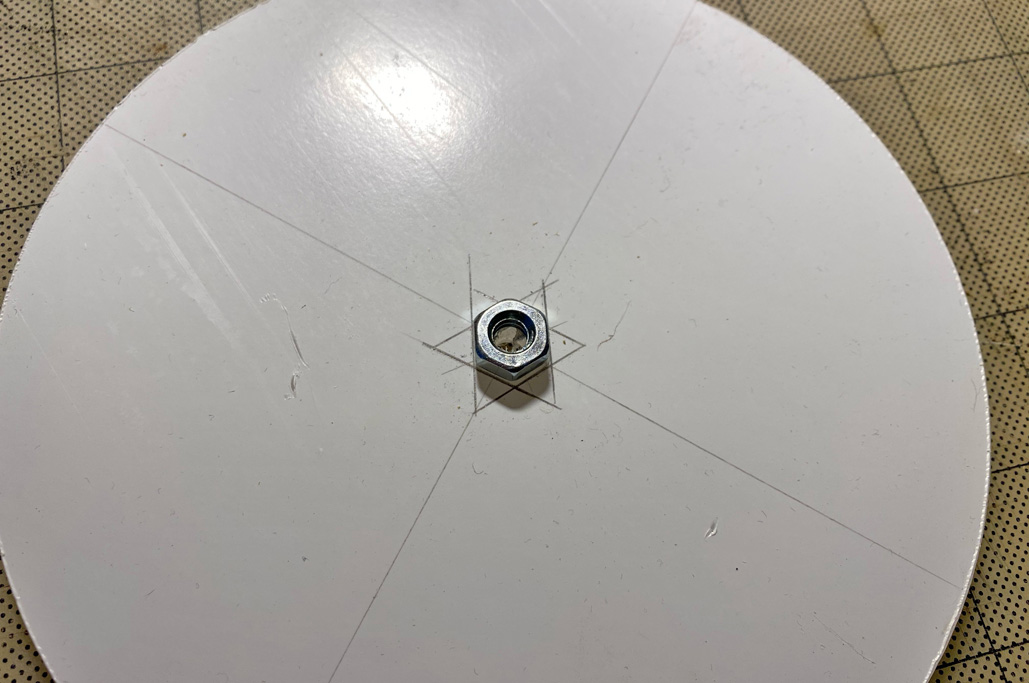
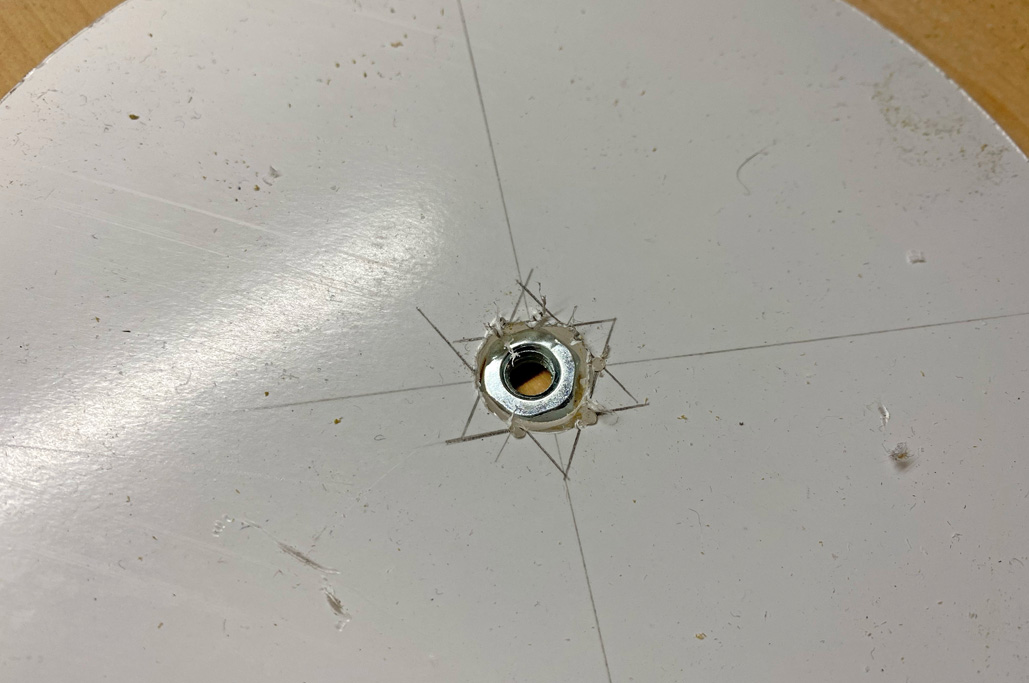
- One 1/2″ hole in the center for the nut, and
- Two 1/4″ holes for attaching the disc to the scope
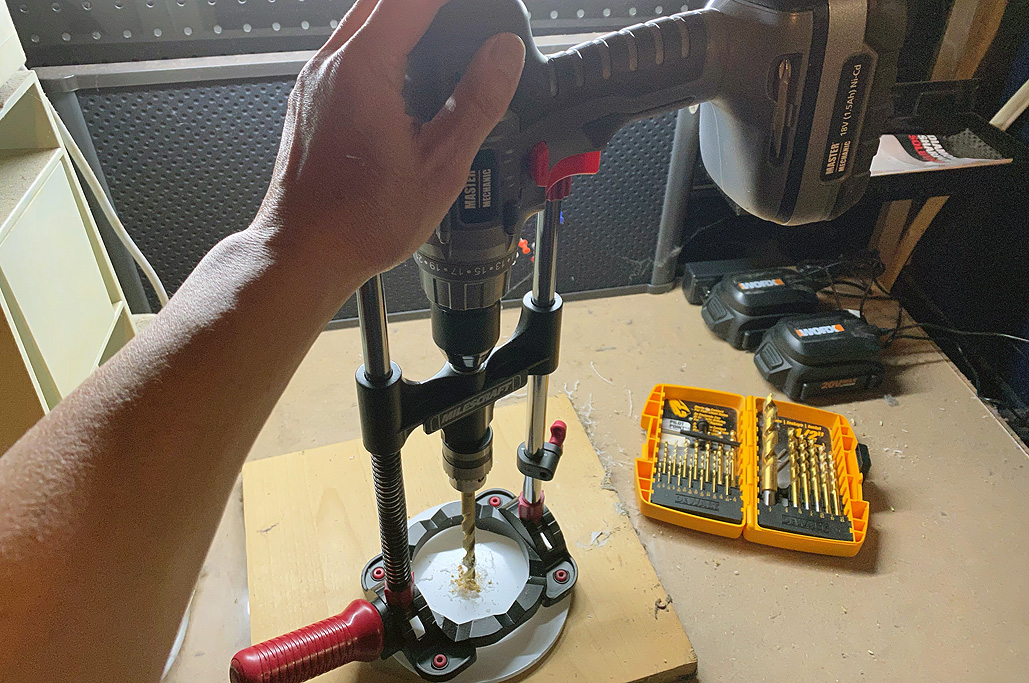
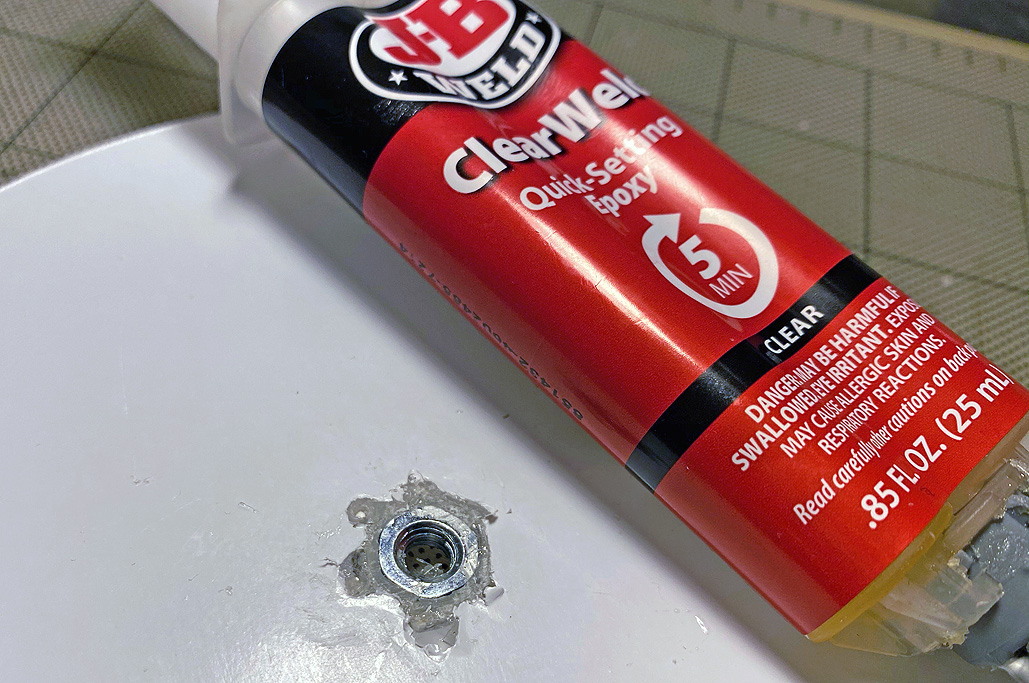
We used a portable drill guide for the 1/2″ hole. The nut was secured in the hole using our favorite two-part quick-set epoxy, JB Weld.

Portable drill press rig and JB Weld…such cool tools!!!
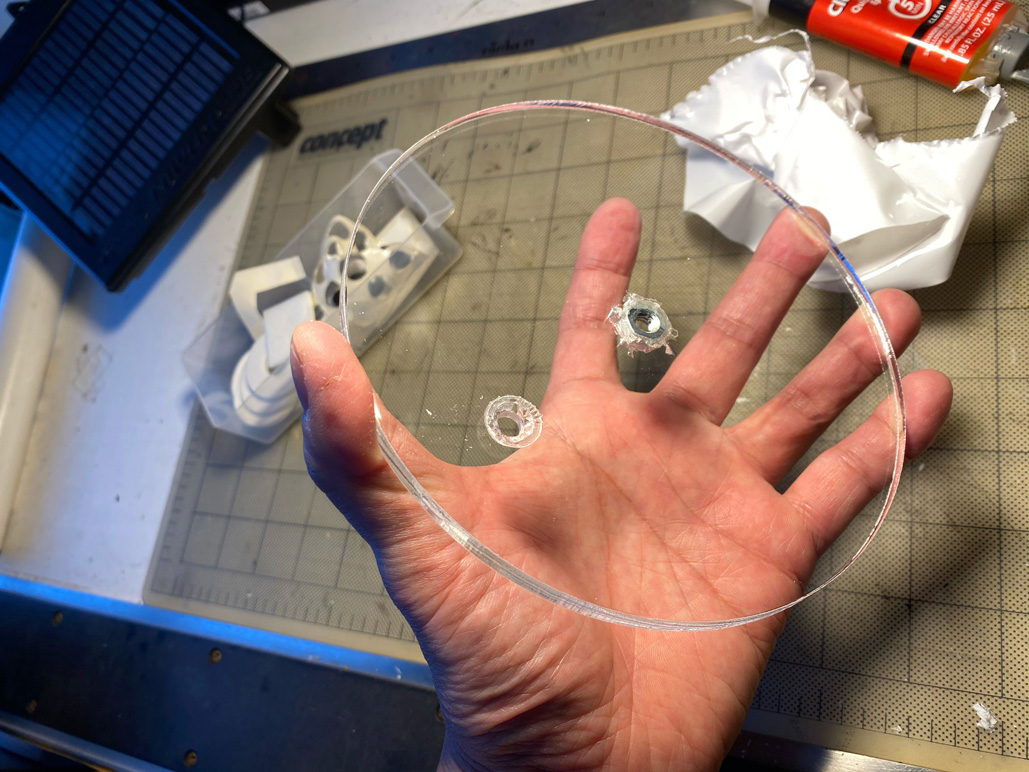
Once the epoxy had set, we test-fitted everything to make sure both the center and scope holes “worked.”
Drilling the hole for the nut and the first hole for attaching it to the scope were easy. The hard part was aligning the hole for the second mounting bolt—that one had to be spot on! Of course, an alternative would have been to cut a slot for the second bolt, but the clear lucite made the precise marking and alignment of the second hole fairly easy.

Lucite…so easy to work with and a lot cheaper than aluminum
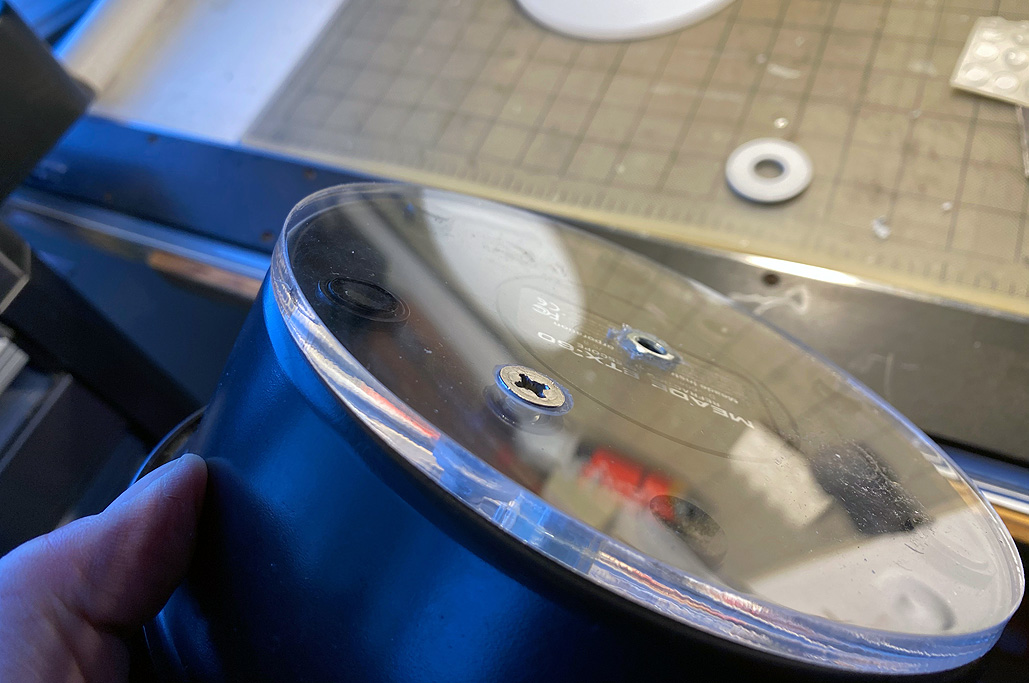
This was the point which we were really happy to be able to see through disc, because we didn’t have to guess where things were on the bottom of the scope. We were able to visually line up the holes and mark directly on the clear disc before drilling. Clever, that 😉
We also counter-sunk both holes so that the head of the bolts would sit flush, with no gaps between the lucite disc and the Tristand platform.

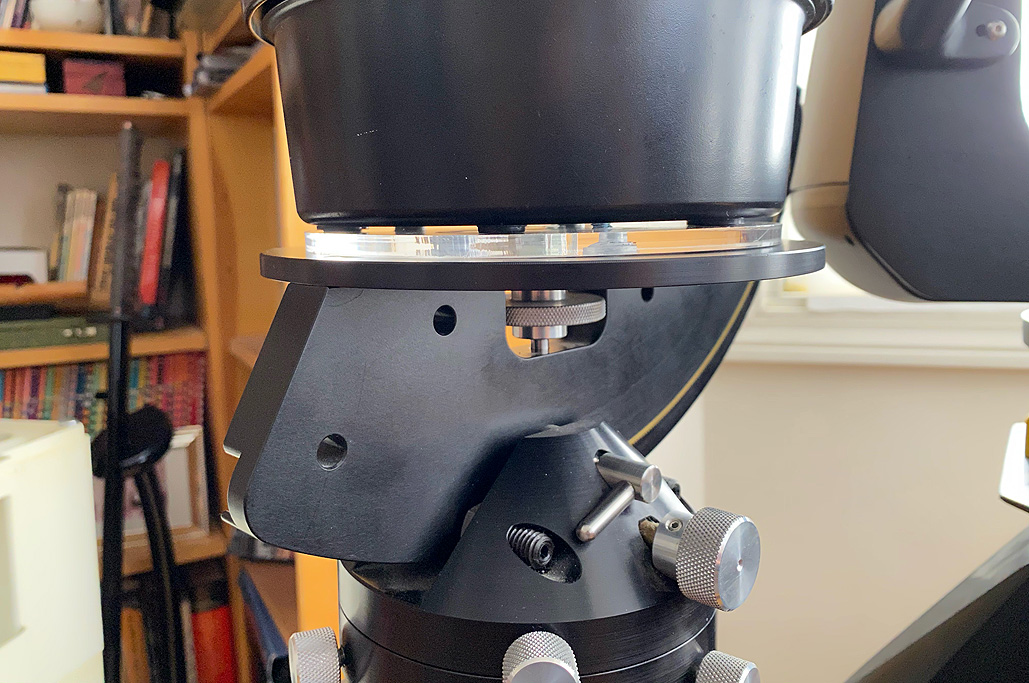
Ready for “FirstLight”!
After the JB Weld had cured for 24 hours, we test-fitted the scope-with-adapter on the Tristand and declared this DIY done!
Links to items mentioned:


Leave a comment