DIY: Tanto
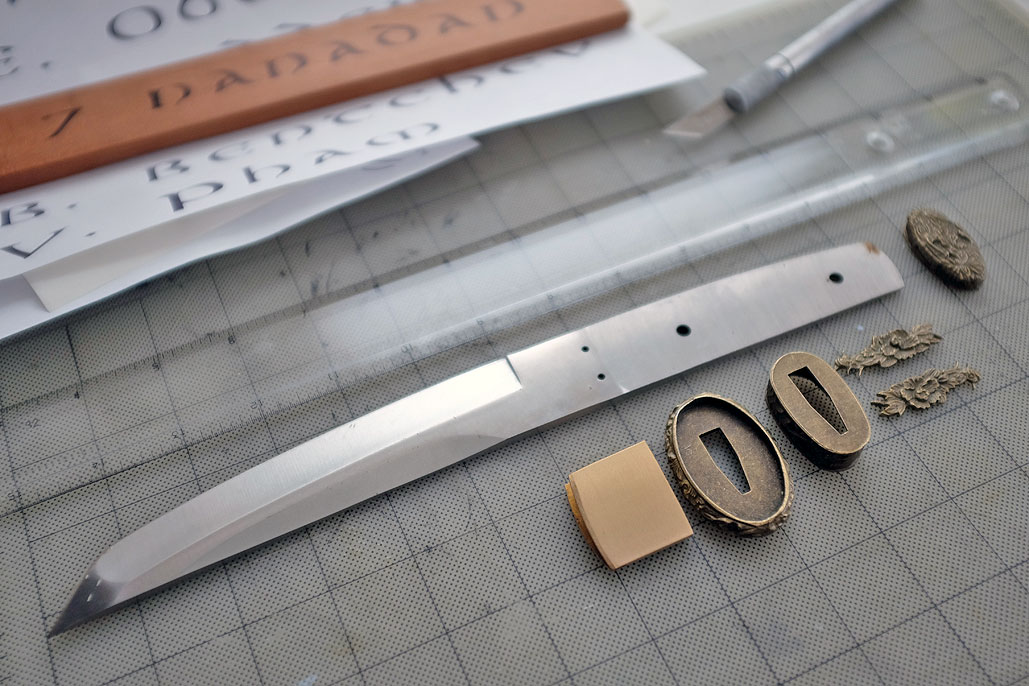
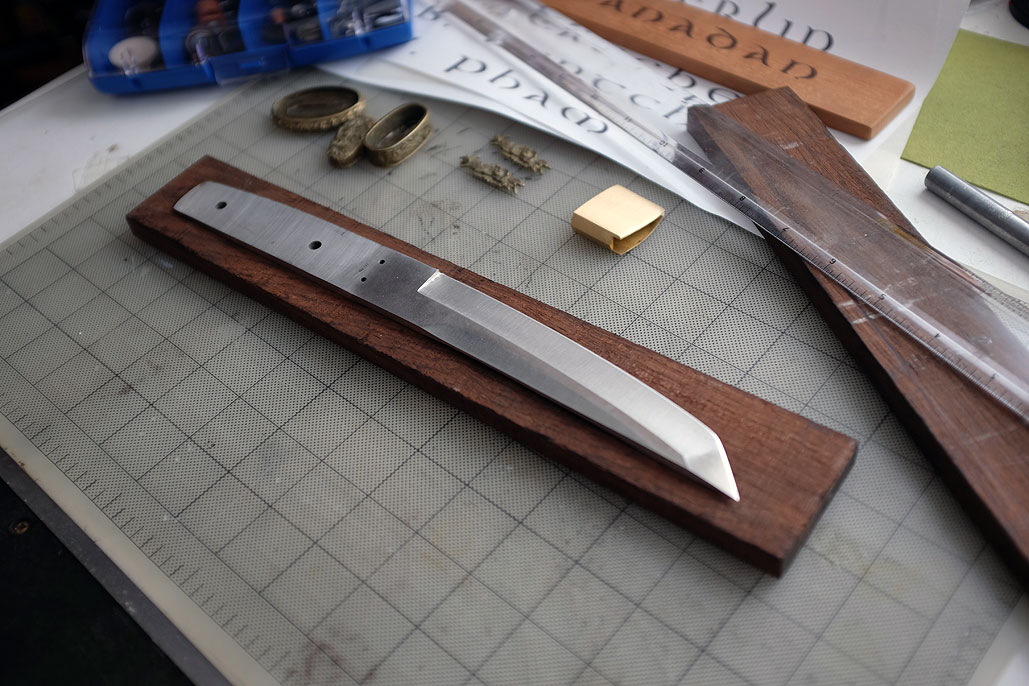
While cleaning up the office, we came upon a tanto blank we had purchased many years ago but had forgotten. It has been a while since we built a knife. In fact, the last one was as some twenty years ago. That one had a simple sheath and handle, because back then, access to fancy fittings were not readily available like they are now. Today, nicely cast fittings may be had on EBay at great prices. We decided to make a knife from our recently-discovered blank.

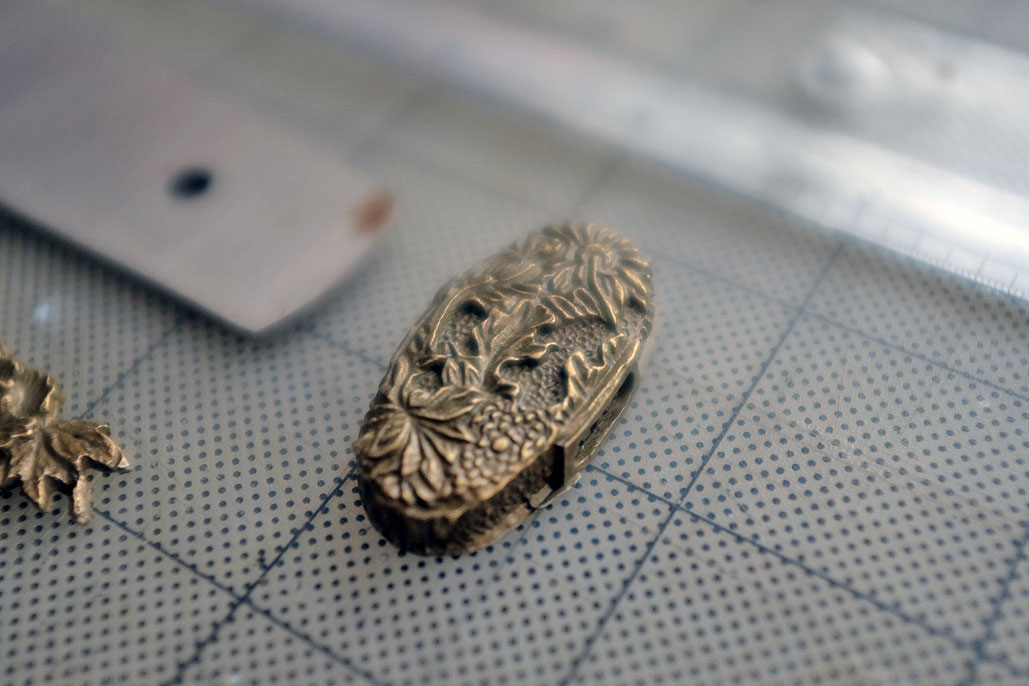
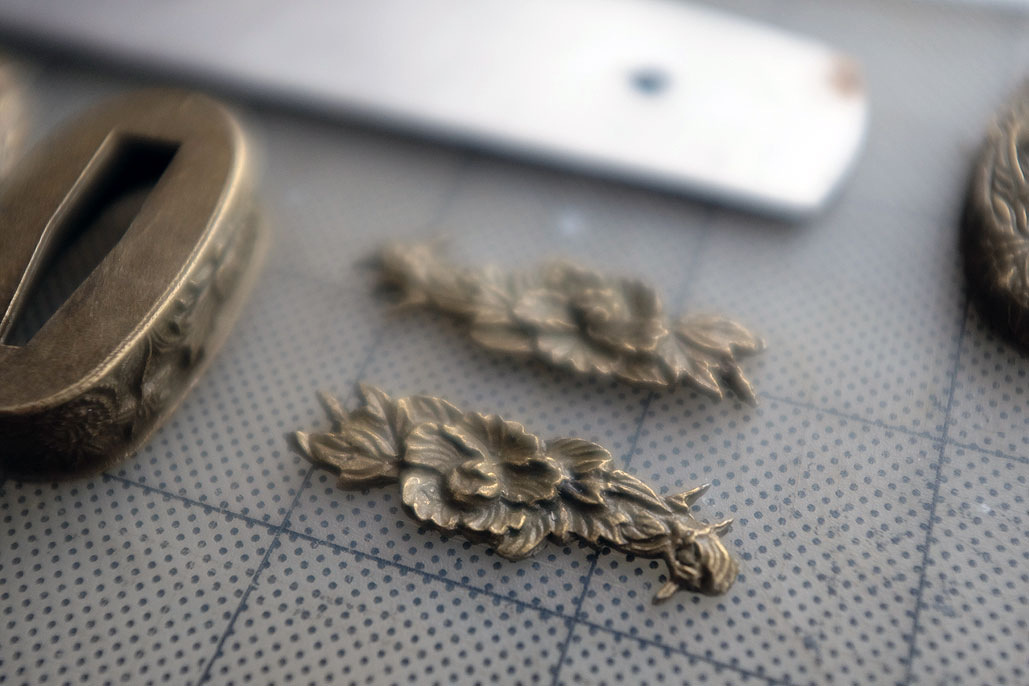
We found a nice set of fittings (guard, end cap, and handle decorations) which we thought would pair nicely with the blade. The pattern is a reproduction of an antique one and made for a really nice build. The quality of the casting is very nice. The patterns are deep and very distinct.


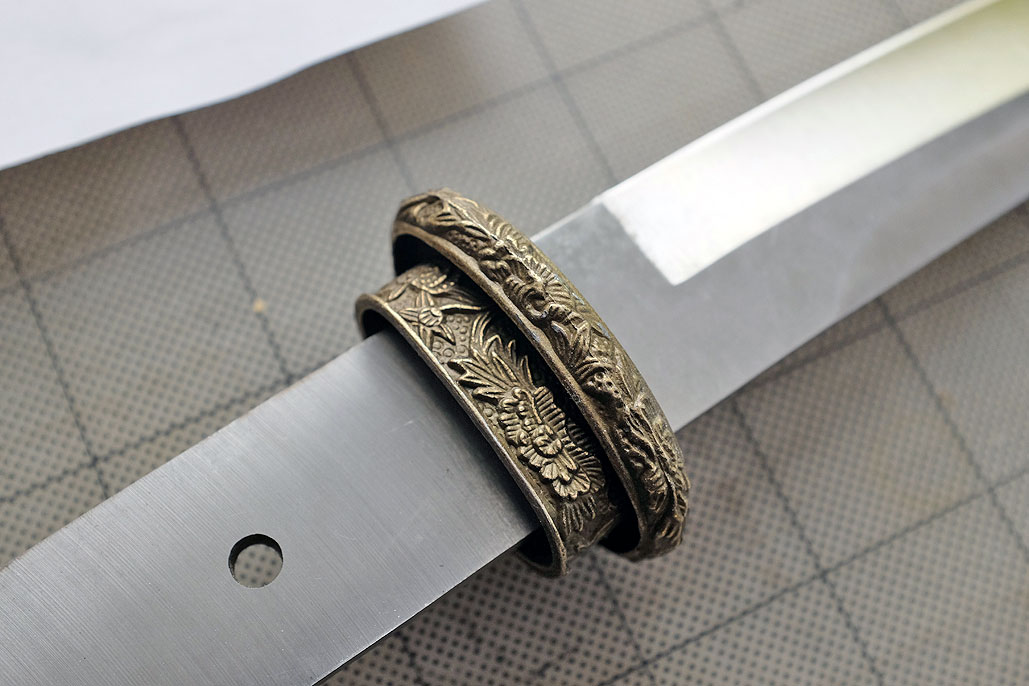
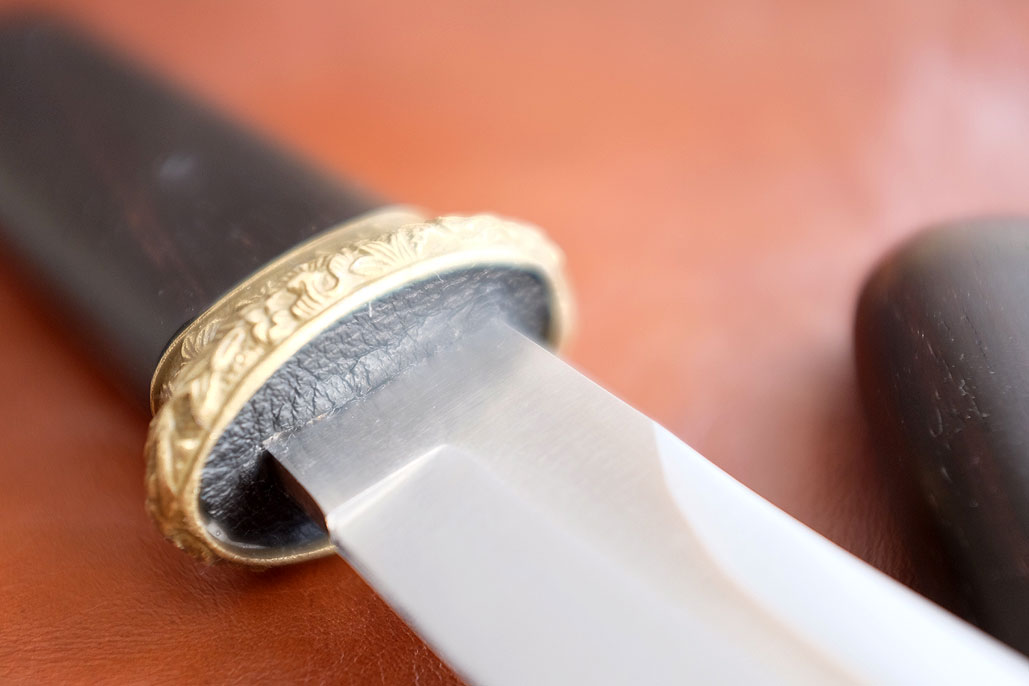
In checking over the fittings and visualizing the tanto we plan to build, we realized that not all of the pieces would be needed. We will discuss the decision later, but we won’t be using the menuki (end cap). What we will be using are the tsuba (guard) and the fuchi (sleeve).

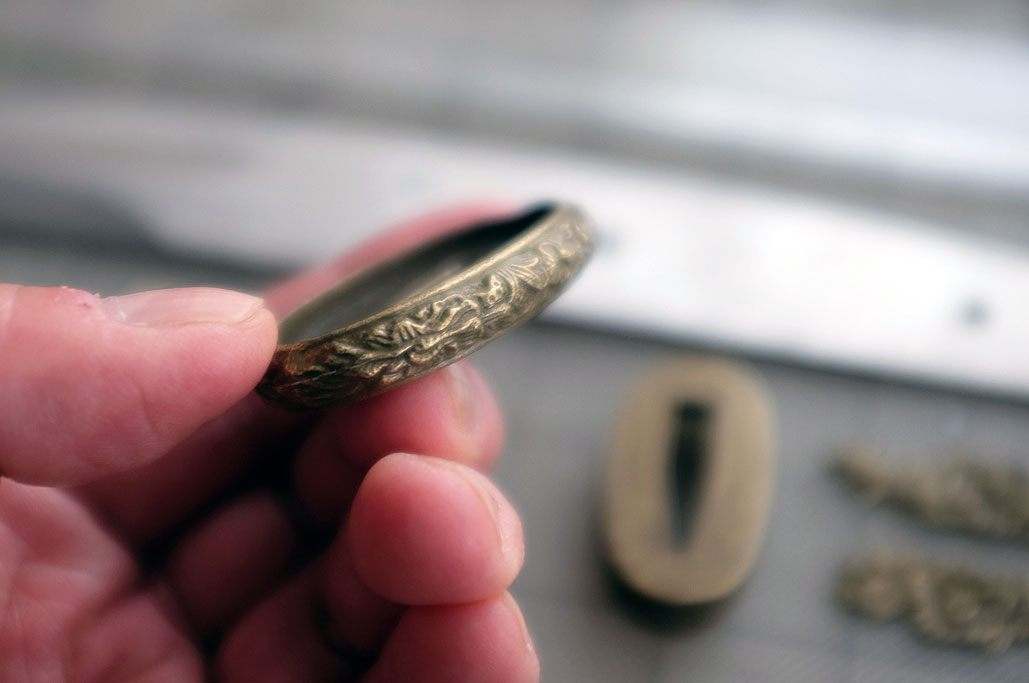
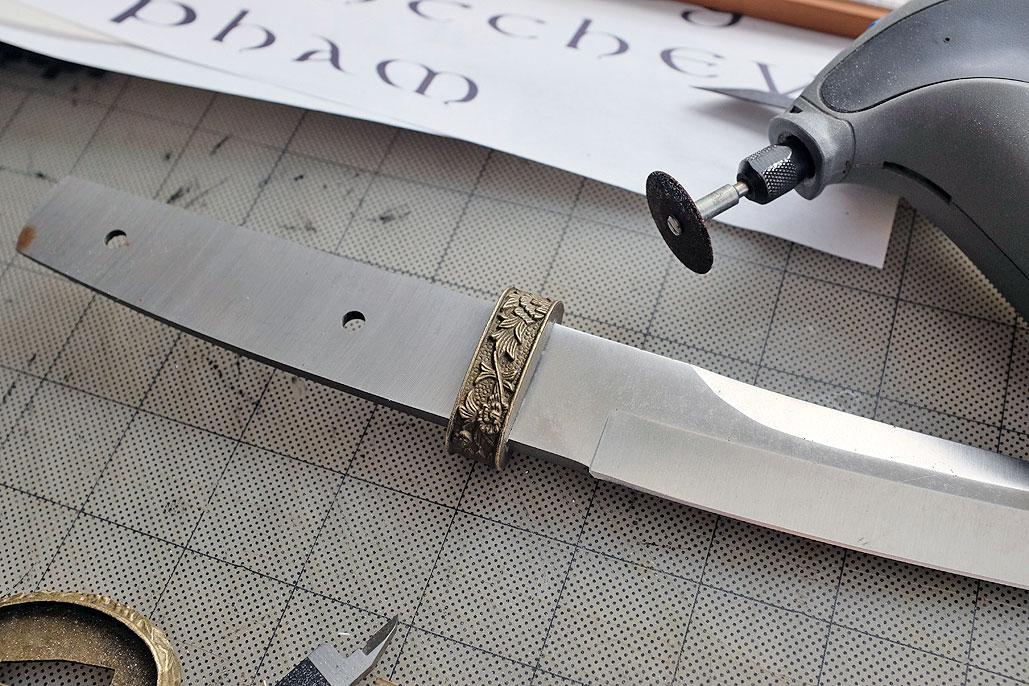
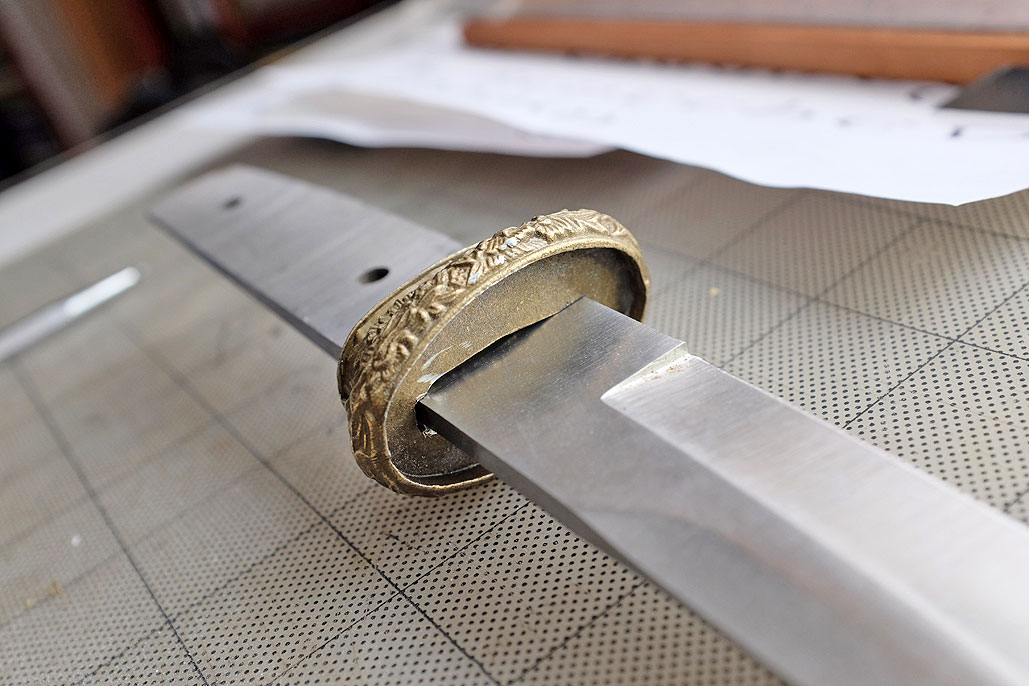
With the pieces picked, the next step was to check the sizing. Both the tsuba and the fuchi will need to fit the handle of the blade. After trying to slide the guard onto the handle, we now have an understanding why some of the ones on display at the MFA have irregular openings. In the old days, the fittings and the blade would have been made by different artisans. It made sense that they would have smaller openings that could be enlarged to custom-fit any blade.

After hand-filing the hole for custom-fitting the blade, an irregular opening would be the result. Typically, a thin metal piece (seppa) is used to cover the opening to hide any unsightly gaps. Hand-filing is one way to go when fitting the pieces to the blade, but we used a Dremel tool as it made short work of grinding away the excess. The power tool also made it easy to get sharp straight edges.

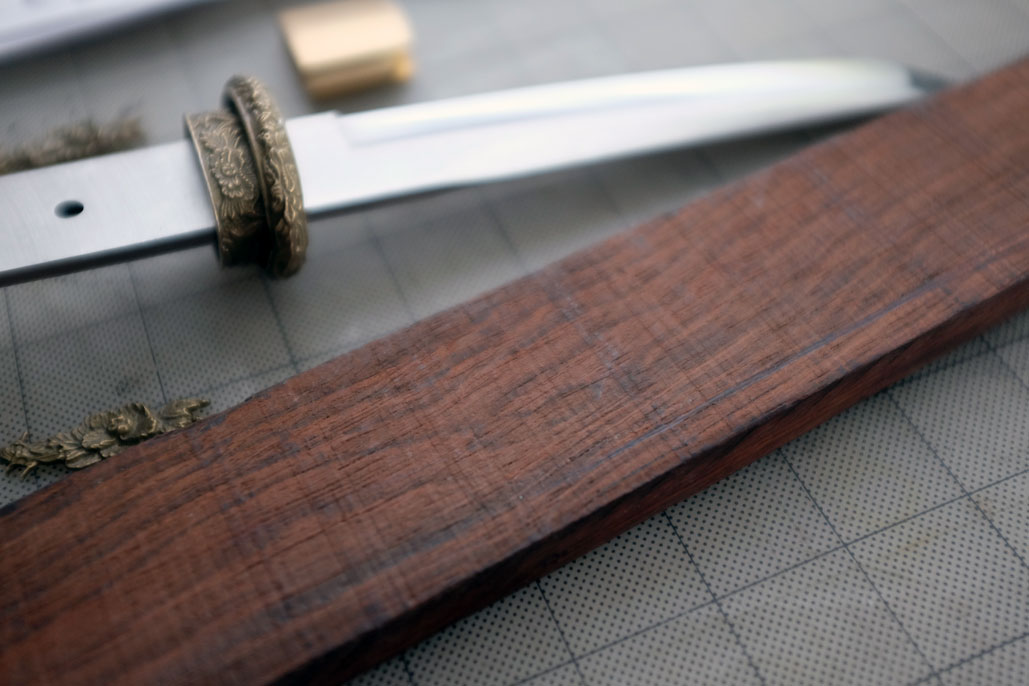
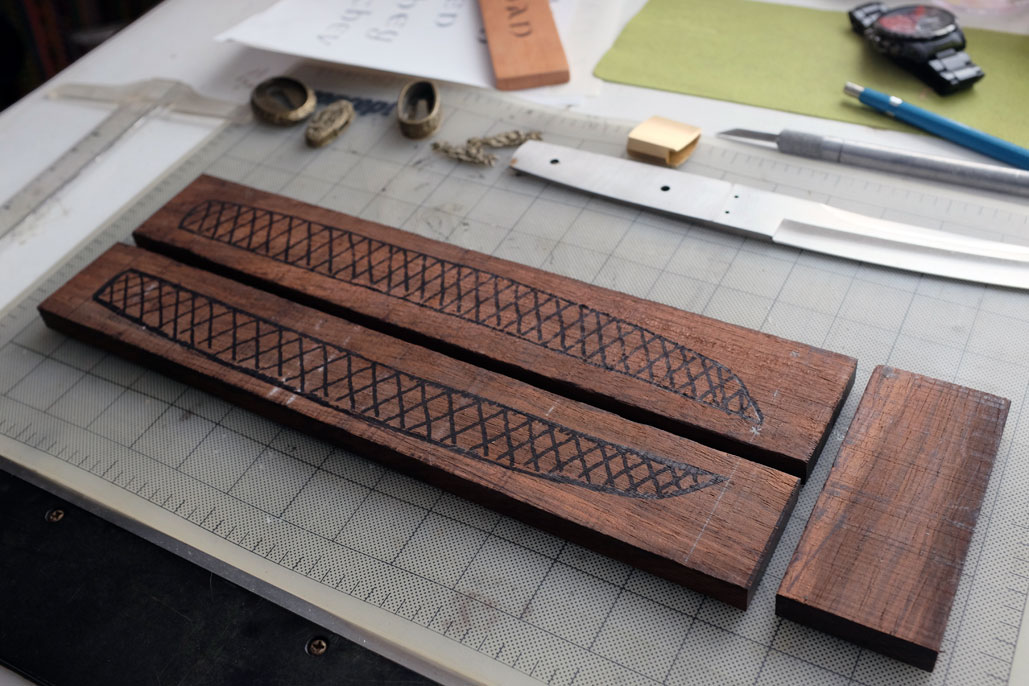
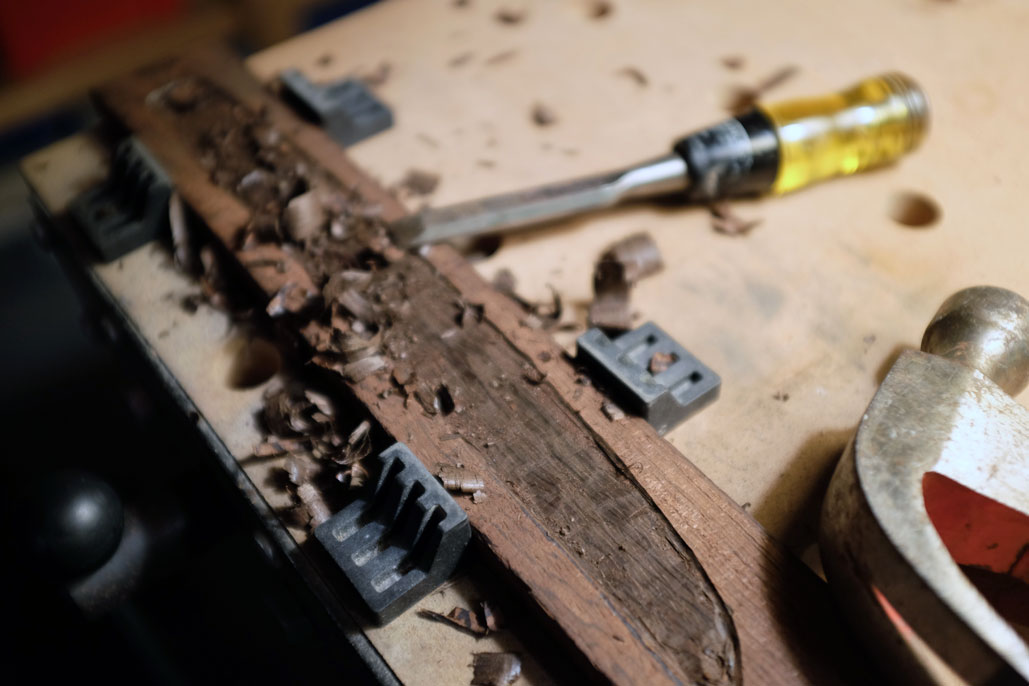
With the guard fitted, the next step was to find some interesting, possibly exotic hardwood to complement the fittings. Our friend Aaron Green offered up a beautiful piece of rosewood for the project. It took the better part of a day to finish the rough shaping of the recess for the blade. We had never worked with rosewood before so it took a while before we got used to its hardness. We also went a little slower as it has been a while since we used tools that didn’t have an AC plug.

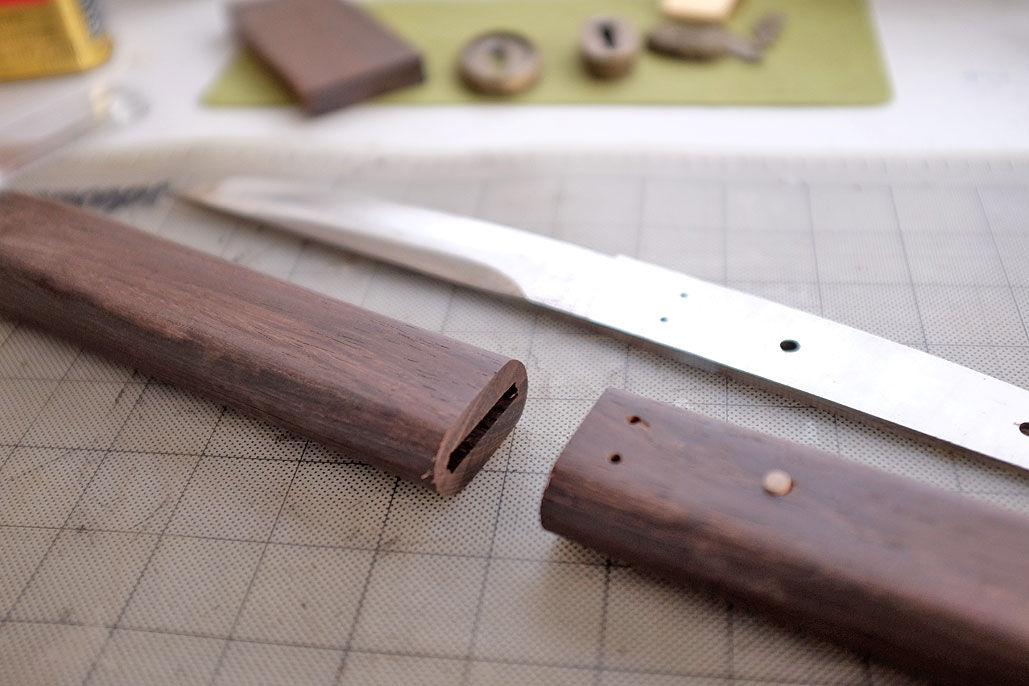
Carving out the channel took longer than expected, but once created, we made sure the two pieces registered by drilling the anchor holes using the blade as the guide. Inserted dowels ensured that when we shaped the outside, everything will fit as expected.

After carving out the interior, we had a little problem getting the two pieces of the tanto sheath to mate properly. No matter how carefullywe sanded the pieces, we could not get them perfectly flat. Clearly we needed to consult a professional. Fortunately for us, we have a fine-furniture maker on speed dial. With Gary Barsomian-Dietrich‘s help, the two sides were planed—not sanded—completely flat. We know they will mate without any gaps because we no longer were able to see any light between the two pieces. However, we needed to shape and glue them up soon or the pieces could “shift” from just sitting around.

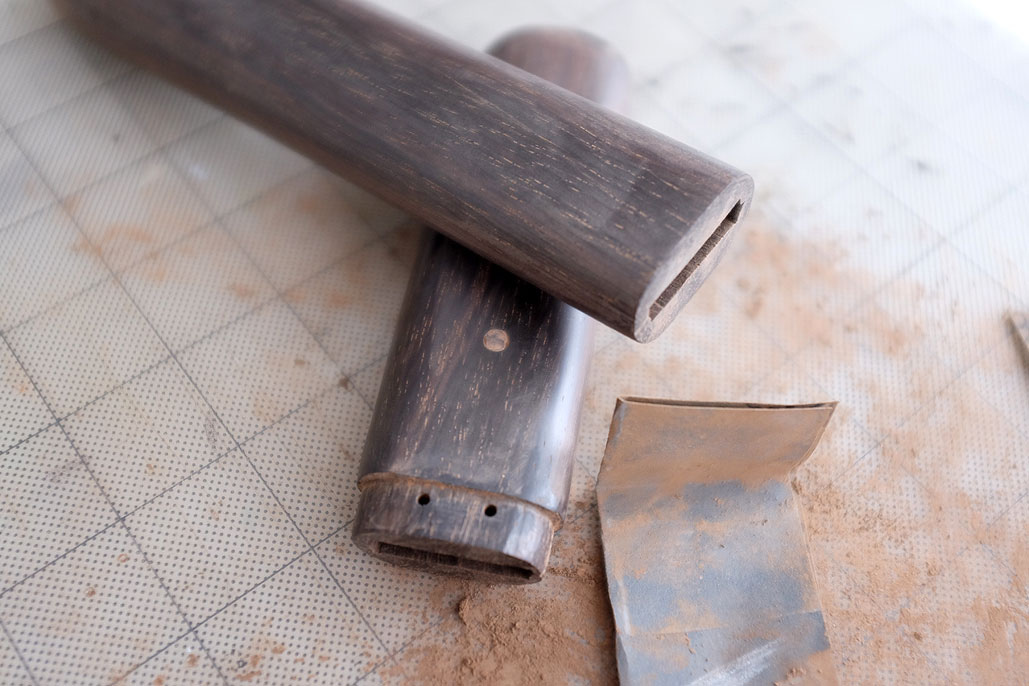
With the flatness issue temporarily resolved, our next steps were to shape the the sides, make the handle, and fit some of the metal pieces onto the sheath. BTW, for those who have never worked with rosewood, the wood smells AWESOME when being worked 🙂

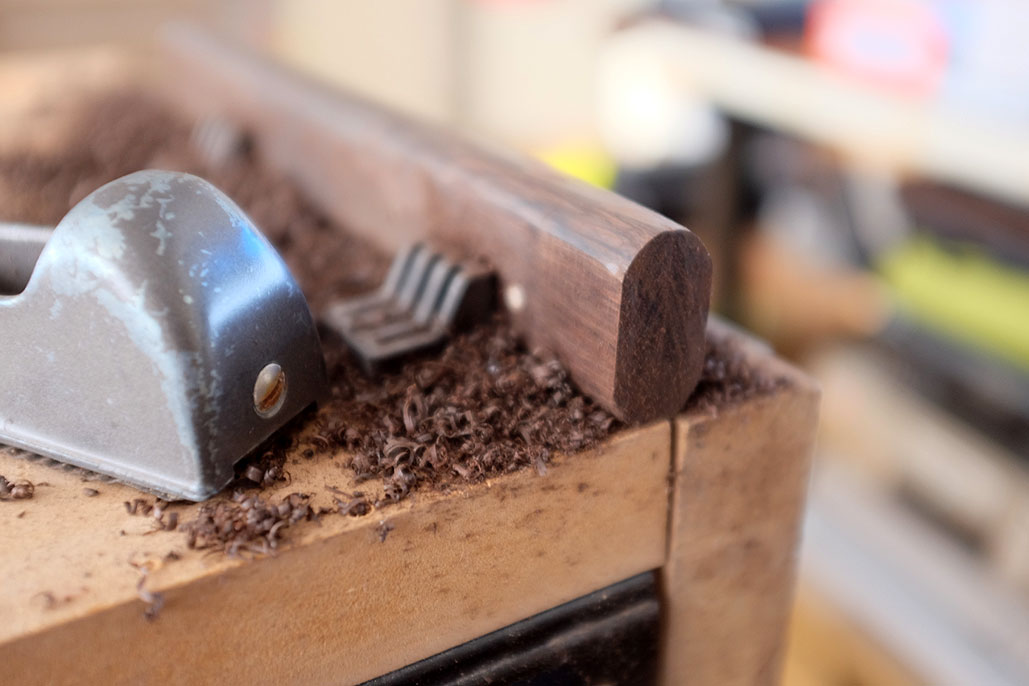
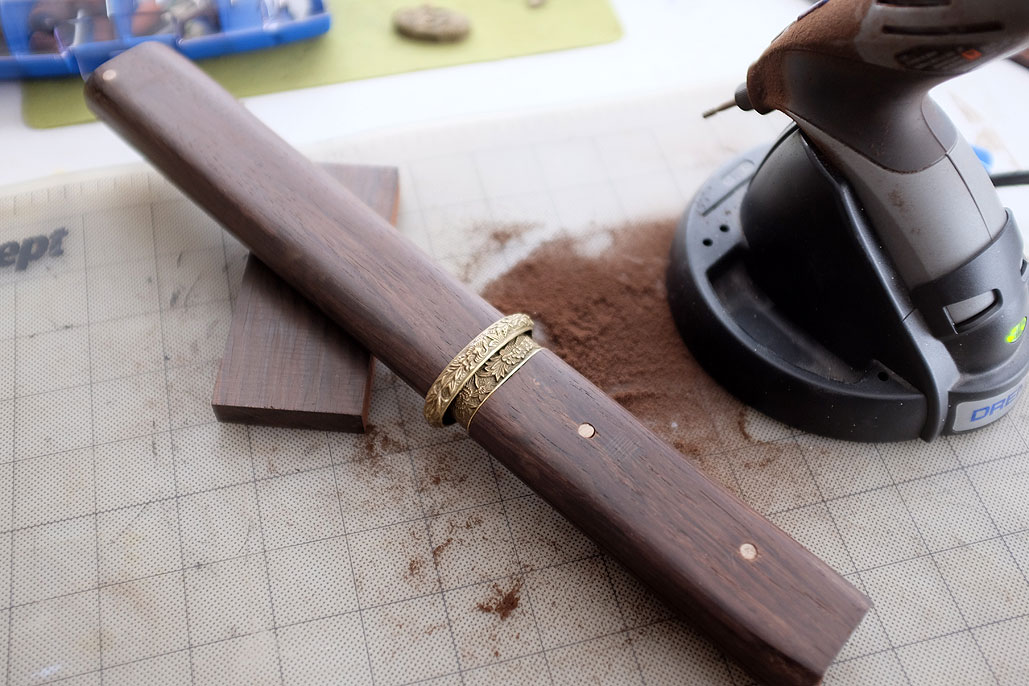
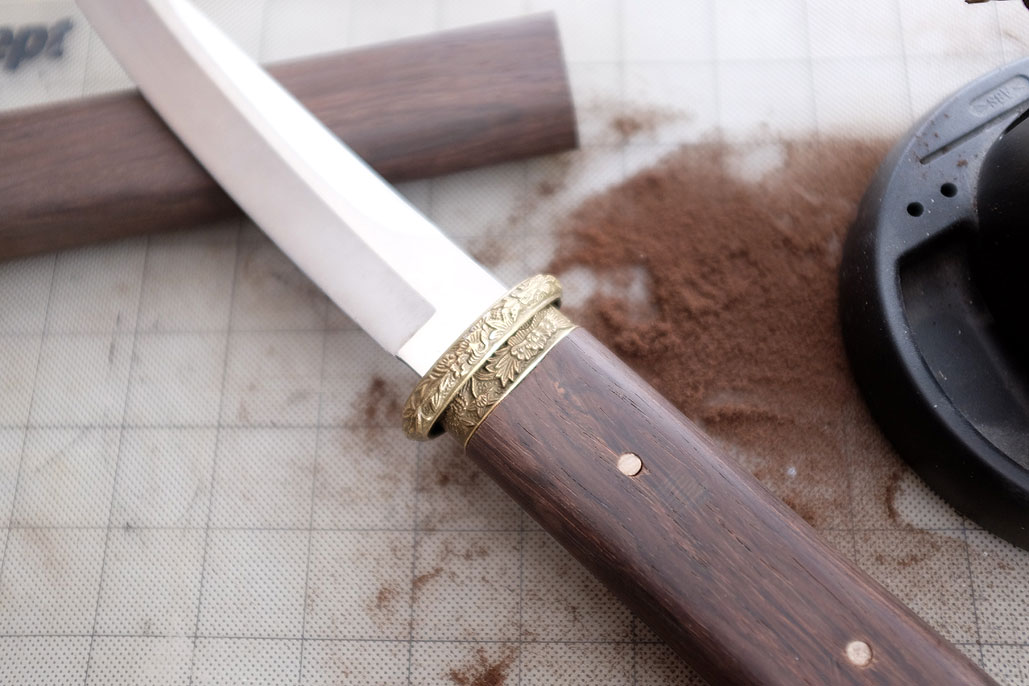
We made the curve on the sides using a hand shaper. Once we were satisfied with the shape, we cut the pieces into two, one for the sheath and the other for the handle. Using the Dremel, we then removed the amount needed to fit the the fuchi onto the handle. Note the blade will be anchored at four points, the two underneath the fuchi and the two along the handle.

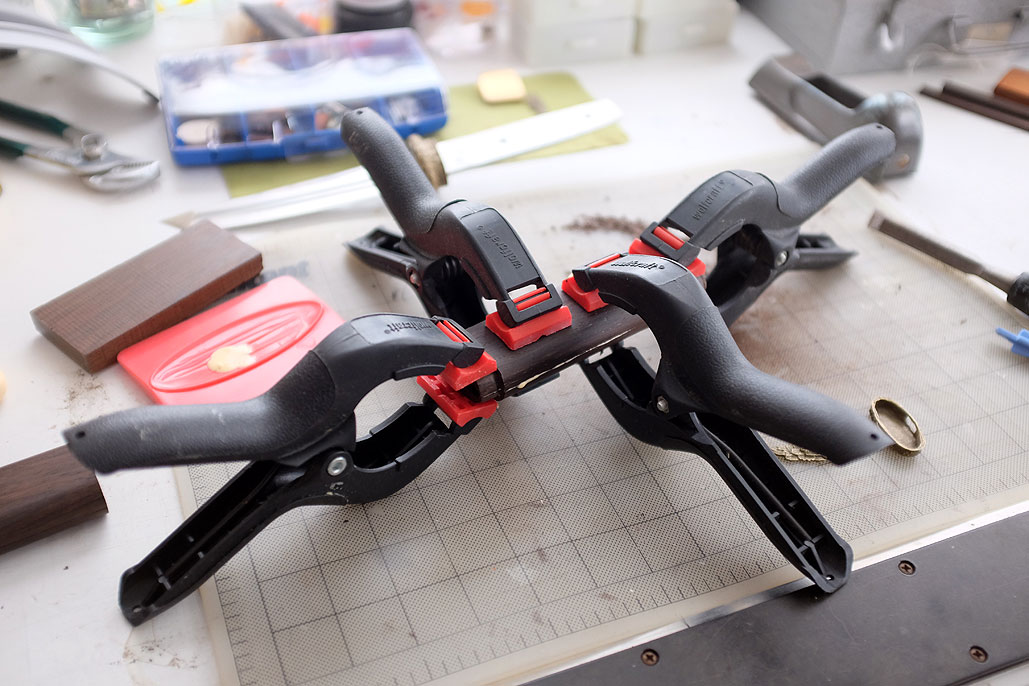
Before gluing anything, we test-fitted the tsuba and fuchi, checked and rechecked the sheath, and made sure that we were satisfied with how everything looked when dry assembled. When we were sure, we then brushed on a thin layer of glue, clamped it all up, and left it along overnight to let everything set.

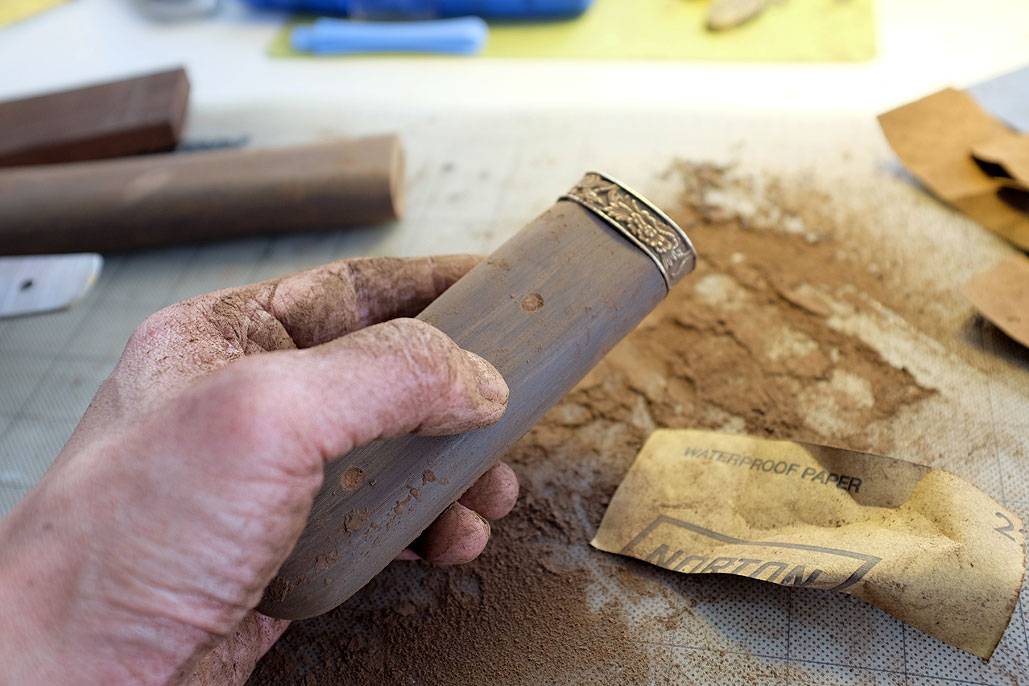
With the tanto pieces shaped and glued up, it was time to begin the “finishing” work. This has always been the time-consuming part of these projects. The rosewood has a nice rich color. To bring it out, we needed to spend time removing all the scratches introduced during the shaping step. The recommended grit sequence was 150, 220, 320, 400, 600.

A few hours of hand-sanding took away the deep marks from the shaper. A few more hours of sanding with the 400 and 600-grit paper produced a nice smooth finish on the rosewood.

We were a little surprised that while the wood was silky smooth, we could still see some small holes on the surface. After chatting with Aaron, we learned the holes were pores and that the handle was about as smooth as it was going to get. With that, we decided it was time to complete the final assembly.


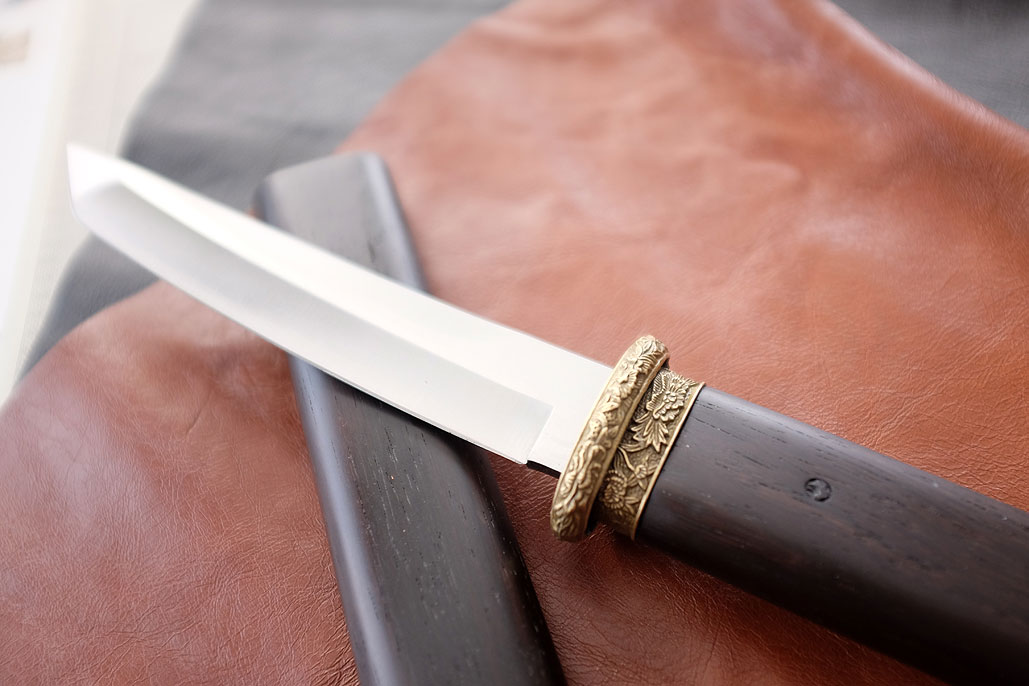
Since we had done so many test-fits during the build, putting everything together at the end went very smoothly. Once it was all assembled, the last task was to apply the finish (bees wax on the wood and mineral oil on the blade). This tanto is now done and ready for testing.


Leave a comment