| TODAY |
| Reviews |
| 2009 |
| 2008 |
| 2007 |
| 2006 |
| 2005 |
| Renovation |
|
|
| Contact Us |
RainyDayGarage's content can now be licensed for your print magazine or web site. Please contact us directly here. If you want to see something reviewed, then drop us a note with a link and we'll be happy to take a look.
|
||||
|
||||
| November 13,2006 | ||||
| September 9,2006 | ||||
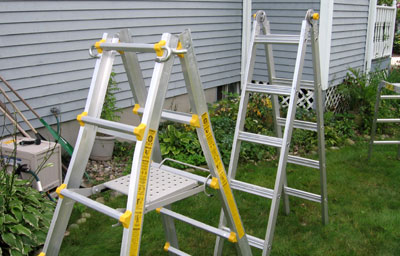
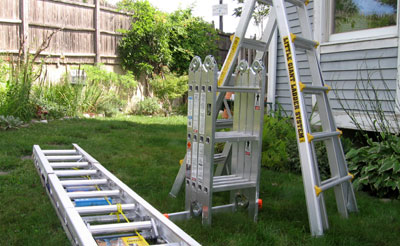
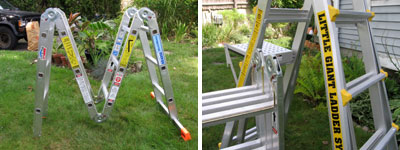
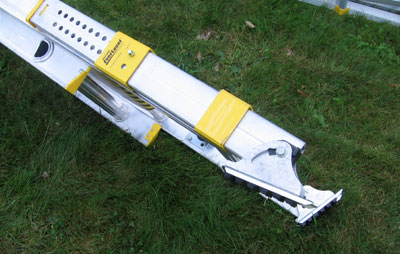
Last weekend we gave you a quick look at the three ladders we were testing for the RainyDayRenovation section. Some readers may recognize the Little Giant ladder from the TV Infomercials. Normally we stay away from those products like the plague, but we were taken in by the apparent versatility of the ladder and decided to take a closer look. If you have seen the infomercials, then you probably familiar with some of the Little Giant ladder configurations. The one we thought was really useful was the scaffolding setup. The ladder can actually be slid apart and reconfigured into two free standing ladders. A plank (not shown in this post) can then be inserted between the two units to form a scaffold.
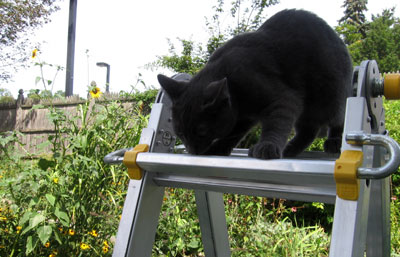
We purchased the optional stand so that when we split the ladder we could make two scaffolding ends with the pieces. Eliot was not much help in splitting the ladder into two pieces, but the task can easily be done by one person.
We'll show how it is done in detail in a future review, but know that the entire transformation took about 2 minutes. We were quite impressed with the overall stability and portability of the 19' Little Giant that we purchased. Why the need for a scaffold? Because instead of having to constantly move the ladder, it is much easier to just move along the plank in the middle. This setup makes it much easier to for painting ceilings and the upper part of walls. For anyone who has attempt it, one of the more difficult task is to create a "textured" ceiling. We found a tool from Wagner called the PowerTex which may make this job a LOT easier.
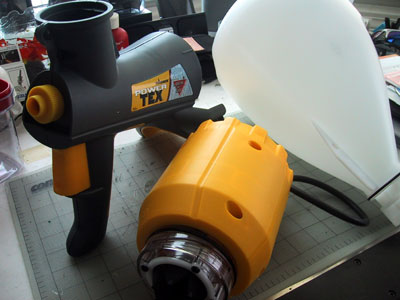
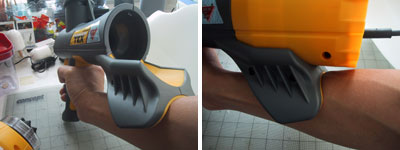
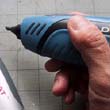
The Wagner PowerTex consists of three components (sprayer, motor, hopper). The sprayer and motor separates for easier cleanup. The entire setup is designed with good ergonomics for less fatigue and better handling.
The PowerTex just came in so we have not had much of an opportunity to play with it yet. However, we thought we would post a few shots here for folks to get a quick look...and to get you started in thinking about some possible Fall projects around the house!!!
|
||||
| September 4,2006 | ||||
One thing which usually needs doing this time of the year is cleaning of the gutters. Getting up to them is safer if you have the right ladder. We have been checking out a offerings to see what's new in the world of ladder tech :-) Amazingly enough, there are quite a few interesting innovations.
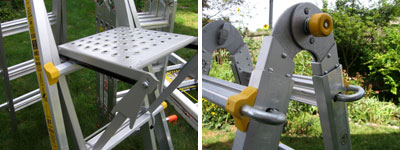
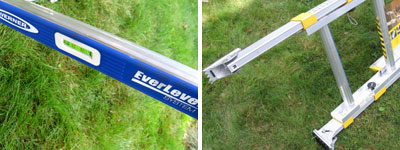
Some of the ladders can fold into various configurations, others can even separate and become two ends of a scaffold. All of the ones we looked at were made of aluminum and are easily transportable by one person. One of the most "why didn't I think of that" improvement is this EverLevel feature in an offering from Werner Ladder. The ends of this ladder is adjustible to make it easy to level. There is even a built-in bubble level on one of the rungs.
We'll have more on all of these ladders in future issues in the RainyDayRenovation section of this magazine. |
||||
| August 11,2006 | ||||
We REALLY wanted to call it a day, but the mail just came and this cool little item showed up on our desk. We thought you would want to get a look ASAP!
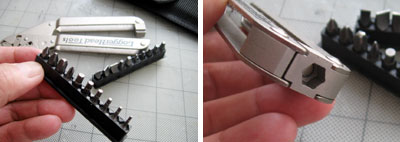
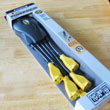
This multi-tool packs a lot of functionality in a pretty small package. Quick...someone tell us the name of this thing and how many tips there are in the package! We'll toss all the right answers in a hat and pick a lucky winner. Your prize will vary according to the whims of our interns. Wait...the interns have decided...they are going to give the winner one of these multi-tool! The winner will be announced on Monday. You have until Sunday midnight EST to submit your answer. Just send an email with the subject line "Call me by my REAL name". UPDATE: Congradulations to "CainRok" ... Carolyn picked your name out of the "virtual" hat this morning. We'll get a LoggerHead ImmiX20 out to you as soon as you send us your info. Also, a reminder to all our winners...if you want to play again,
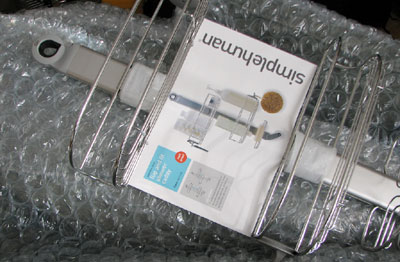
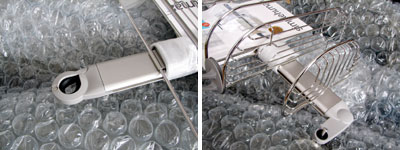
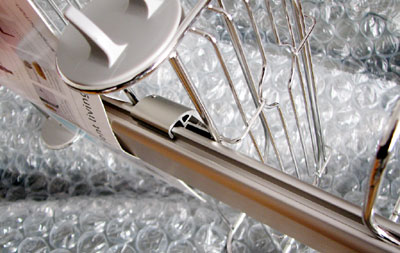
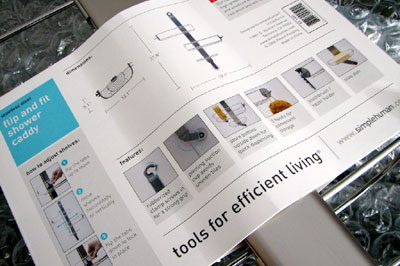
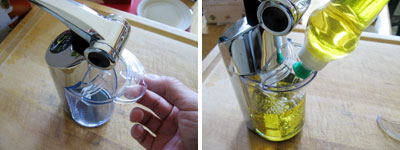
you MUST send us a digital pic of you with your prize for our upcoming "Winners" page. Otherwise, your name will continued to be filtered out by our email bots. When we cook, sooner or later someone will have to clean up...just WHERE are those interns??? SimpleHuman has made it easier with a precision soap pump. Loading the soap is easy...just slide back the cover and fill.
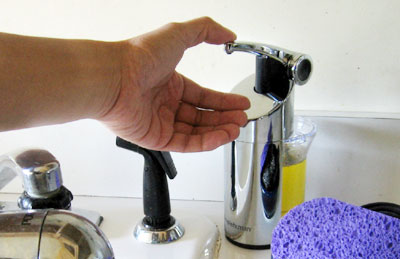
Using it is also pretty simple. This pump is single-hand operated and can dispense up to 2cc of soap with one push. In fact, you don't even need opposable thumbs.
The entire unit appears to be very well engineered...smooth lever action, cast metal housing. SimpleHuman backs it up with a 5 year warranty on the whole thing. We'll let you know how it stands up to the crew in the RainyDayKitchen!
|
||||
| August 3,2006 | ||||
Bumping may be unknown to most people at present, but it has the potential to make you rethink just how secure you should feel behind a locked door. The Open Organisation Of Lockpickers (TOOOL) has been highlighting this issue... " A technique called 'bumping' can open most mechanical pin-tumbler locks damage free, in little time, with little training and using only inexpensive tools. Even a number of high security locks can be rapidly opened damage free with this technique." You can bet we'll start looking into electronic locks for our main entry way today. RainyDayMagazine is going to officially launch a new section this FALL called RainyDayRenovations. Originally we were planning on launching it back in June, but like any renovation project, it got unexpectedly delayed. You can get a preview of it here. We have been following the renovation of a house in Somerville, Msaachusetts for the past six months. The renovation project should be completed by the end of Fall. RainyDayRenovations will have a complete section dedicated to covering that project. We'll also have reviews of tools and products for tackling home renovations, DIY projects, and other related topics (ex: installing electronic locks!).
|
||||
| August 2,2006 | ||||
New ideas, even when good, can be hard to accept in such a traditional place as Massachusetts. But a recently constructed house in this Commonwealth might be changing the historic "We will always do what we've always done" attitude. Instead of throwing away the concrete slabs from the temporary structures of the Big Dig, they were reused as the foundation for this contemporary home. Recycling construction waste from the Big Dig, what a concept! It is often much more efficient to reuse than to discard...something Big Dig officials seem to have trouble grasping, even when shown a real live example. Other states seem to be more receptive to the concept, and are beginning to consider (which is like beginning to think about thinking about it...) recycling as part of their public works specifications.
|
||||
| July 19,2006 | ||||
Ever get the urge to sell everything and go on the road? Photographer Rob Gray did, but first he built the RV to his specs before hitting the road. Him and his wife did sell everything because the final tab for the vehicle came to $350,000.
However, they now have a new view whenever they want, don't have to put up with noisy neighbors, or worry about mowing the lawn. Go check out the entire construction process here.
|
||||
| July 18,2006 | ||||
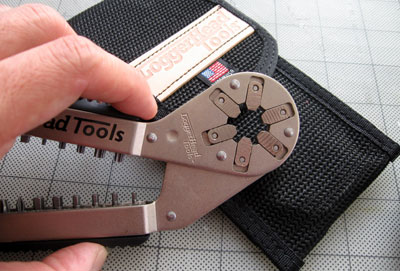
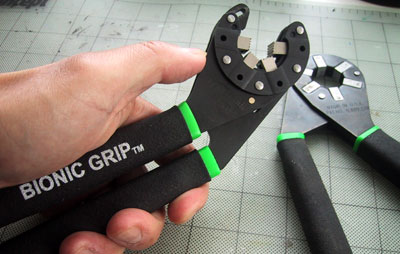
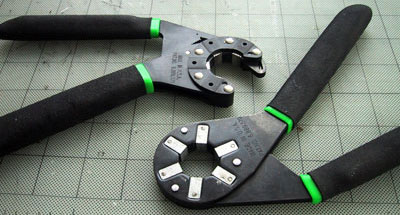
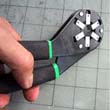
In anticipation of the premiere of the show EUREKA tonight, we thought we would give you a closer look at the BionicGrip. This tool is just the thing for every Makers' and Tinkerers' tool chest. The BionicGrip's construction is very similar to the BionicWrench. Both units are based on Loggerhead Tool's patented design which increases grip force while preventing stripping. The BionicWrench and the BionicGrip are the first tools we reach for, if they work for the job, we use them...it not, then we look for something else.
|
||||
| June 27,2006 | ||||
|
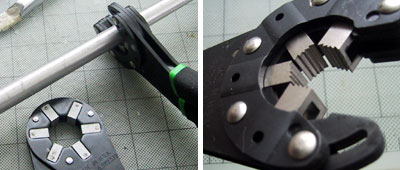
When we first reported on the BionicWrench, we did a detail review comparing it to standard wrenches and pliers. The same analysis still holds for the BionicGrip. The obvious difference is LoggerHead Tools has addressed our one issue with the original BionicWrench...its inability to grip pipes due to its closed loop design. Squeezing the handle of the BionicGrip will cause the teeth to exert even pressure on the object. Unlike the BionicWrench, the teeth on the BionicGrip are serrated to better hold onto things like tubes and pipes. The BionicGrip will be shipping in July. We have only had the BionicGrip for two days and we already know it'll have a permanent place in our tool box. Everyone knows ShopVac is the name in Wet/Dry vacuum for cleanup the garage and workshop floor. What some may not know is the vacuum itself does not always have to be on the floor.
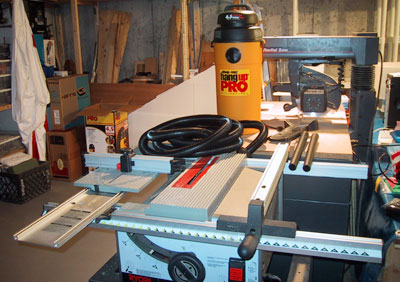
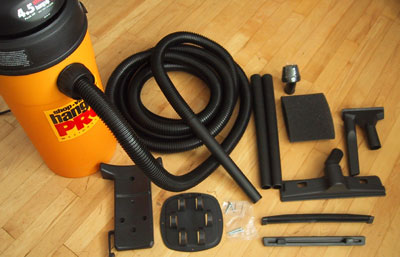
The ShopVac Hang-Up series of vacuums are perfect for places such as garages and basements where floor space are a premium. The unit is designed to hang on the wall of the shop or the garage. The main vacuum hose is much longer (18') than the ones which comes with most typical shop vacuums.
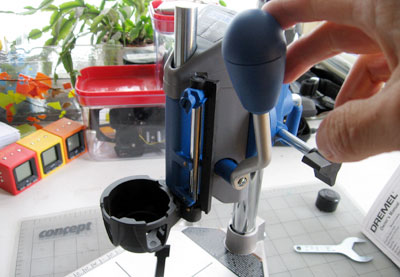
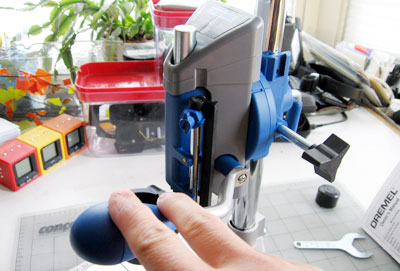
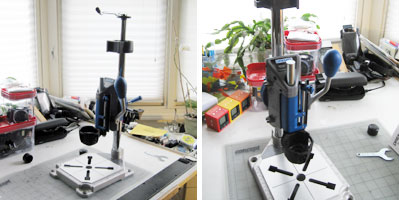
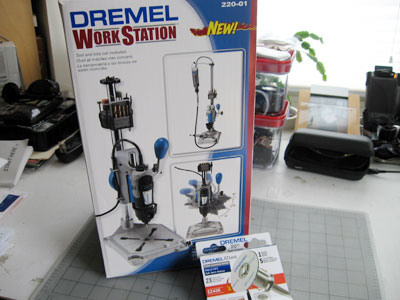
The motor has plenty of power (4.5 hp) and the canister will hold about 5 gallons of dirt and debris. The ShopVac Hang-Up comes with various accessories for most clean up (wet or dry) jobs around the shop. If you had been wanting to convert your Dremel tool into a press, then Dremel WorkStation is exactly what you need. We have been using this accessory for the past month and it has been an awesome addition to our XPR-400. The unit is easy to transport, quick to setup, and simple to use. The Dremel WorkStation is made up of three main parts: base, post, and sliding press. The base is made from casted aluminum. The post is made using two pieces of stainless steel. The press is a pre-assembled unit consisting of a Dremel tool holder, a sliding press mechanism, and a rotatable mount. The FirstLook report on the Dremel WorkStation has been posted. We'll have the FirstUse review soon.
|
||||
| June 14,2006 | ||||
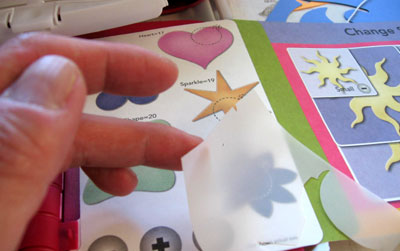
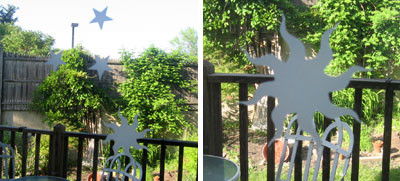
After seeing our little SmartCandle cover, one reader (thanks Emily) sent us this link to Adam Frank's beautiful line of oil lamp shadow projectors made of etched stainless steel. We are going to see if we can do something similar with some patterns and the SmartCandles today. While not exactly the same, we did a quick little shadow-related project with some frosted EtchArt vinyl and a blank window. The vinyl sticks to the glass by static. The etched glass effect is good during the day, but it is also pretty cool at night. The backlighting is provided by the street lamp. The entire project took about 10 minutes from start to finish... a quick way to add a little whimsy to a blank piece of glass :-)
|
||||
| June 12,2006 | ||||
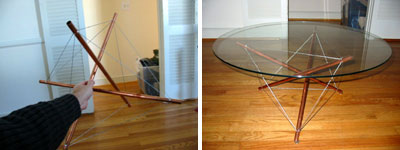
We came across this cool little "how-to" on making a Tensegrity Coffee Table this weekend when searching for ideas for 3D stained glass sculptures. The whole idea of tensegrity is pretty interesting. It is based on two "systems" in balance...one is continuously pulling and the other is discontinously pushing. The easiest way to think about it is to visualize a balloon: the skin is "continously pulling" while the air molecules inside are "discontinously pushing." We think these structures may be cool as a framework for mounting stained glass.
|
||||
| June 10,2006 | ||||
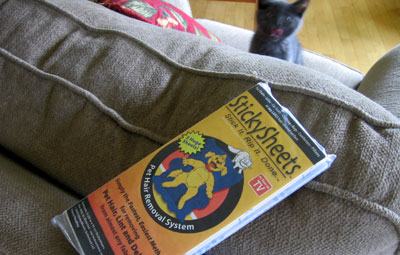
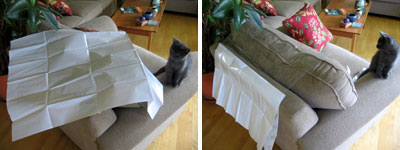
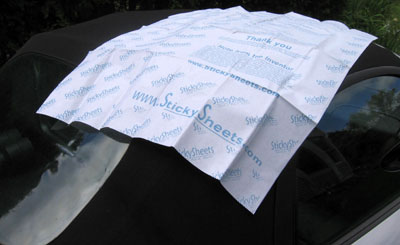
Spring is over and we wanted to move into Summer with a clean office. With the rain keeping us all inside for the past week, we took the opportunity to do some much needed cleaning. There are a few furry creatures (no...not the interns) running around the RainyDayMagazine office. Getting their hair out of the office furniture has always been a challenge. One of the easiest product we have found for getting cat hair off the office sofa is called StickySheets. They measures a large 23" x 35" and come three sheets to a package. All you have to do is unfold a sheet, peel back the paper, press / lift and you are done. Each sheet is good for a few "pressings." We also discovered, because of its large size, the StickySheets were perfect for quickly cleaning lint off the Porsche Boxster's convertible top.
|
||||
| May 11,2006 | ||||
Not EVERYONE spent there entire day yesterday playing with the printer, cutter, and laminating gadgets. Some of us did some work and assembled stuff.
We got the Dremel Workstation yesterday... some assembly required. Like all assembly project, we first try to do it without reading the instructions. We find that is the best was to get to know all the parts and understand how they fit. We had a few starts and stops, but in the end, the WorkStation was successfully assembled. The Dremel WorkStation is a nice piece of gear! It is like a "third hand" but with some added features. We'll go more indepth on this piece of accessory this weekend. Somebody just got all excited about having successfully laminated the office cat... I'm pretty sure they meant a "photo" of the office cat, but I better go check.
|
||||
| May 10,2006 | ||||
Santa Bob just pulled up and dropped of today's deliveries. One of the items was something we had been looking forward to for a couple of weeks. It is the Dremel WorkStation we told you about back in April. We were going to make something similar for the 400-XPR, but since Dremel has one specially designed to work with it, we thought we would save ourselves some time and effort. Now we have to come up with some projects to test this thing out. However, first we'll have to put it together. Since all the interns are busy "scrapbooking," I guess I'll have to tackle this job myself. We'll have something more for you tomorrow on this Dremel WorkStation once I get it set up. BTW...if you can tell us what else we got from Santa Bob today, we'll ask him bring you a little something as well :-)
|
||||
| April 27,2006 | ||||
RainyDayMagazine readers are no strangers to Dremel and its line of rotary tools. Many of you have emailed us wanting to see more reviews on Dremel's XPR400 kit and the new cordless Stylus. Both are versatile tools for craftsman and hobbyist alike. In their constant efforts to increase the usefulness and flexibility of their product, Dremel has created a portable WorkStation for the rotary tool.
This attachment converts the rotary tool into a drill press as well as acting as a holder for the base unit and the flexible shaft. We were going to make something similar as a RainyDayProject, but now we are going to have to come up with something else :-)
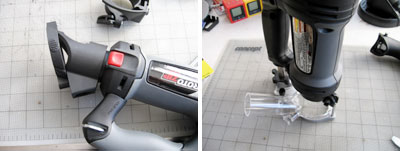
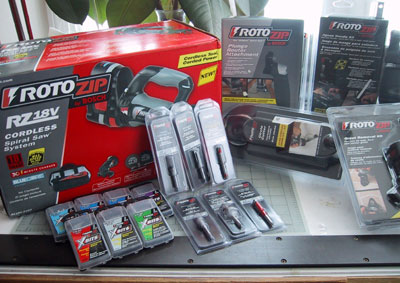
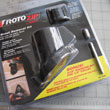
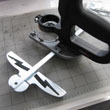
We will review the Dremel WorkStation as soon as we get one in house. Some readers have inquired about low noise dust management products. We will be looking at some vacuuming and clean up options available on the market later in the year. If you have something specific you would like to see reviewed, drop us a note...there might be a little something in it for you :-) RotoZip is a tool that is similar to the Dremel ...but different. It looks like a drill, but is actually a cutting tool. RotoZip invented the "SpiralSaw" by combining the abililty of a drill and a jigsaw so it can cut by plunging vertically as well as moving horizontally. This design allows the tool to maneuver and cut in very tight spaces. Even though the RotoZip is designed for heavy duty uses such as home construction, masonry cutting, and auto body work, with the proper accessory such as the FlexShaft, it can be used for projects such as miniature model building, jewelry polishing, or engraving. We do not have one on hand yet, but if it is built like the other RotoZip components, we are certain it will be a quality part.
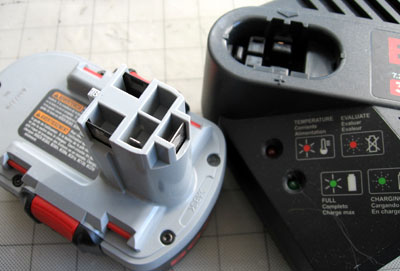
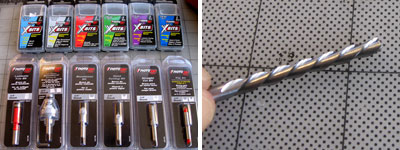
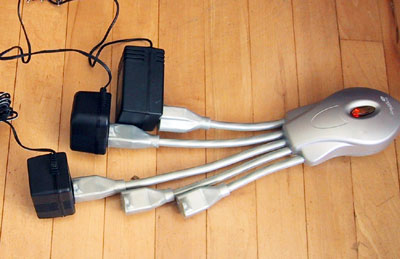
To power this tool, RotoZip has a quick charging high output battery system. Total charging time is just 30 minutes! In order to tackle all of the different tasks (woodworking, drywall, masonry, etc...) and materials, RotoZip offers a large variety of cutting bits engineered specifically for this tool. We will have a more complete look as part of the launch of a new section to RainyDayMagazine. To plug in all the tools, most of us use an extension cord and a multi-outlet strip. As we all know from experience, AC adapters do not fit very well on these strips due to their odd sizes. PowerSentry's PowerSquid solved the problem ingeniously by eliminating the strip all together :-) The outlet can accommodate five different devices regardless of their shape. A master switch at the "head" controls the flow to everything down stream. Once you have used one, you will never go back to the strip-style outlets again. In June, we will launch a new section call RainyDayRenovations. The section is still a work in progress, but we thought you might like to preview the progress. It will be fully populated by June. This section will focus on tools like the Dremel, RotoZip, and other products useful for working on projects around the house. We have been following and documenting the renovation of a house in Somerville MA for the past six months. The owners have graciously agreed to share their stories with us. We think this is going to be an exciting section. We hope you will agree!
|
||||
| April 25,2006 | ||||
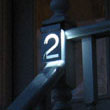
The weather in Boston for the past several day have been cloudy and rainy. It was a good test of charging ability of the solar panels used by Matterinc for its LED House Number. The solar panels had no problems charging the batteries during the past three cloudy and sometimes rainy days. The LEDs came on as soon as the sun went down. We don't know if they stayed on all night...none of the interns were willing to come before sunrise to check. We even tried enticing them with free donuts...
|
||||
| April 21,2006 | ||||
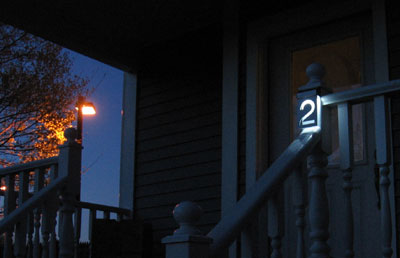
We got a set of Solar LED House Numbers from Matterinc yesterday. They were so awesome-looking that we dropped what we were doing and installed them right away. Go take a closer look at the Solar LED numbers here. The installation took all of 10 minutes :-) The weather is supposed to turn rainy this weekend, so we took the rest of the afternoon off and enjoyed the 65º weather.
We weren't sure if there was enough sunlight to charge up the battery for it to work last night, but apparently there was. This is one of the best upgrades you can do for your house or office for under $20!
|
||||
| April 4, 2006 | ||||
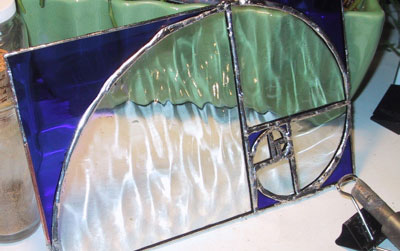
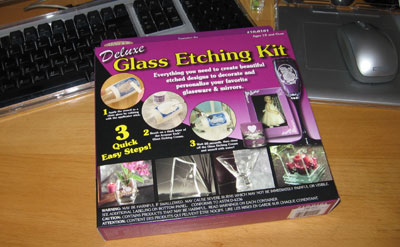
There are a few ways to etch glass. One way is to use a diamond or a Dremel Stylus with a carbide bit. You would also need a steady hand and an artistic eye. Another way is to use a chemical and a patterned mask. We found a kit called Armour Etch which has everything needed to get started. Both approaches have their advantages and problems. Go check out our FirstLook at the Armour Etch. Today is a rainy day in Boston, so the interns will be inside. We'll send them off (with eye protection) to see just how easy it is to use both the Dremel and the Armour Etch to do some basic glass etching. Cutting glass is whole different story. Straight breaks are easy, but curved cuts are much more difficult...especially inside curves. The two ways we know how to do it is to either cut it out or grind it out. We used both methods to create the nautilus pattern below.
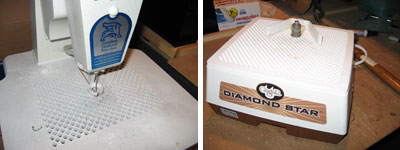
The Gryphon Diamond saw was used to cut the rough shapes and the Diamond Star grinder was used for the final finish. We'll have more on both machines in future articles.
|
||||
| March 31, 2006 | ||||
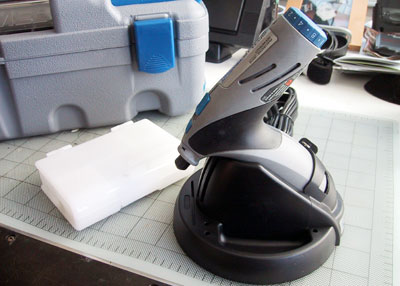
We also had a chance to take a closer look a the new Dremel Stylus. Hopefully we'll have some time to play with it this weekend... especially if the weather turns rainy tomorrow. There is zero chance of playing with the Stylus today since it is 72º out and we are offically signing off for the day! OK...EVERYBODY outside, NOW!
|
||||
| March 20, 2006 | ||||
For our readers who want to make things with their hands, we have a few products that may appeal to you.
One of our readers asked us to check out ArmourEtch. A few of our staff are currently testing their arts&craft skills with this product. We'll have a full report by next Monday! Some folks here have more confidence in their manual dexterity. We have asked them to take the Dremel and show us what kind of glass work can be done with it. We will give them until the end of April to show us what can be done with a steady hand and 35,000 rpm. For the guys working on the upcoming RainyDayRenovation section, we got them some SERIOUS tools from RotoZip.
RotoZip Spiral Saw is an extremely versatile portable cutting system used by professional builders. We'll let you know first hand the benefits of these tools for the weekend renovators....soon! We just got them in today :-)
|
||||
| March 15, 2006 | ||||
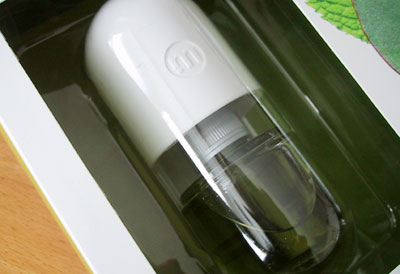
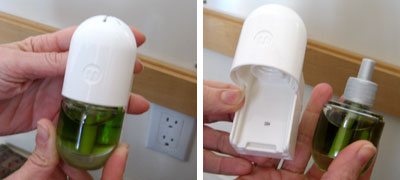
We told you about the new AromaPill from Method last month. We now have four new scents to try around the RainyDayMagazine office. At this very moment, gentle waves of Grapefruit & Pear are silently neutralizing any offending odor in the editor's office. Everybody is humming and all is well in our little piece of olfactory heaven :-) We can't wait to see what the Lavender & Lemongrass will do to productivity! One bottle will keep your room fresh for about 6-8 weeks. Refills of your favorites are available. A few years ago we when to our first Paradise City Arts Festival out in Marlborough MA. We have heard really good things about the show, but wasn't really expected to be as blown away as we were! Most of you know we love spending time at the MFA. The problem is the guards at the MFA REALLY frown upon us touching any of the objects in the museum :-) At the Paradise City Arts Festival, they not only encourage you to touch things... if you really like it, you can even BUY it! Another great thing about the Festival is most of the artists are on hand to answer questions about their work. The 2006 festival will have over 170 artists from all over the US. It is only about 30 minutes outside of Boston. If you have time this weekend, it is a great way to spend day. Look for us and say "Hi!"
|
||||
| March 11, 2006 | ||||
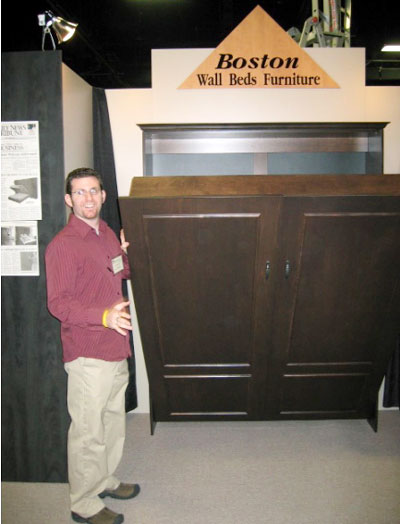
Jay & Lisa were at the New England Home Show a few weekends ago checking out the latest for a new section of the magazine scheduled to launch in June. This new section will focus on home renovation and all of related things (tools, tech, tips, etc...) We think the new RainyDayRenovation section will be a great place to learn more about the latest in technology for the home... whether it be keyless door locks, home media servers, or high efficiency home heating systems! If there are topics or gear you would like us to cover, just drop us a note here!
|
||||
| March 6, 2006 | ||||
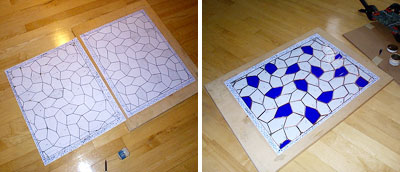
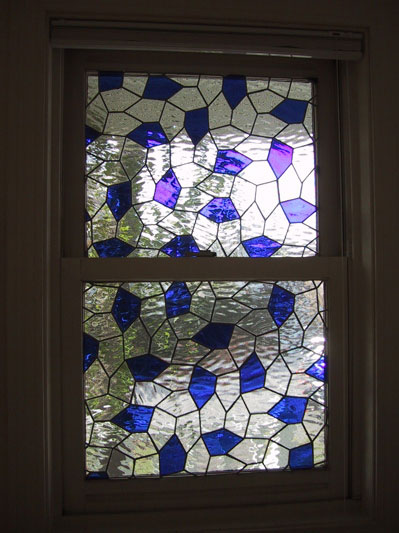
We have been documenting the renovation of a house in Somerville MA for the past six months. In June, RainyDayMagazine will launch a new section called RainyDayRenovation. This new section will have great reviews of new home technologies (ex: high efficiency central heating, ceiling fans, air tubs), tips on managing renovation projects, and "how-to" articles (ex: tesselation pattern stained glass windows).
We'll have reviews on the tools used for the projects (ex: diamond dust coated glass saw and grinder) as well as the plans and steps of how to do it yourselves. There will also be articles on smaller DIY projects done with products like the Armour Etch glass etching kit. Armour Products have a full line that will let you add details and touches to may personal items.
|
||||
| February 24, 2006 | ||||
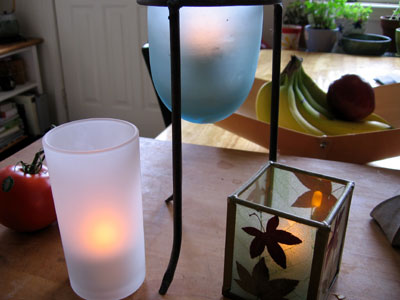
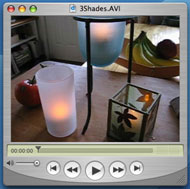
The folks in the RainyDayKitchen have been prepping all week for The Year of the Dog celebration this weekend. These events are also be a good opportunity to try out some new products :-) We love the flickering glow of votive candles , especially when we are having folks over for one of our famous RainyDayEvents! Making sure all of the candles have been extinguished after the party is sometimes a hit or miss thing. With the Smart Candle, we no longer have to worry about some of our staff's more creative candle placements. We realize it may be difficult to judge the quality of the "flame" from a still photo, so here are a few clips of the Smart Candle in action :-) When the party is over and we need to get the RainyDayMagazine office's air quality back to a more "professional" state, we'll be plugging in the Aroma Pill from Method. We have been testing this "pill" all week, but the REAL test will be this weekend :-) Will it stand up to the stir frying, kung pao-ing, and god knows what else eminating from the RainyDayKitchen???
|
||||
| February 8, 2006 | ||||
|
This link showed up in our emailbox this morning...we were stunned. This is not a set on StarTrek, but Tony Alleyne's apartment. Tony may have overstretched his credit just a tad to create this 24th century renovation as he maxed out his 14 credit cards. He is available if you want the same conversion for your current living quarters.
|
Featured Review*
| ||
| RainyDayBuzz* | ||
|
|
||
| GET GEAR* | ||
|
|
||

