| Today |
| Carolyn's World |
| Gear & Gadgets |
| Garage |
| Garden |
| Kitchen |
| Unaccompanied Minors |
| Workshops |
| Contact Us |
| Index |

| RainyDayProjects... |
||
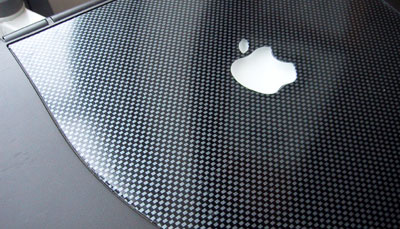
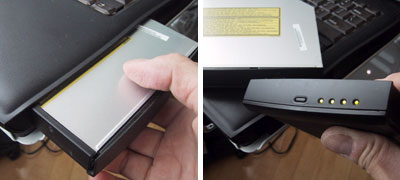
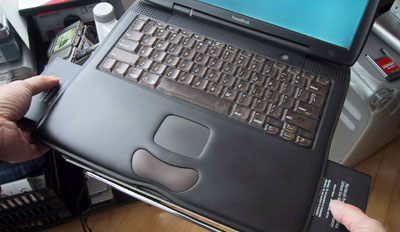
We purchased a G3 laptop on EBay a while back (2004) for about $500. It came with 256 MB of RAM, a 12 GB hard drive, and was running OS 9.2. The laptop was in excellent condition. All the tabs, covers, latches, and screen all worked perfectly. The first thing we did was to upgrade the case with a "mock" carbon fiber film...it didn't make the machine run any faster, but it sure made it stand out from the crowd :-) The laptop also came with a DVD-ROM drive and a few extra Li-iON batteries. The drives and batteries are all "hot swap-able" meaning they can be changed without shutting down the computer.
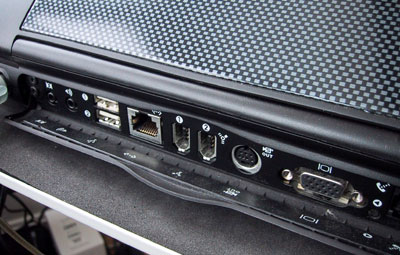
This Pismo version of the G3 Powerbook has two FireWire and two USB ports along with the usual complement of I/O connections.
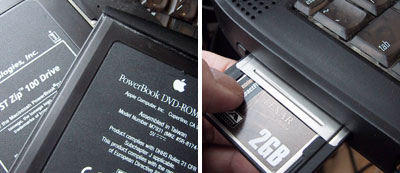
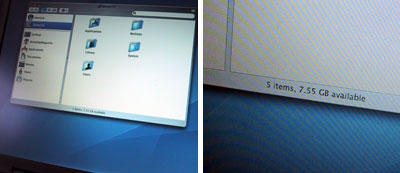
We had successfully installed OS-X on the G3 laptop, but because the OEM drive was only 12 GB, once the full system was loaded, only 7.5 GB was left.
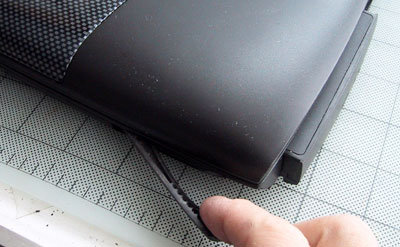
Five years ago, 12 GB provided plenty of space for most types of work. However, 12GB is not sufficient for most video editing work, and it was our desire to be able to do mobile video editing that gave us the impetus to upgrade this G3 laptop. The first step in prepping the laptop for access was to remove all of the power sources (batteries, AC power cord). The battery eject lever is located at the bottom front of unit.
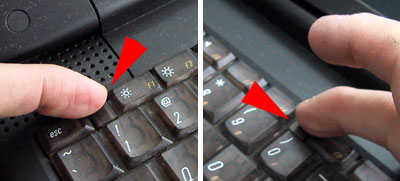
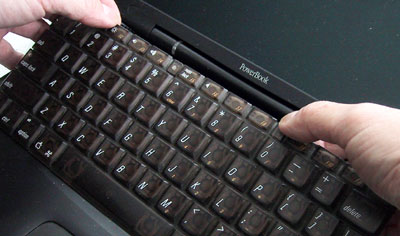
The keyboard needs to be removed before we can access the internals of the laptop. The keyboard locking tabs are next to the ESC key and between the F8 and F9 keys.
Slide the two tabs back and the keyboard should lift right up. Be careful at this point not to pull the keyboard...just fold it back toward the trackpad. There is still a cable connecting the keyboard to the laptop.
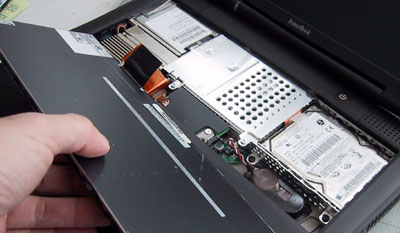
For most upgrades (memory, processor, drive) there is no need to completely remove the keyboard. Just make sure to lay it flat so it doesn't accidentally fall off the laptop and tear the connecting cable. Now we are ready to get at the innards! |
Apple G3 Upgrade Accessing The G3 Internals |
|
Why do we here at RainyDay Magazine keep trying to make our old discontinued gear work with the new technologies? Well, we can think of plenty of reasons (too much time on our hands, not enough money, too cheap to upgrade, etc...) However, sometimes we do it just for the fun of it :-) Take the G3. Because upgradability was part of the G3's design, user access to it was engineered in. In this series we'll walk through the steps on how to do some upgrades (memory, hard drive, G4 processor) to an old Apple G3 laptop so it can run OS-X, edit iMovies, and god knows what else :-)
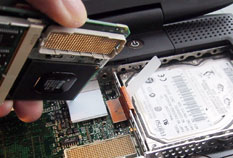
In this article, we'll take a look at the G3 laptop, its removable pieces, and how to get at the upgradable components inside it. Accessing the inside : Drive Upgrade : Software Upgrade : 12 GB External Drive: Memory Upgrade: 1. RamJet 512 MB module install G4 Processor Upgrade:
|
||