| Today |
| Carolyn's World |
| Gear & Gadgets |
| Garage |
| Garden |
| Kitchen |
| Unaccompanied Minors |
| Workshops |
| Contact Us |
| Index |

| RainyDayProjects... |
||
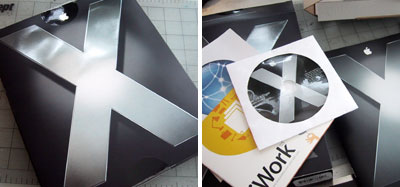
The whole reason for upgrading the G3 hardware was so we could run the Apple's new OSX and iLife suite of applications. Now that the 100GB Seagate drive has been installed, formatted, and running...it was time to load it up with OSX. In order to install OSX, we needed to get the FULL installation version...NOT a version that came with one of our Macs. The installation CDs/DVDs that come with a Mac look specifically for that version (G3, Mac mini, etc...) of hardware. It will NOT install the OS on other types of machines. So make sure you get a version of OSX that will install on ANY Mac.
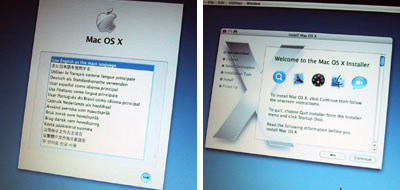
Also note that the FULL version comes only on a DVD. So make sure that the G3 you purchase has a DVD-ROM drive, not a CD drive. Once the installation DVD launched, we just followed the prompts. The easiest way was to select "Simple Install". We did and had no problems.
We also re-ran the installation using the "Custom Install" option and excluded all of the printer drivers, foreign language support, and misc apps that we knew we would never use. This option saved us close to 2 GB of disk space! This was a big deal when we only had 12 GB...but it didn't seem to be worth the effort now that we have close to 100GB of space :-) However, it is still good to keep in mind that if you want to minimize the amount of junk on the drive...do the "Custom Install" and pick only what you need.
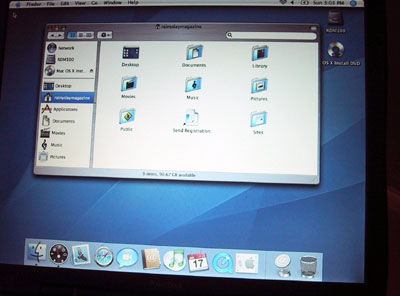
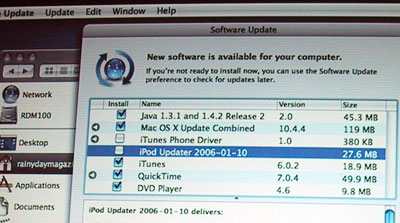
Once OSX was installed and running, we got a request to "update" the OS from the Apple Updater. We did, and that and brought down over 200MBs of updates...which took almost 40 minutes, but all installed fine. However, when we tried to install iLife '05 on top of that, we ran into ALL KINDS of problems. Don't bother trying to debug, just start over. Trust me on this.
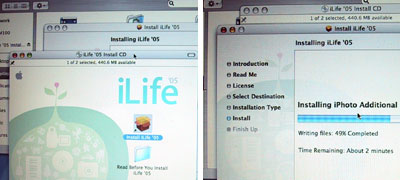
We decided to START OVER, and reinstalled OSX, skipped the OS updates, and installed iLife '05. This time everything worked. The ONLY thing to keep in mind is that iLife comes with two install disks (CD and DVD). Use the CD installation disk, NOT the DVD installation disk. Yes...we got a warning dialog, but we ignored it and kept going. The DVD installation disk will try to install iDVD; however, since the DVD drive is not a SuperDrive...the installer will get VERY confused and will just sit and spin.
After both the original OSX and iLife had been successfully installed, we downloaded the necessary updates and brought the entire system up to 10.4.4. Our next test will be to run iTunes, iMovie, and some of the other applications to see how they behave in this roomier G3 laptop. In February, we'll also be upgrading the internal memory of this machine to bring it up to 1GB of RAM! |
Apple G3 Upgrade Installing OSX + iLife |
|
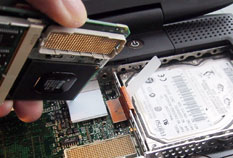
Why do we here at RainyDay Magazine keep trying to make our old discontinued gear work with the new technologies? Well, we can think of plenty of reasons (too much time on our hands, not enough money, too cheap to upgrade, etc...) However, sometimes we do it just for the fun of it :-) Take the G3. Because upgradability was part of the G3's design, user access to it was engineered in. In this series we'll walk through the steps on how to do some upgrades (memory, hard drive, G4 processor) to an old Apple G3 laptop so it can run OS-X, edit iMovies, and god knows what else :-)
In this article, we'll take a look at the G3 laptop, its removable pieces, and how to get at the upgradable components inside it. Accessing the inside : Drive Upgrade : Software Upgrade : 12 GB External Drive: Memory Upgrade: 1. RamJet 512 MB module install G4 Processor Upgrade:
|
||