| Today |
| Carolyn's World |
| Gear & Gadgets |
| Garage |
| Garden |
| Kitchen |
| Unaccompanied Minors |
| Workshops |
| Contact Us |
| Index |
| RainyDayProjects... |
||
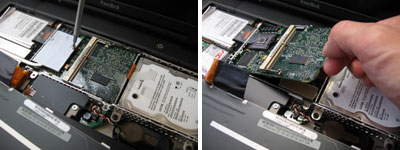
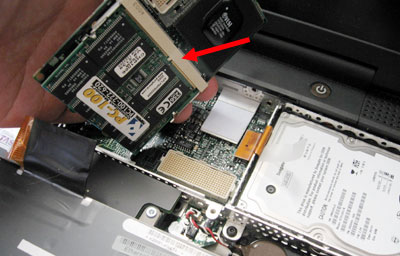
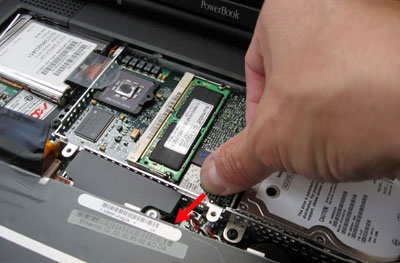
The first thing we did was to pop out the 512MB simm in the top slot. This step was done more as a precaution and is strictly not necessary for this upgrade. We have previously described how to open the G3 and remove the processor card, so we'll skip the details. Once the heat sink has been removed, the processor card can be lifted out. Slot 2 (red arrow) is on the other side of the processor card.
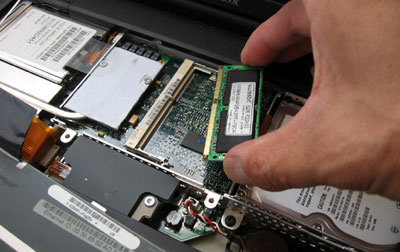
The memory SIMM is held in place by springs on the side. We had no problems popping the SIMM out and replacing it with the 512MB one. The only item to note is the SIMM module slides into the slot at an angle. Once in place, all we had to do was press it down flat and the two springs snapped into position.
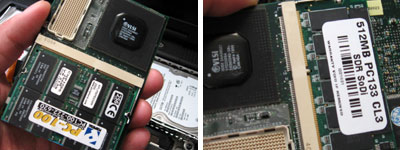
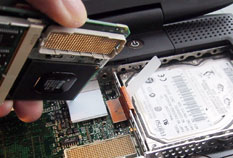
The last step is to replace the processor card. This sometimes can be tricky since there are so many pins to align. We found the best place to press down is at the spot where our thumb is. A gentle push should snap the connectors together. If the machine will not startup...this is the first thing you should check.
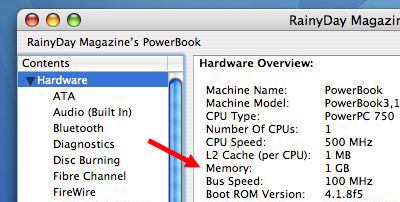
The machine booted with no problems. A quick check of the hardware shows that indeed the machine is now currently running with a full 1GB of RAM. Memory upgrade completed. |
Apple G3 Upgrade Install memory to slot 2 |
|
Why do we here at RainyDay Magazine keep trying to make our old discontinued gear work with the new technologies? Well, we can think of plenty of reasons (too much time on our hands, not enough money, too cheap to upgrade, etc...) However, sometimes we do it just for the fun of it :-) Take the G3. Because upgradability was part of the G3's design, user access to it was engineered in. In this series we'll walk through the steps on how to do some upgrades (memory, hard drive, G4 processor) to an old Apple G3 laptop so it can run OS-X, edit iMovies, and god knows what else :-)
In this article, we'll take a look at the G3 laptop, its removable pieces, and how to upgrade the memory to the full 1GB of RAM by installing a 512MB SIMM into Slot 2. Accessing the inside : Drive Upgrade : Seagate Drive Specs: 1. General Info Software Upgrade : 12 GB External Drive: Memory Upgrade: 1. RamJet 512 MB module install G4 Processor Upgrade:
|
||

