| Today |
| Carolyn's World |
| Gear & Gadgets |
| Garage |
| Garden |
| Kitchen |
| Unaccompanied Minors |
| Workshops |
| Contact Us |
| Index |

| RainyDayProjects... |
||
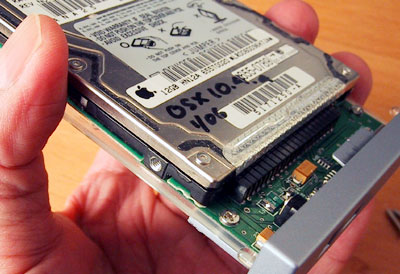
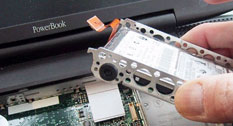
When we removed the 12 GB internal hard drive from the G3, we were just going to put the drive on the bookshelf in case we needed a backup. One of the interns said, "Why don't we show how to turn it into an external pocket drive?" Ah...that was actually a pretty good idea!!! Kids :-)
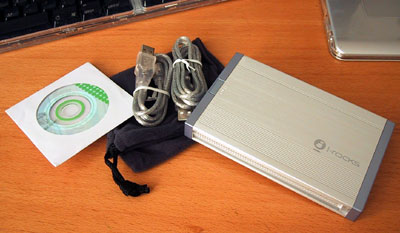
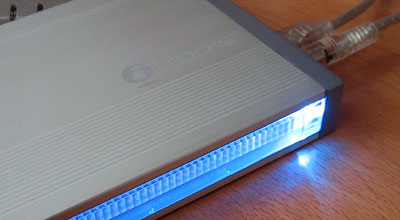
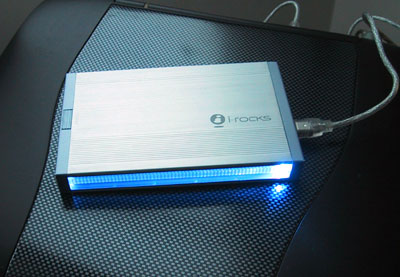
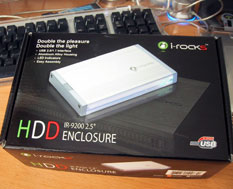
Anyway, we wanted a nice small case that was both simple and well made. There were a lot of different companies out there making all kinds of drive enclosures. The one we really liked was this $20 extruded aluminium case from i-Rocks.
This enclosure will convert our 2.5" internal G3 hard disk into a USB 2.0 compliant enternal drive. The drive can be self-powered from the USB 2.0 cable. If the drive is connected to a USB port that does not supply sufficient power, there is a second USB cable which can be connected directly to the 5V DC port.
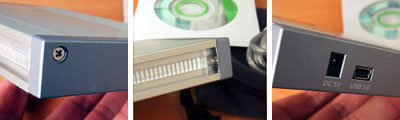
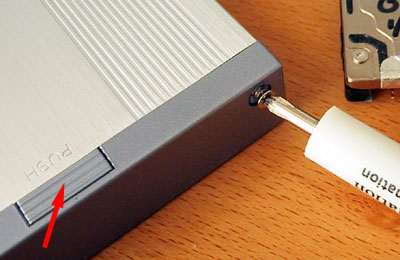
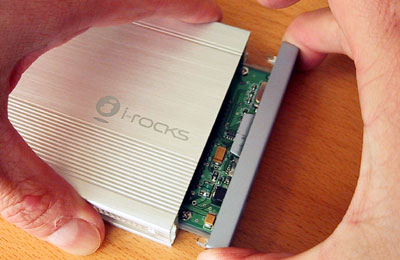
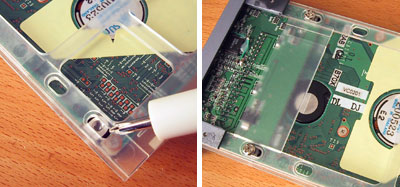
The IR-9200 case was designed to be opened without the need for tools. There is a button at the rear end of the case, which when depressed will allow the entire drive tray assembly to slide out. We removed the panel so you can have a clearer look at the latch mechanism.
The button (right arrow) is "hooked" to a catch on the drive tray (left arrow). When the button is depressed, the catch is released and the tray can be slid out the other end.
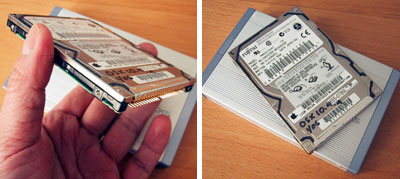
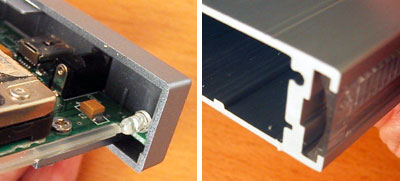
The IR-9200 enclosure is just large enough to house the 2.5" drive. There is no fan or other moving parts within the case. Cooling is by passive radiation through the aluminium housing.
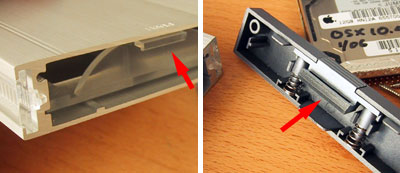
The drive is attached to the interface card by sliding it into the connector. Be sure to press the connector into the drive for a secure fit.
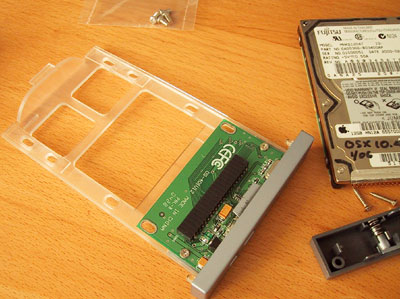
There were plenty of mounting holes on the drive tray for securing the disk. We used all four screws to secure the drive, but one was probably all we needed.
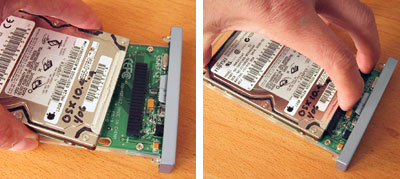
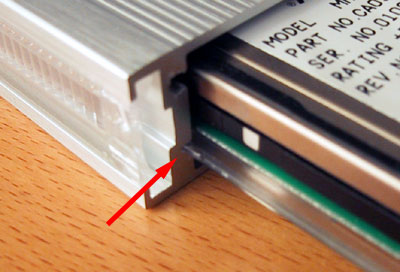
The tray is supported by the guide slot built into the enclosure. It was simple to align the tray's edge to the groove and return the tray back into the housing. The design of this case was simple and elegant...not much can go wrong in this installation :-)
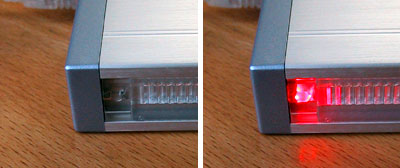
On both sides of the case are clear plastic strips. At the end of the strip are two LED (Blue, Red). The blue LED is the "power on" indicator and the red LED is the "disk activity" indicator.
We had no problems hooking this drive up to the G3 laptop. We did need to install the driver from the CD to get the G3 (OSX 10.4.4) to recognize the drive.
|
Apple G3 Upgrade iRocks 2.5" HDD Enclosure |
|
Why do we here at RainyDay Magazine keep trying to make our old discontinued gear work with the new technologies? Well, we can think of plenty of reasons (too much time on our hands, not enough money, too cheap to upgrade, etc...) However, sometimes we do it just for the fun of it :-) Take the G3. Because upgradability was part of the G3's design, user access was engineered in. In this series we'll walk through the steps on how to do some upgrades (memory, hard drive, G4 processor) to an old Apple G3 laptop so it can run OS-X, edit iMovies, and god knows what else :-)
In this article, we'll show you how to take the old 12GB G3 drive and turn it into a pocket size external USB 2.0 drive using the iRocks 9200 HDD enclosure. Accessing the inside : Drive Upgrade : Seagate Drive Specs: 1. General Info Software Upgrade : 12 GB External Drive: Memory Upgrade: 1. RamJet 512 MB module install G4 Processor Upgrade:
|
||