| Today |
| Carolyn's World |
| Gear & Gadgets |
| Garage |
| Garden |
| Kitchen |
| Unaccompanied Minors |
| Workshops |
| Contact Us |
| Index |

| RainyDayProjects... |
||
The G3 Pismo laptop has two memory slots and can accommodate up to 1GB of RAM in two 512MB SIMMs chips. Upgrading the memory in this laptop is pretty simple since most of the components have been designed to be user accessible. Before opening the case, remove the AC power cable and ALL batteries from the laptop.
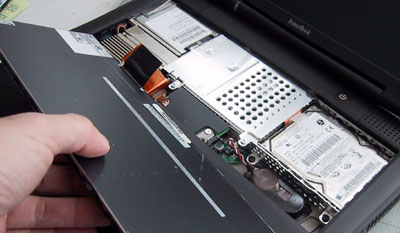
No tools are needed to remove the keyboard. Just locate the two latches (red arrows) and unlock by sliding the latches down.
The keyboard will fold back and sit on top of the palm rest. It is not necessary to disconnect the keyboard from the unit.
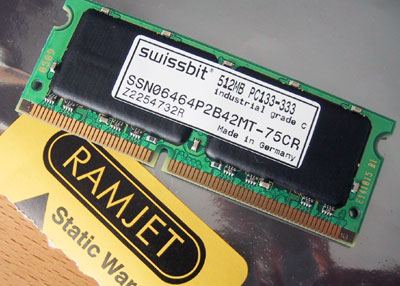
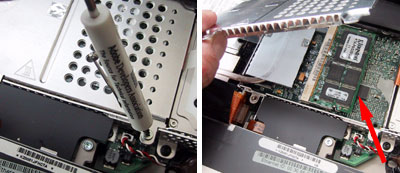
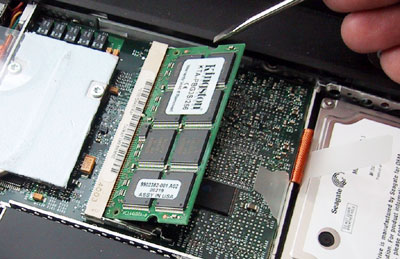
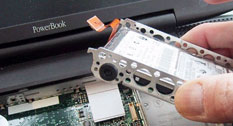
Remove the top metal shield to expose the top SIMM slot. We'll replace the 256MB module in this slot with a RamJet 512MB module. There is another slot underneath this processor card, but we'll leave that for a future article :-)
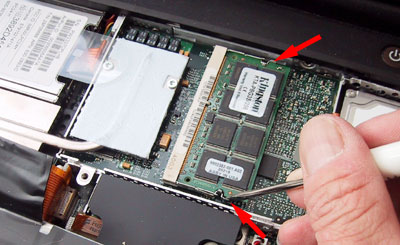
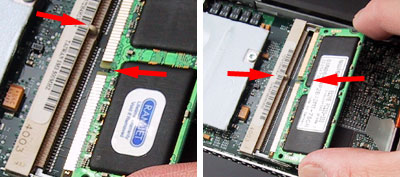
To remove the old memory card, use a flat head screwdriver to move aside the locking clamps (red arrows). Once the clamps have been moved aside, the module will pop up and the SIMM can be removed.
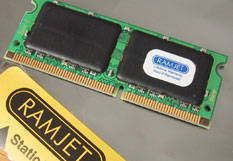
When inserting the new memory module, take note of the alignment notch in the socket and the SIMM. The notch is to insure the SIMM is inserted with the proper orientation.
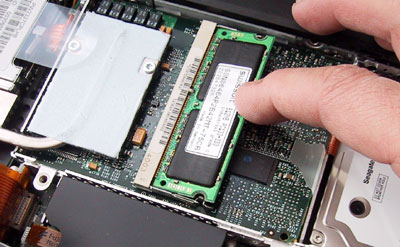
When the SIMM chip is properly aligned, gently push on the edge of the card until it clicks into place. Check that both sides of the clamps have been properly seated.
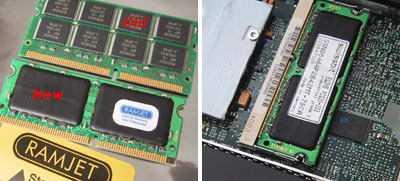
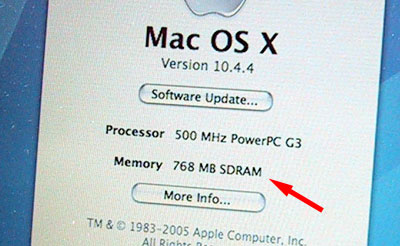
Replace the metal shield and keyboard, connect the AC power cord or the battery, and restart the machine. To be sure the new memory is recognized by the OS, pull up the "About This Mac" dialog and verify that the system's memory is what you expect.
In less than 10 minutes, we had a faster running Pismo G3 laptop! Memory upgrades are probably one of the most cost effective upgrades one can do to make a computer run faster. Memory issues can be very difficult to track down. Sometimes they are caused by chips that are not suitable for a particular clock speed or system. There are a LOT of memory vendors out there... it pays to go with knowledgeable vendors like RamJet which offers a lifetime warranty on their products. |
Apple G3 Upgrade iRocks 2.5" HDD Enclosure |
|
Why do we here at RainyDay Magazine keep trying to make our old discontinued gear work with the new technologies? Well, we can think of plenty of reasons (too much time on our hands, not enough money, too cheap to upgrade, etc...) However, sometimes we do it just for the fun of it :-) Take the G3. Because upgradability was part of the G3's design, user access was engineered in. In this series we'll walk through the steps on how to do some upgrades (memory, hard drive, G4 processor) to an old Apple G3 laptop so it can run OS-X, edit iMovies, and god knows what else :-)
In this article, we'll show you how to upgrade your G3's memory in less than 10 minutes! NOTE: please use appropriate electrical grounding procedures when performing this installation. Accessing the inside : Drive Upgrade : Seagate Drive Specs: 1. General Info Software Upgrade : 12 GB External Drive: Memory Upgrade: 1. RamJet 512 MB module install G4 Processor Upgrade:
|
||