DIY: $200 Katana…Anchoring the Blade
...let's lock it down!!!
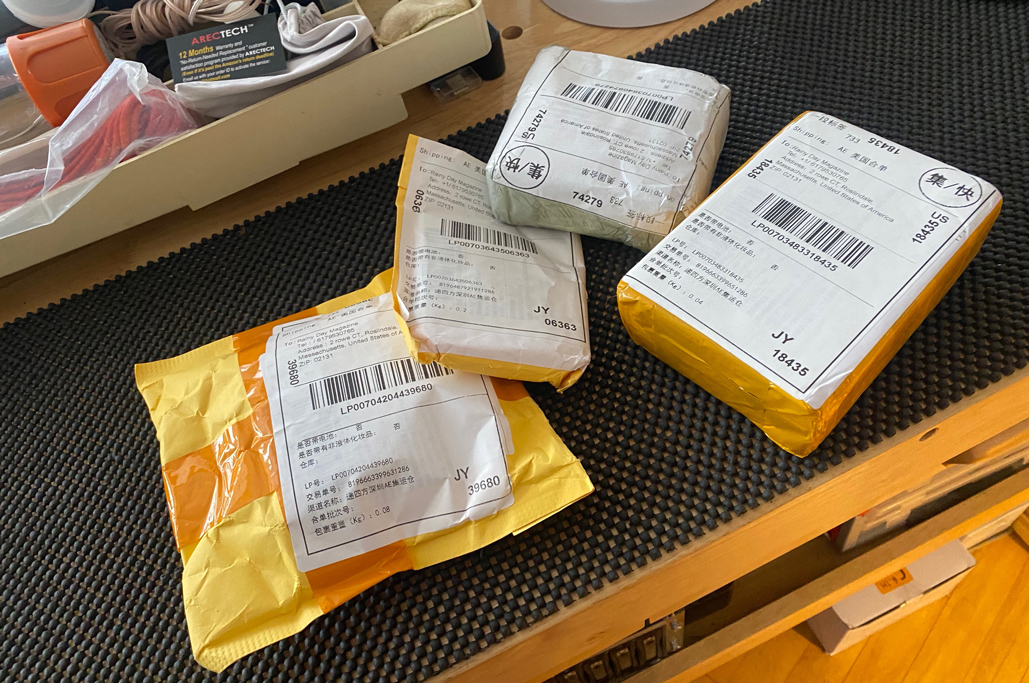
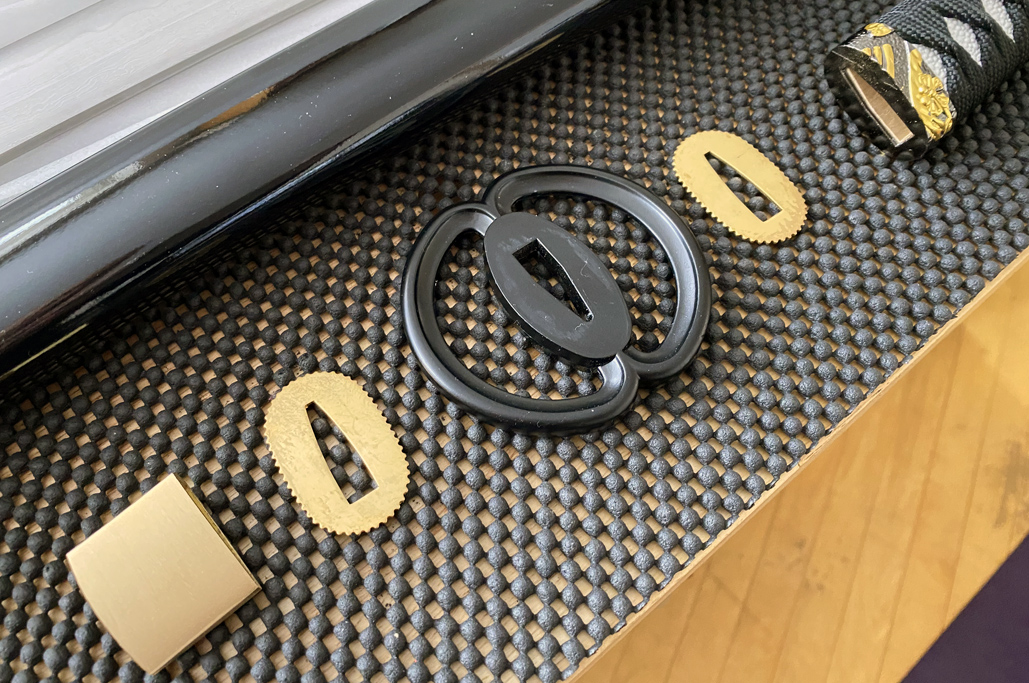
Until recently, sourcing component parts for a katana directly from craftsmen in China was not practical for an individual, especially from overseas…but no longer!!! Because of marketplaces like Temu and Alibaba, anyone can buy DIRECT from the craftsmen and in small quantities…often with FREE SHIPPING. Really, it’s pretty incredible.
The budget for our Katana DIY is:
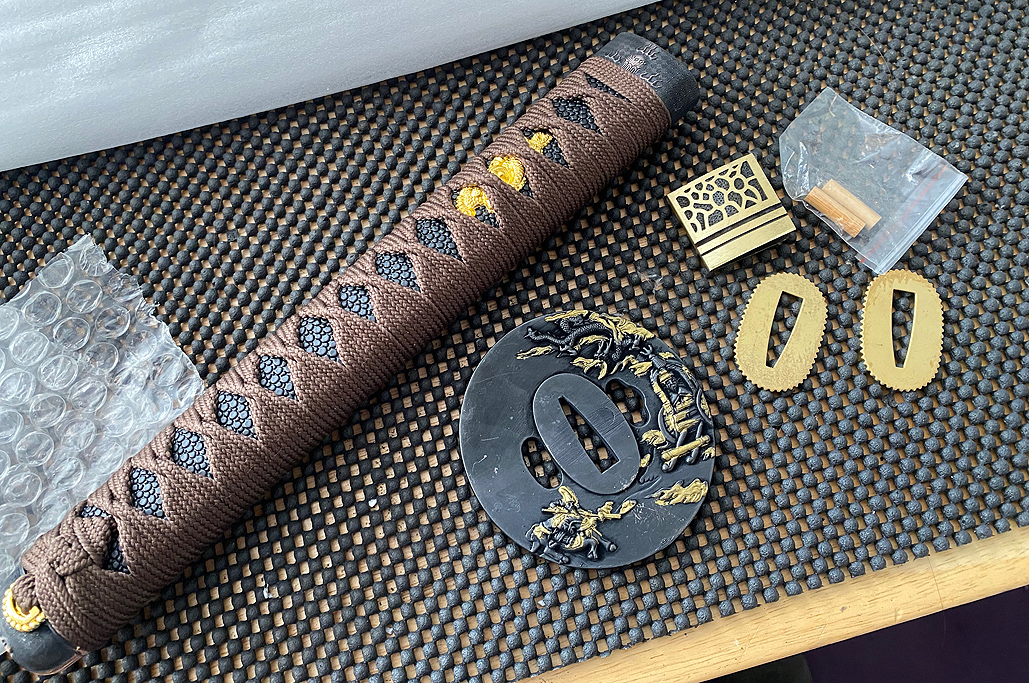
- $50 for all the components (tsuka, seppa, etc.);
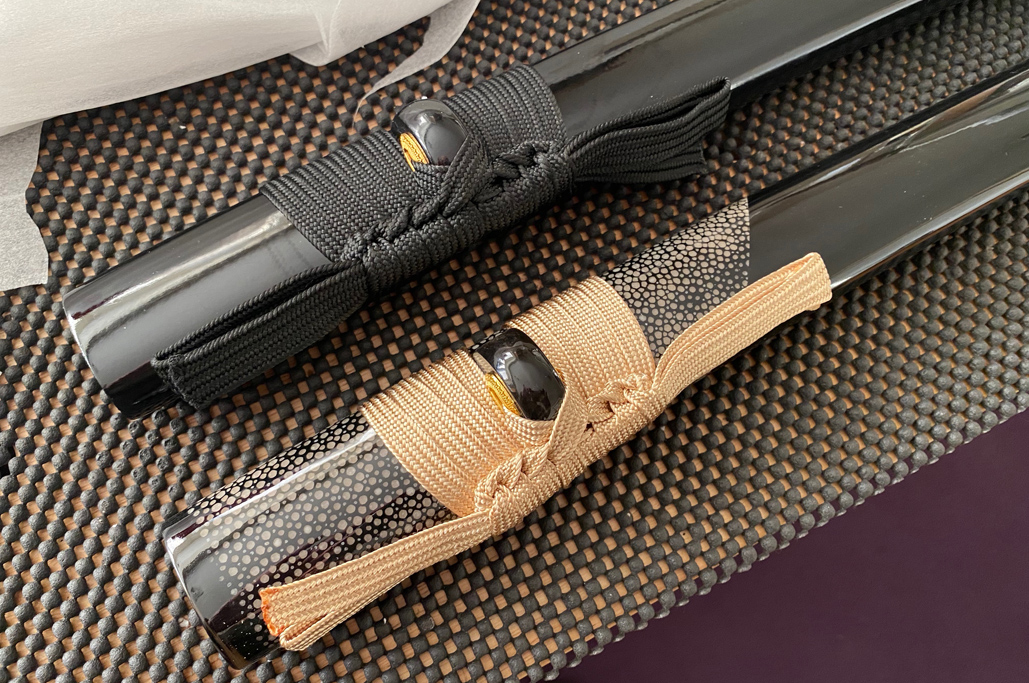
- $50 for the saya (lacquered, buffalo horn opening, ray skin cover, etc.);
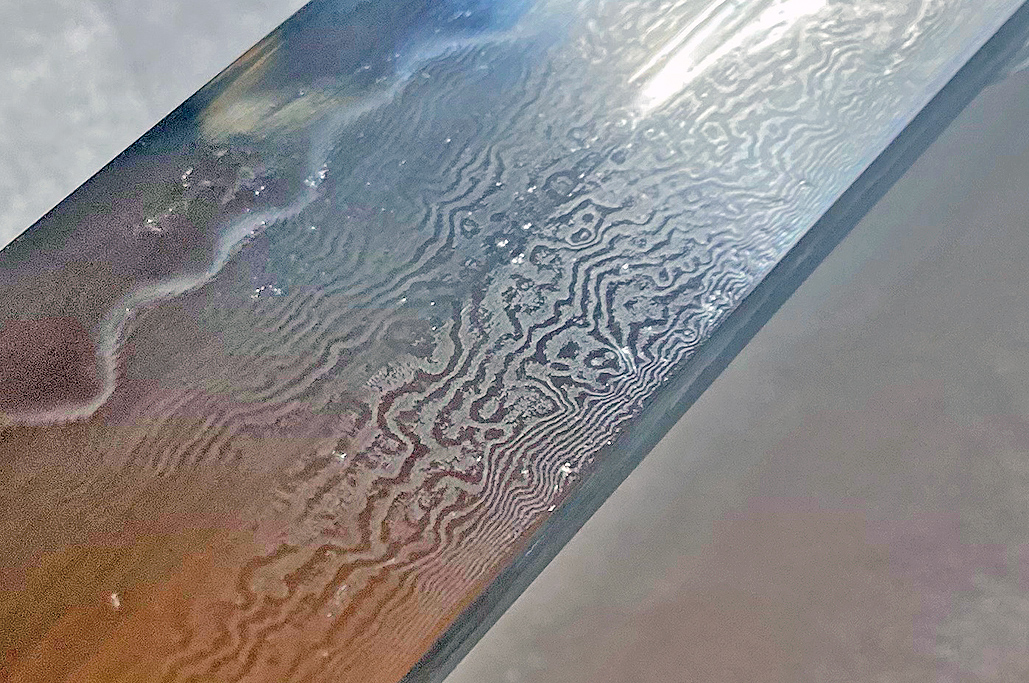
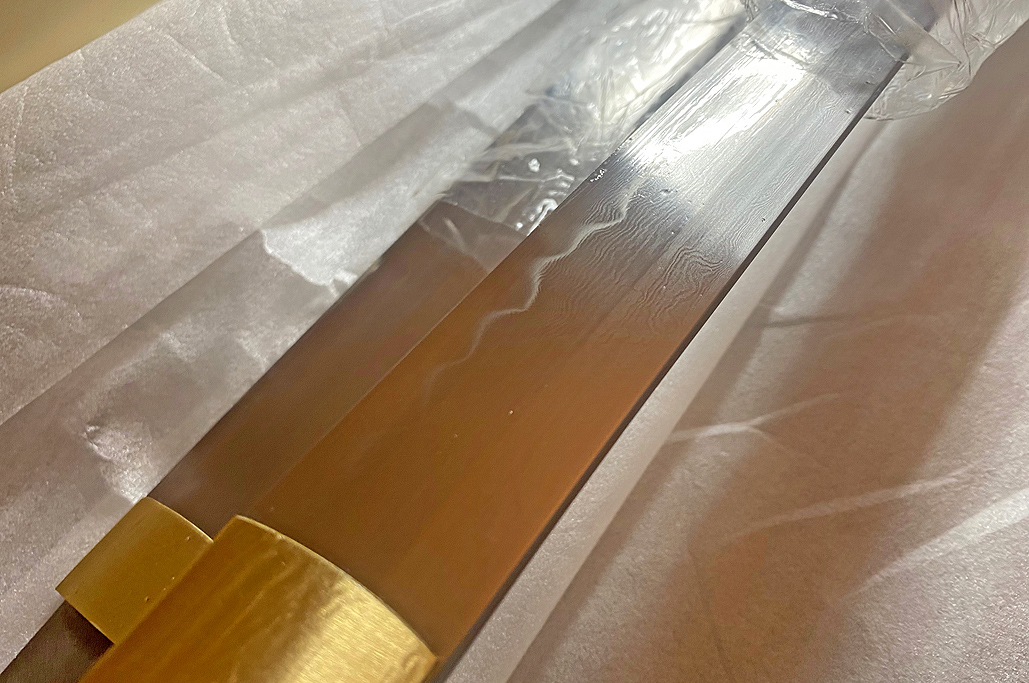
- $100 for the blade (T10 or 1095, folded, clay-hardened, hamon, polished, etc.).
In order to make our $200 target, we had to negotiate a little as well as compromise a little. After a bit of back and forth with several of the vendors, we ended up expanding the total outlay, but managed to hit our price goal after buying enough to make two katanas.
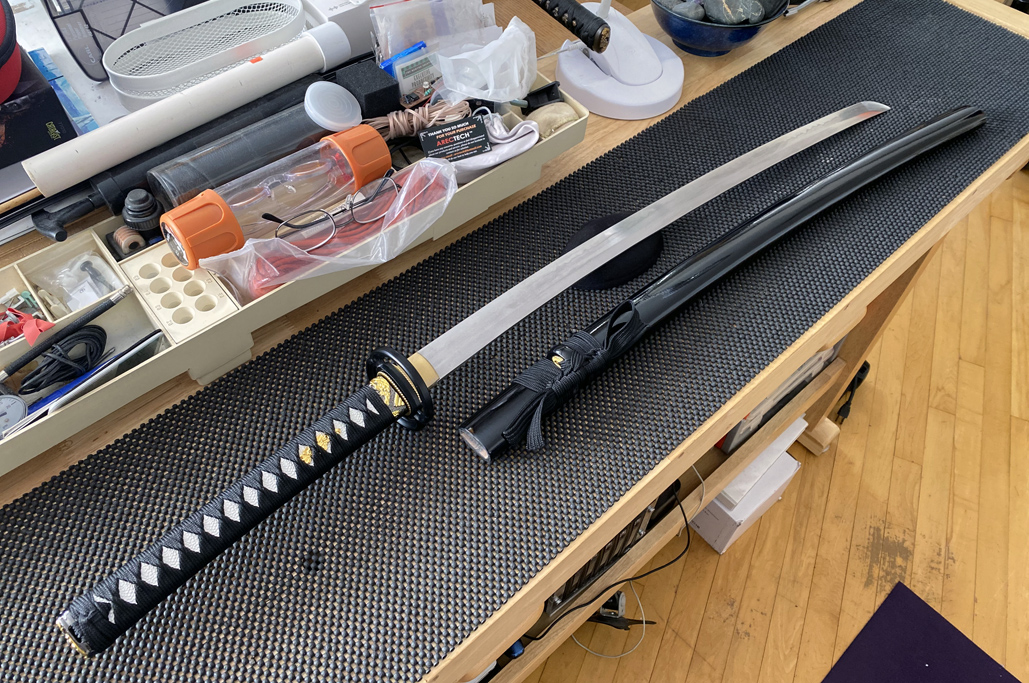
The Second Katana
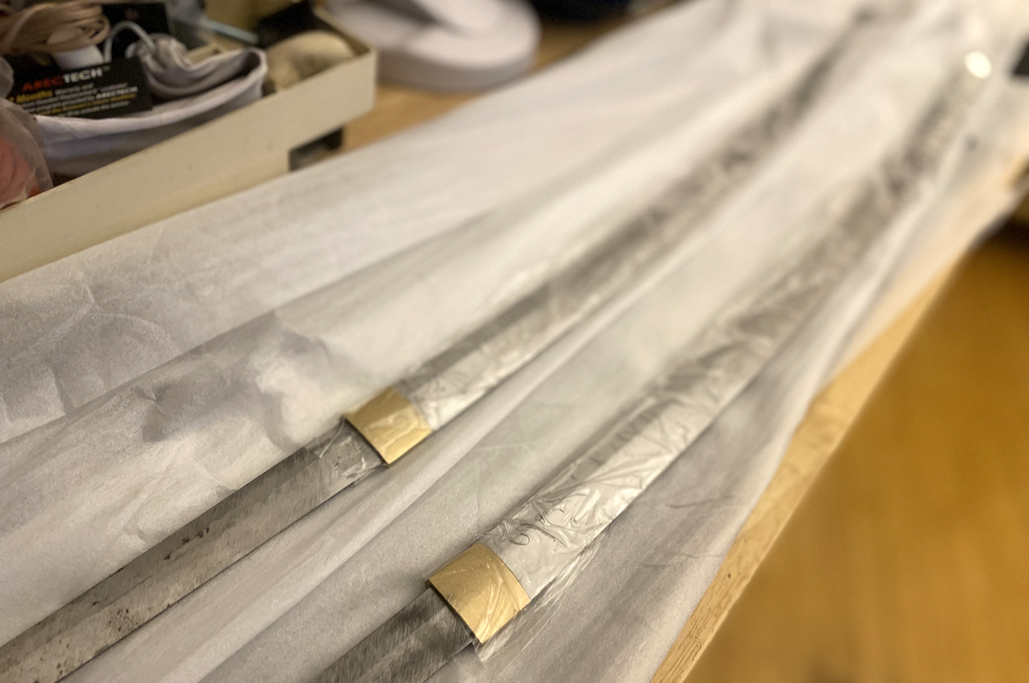
The second sword came about because we had to buy two blades, which meant we then had to get two says, etc. Actually, getting two naked blades for $200 total was not that difficult; what we had a hard time finding was a vendor who would sell us a lacquered ray skin-cover saya for $50.
What we finally end up doing was to agree to buy two sayas, one partially ray skin-covered and one black lacquered for $100 total…fair enough. The other components were inexpensive enough to not be an issue for us having to purchase a second set.

Having successfully put together the first katana, assembling the second one was much quicker. In fact, we were able to do it in just a few minutes!

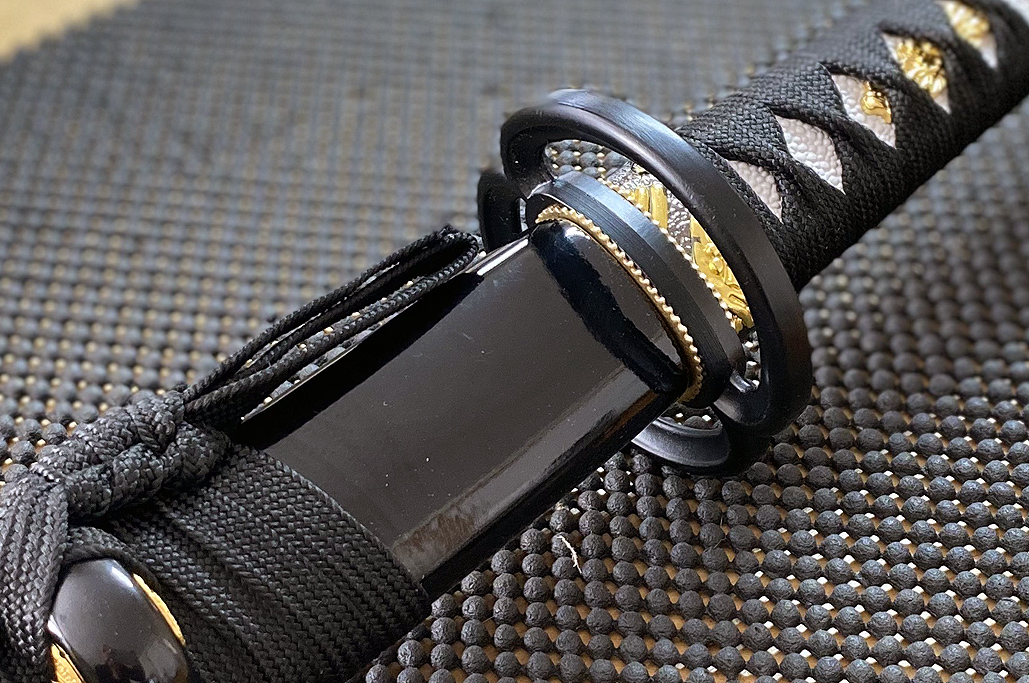
One thing we noticed was that the second tsuka, from a different source, fitted the tang even better than the first one. A few very light taps were all that was needed to get it fully seated.

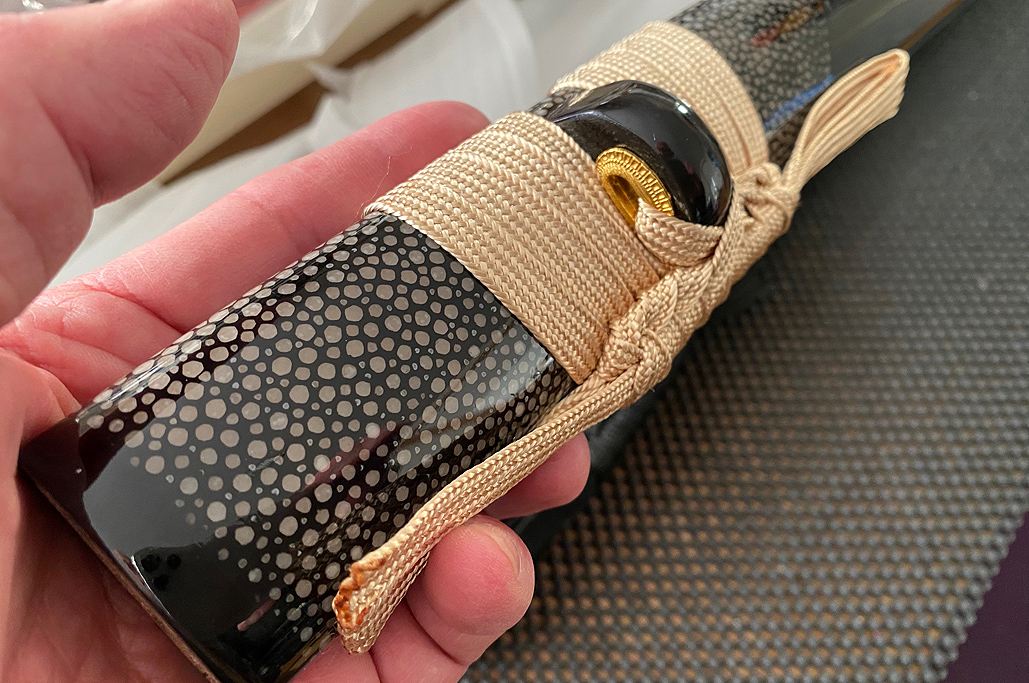
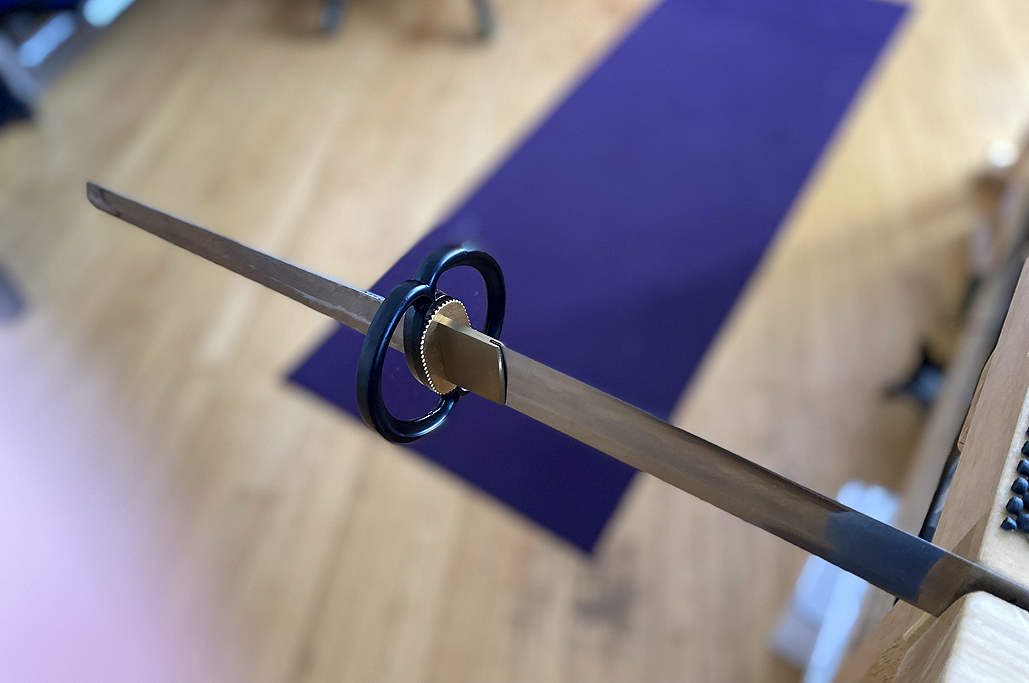
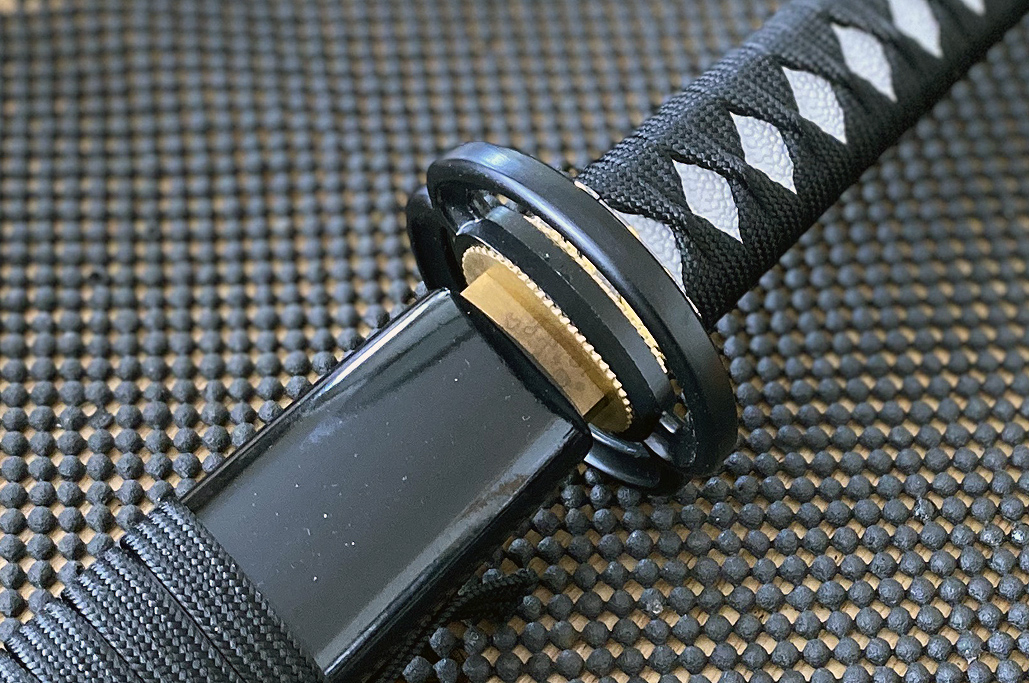
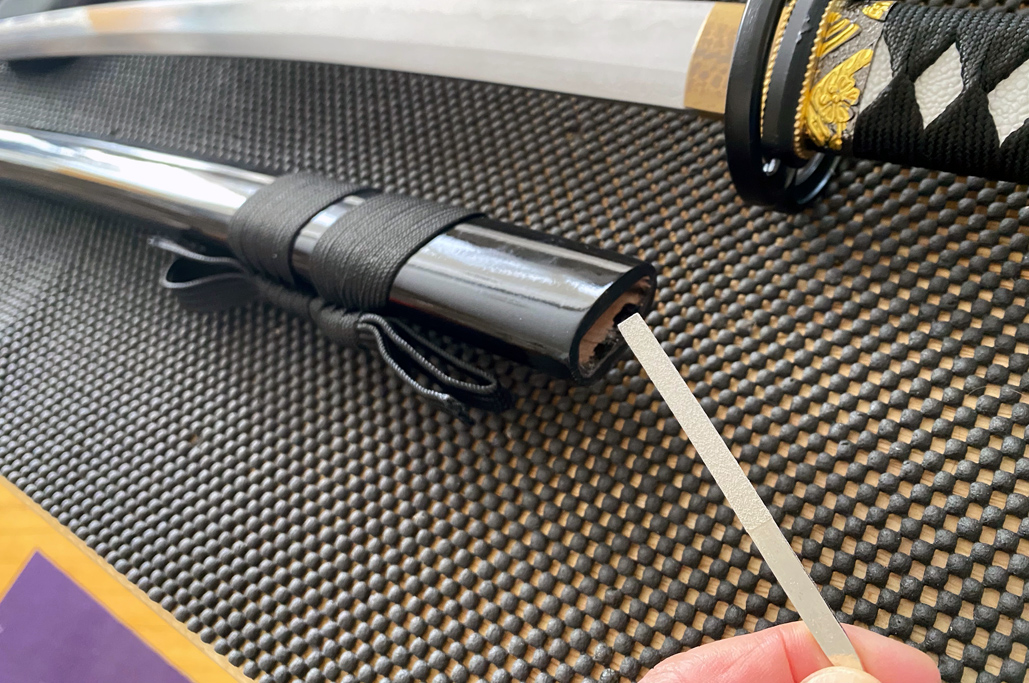
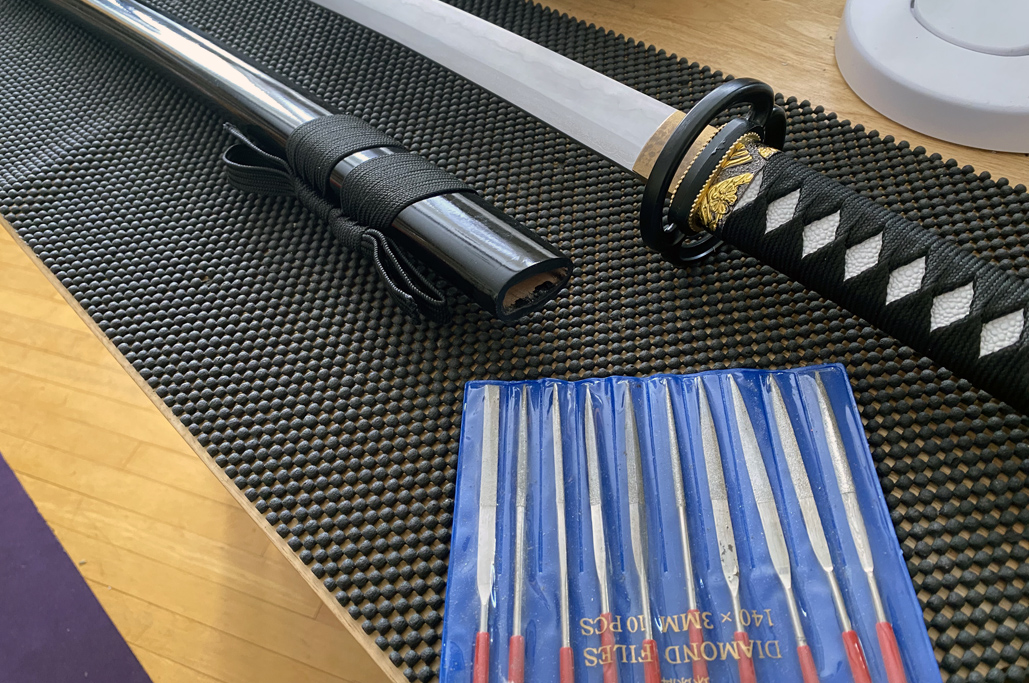
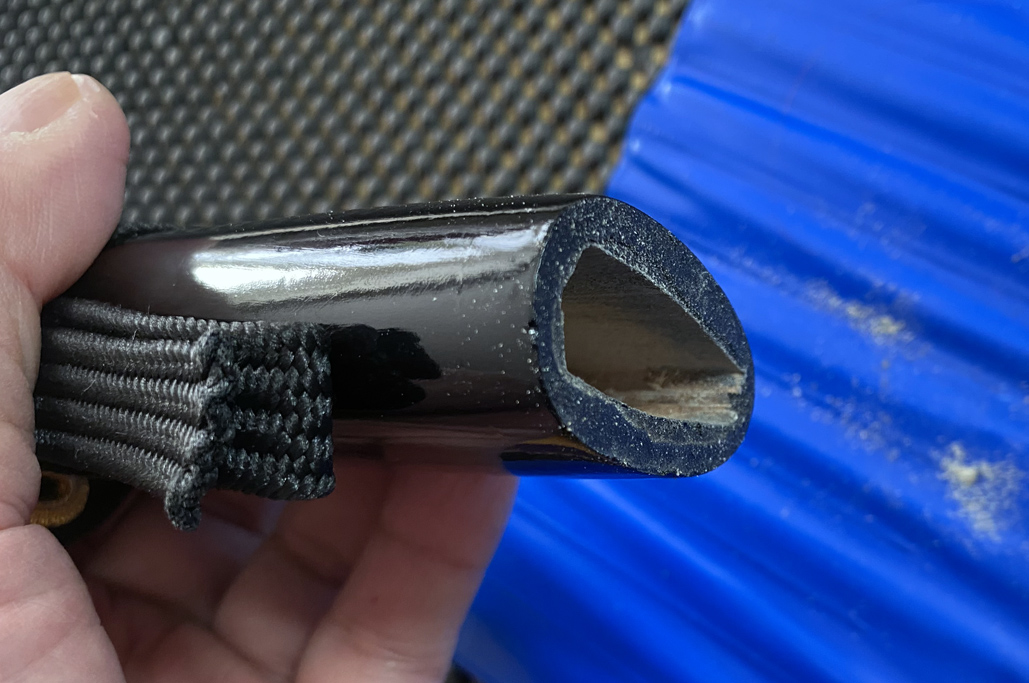
Fitting a Saya
The opening of this saya was wider, and with using some force, we were able to push the habaki almost all the way in. However, it was a very tight fit. We realized, as can be seen by the marks left on the habaki when we got the blade back out, was that some of the lacquer had made it to the inside edge of the opening, causing it to bind.

Having solved the binding issue with our first saya, we knew exactly what to do. A few minutes with the diamond files and the problem was taken care of.

A nice clean fit with just enough “grip” to hold the blade in place, but easy enough for a smooth draw when needed.

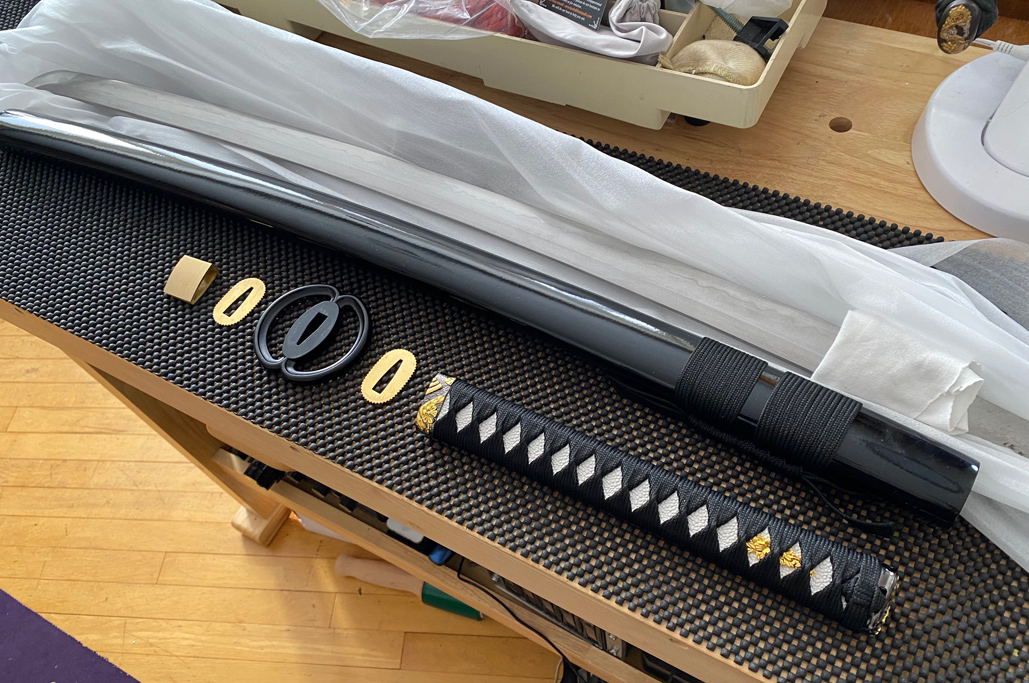
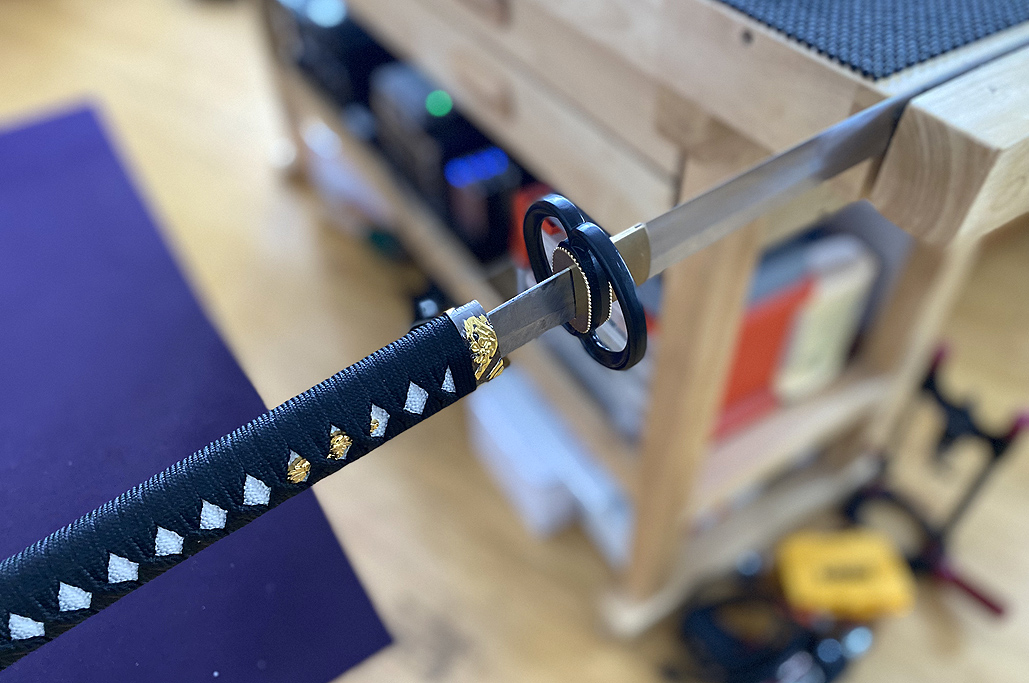
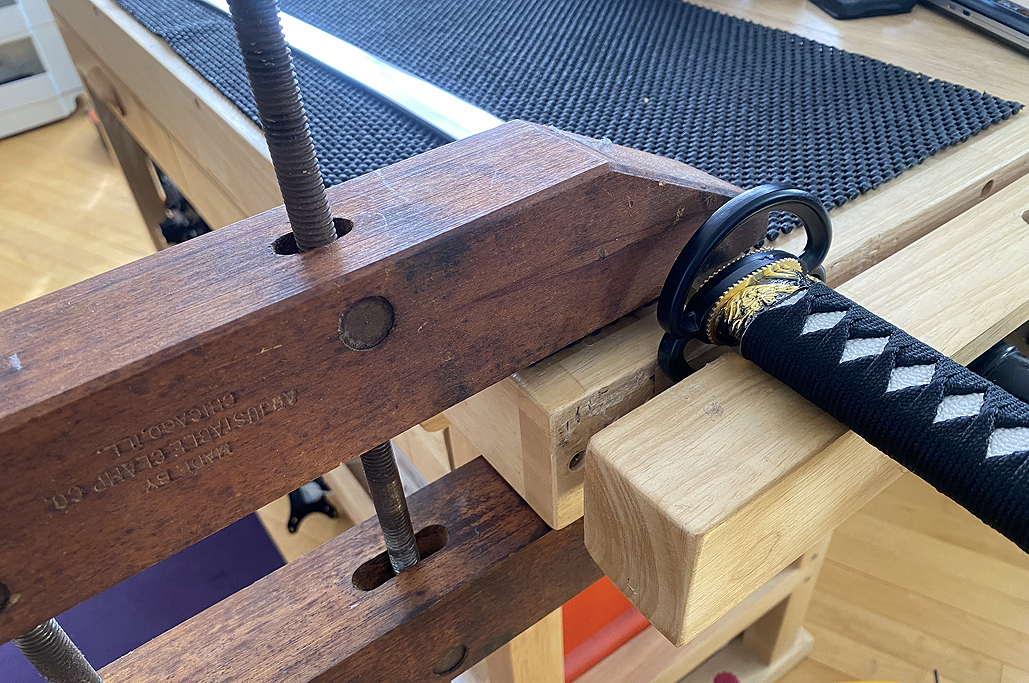
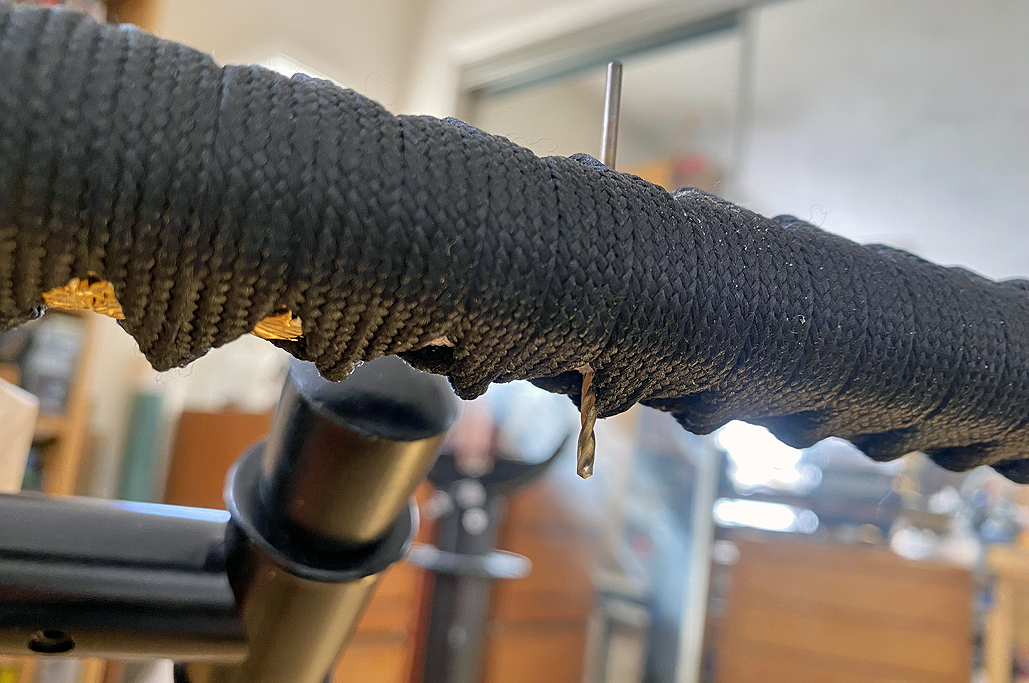
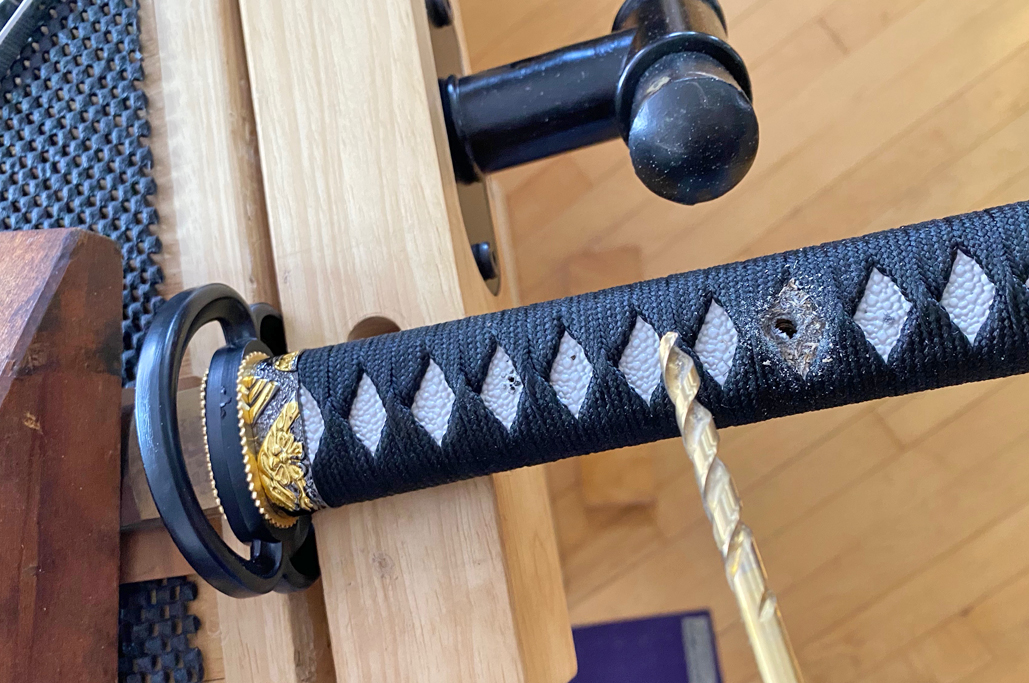
Drilling Hole
As we mentioned at the end of the previous article describing the assembly of the first katana, anchoring the blade to the tsuka is a critical step. We will now go into some detail on how we did it.

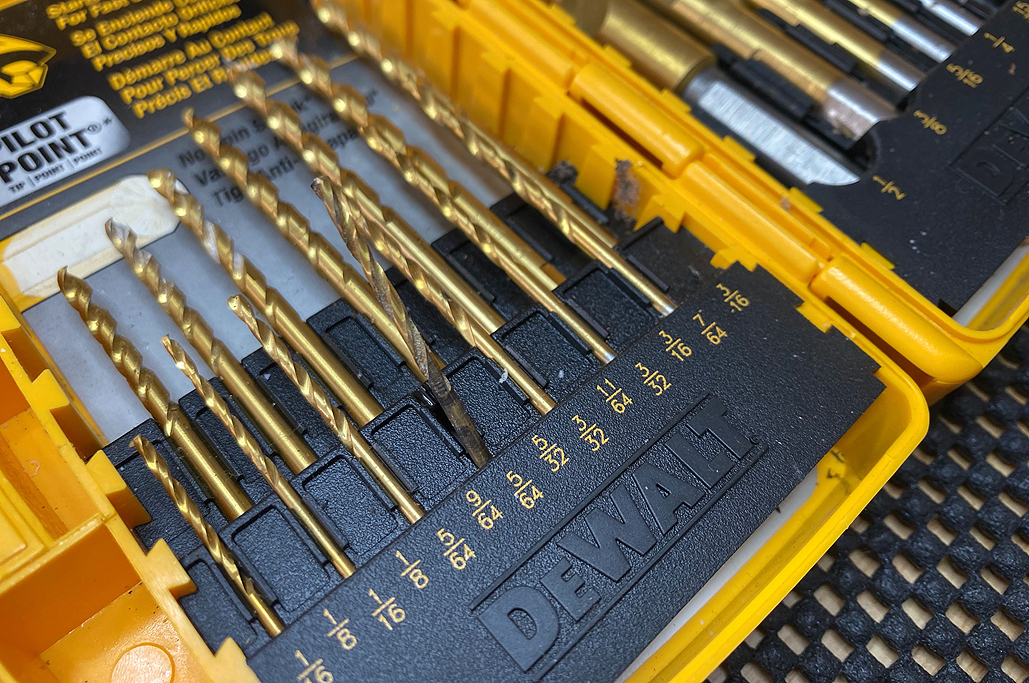
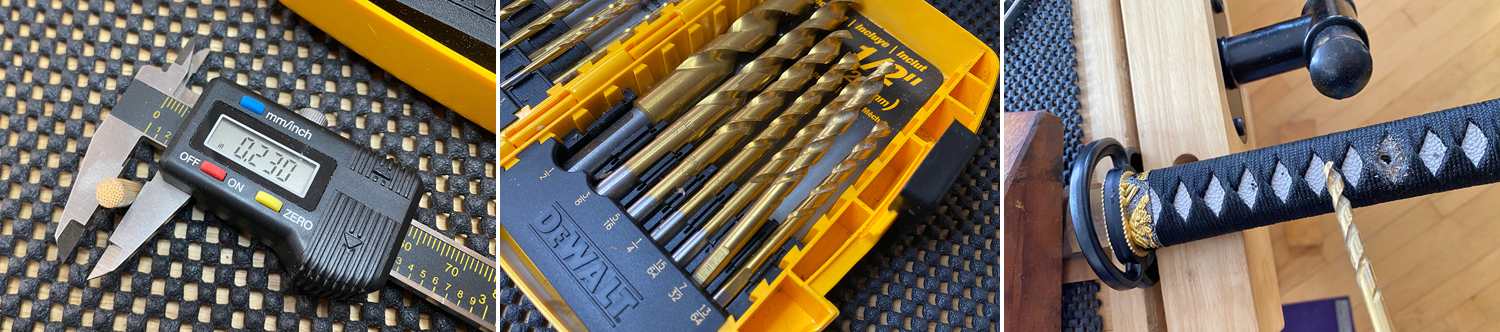
While a drill press might make drilling the right size hole quick and easy, we don’t have that piece of equipment in house. However, we do know how to properly drill a hole:
- securely clamp the work piece;
- make a pilot hole; and
- incrementally make the hole larger until the desired size is reached.
The key with “hand-drilling” a hole is to NOT try to do it all at once. It is much easier to drill a straight pilot hole with a small diameter bit, then patiently drill successively larger ones. Doing it this way is:
- easier on the drill bit,
- less likely to damage the workpiece, and
- a much better chance of having a good/wanted outcome.

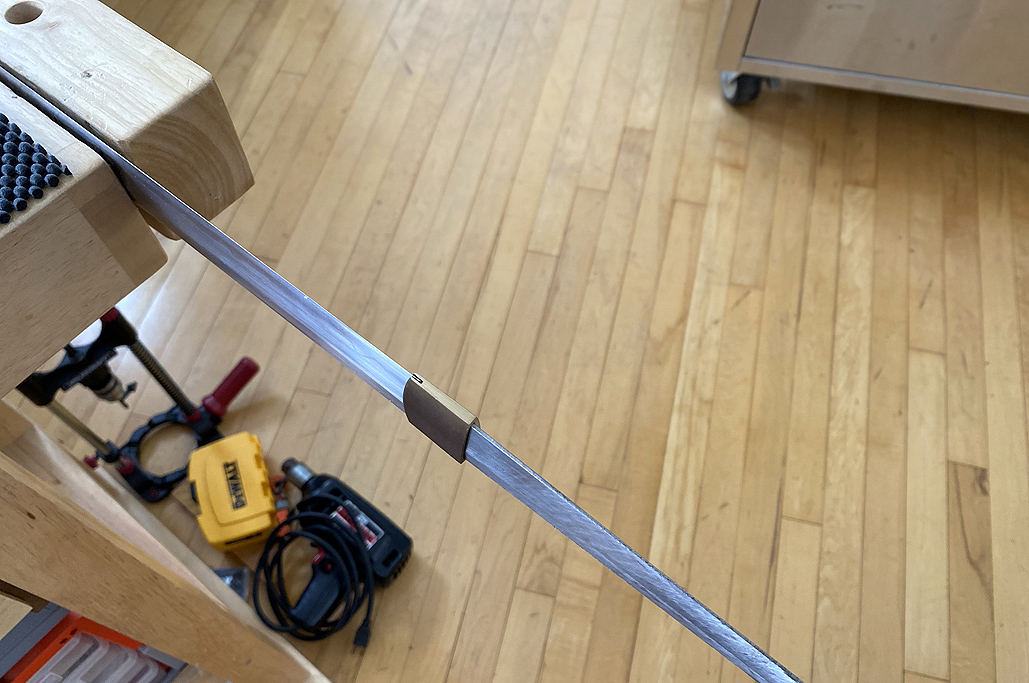
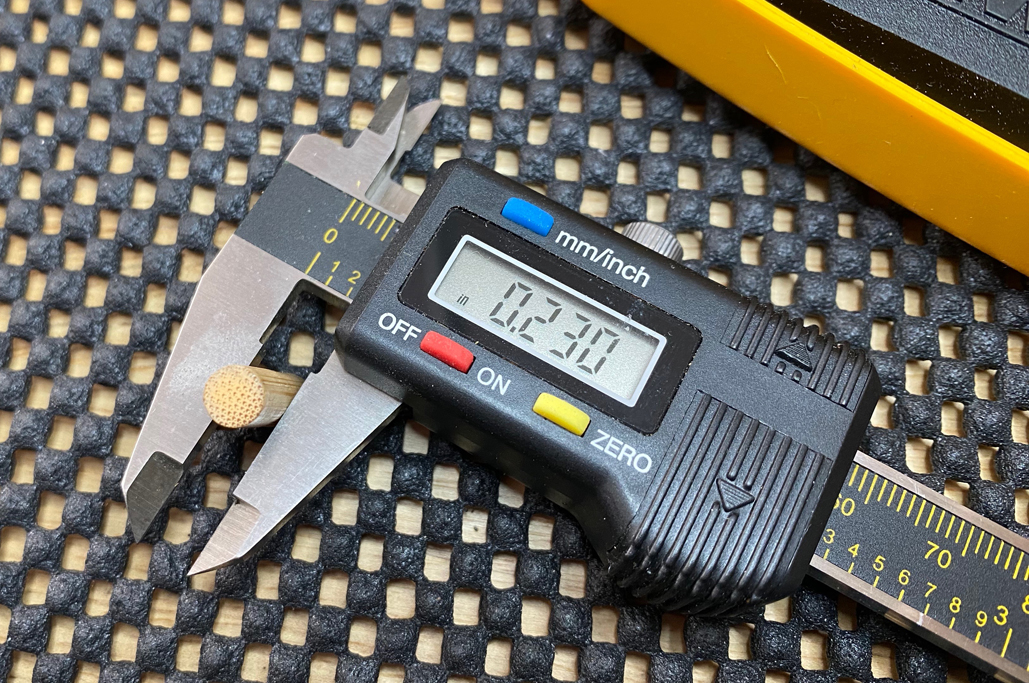
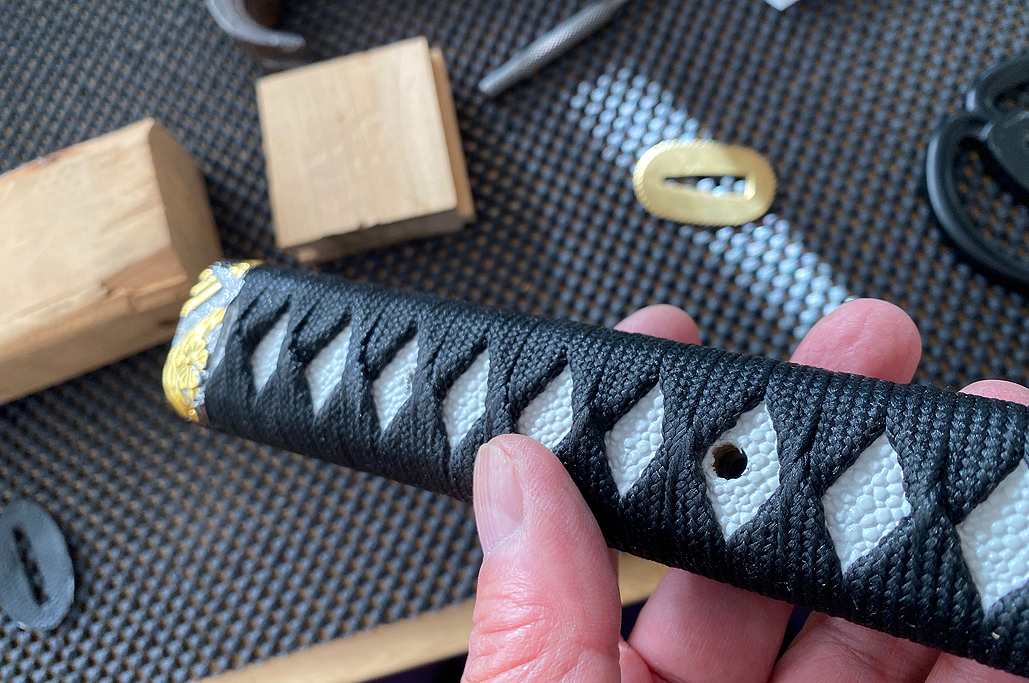
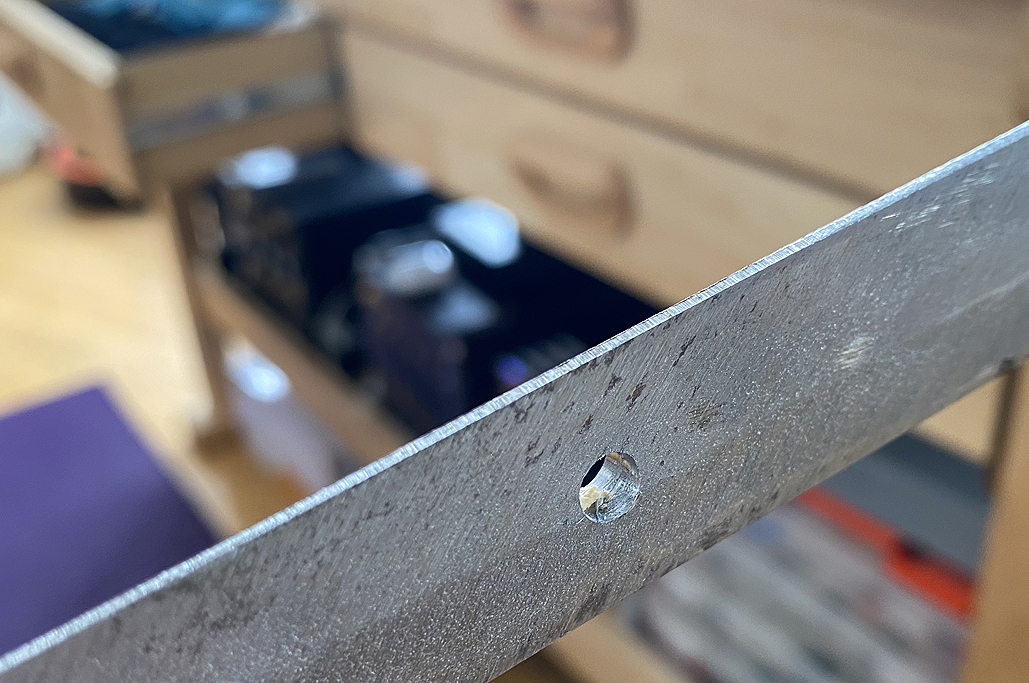
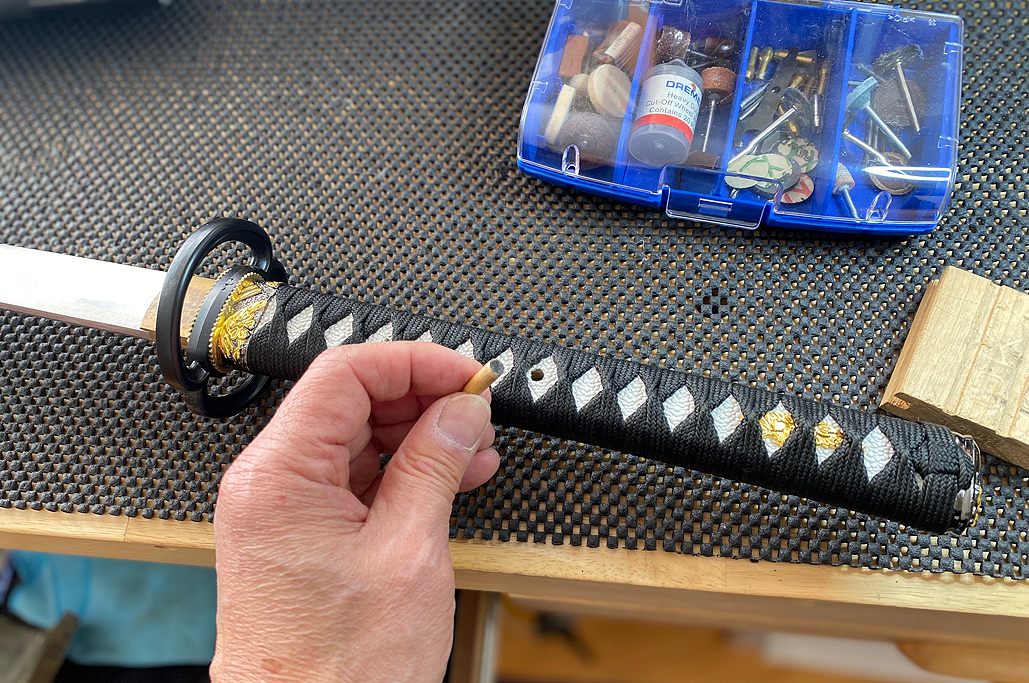
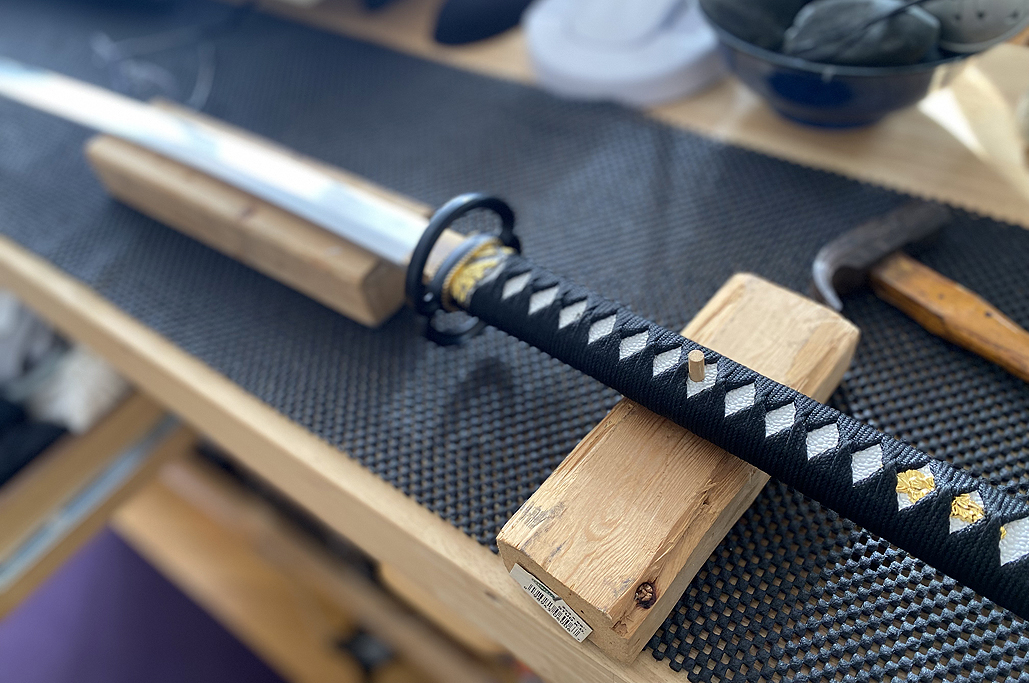
We used a caliper to measure the diameter of the mekugi (pin), located a spot on the tsuka where the hole should go, and drilled the pilot hole. We enlarged the pilot hole until we got to our desired diameter bit. The entire drilling time took less than five minutes….no fuss at all.

After we finished drilling, we took it all apart to examine both the hole in the tsuka and the tang…and both were nice and clean.

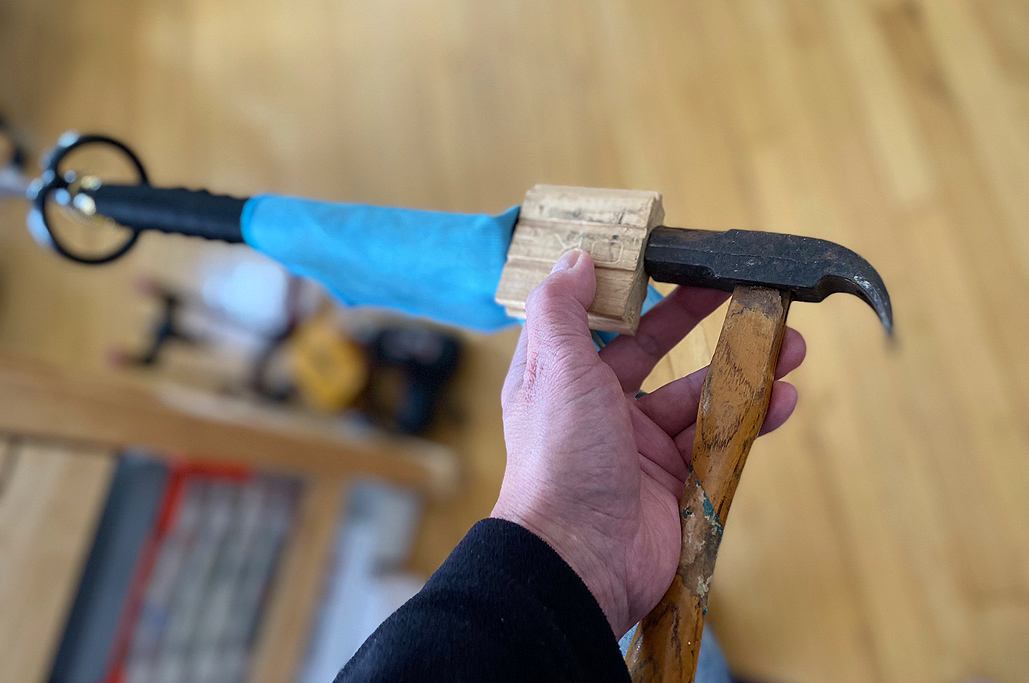
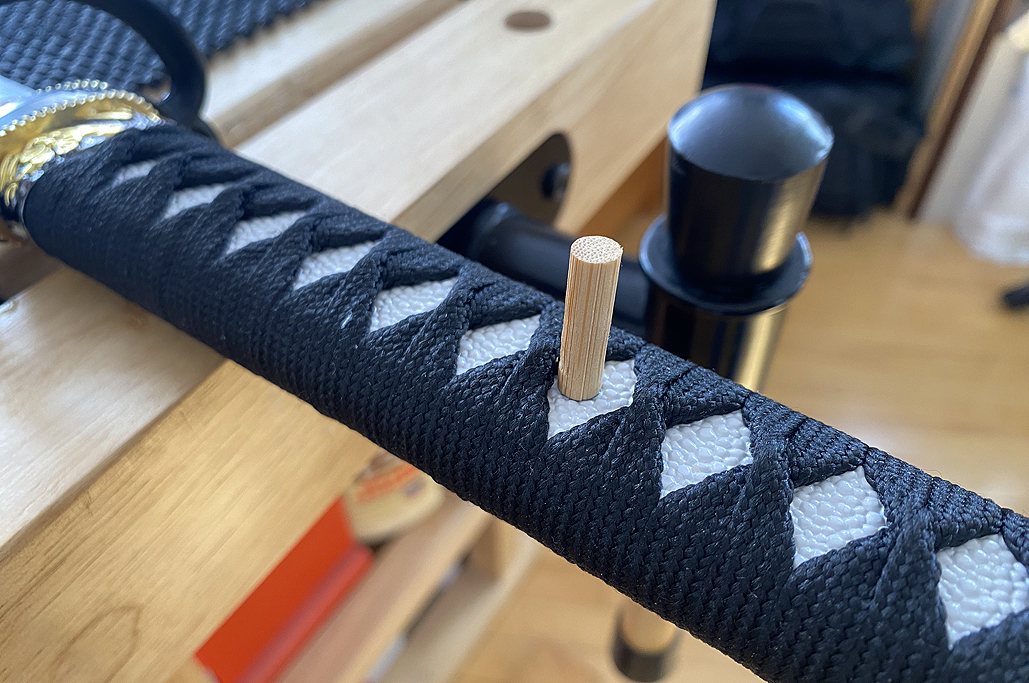
Anchoring Pin
In order to set the pin, we had to round off the edge at the end of the mekugi. The handheld Dremel tool was perfect and made quick work of that task!

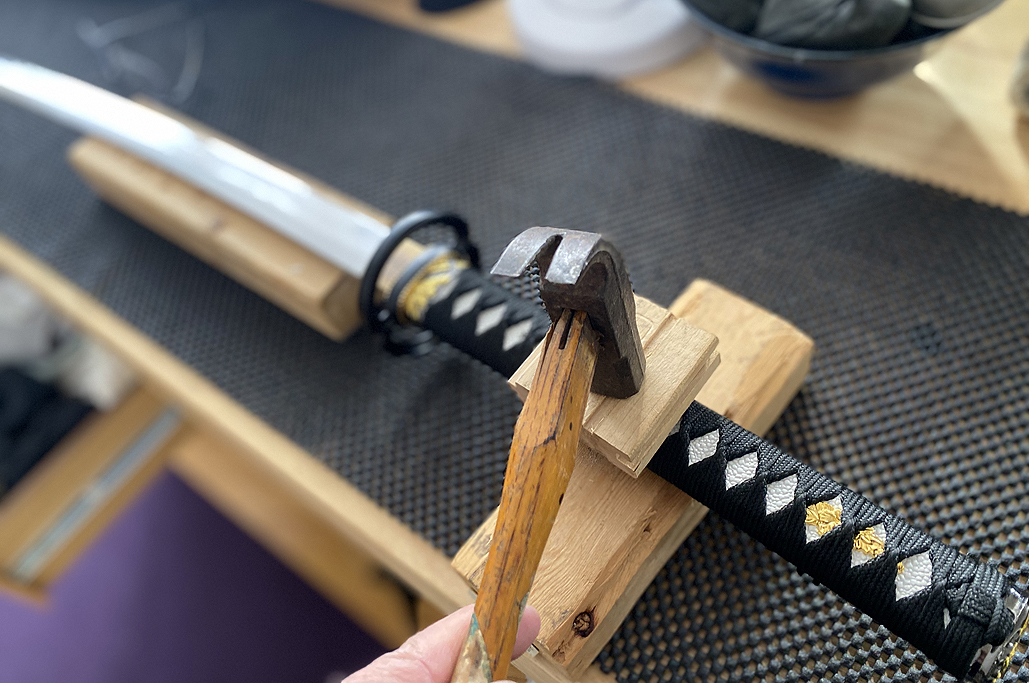
To set the pin, we employed the same technique of using a wooden block to cushion and protect the workpiece from the hammer taps.

A few sharp strikes and the pin was set…the handle now secured, no rattles, done!

Final Thoughts
We will have one more post with some final looks at both katanas, comments about the DIY, and what is next for the two blades (test cutting, polishing, etc.). Look for it soon!!!
Links to items mentioned:


Leave a comment