Boxster Project: Strut Brace Install
Racing Dynamics & Pelican Parts
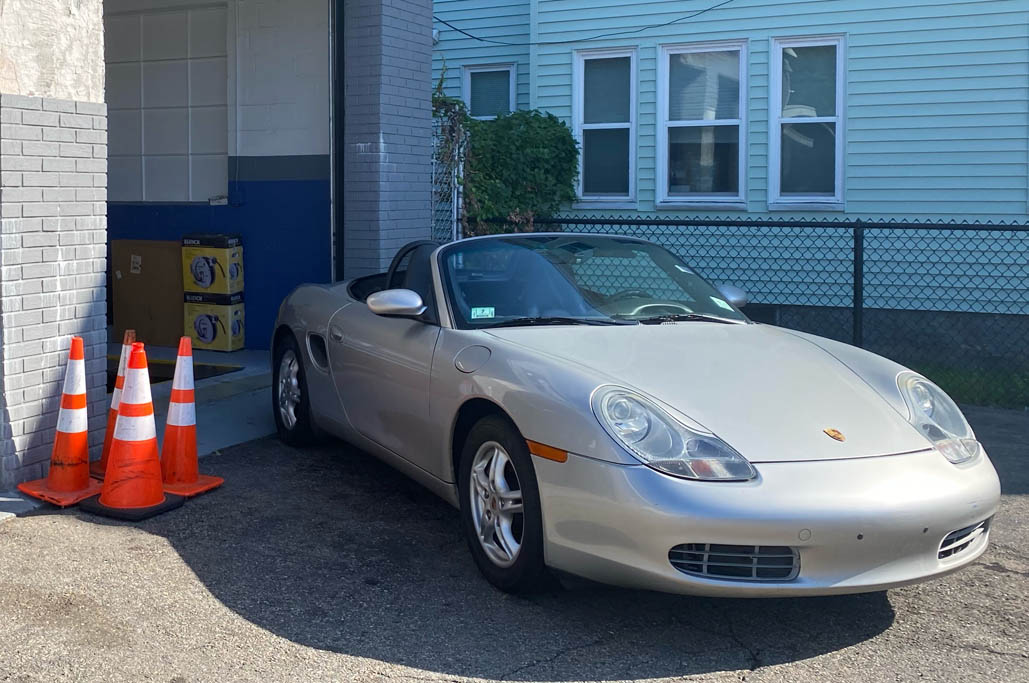
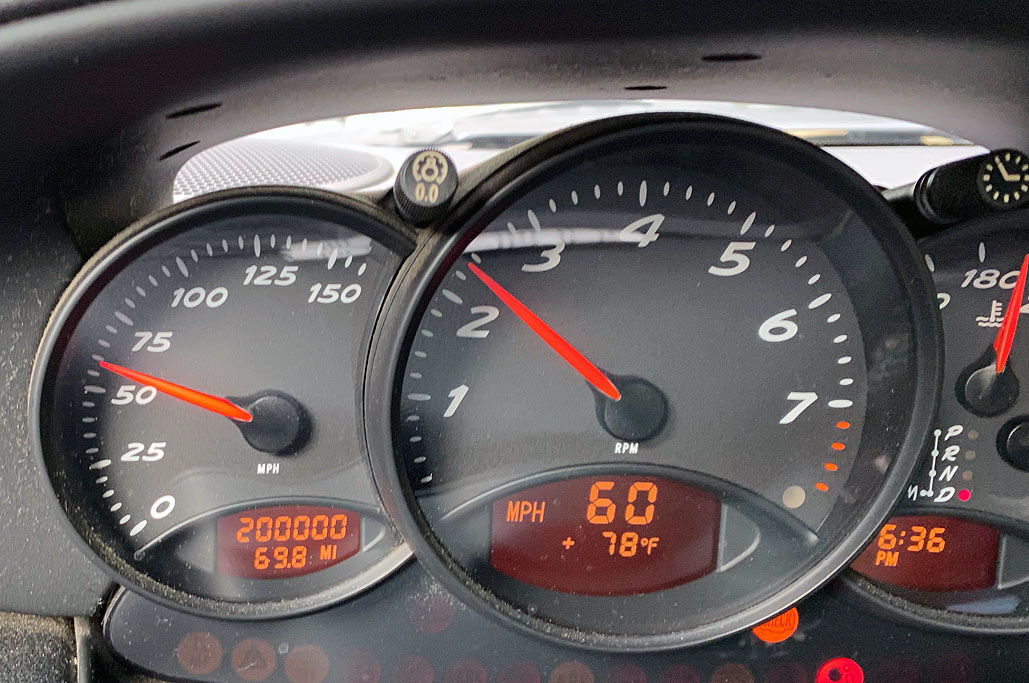
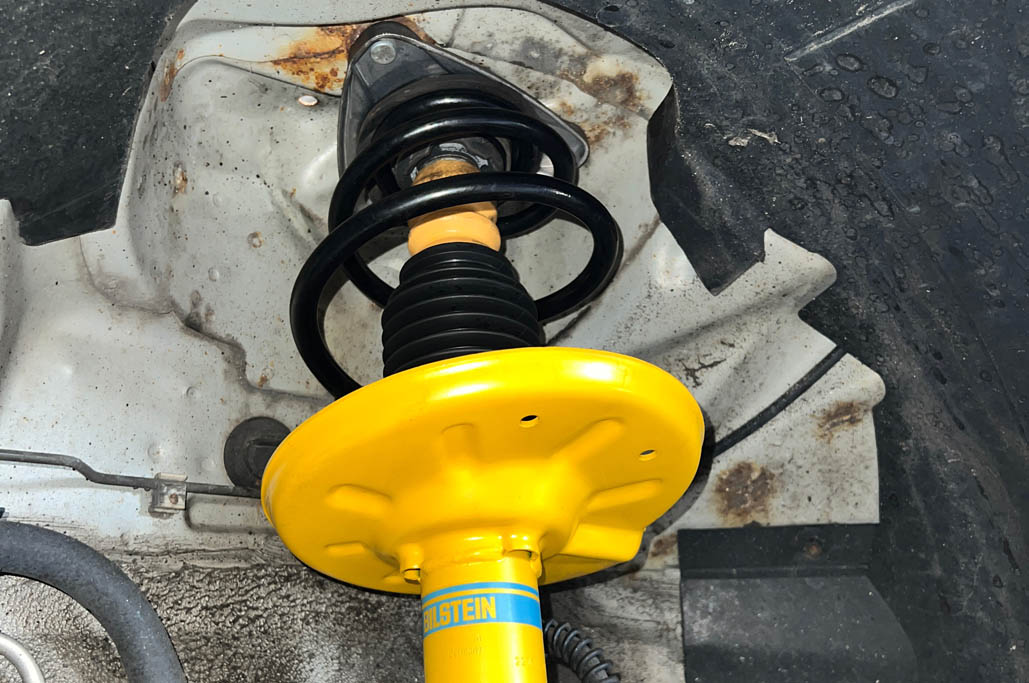
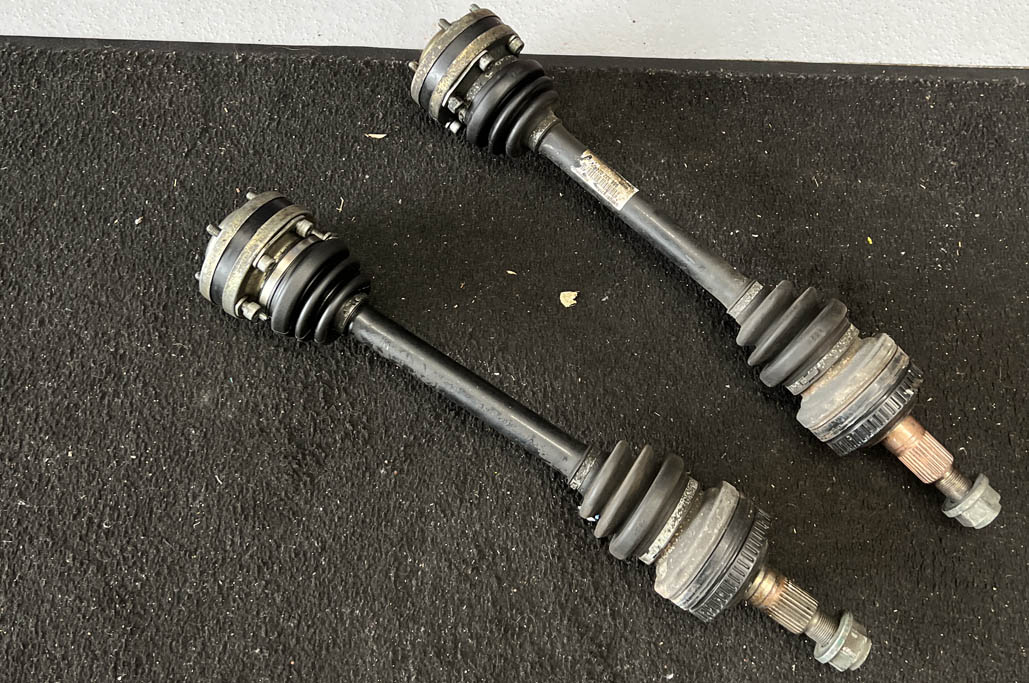
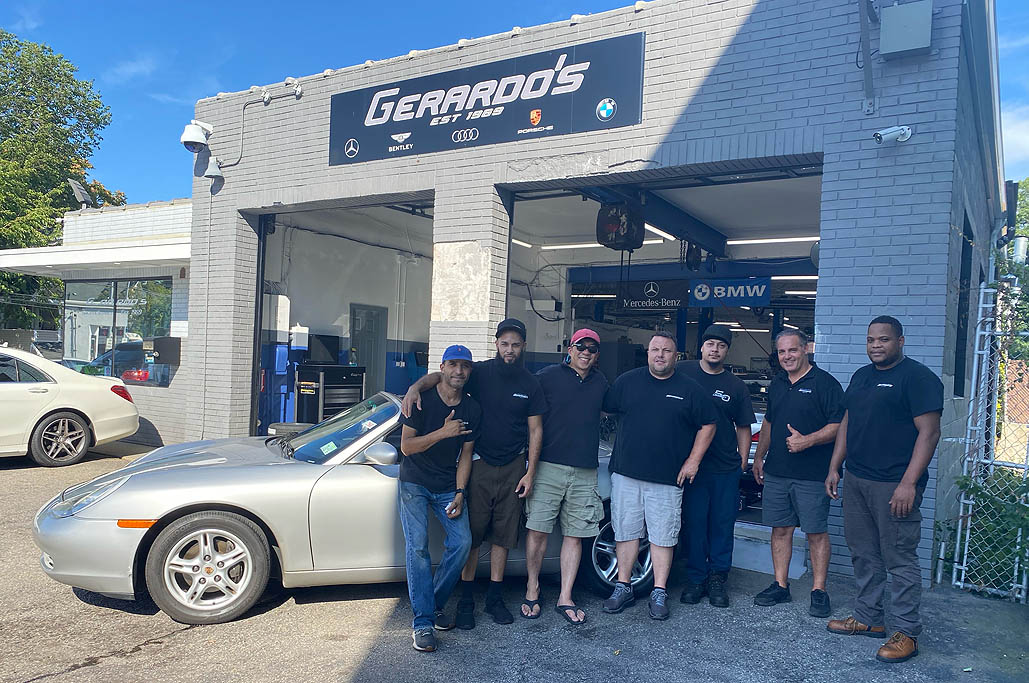
Last Fall, the 2000 Boxster, after more than 200,000 (TWO HUNDRED THOUSAND) miles, finally had its suspension completely over-hauled—springs, shocks, axles, the works. The garage that did the work, Gerardo’s, is a local shop that specializes in European cars. The owner, Al Opilato, and his crew have been caring for this particular Boxster since the day it went off Porsche’s warranty, some 15 years ago.

A whole lotta Boxster love, a lotta lotta Boxster love. So much love. Of the Boxster: drivin’ it and fixin’ it.
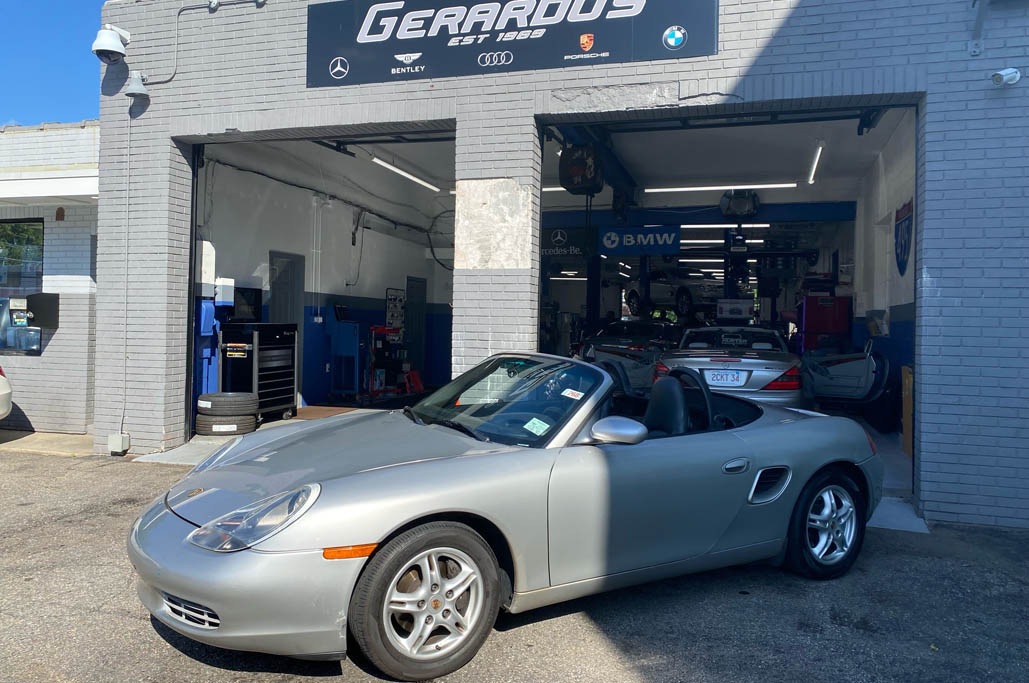
With the new shocks, engine mounts, and linkages, the ride now is almost as good as it was 23 years ago!
With a car this old we know there will always be work to be done, and we’re glad that there is a shop close to the RainyDayMagazine office that is totally up to the task 🙂

This car has no “good side.” Every side is a good side. A good side is seen, no matter where you look.
With the much-improved ride after the suspension work, we thought we could further enhance the feel of the Boxster (officially granted Classic status by Porsche, it is so old) by giving it some “assistance” with the addition of a strut brace.
Whether a strut brace would make any difference was debated by the folks at RainyDayGarage. Some argued that since the Boxster was designed as a convertible from the onset, Porsche engineers had already taken into consideration the open body’s increased flex. However, as it is a 23 year-old car with 200K+ miles, in the end, we wanted to see if we would notice an improvement by adding additional bracing.
Racing Dynamics
Boxsters were designed and engineered with a unibody construction using multiple grades of steel: high-strength steel in key sections of the floor, rocker/sill areas, and frame horns; ultra-high-strength boron-enriched steel tubing in the windshield frame and rollover hoops.
The various grades of steel gives the Boxster’s frame much more rigidity in torsion and bending, which is the key to the 986 Boxster’s much lauded road-handling characteristics (for which which we can absolutely vouch).
Adding a strut bar could potentially add more stiffness and rigidity to the Boxster’s suspension by evening out the pressure on both sides of the car, especially in a turn at speed (which would be a good thing).

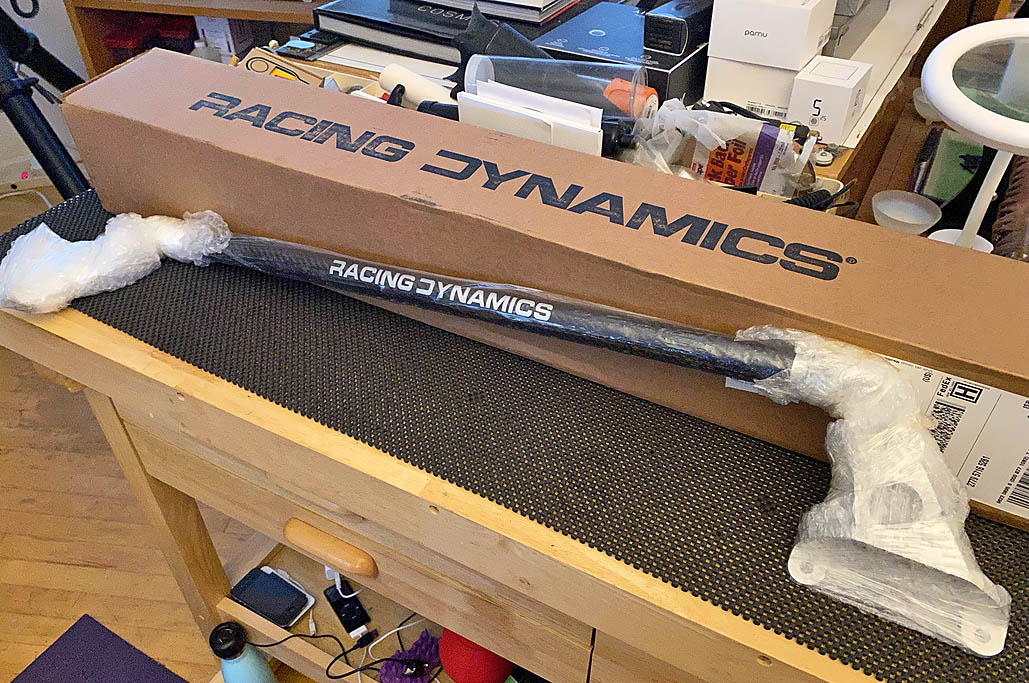
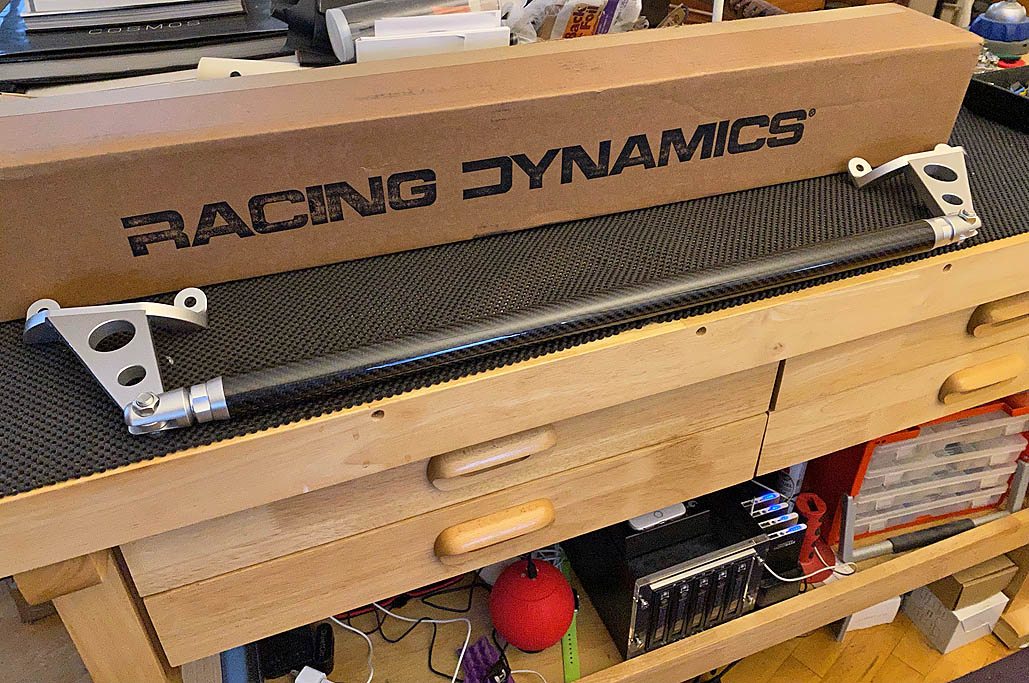
The strut brace, strutting around the office.
We looked at a few strut bars on the market designed for the 986 Boxster, and decided on the one from Racing Dynamics, available at our favorite Porsche parts supplier, Pelican Parts.
Pelican Parts is our first-look go-to source because they almost always have what we need in stock, ship quickly, and the staff is super knowledgeable about Porsches, a hat-trick that is hard to find with other online dealers!!!
We chose the Racing Dynamics unit because of the:
- 100% carbon fiber center bar;
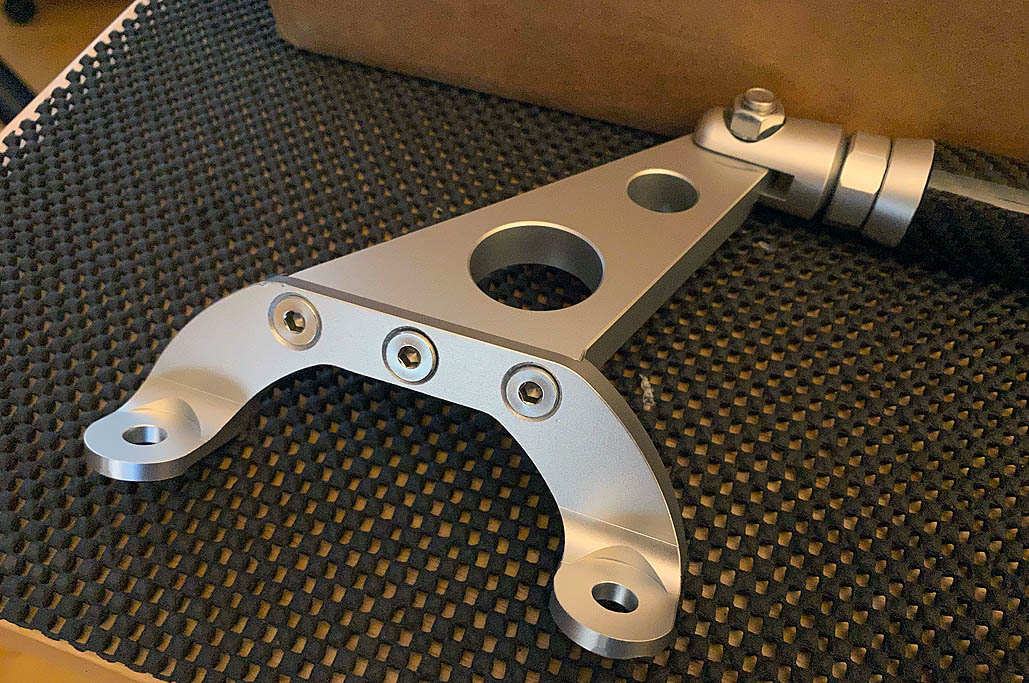
- Precision machined CNC aluminum mounting plates and parts; and
- Bolt in installation.

Solid, precision made, and quite handsome (even if nobody but us and the guys at the shop will ever see it).
Now, a strut bar won’t magically increase a car’s cornering speed or lap times, but it can potentially make the car “behave better” when taking a turn at speed. The reasoning is that the strut brace can transfer some of the stress experienced by the inside strut tower to the outer one as the car leans into the corner.
The effect of a strut brace may be felt in all cars, but can be more pronounced in a convertible as the body does not have the additional structural support from the roof.

A work of art and a joy forever.
Note that a strut bar is not the same as a sway bar. While a strut bar can stiffen the suspension, a sway bar is a critical component of the suspension platform itself. The sway bar manages the side-to-side weight transfer and the ride height between the wheels on the same axle, enabling the suspension to operate properly front-to-back.
Prep/Sizing
The 986 used the tried-and-true MacPherson strut front suspension. Because the mid-engine layout of the Boxster makes it hard to fit a multi-link suspension like the 993 and later 996 have, Porsche engineered a three-link design for the front of the 986. To save on costs, the same upright/hub carrier casting was used at all four corners. This enabled the use of the same lateral lower control arms for each corner.
However, the question “if there were reinforcements for the strut towers in the form of a brace tying them together, would the increased rigidity enhance the overall performance of the suspension system?” still remained.

“Let me em-brace you…”
The first step in the installation was to accurately size the strut to sit on the towers before bolting anything down. To prep for the sizing, all of the joints were hand-loosened so that they moved freely.
Sizing steps:
- Rotate both anchors so they are as close as possible to the tube;
- Set one anchor on top of a strut tower; and
- Alternate rotating the anchors, adjusting them to fit over the other strut tower.
Note 1: It is important to balance the adjustment of the anchors so that the rotated ends were about equal.
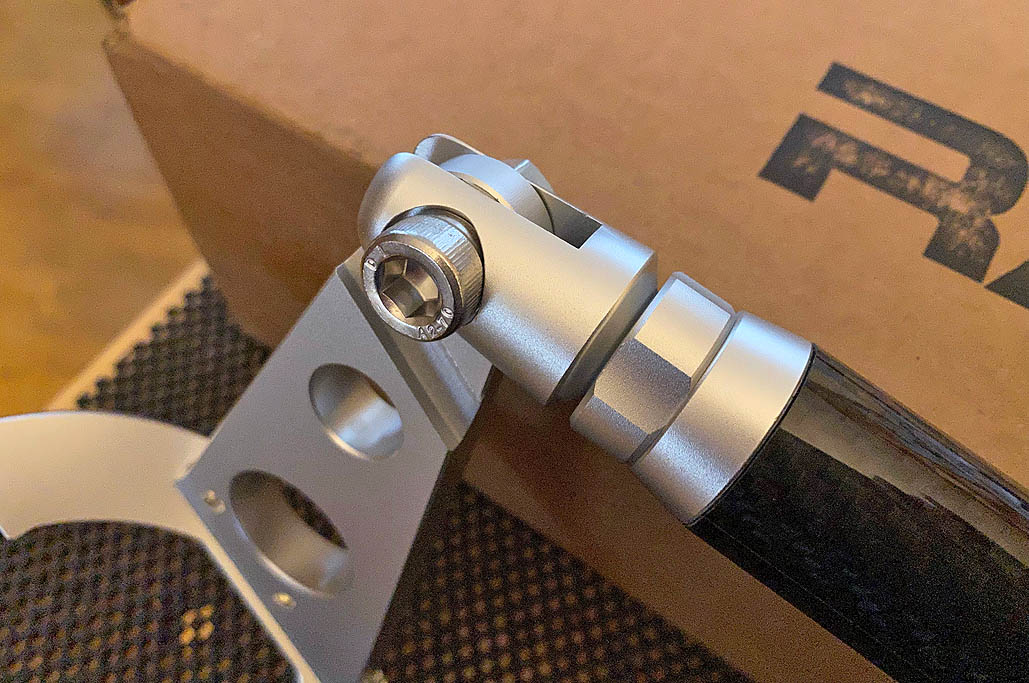
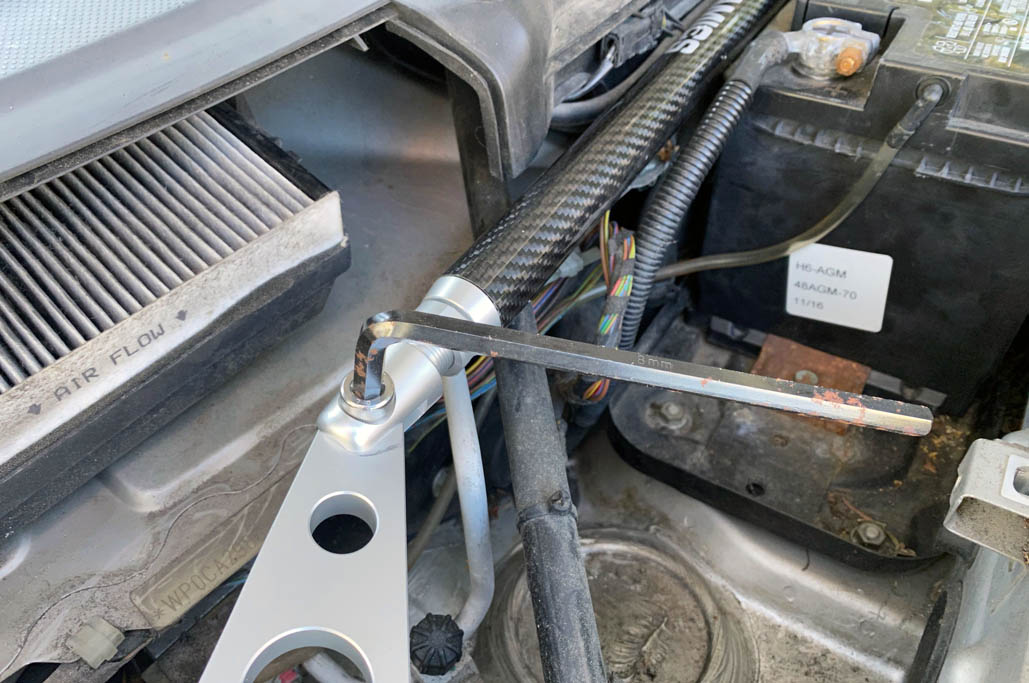
Note 2: It is not required, but we flipped the bolt so that the bolt head was on the top and the nut was on the bottom. Flipping it made tightening it easier with an Allen key.
Easy-peasy lemon-squeezy.
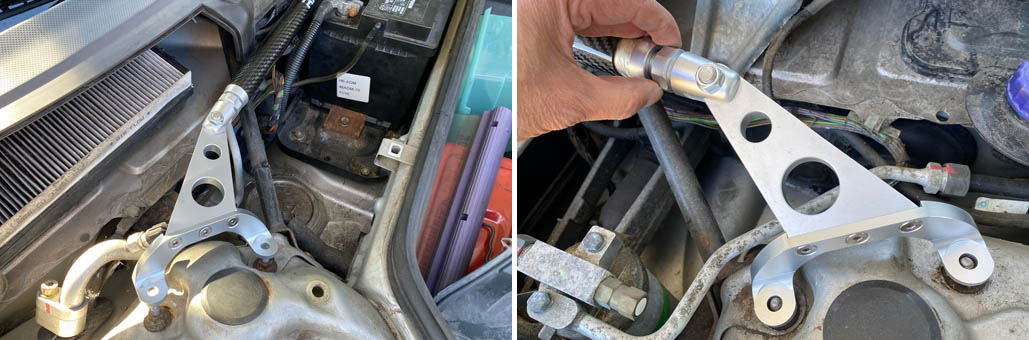
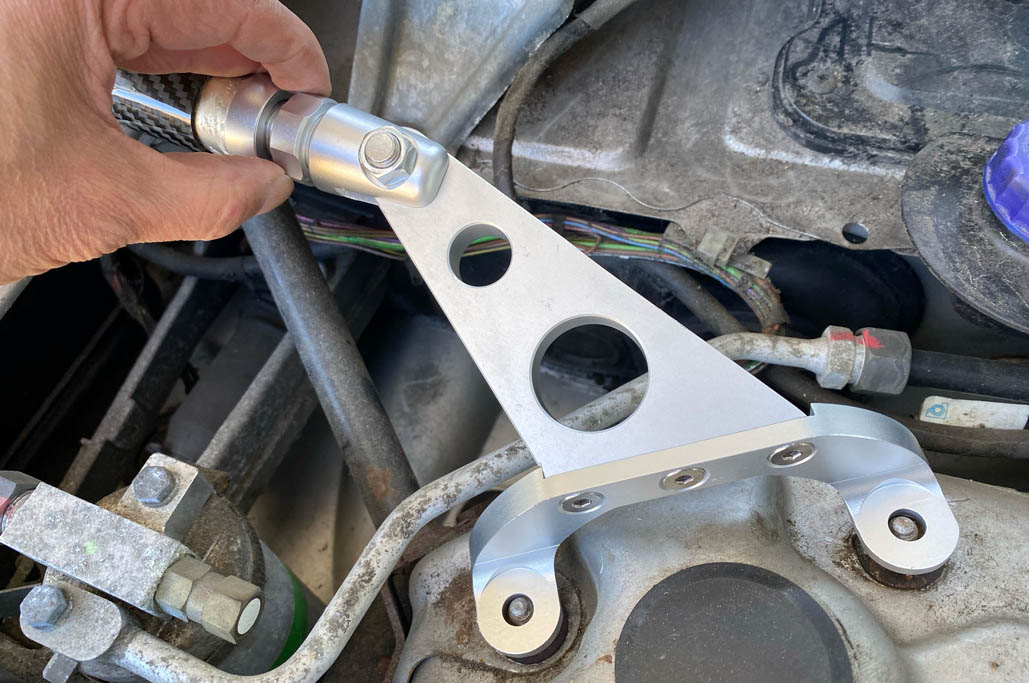
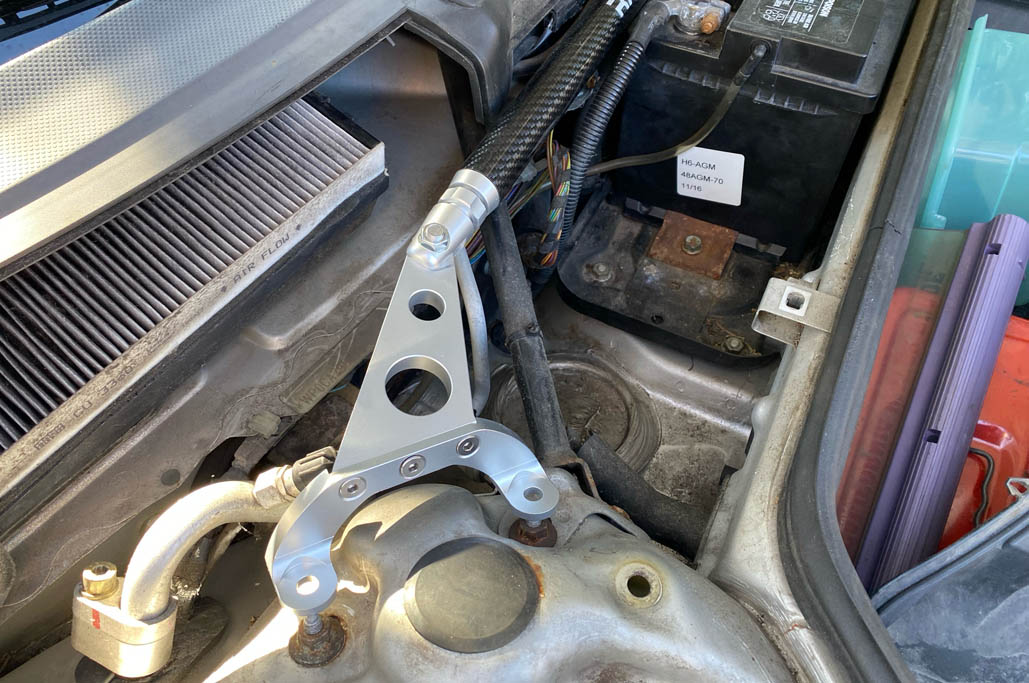
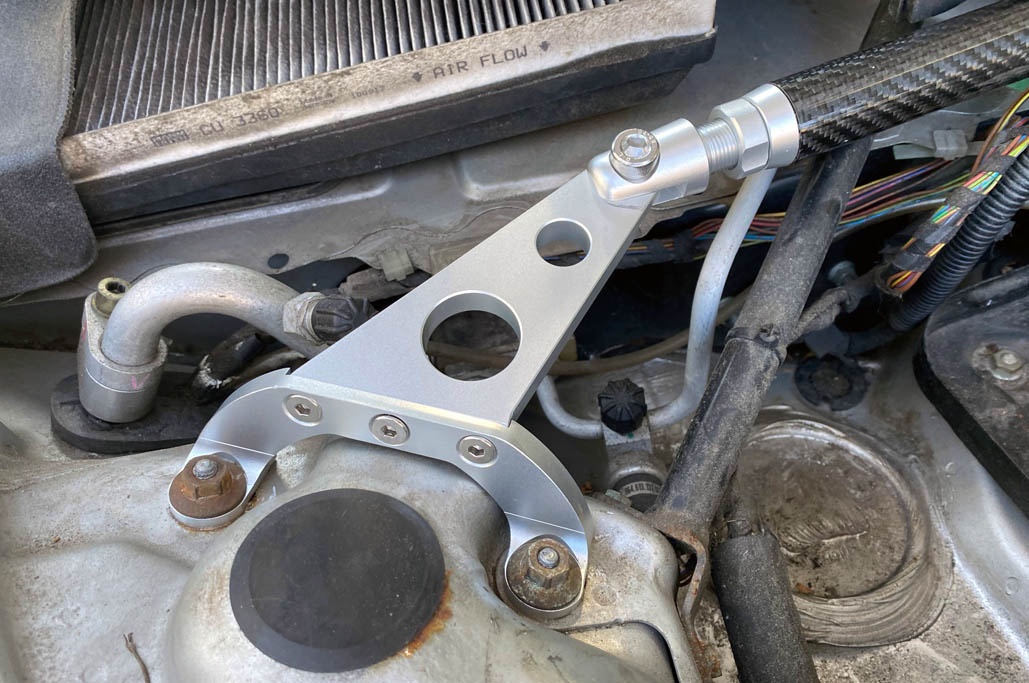
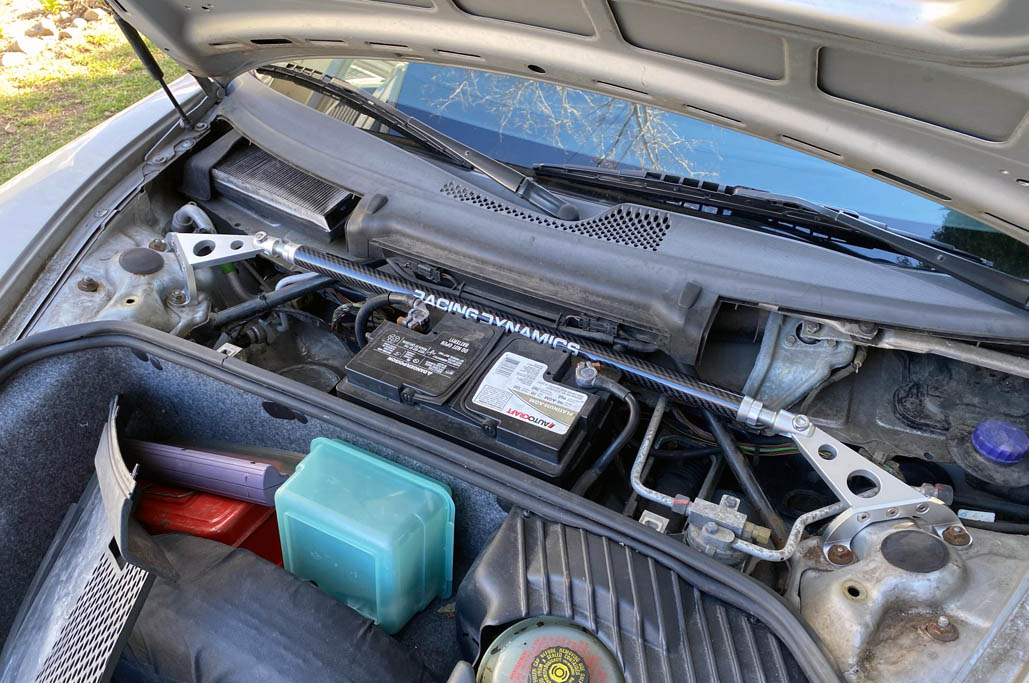
When properly sized, the brace should span both towers and sit on the protruding stems of the towers. At this point the joints were still loose and moved freely. We also rotated the carbon fiber tubing so we could see the “Racing Dynamic” name.

Strutting its stuff – on location.
Installation
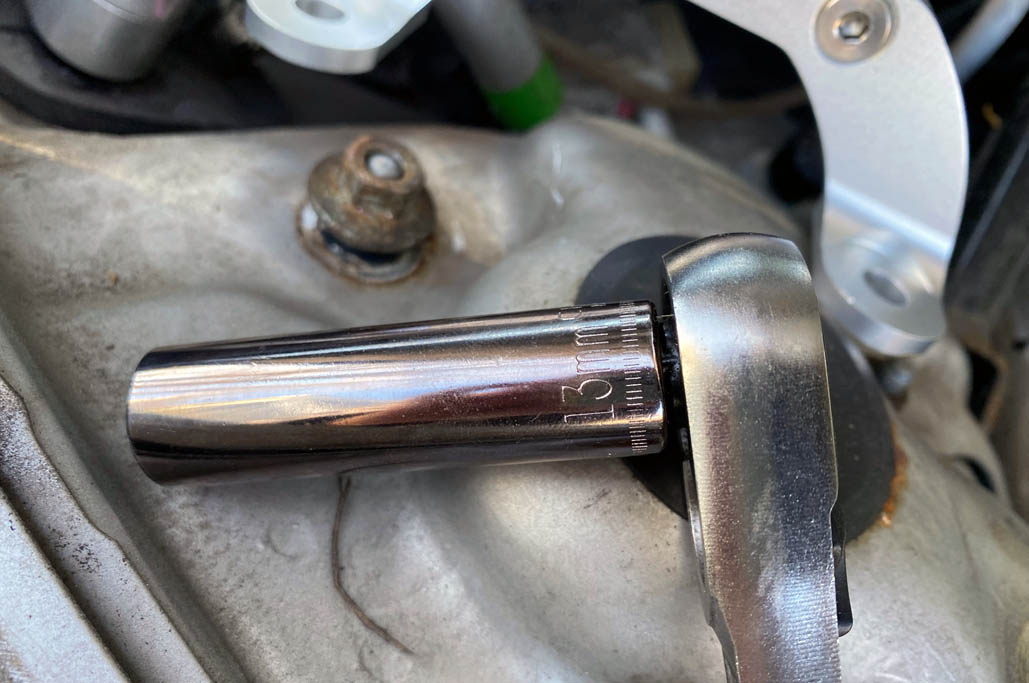
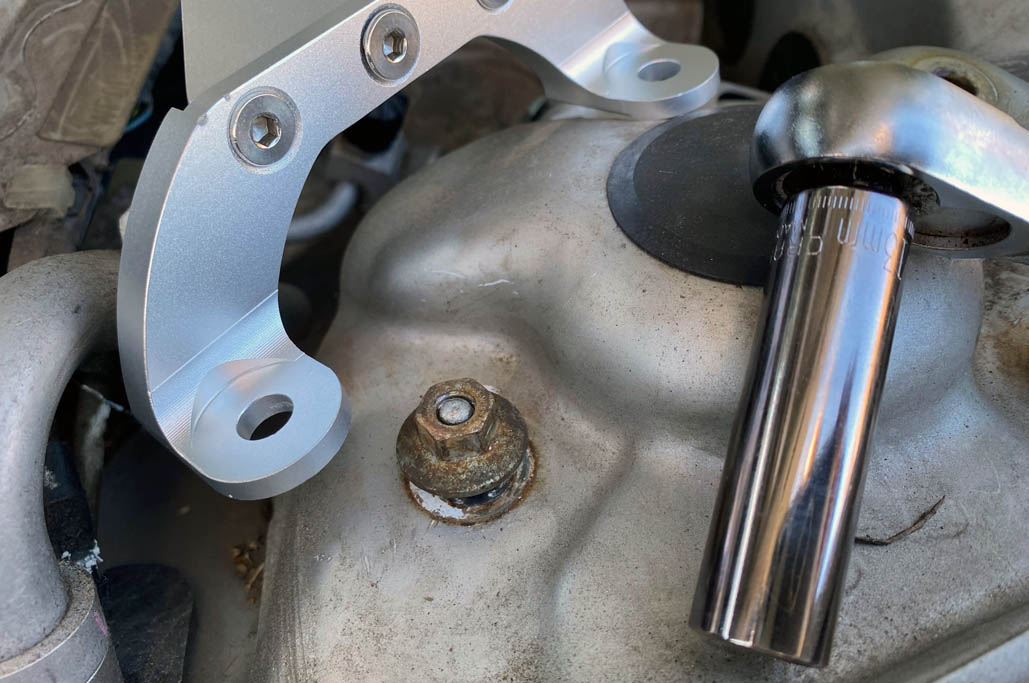
Once we were satisfied with the sizing of the brace, it was time to loosen the nuts of the strut towers. The size of the nuts are 13mm. We chose a deep socket for this, but there was plenty of clearance for using a standard length one.

A match made in heaven.
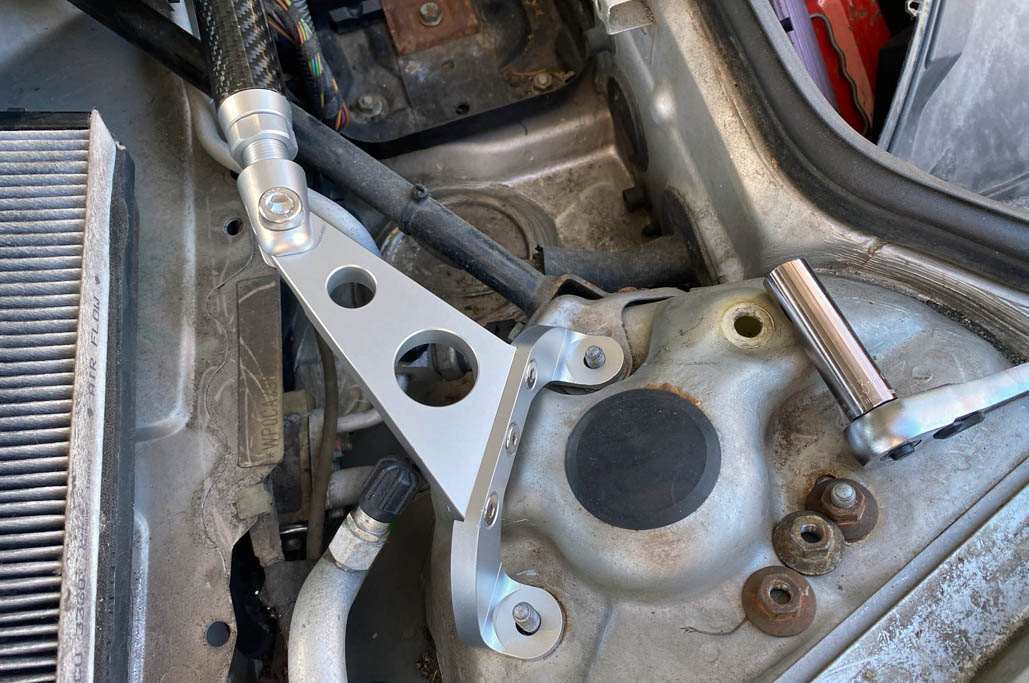
Three nuts hold things in place on the strut tower. Removing two of them should not have any effect for the installation. The nuts came off without any issues on both towers. We used the following sequence in our installation:
- Remove the two nuts on one tower;
- Fit the strut brace anchor and replace the nut, but not tighten to spec;
- Repeat for the remaining tower;
- Check the fit before final tightening;
- Alternate torque-wrench tighten the nuts on both towers (26 ft-lb); and
- Tighten the joint bolt with a wrench key.
IMPORTANT: The torque spec for the nuts are 26 ft-lbs. It is important to not over-torque when tightening the nut as it is possible to rip the stem off!

This thing will last as long as the pyramids, but without the mummies.
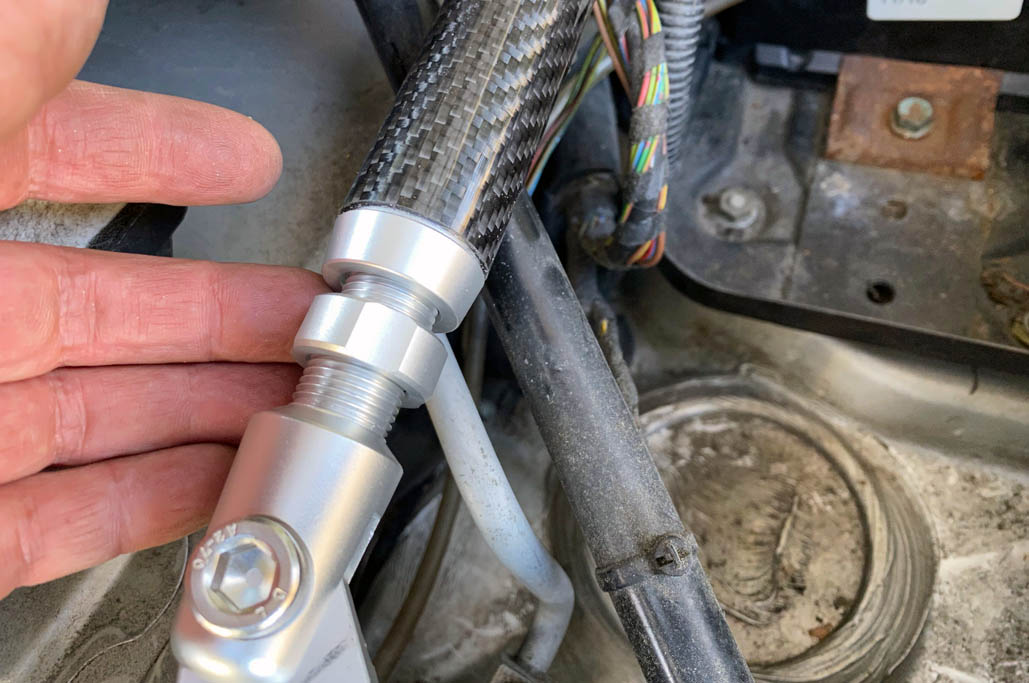
The last task was to hand-tighten the locking ring until it pushed up against the collar next to the carbon fiber tubing. This will keep everything nice and locked down…not that anything will be going anywhere 🙂

So, so pretty.
Finish Up
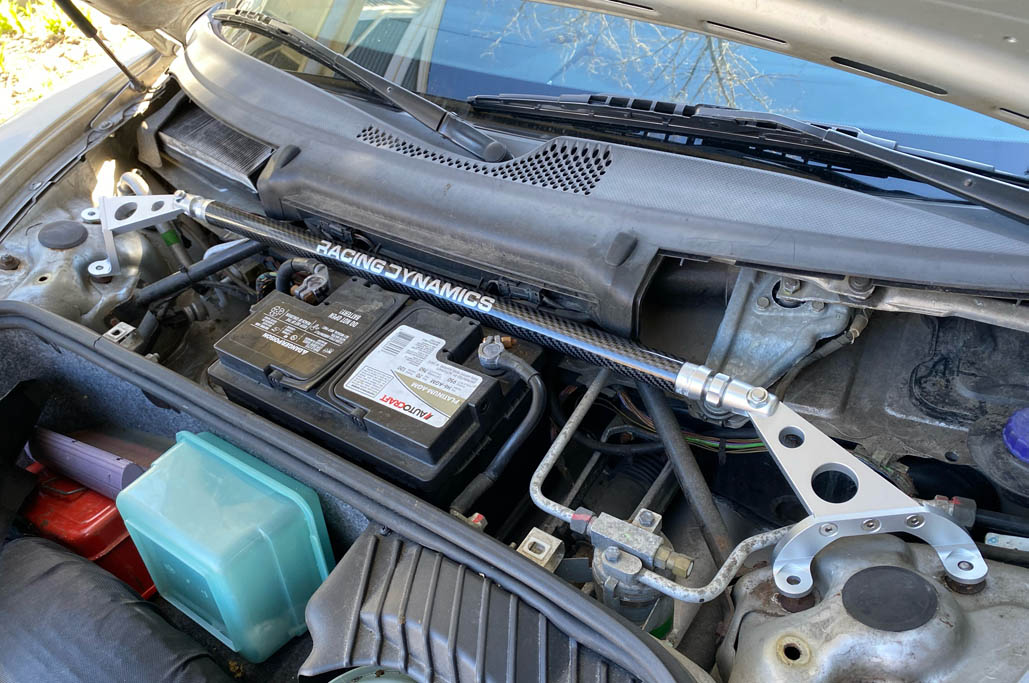
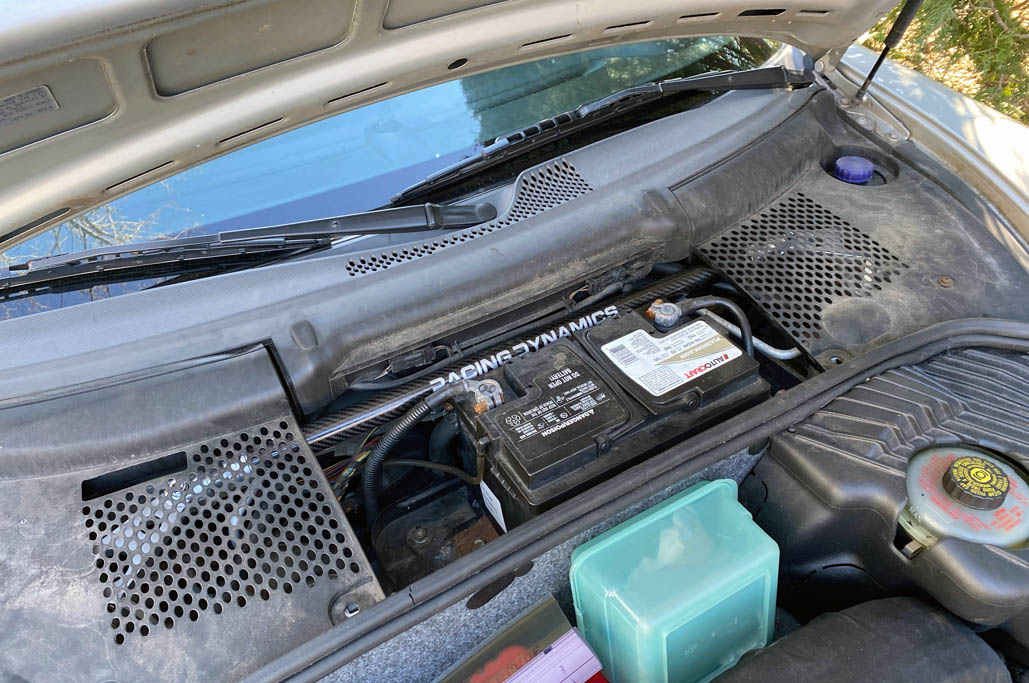
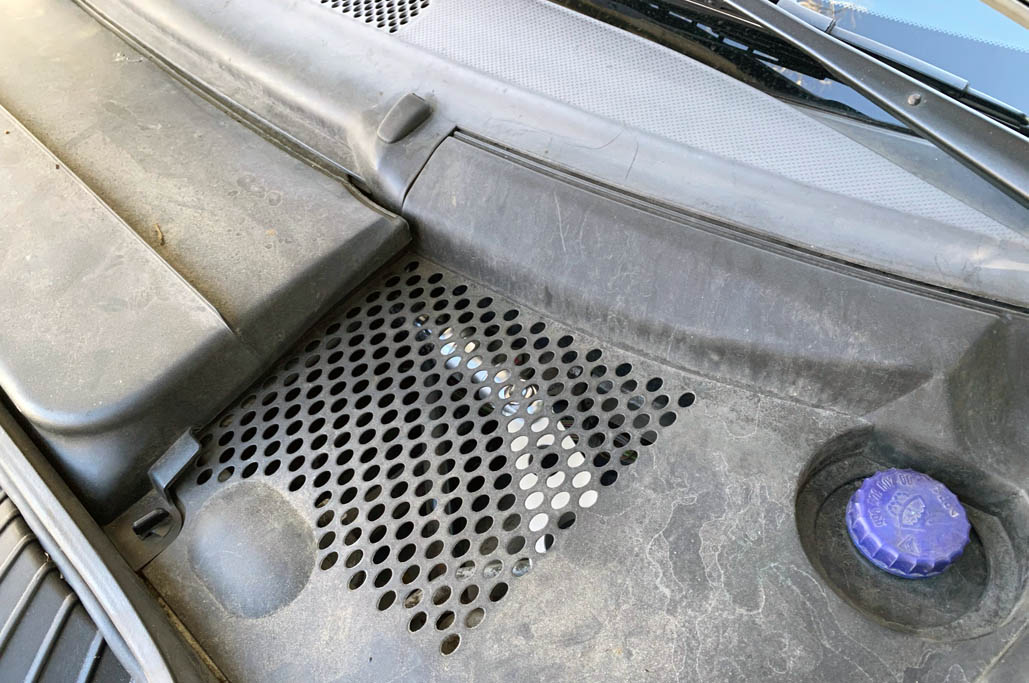
With everything tightened, the only remaining task for this DIY was to replace the three plastic covers and go for a test drive!

A perfect fit.
Some might wish that this extremely attractive brace would be more visible, but it can’t be unless the battery cover is removed. Still, even with all the covers in place, one can still get a peek at the shiny aluminum anchor, so at least there’s that!!!

Peek-a-boo…
Last Thoughts
This DIY required just a few tools (socket wrench, allen key) and 30 minutes of time. Most of the time is spent in getting the sizing of the strut just right between the two towers. Anyone can do this DIY.
Is it worth doing? Can a suspension ever be stable enough? We will post an update here in a month or so after we’ve had some time with the new strut brace and let readers know if we could tell a difference. Look for it at the end of Spring or the beginning of Summer.
Links to items mentioned:


Leave a comment