SharkBite Push-to-Connect : FirstUse
The plumbing version of "Plug-n-Play!"
It is ALWAYS distressing to find a leak in one’s basement, but obviously better to find a leak before water drips everywhere. This was the case just before the weekend.
The Leak
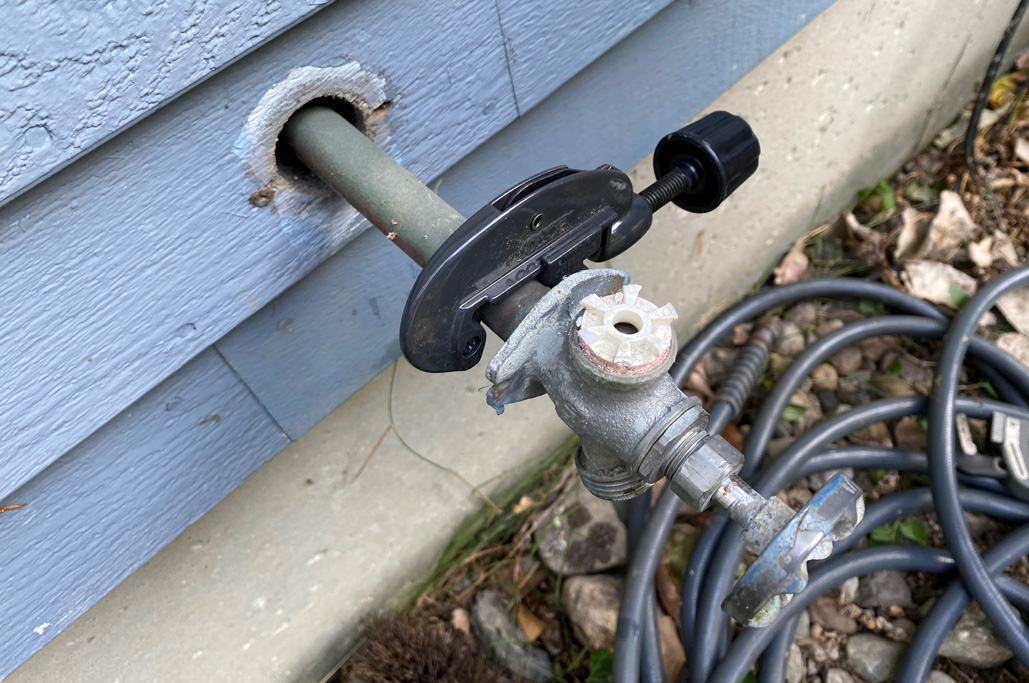
The water to the outside spigot is always turned off, as we rarely water the garden and because the outdoor spigot had a slow drip. We decided to water the RainyDayGarden for the first time in months, and in turning on the water, the shutoff valve itself started to leak. Hmmm, that’s not good!!!

The good thing is that even though it was early in the day (so early, yawn), Home Depot was already open. We decided it to get all the parts we needed in the morning but tackle the DIY in the afternoon (once we were done with all of our Zoom calls…).
The Tools
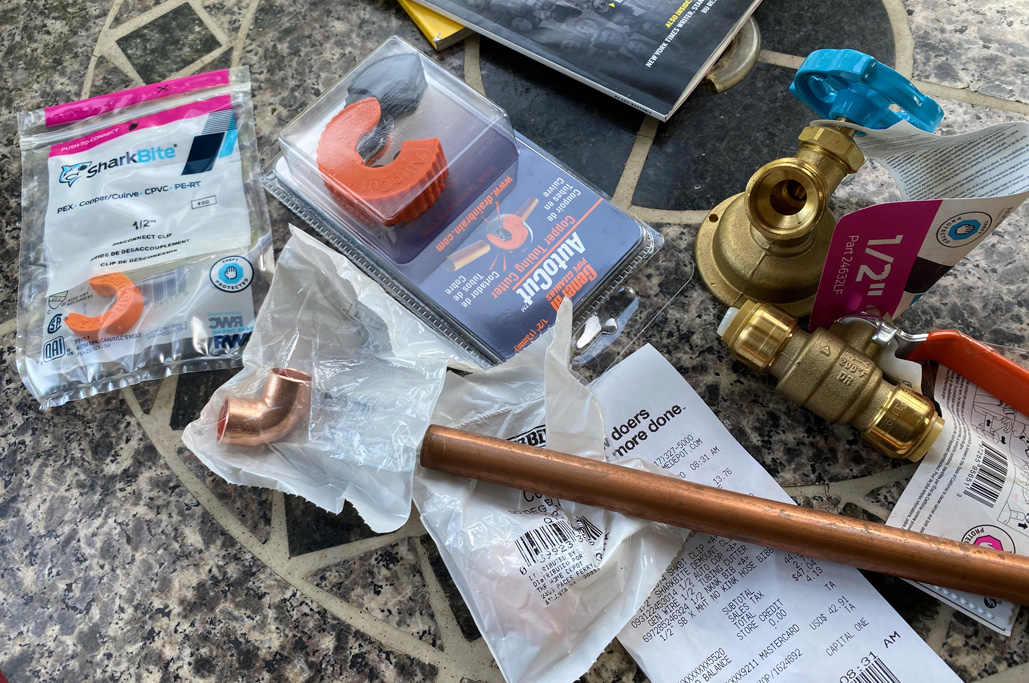
We returned from Home Depot with $30 in parts and a $20 super-small pipe cutter. We already had a small pipe cutter, but the new, even smaller one turned out to be worth EVERY PENNY. We were now ready to repair the leak.
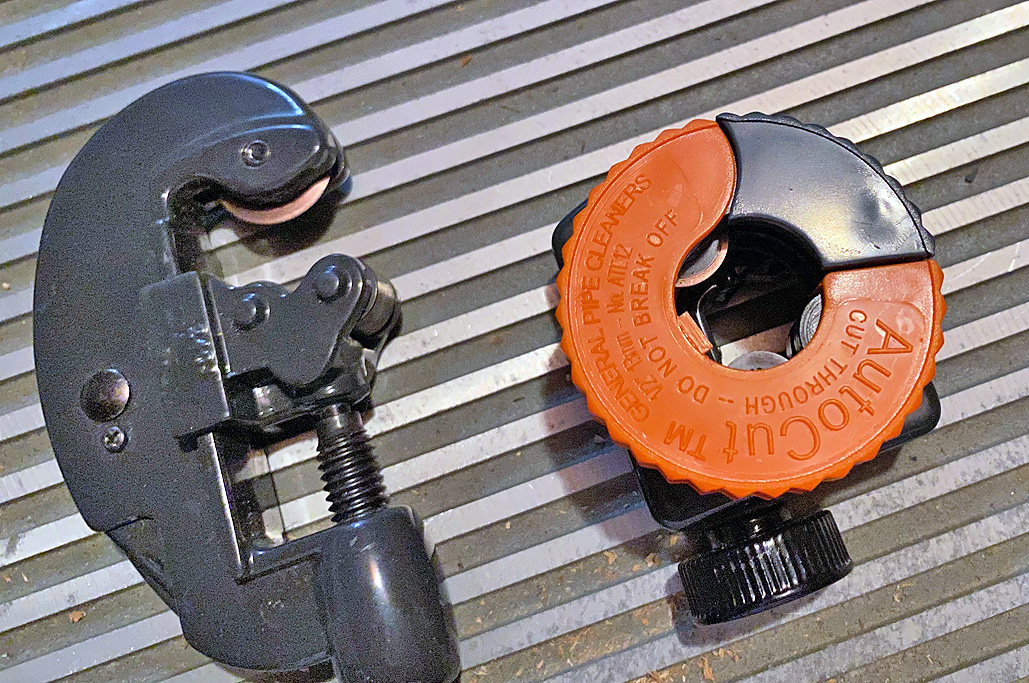
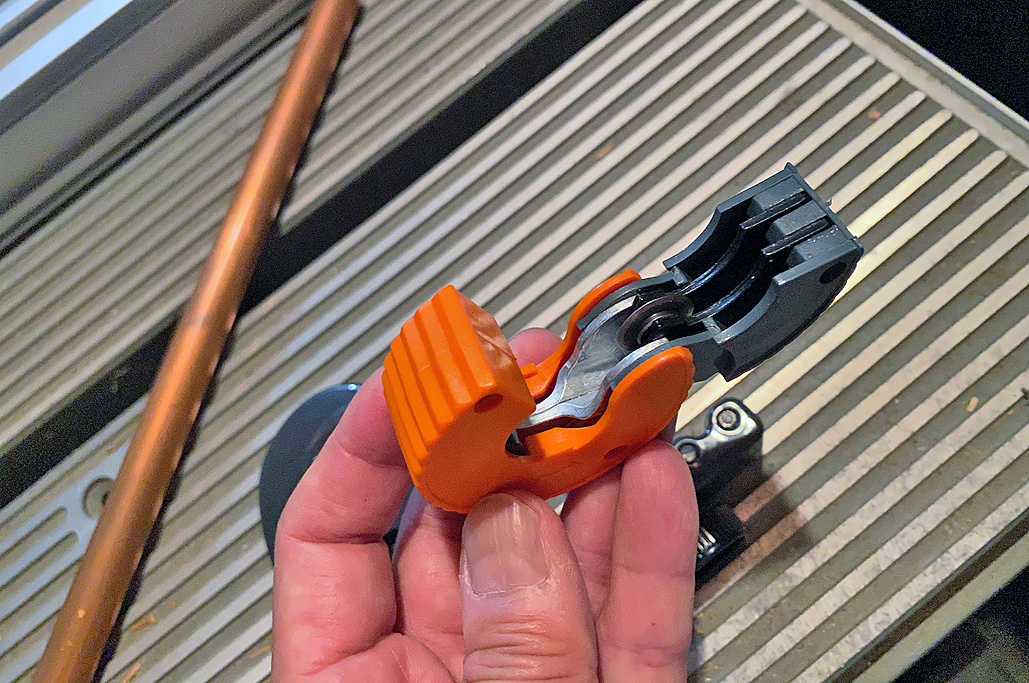
The AutoCut Copper Tubing Cutter from the General Pipe Cleaners is a spring-loaded cutter that fits around the pipe and cuts deeper into the pipe with each rotation. It is a very clever design that removes the “cut some, tighten, cut more” sequence typical of all other pipe cutters.

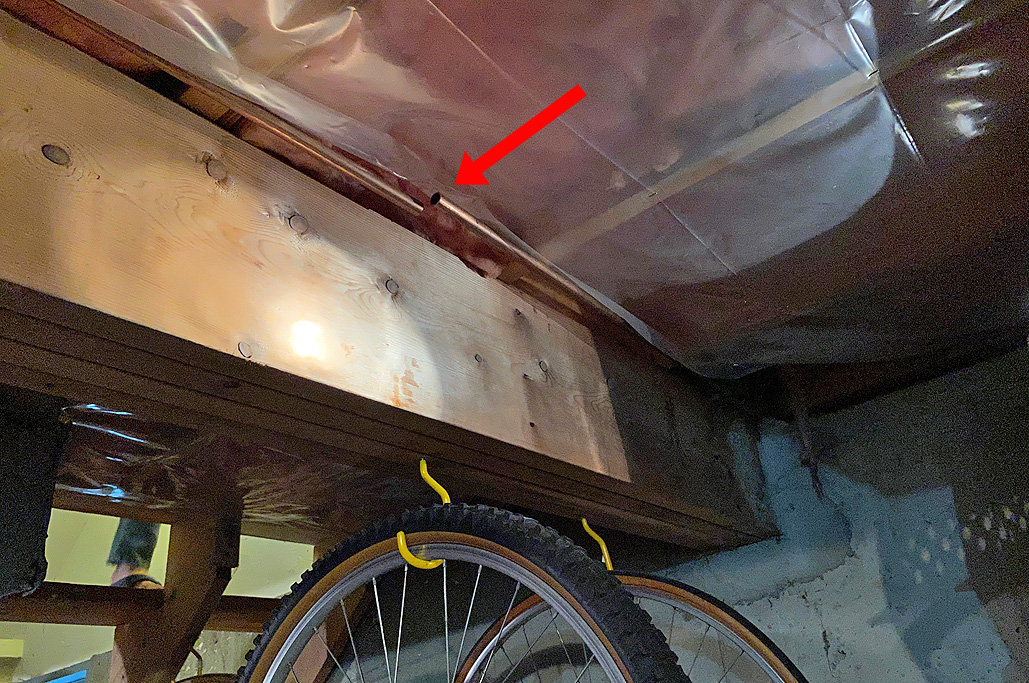
Our worry that the awkward space (pretty close to the joist) would not be workable with the cutters we had on hand turnout to be right. The AutoCut not only made the cutting possible, but cutting the pipe was SO MUCH easier and faster!!! This is the tool to have if you are going to cut 1/2″ pipes, tight quarters or not.
The Repair

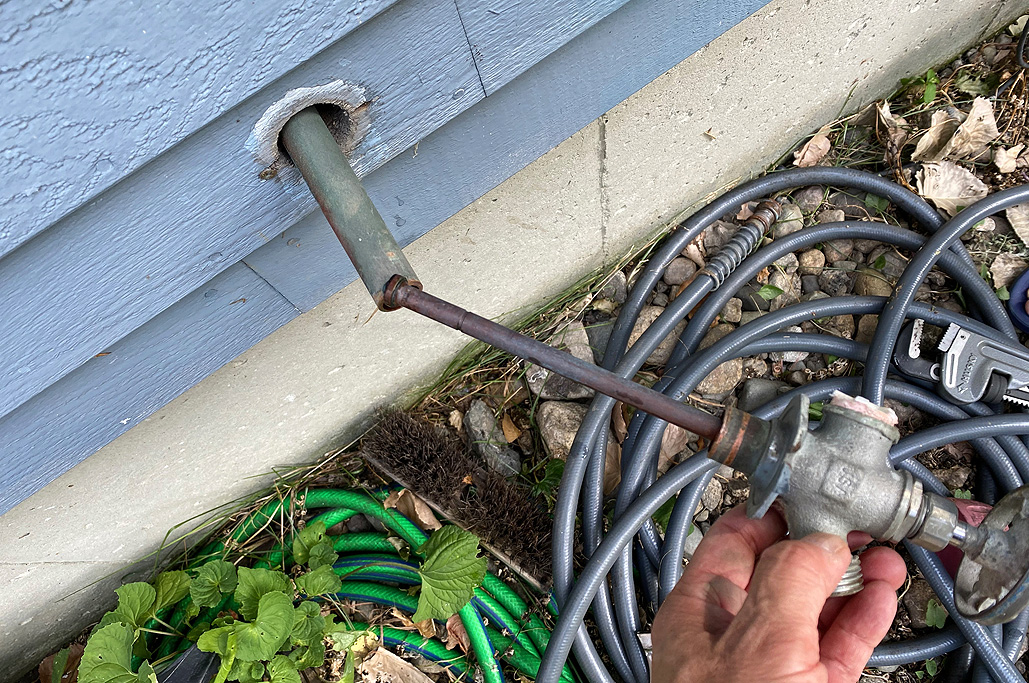
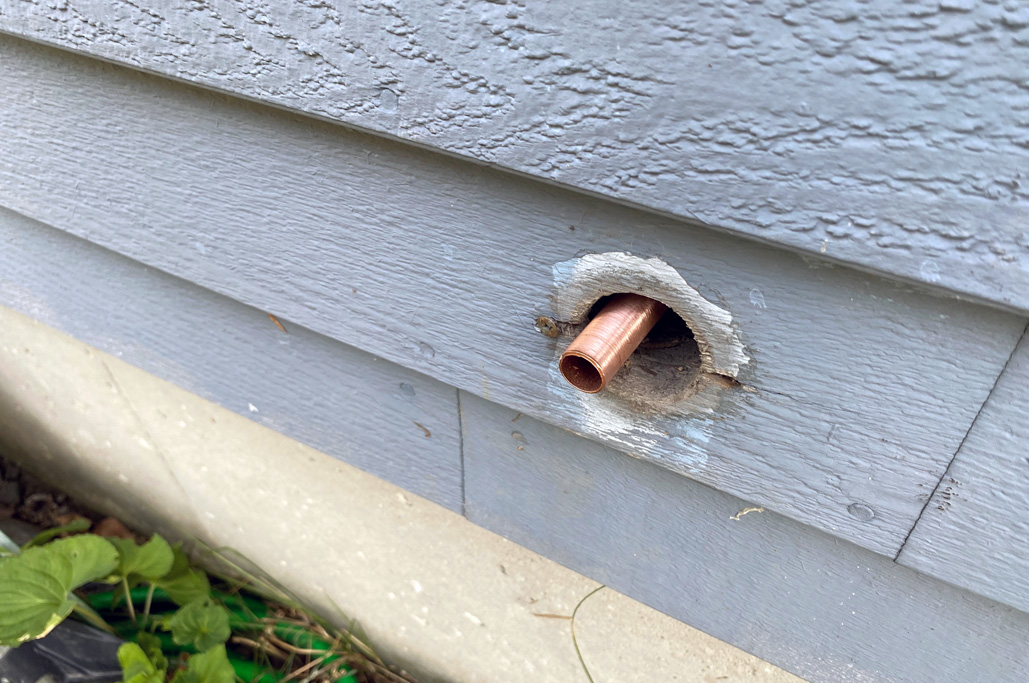
Since the outside spigot had to be replaced anyway, there was no point in trying to take it off the pipe. The task was handled by the full size pipe cutter, which worked great as there was plenty of room for it to rotate 🙂

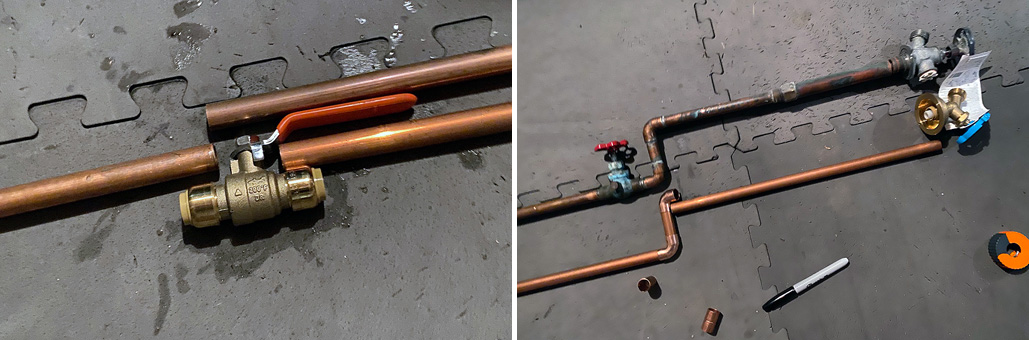
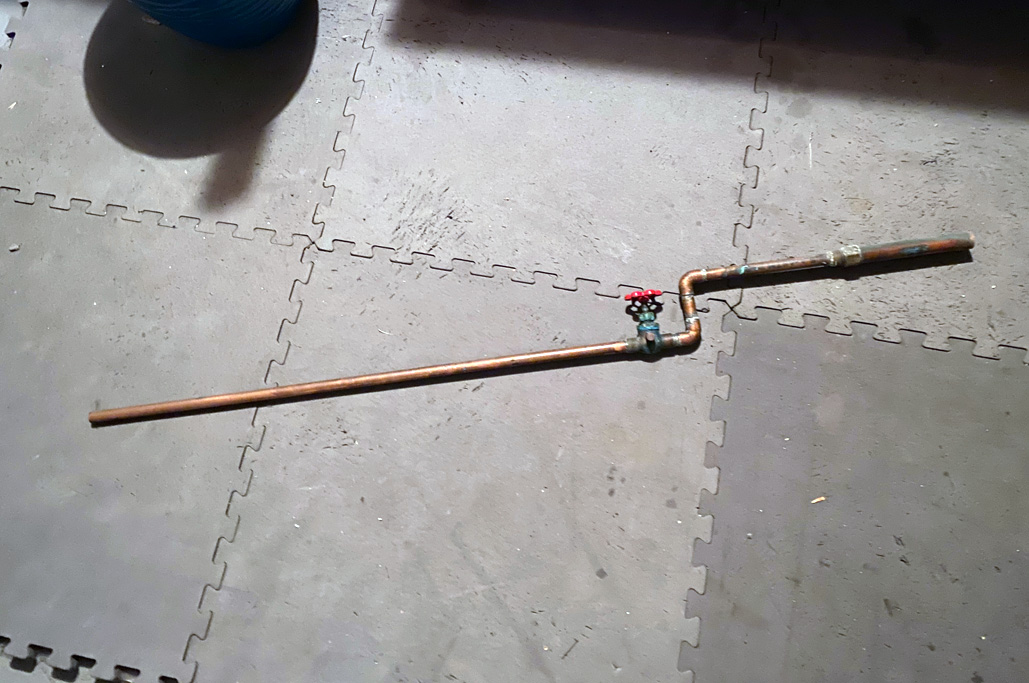
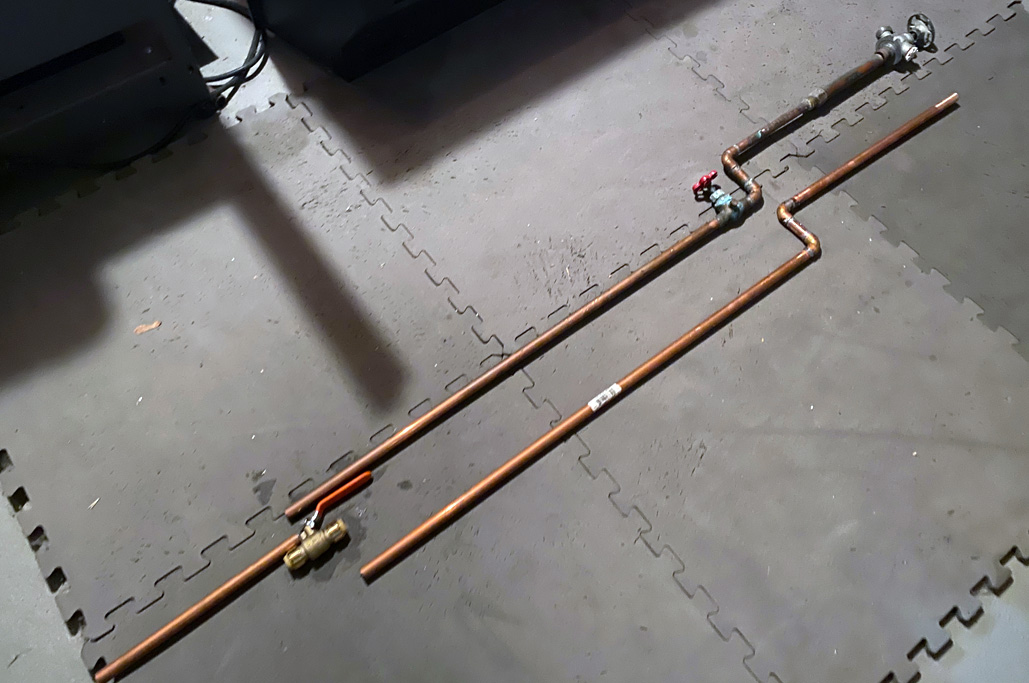
With the cut inside and the spigot off, the “problem” piece was freed. The question was then: should we reuse some of the pieces, like those S-joints, or should we build a new one from scratch?

After looking at the work, we decided to use the old piece only as a template and go with a new build. It was a much easier approach, as we were able to measure, cut, and lay out all of the parts next to the old piece to ensure that we had not missed anything.
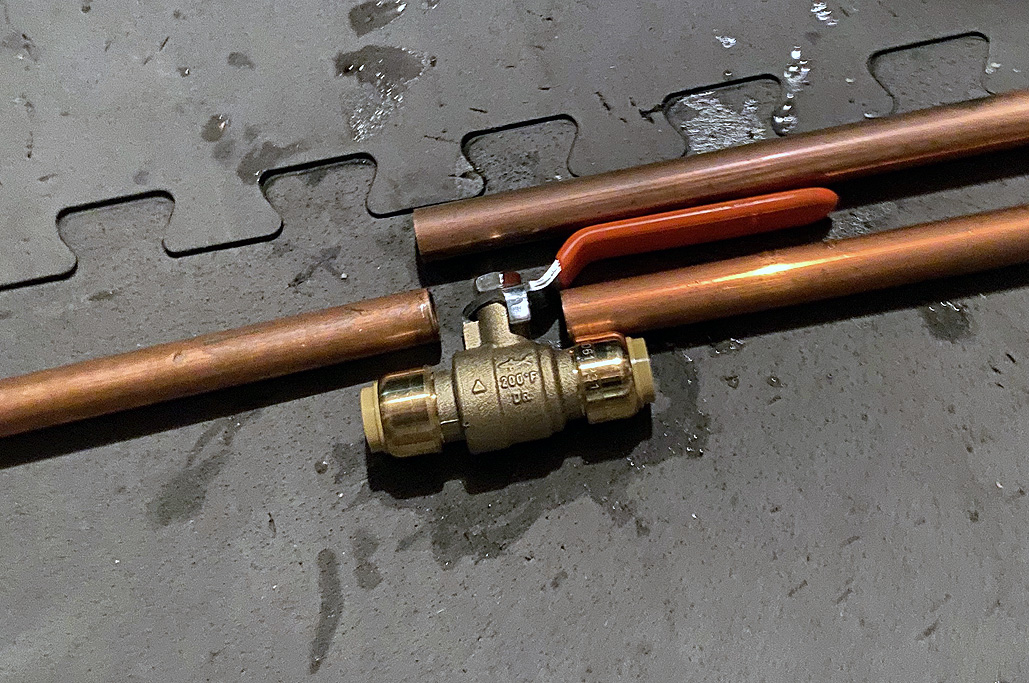
In installing the new shut-off valve, we decided to go with the Push-n-Connect technology from SharkBite, which does NOT require any soldering…it was literally just push the pipe in and you are good to go!!!
We really don’t understand yet how the mechanism works, but SharkBite claims it can be installed behind walls and underground, so it must be pretty robust!
While having done in-place soldering in the past, it is something we HATE doing, mostly because of the very distinct “burning down the place” possibility 🙂

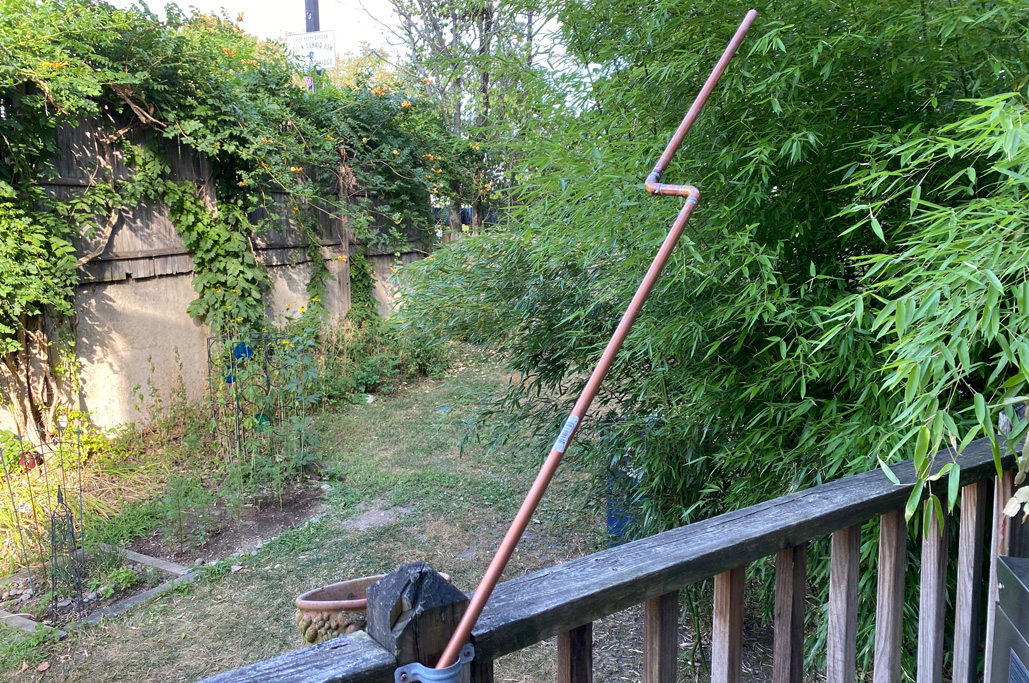
However, as we were able to do the S-bend portion outside, we brought out the torch and got it done. Not the prettiest job, but we are pretty sure it is not going to leak. Yes, we could have used SharkBite parts for the S-bend, but it is always good to refresh the soldering skills 🙂

The RainyDayInterns were awesome helpers in this DIY as they asked us ALL of the right questions and made us explain to them all of the placement rationale until they were satisfied. It was a perfect check on our logic of where/when/how long during the entire build/assembly process!
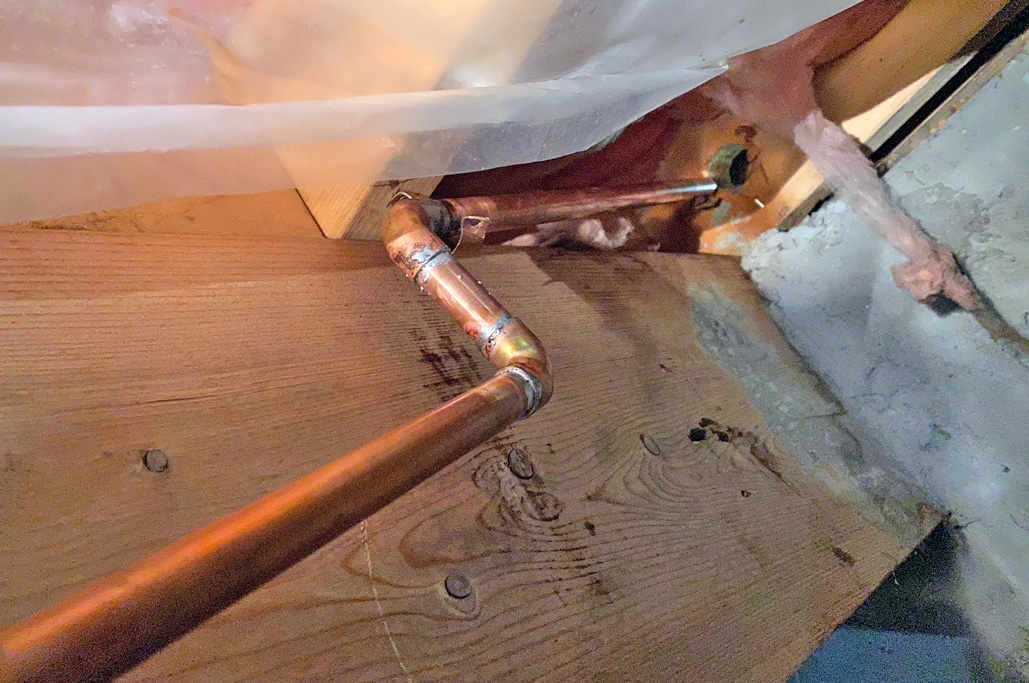
We did a lot of test fittings to ensure we had not committed some stupid math mistake before connecting up the pieces. However, once we decided everything was ready, the installation was LESS THAN A MINUTE!
- Place the new pipe assembly into place;
- Connect one end of the ShutOff valve to the supply line;
- Connect the other end of the ShutOff valve to the new assembly;
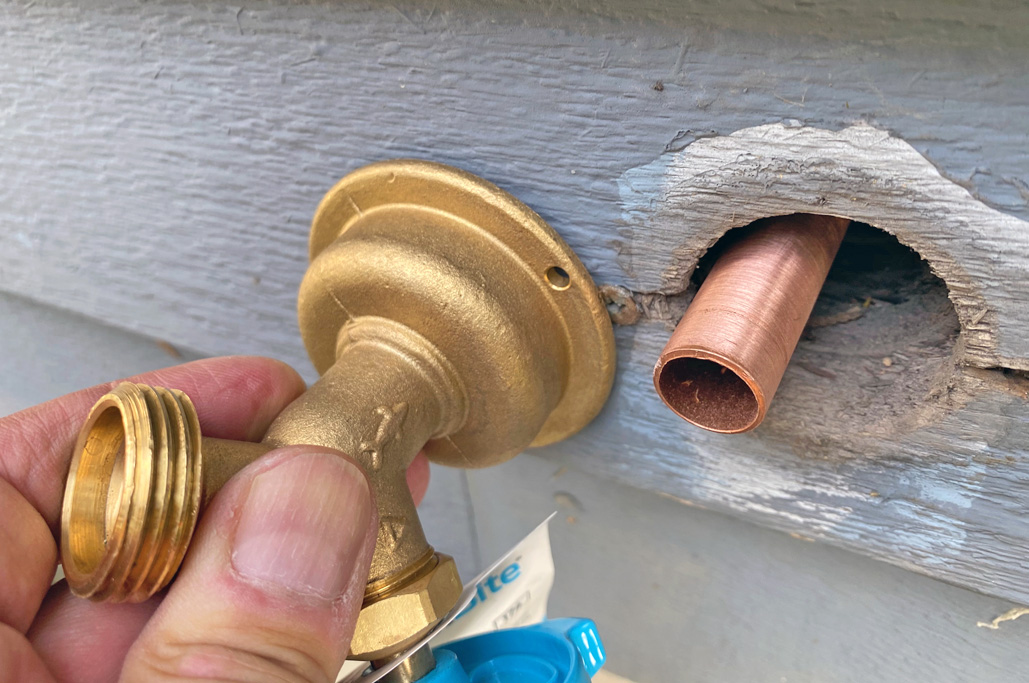
- Attach the external spigot from the outside.

Installation of the new external spigot took no more than 10 seconds…we still have to get a gasket for between the shingle and the spigot, bit this DIY is pretty much complete ![]()

Total elapse time for the DIY was about 2 hours w/breaks and lots of “…is this right?,” “…explain that again…,” and “OK, I’m going to cut it now…”
SharkBite’s Push-n-Connect parts rock!!! It is how we are going to roll from here on out 🙂
Links to items mentioned:

Leave a comment