Rockwell Random Orbital Finishing Sander : FirstUse
VibraFree vibration-cancelling technology
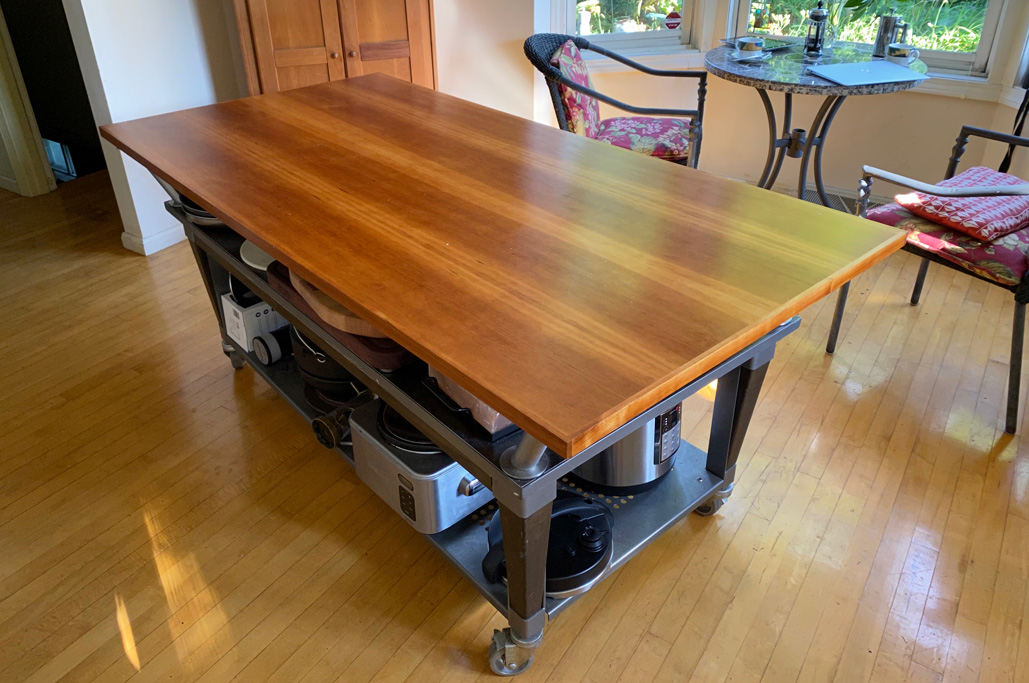
A long time ago, we had hacked together a dining room table using a steel cart, four IKEA countertop supports, and a door panel. The door panel was made out of cherry veneer and was oil-finished. While the table has never been comfortable for dining (everybody’s knees got banged on the steel cart) (ow), it has proven its worth as a pretty awesome work surface (and fabulous buffet table).
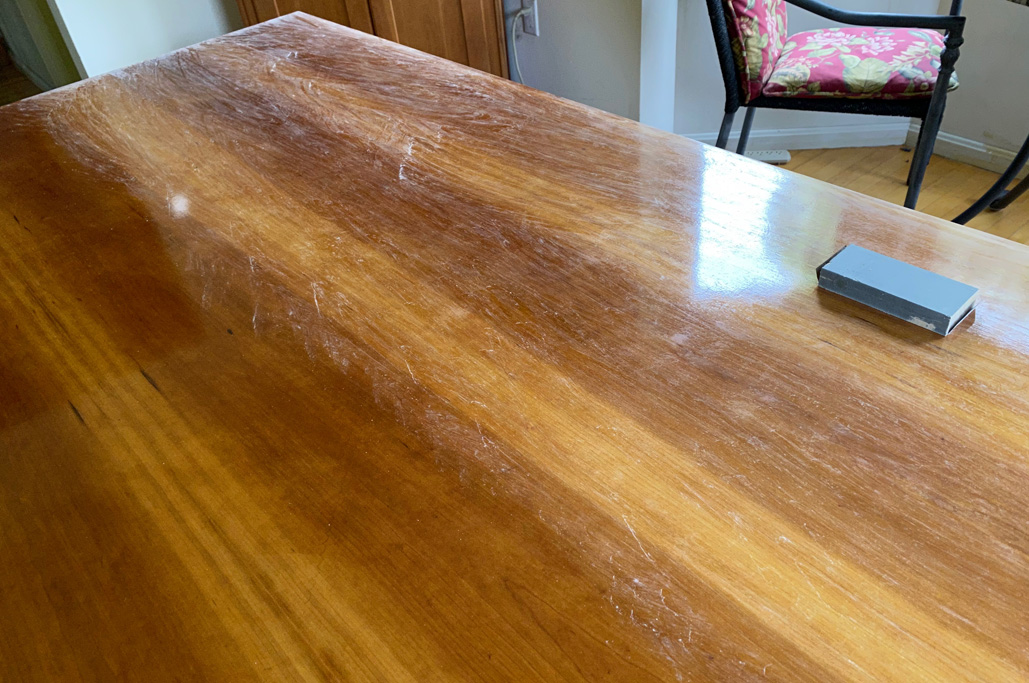
So not surprisingly, over the years the top got banged up. It was clear that it would benefit from a good sanding/refinishing, but who has the time?
Well, the RainyDayInterns remembered that a Rockwell sander had shown up a few years back, and that we had never put it to a FirstUse (our bad). It seemed like a sign, that it would be a fabulous tool to spruce up our banged up door table top. Besides, what better way to welcome a heat wave than to refinish a table top on hot-so-hot 90º Summer days?
This DIY project turned out to be a lot of fun, especially on a day we would have otherwise spent watching TV in an air-conditioned room (kidding) (not kidding — totally true).
FirstUse

Can there really be anything “new” in the world of orbital sanders? Can there?
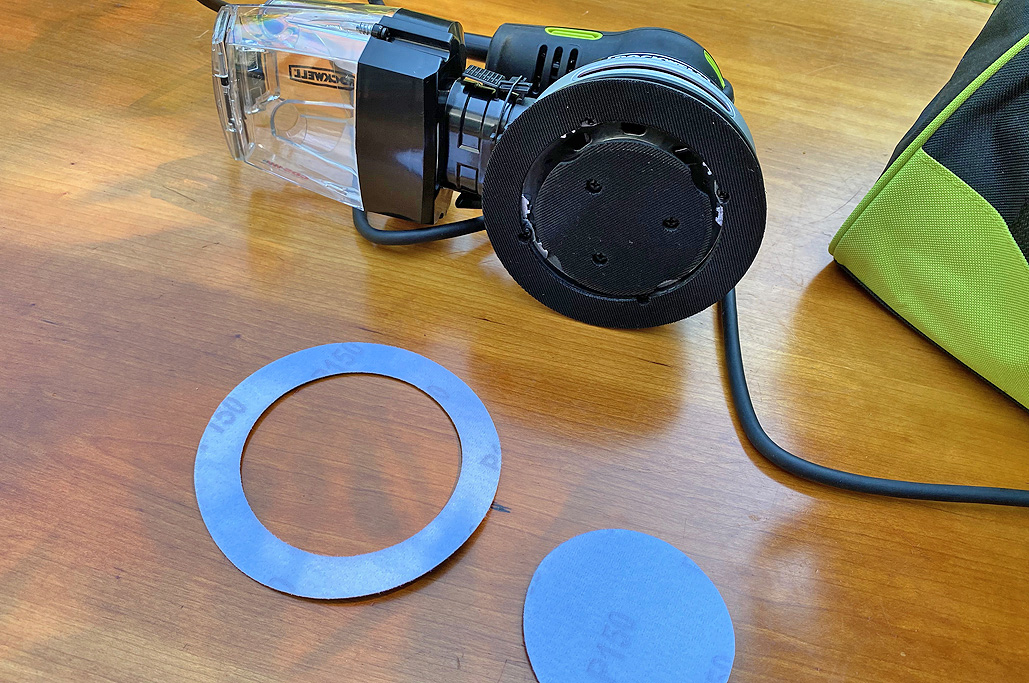
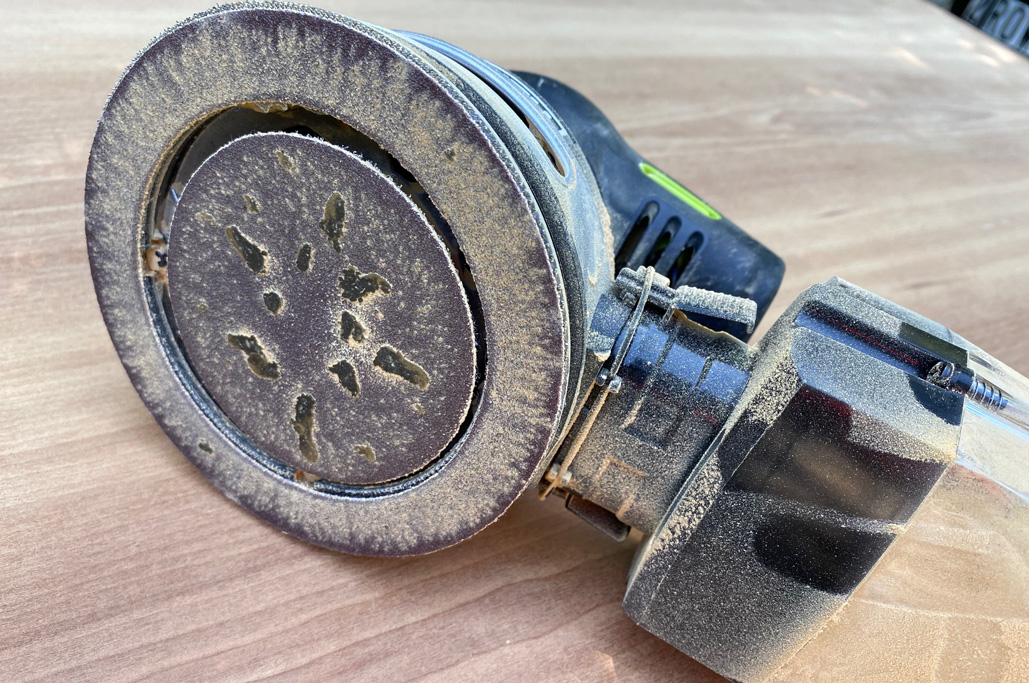
How about Vibrafree® vibration cancelling technology which can reduce vibration by up to 50%? Maybe a cyclonic dust/air separation box which can remove up to 50% more dust than standard cloth bags? OK, maybe not radically new, but how about velcro-attached sanding pads? That’s kind of cool, no? Sure, you have to buy a specific type of sanding discs, but hey 🙂

Sanding
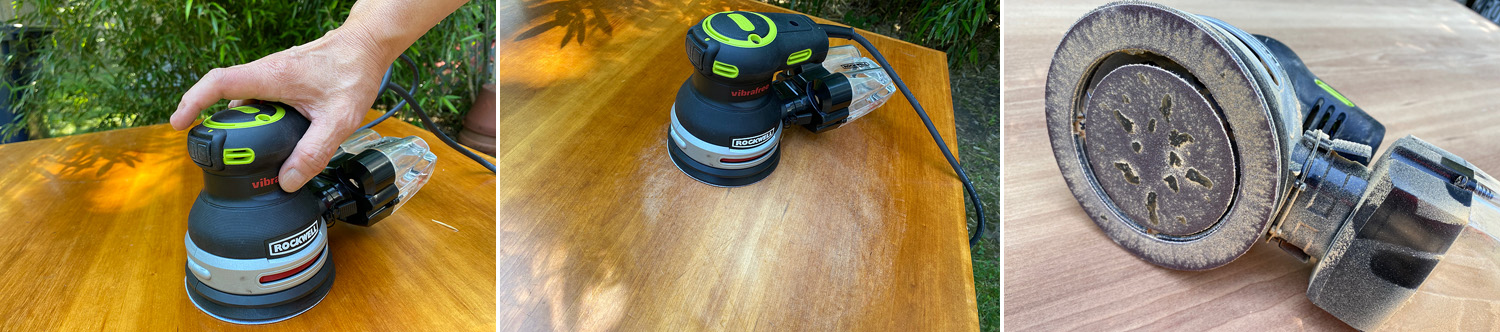
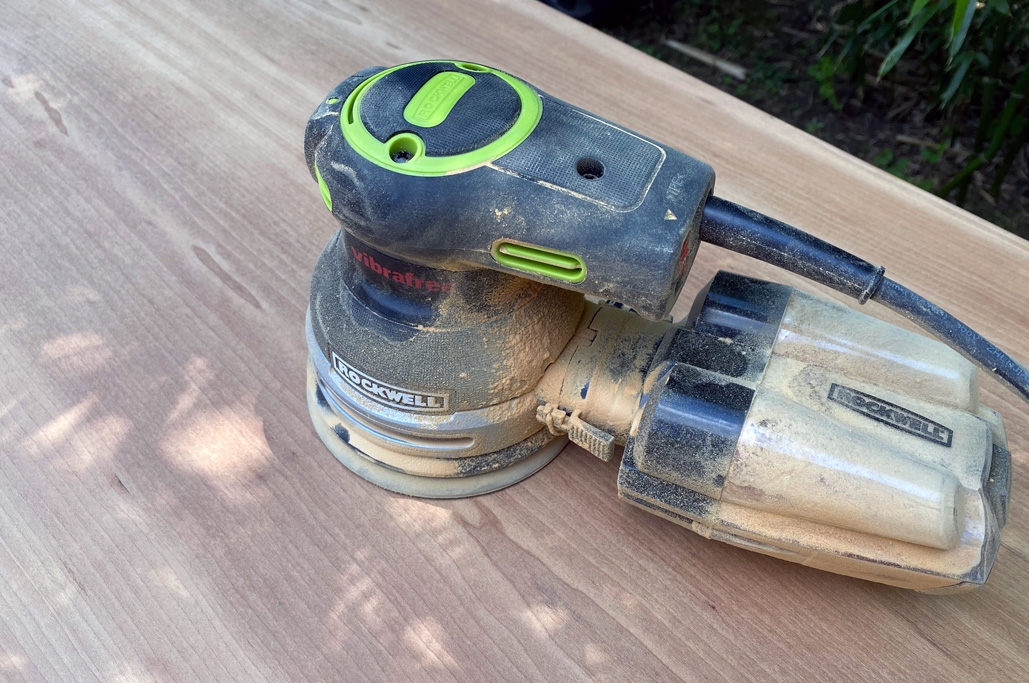
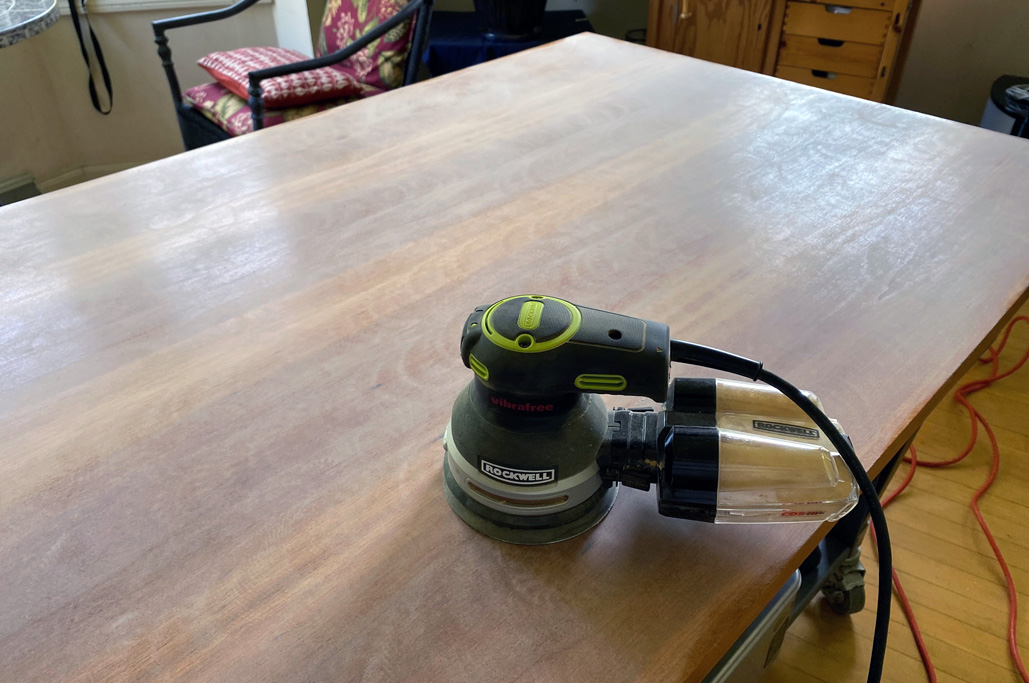
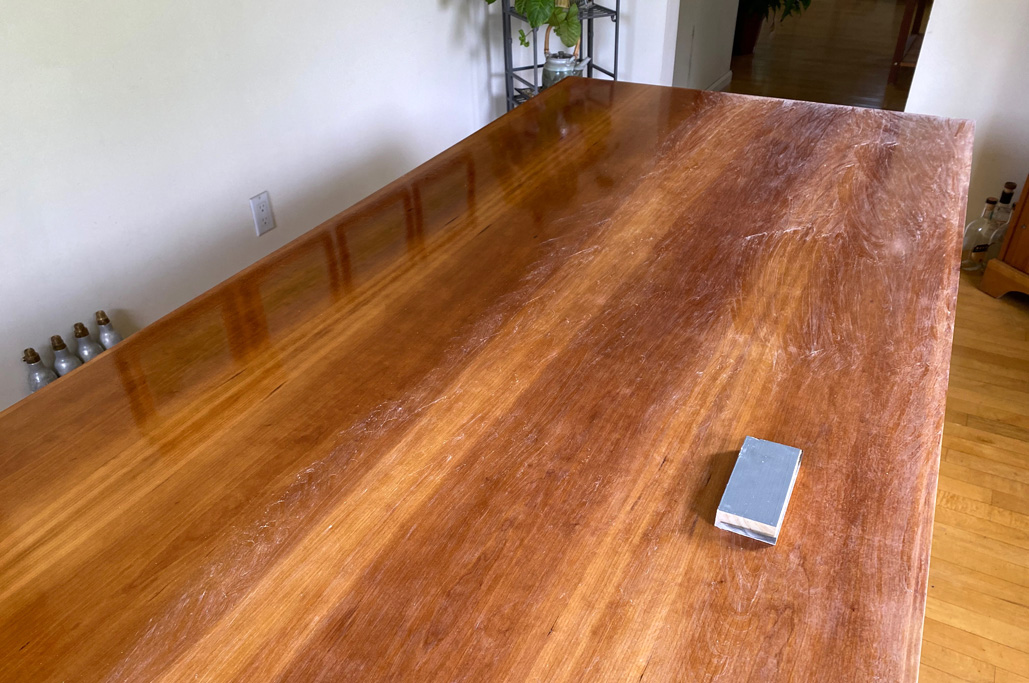
This sander is pretty quiet, relatively comfortable to hold for a long time, and quite efficient. We had the table top completely sanded in about two hours and without any fatigue or numbness in the hand. Nice!

We were able to complete the task using just one set of sanding disks, but did notice that the efficiency dropped off near the end. The problem turned out to be that some “gunk” had collected on the surface and interfered with the sanding. Removing the stuck-on goop returned the sanding quality to normal.

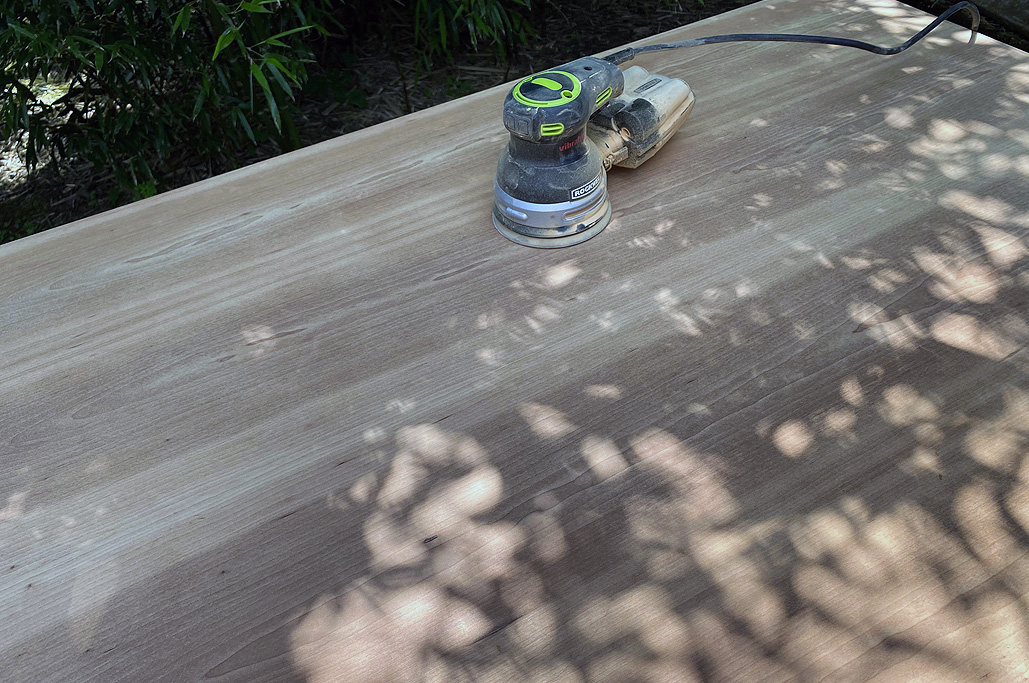
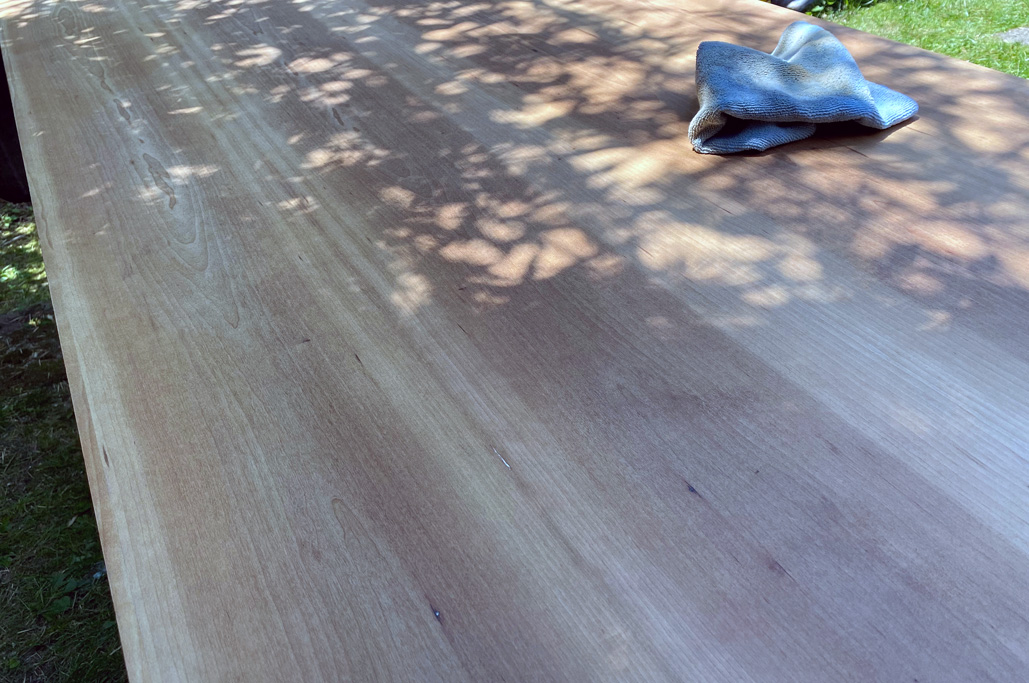
We started off using #100 grit and finished the job with #150. After wiping down the top, we were able to confirm that all blemishes and surface scratches were removed. Yay!

Rough Finishing
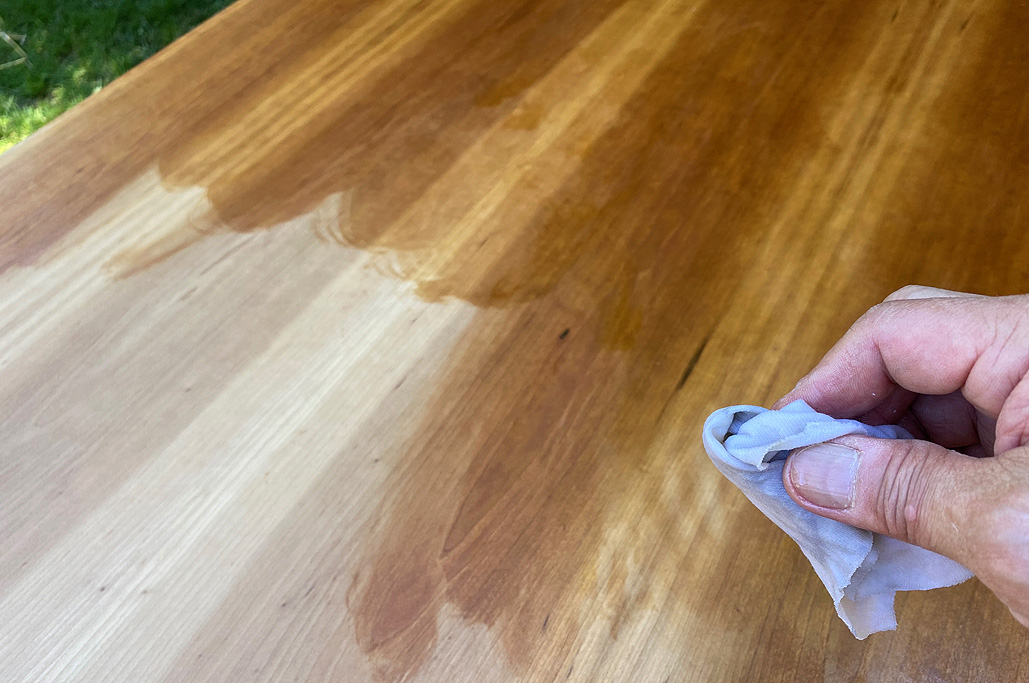
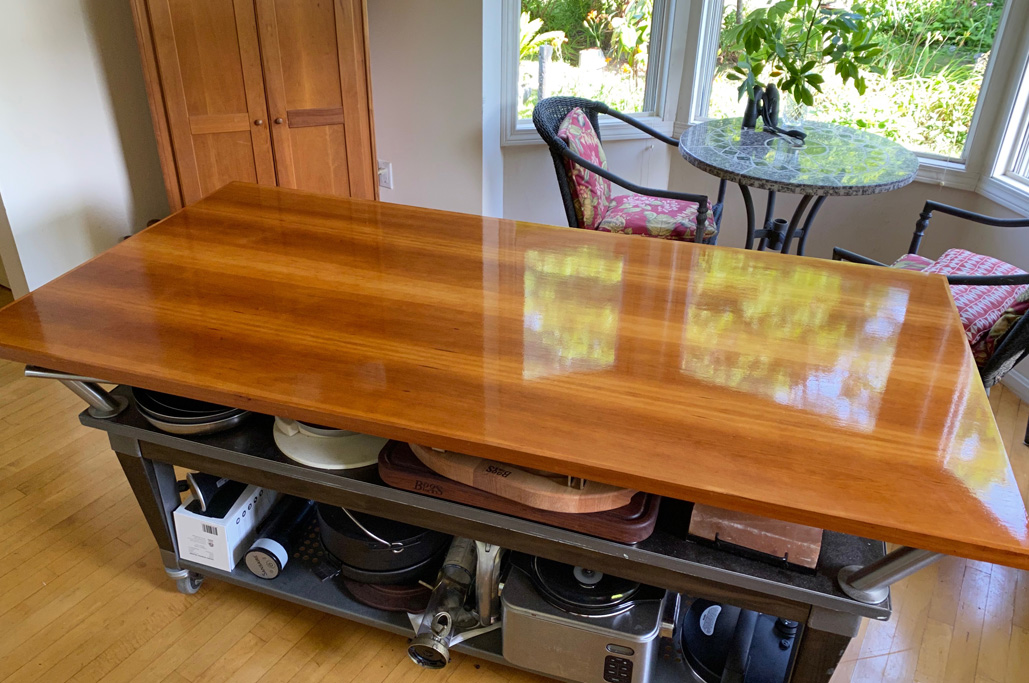
Instead of refinishing the table top with oil, We decided to rub on polyurethane instead. It will (hopefully) wear better than the oil finish.
The first couple of coats was applied outside so as to know fume up the office. The outside heat helped with the drying, but that also meant we had to work a little faster wiping the polyurethane on.

After three coats of the polyurethane finish, we won’t have to worry about it getting wet or getting any more water stains.

Once we were sure it had dried sufficiently, we brought it back inside, reassembled it, and prepped it for final sanding and finishing.

The thing with wipe-on polyurethane is that the coats are best applied thinly. Patience is the key, as each coat needed to completely dry before the next one (at least an hour per, probably longer on cooler days). After half a dozen coats, this top was ready to return to service! Not smooth to the touch, but will prevent the surface from getting water damage.

Final Finish
As with all DIY projects, the REAL work is always the last 5%, which in this case is the “final finish.” Unfortunately, no power tool is going to help with that.
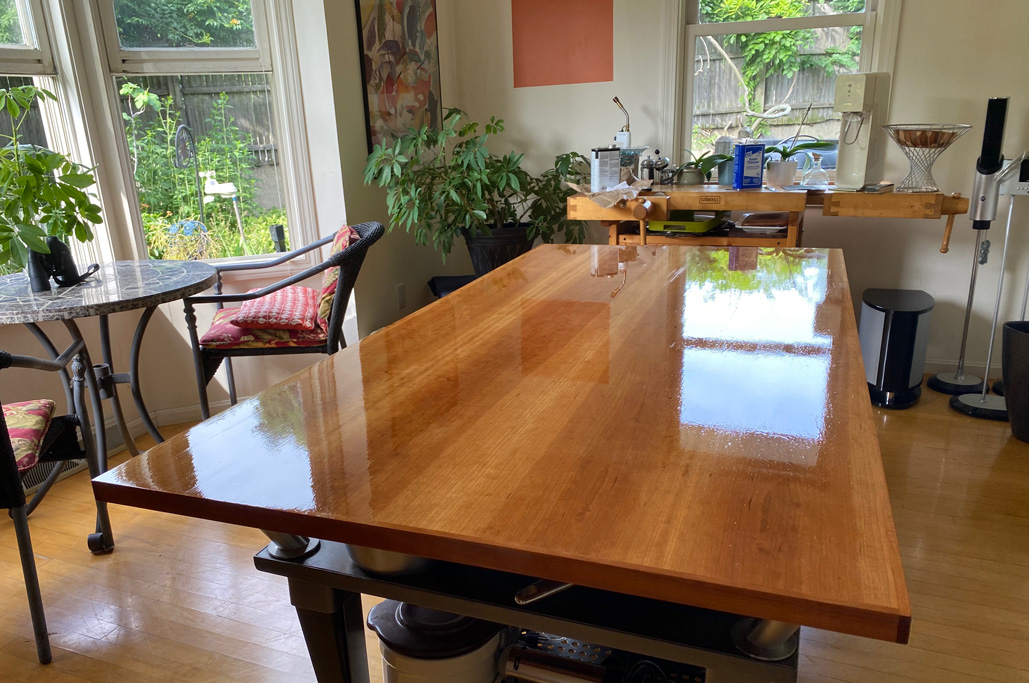
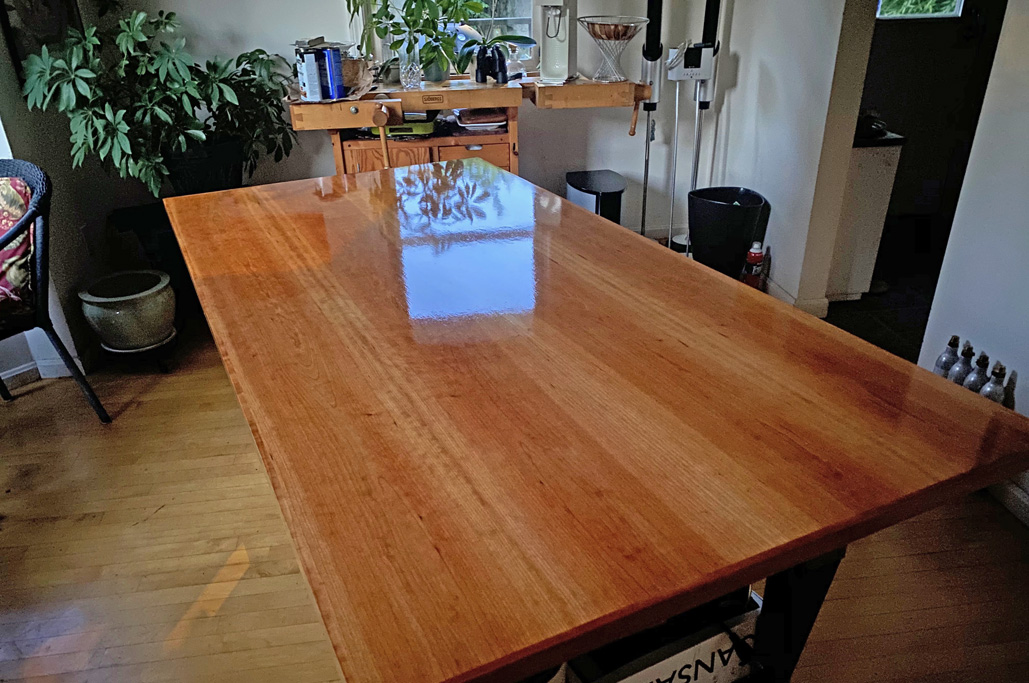
To get the polyurethane “glass-smooth,” multiple thin coats had to be applied. After a few thin coats, the “shine” is starting to appear…so it was time to sand with 300-grit and wrap up this DIY!!!

The real trick is to let each coat dry completely before applying the next one…definitely a test of one’s patience.

After eight or so coats (we kind of lost count) and some light sanding in between over the course of the week, we think we are FINALLY done!!! Not exactly a mirror finish, but it is as close as we are willing to work for one 🙂
Links to items mentioned:


Leave a comment