Planters’ Choice: Bonsai Starter Kit FirstLook
Sowed on 1/1/2019
Friends of RainyDayMagazine gave us a bonsai kit for Christmas. We sowed them on New Year’s Day and will be chronicling our bonsai journey…for many years, apparently.
Bonsai Starter Kit
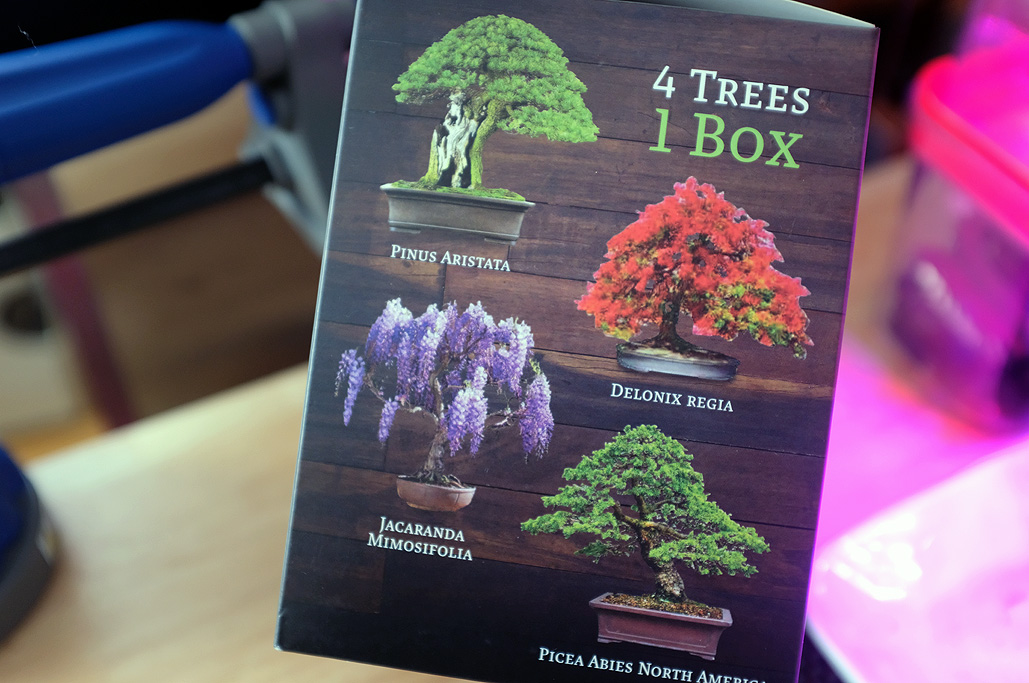
What is a bonsai? Bonsai is not actually a species of tiny tree; bonsai is the Japanese word that describes the art of growing small trees in a container. The two characters literally mean “a tree which is planted in a shallow container”.

The seeds are for the following four beautiful trees: Rocky Mountain Bristlecone Pine, Black Poui, Norway Spruce, and Flame Tree. The shape of the trees are the result of careful guiding and pruning over long periods of time. This is not a pursuit for those in a hurry or are afraid of commitments 🙂

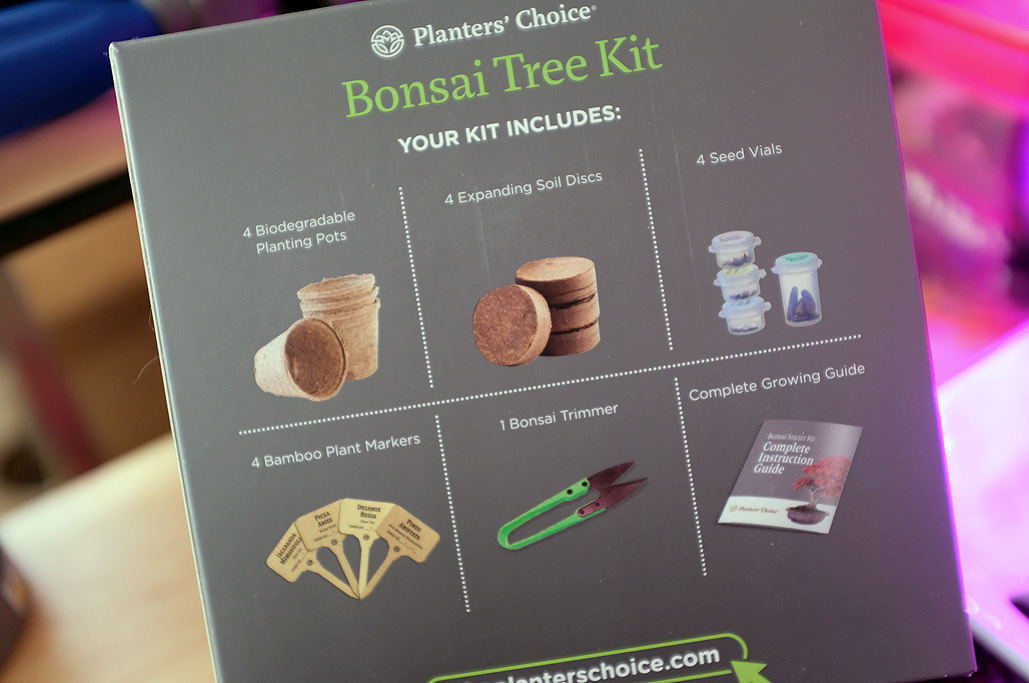
When Planters’ Choice say “EVERYTHING YOU NEED TO GROW 4 BEAUTIFUL BONSAI TREES, IN ONE SLEEK BOX,” they mean it. The only thing you need to get started is time and a little bit of water.
In the box are:
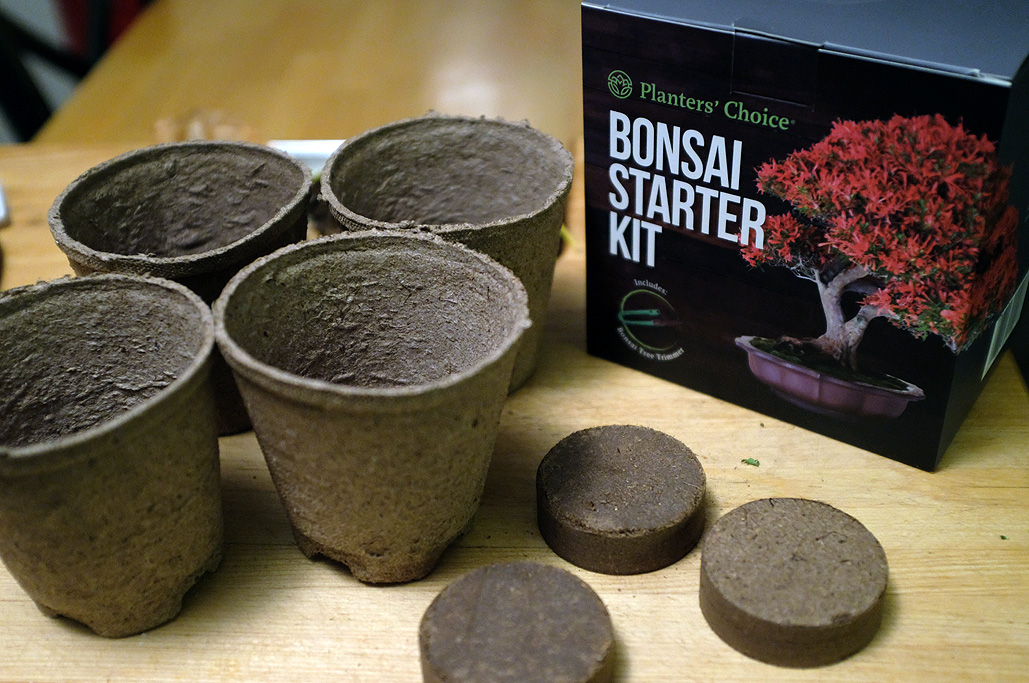
- 4 biodegradable growing pots
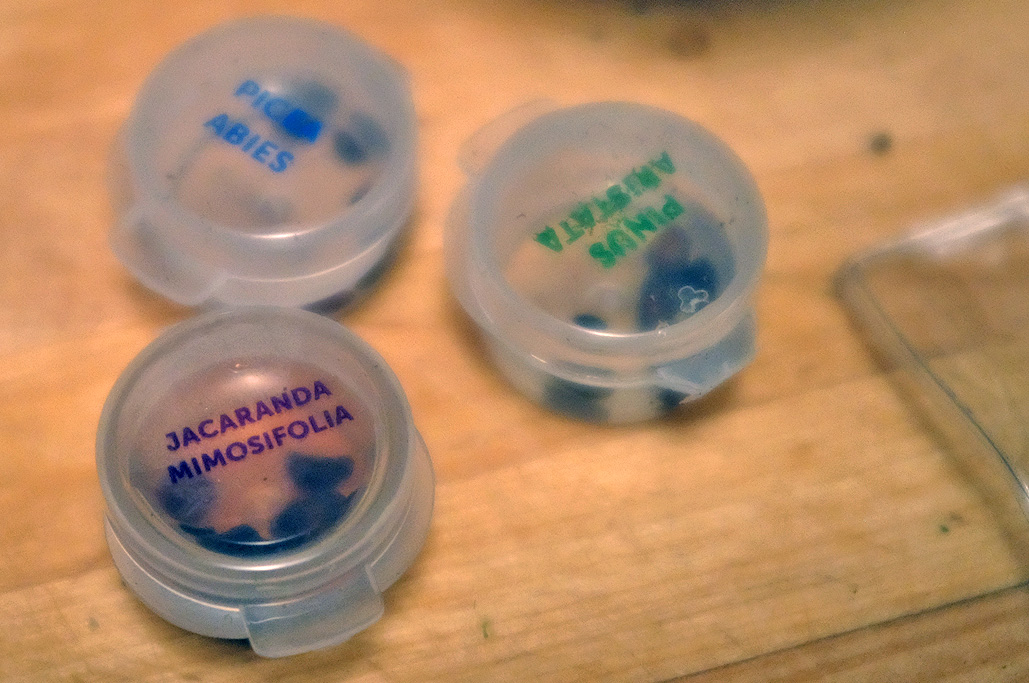
- 4 moisture-proof vials containing the seeds
- 4 soil discs
- 4 plant markers
- 1 bonsai clipper
- instruction booklet.


Planting
We will go through what we did, but feel free to do it any way you want as we just followed our typical steps for starting plants from seeds. The germination steps are simple, but a little prep will make the seedlings easy to care for once they have germinated.
Prep:
- Soak the seeds for 24 hours, and then
- Plant only the ones which have sunk to the bottom of the container.

We soaked all the seeds in their respective containers, but after 10 hours the Flame Tree seeds soaked up so much water that they no longer fit inside the plastic container they came in. We had to move them to a larger dish.

The other three sets of seeds did not “balloon up” like the Flame Tree ones, but each container had “floaters” which were discarded. In the end, we planted three Flame Tree seeds and about six seeds of each of the others.

The four soil discs, after being soaked in hot water, expanded to 7 times their original size. Each expanded disc fills up one container. We suggest the following when adding the seeds:
- squeeze the water from the reconstituted soil until it is just damp
- crumble the soil so falls loosely into the pot
- fill pot with soil almost to the top
- place the seeds in a pattern on—not in—the soil
- lightly cover seeds with about 1/8″ of soil—just so you can’t see them
The pots themselves are made from a paper-like material. This means they will also soak up water. To keep the damp pots from damaging the surface of the table, we placed all four pots on a long ceramic tray.

Keeping the humidity high helps with germination, so we placed a portable greenhouse over the pots. The one we have is a heavy-duty unit made of galvanized steel and glass, but IKEA’s Socker greenhouse would also be perfect for this! If you want to go DIY, try three wooden skewers and a ziploc bag for each pot.
We’ll post an update when they sprout. Hopefully that will be soon!!!

Amazon links to items mentioned:


Leave a comment