Apple Watch : Stainless Steel Deployment Clasp
Buckle up!!!
Apple Watch is a very cool piece of technology. Its utility grows everyday as more and more apps add an Apple Watch version. On the hardware side we don’t expect the Watch to change dramatically for its next iteration, but we still want to customize it like we can with apps.
When Apple Watch first came out, we immediately took to the innovative slide-off/on mechanism for changing the watch strap. It is a brilliant way to alter the look and feel of Apple Watch to match the wearer’s mood or need. In less than a few seconds, Apple Watch can go from “fun” to “sport” to “elegant.” While we love the convenience, we had a problem with the high price of Watch-specific bands. It took a few months, but the world is now awash in inexpensive Apple Watch-compatible bands. Still, we knew the state of Watch-related bands could be better!

In our last project, we showed how to adapt Apple Watch to work with any non-Watch-specific bands. Today, we are going to show how to add a deployment clasp to a band which will make Apple Watch even awesome-r!
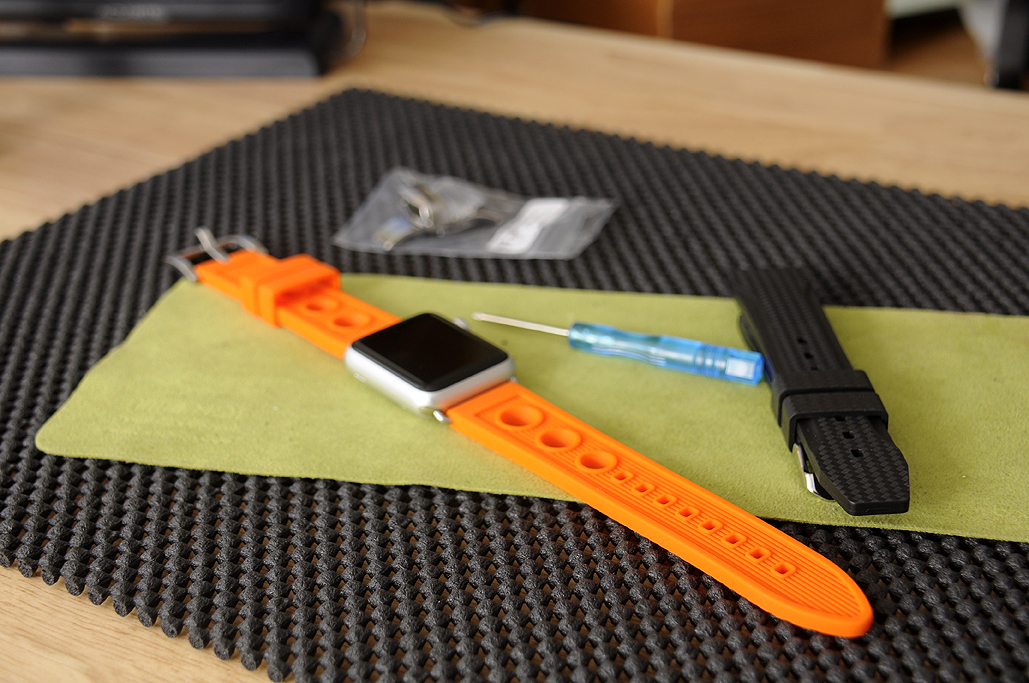
For this project, we will be using the following (available from StrappedForTime):
- Breitling Style Rally Silicone Rubber Watch Band Strap – Orange
- Matte Stainless Push Button Deployment Clasp – 20mm

A deployment clasp is a folding buckle which takes the fumbling out of putting on a watch. It is attached to both ends of the strap, and once sized, will be “right” every time a person puts it their wrist. In addition to the convenience, a deployment clasp also offers additional security from pickpockets and sleight-of-hand “artists” as it must be removed by pulling your hand through.

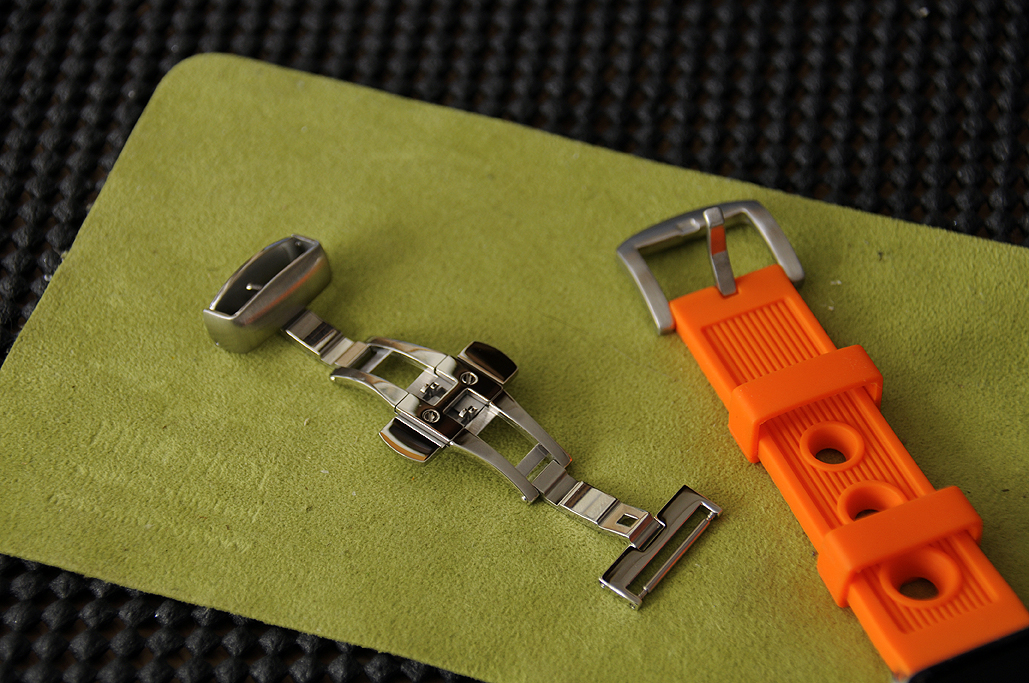
There are two ends to the deployment clasp: fixed and adjustable. The fixed end goes to the band with the buckle. The adjustable end goes on to the band with the sizing holes. One other thing to track is the front (convex) and back (concave) side of the clasp when attaching it to the bands.
Step 1. Removing the buckle/Adding the deployment clasp
- In order to attach the deployment clasp, the buckle on the band must be removed. The buckle is held in place by a spring-loaded pin. A notched tool will make depressing the pin and freeing the buckle easier, but it can also be accomplished with care by using a small screwdriver.
- Once the buckle has been released, remove the pin and the prong from the band.
- “Open” the deployment clasp by squeezing the tabs on the sides.
- Attach the fixed end of the deployment clasp to the band using the reverse of the steps used to free the buckle (insert pin into band, depress pin, attach clasp).

Step 2 : Sizing the Clasp
This is the easier of the two steps as no tools are required
- Open the adjustable end of the deployment clasp.
- Slide the end onto the band and position the prong in one of the holes.
- Snap the prong in place.
- Test the fit and readjust as needed.
The location of the prong in the band may easily be changed if things are too tight or loose. Try positioning the prong in different holes and see how things feel. The key criteria is comfort. Just remember to make sure the prong is locked in place.

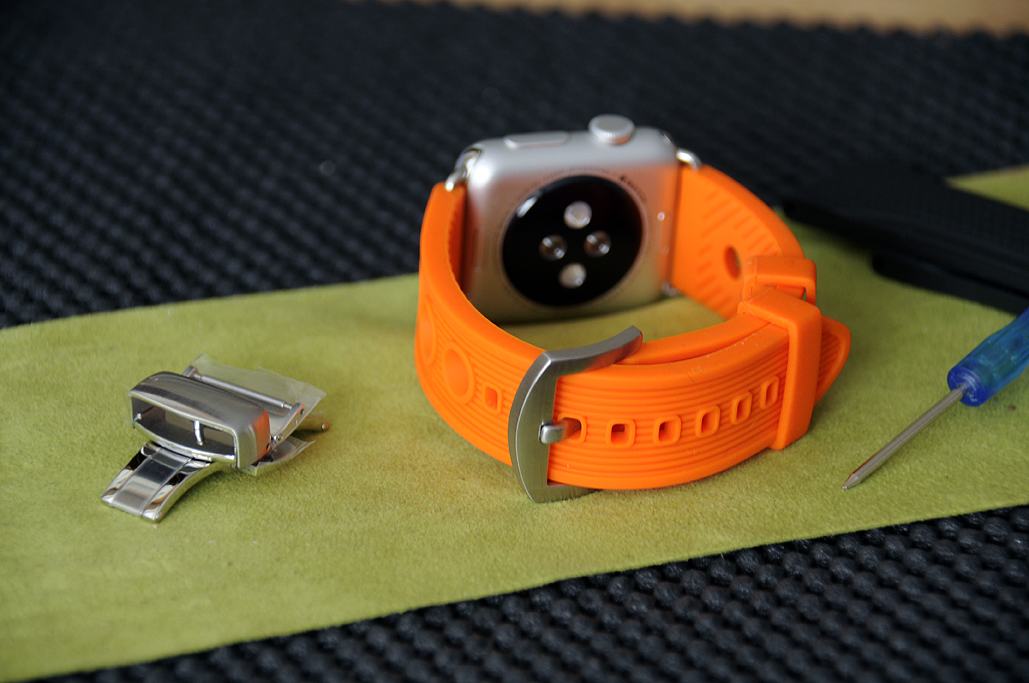
We like the combined look of the orange silicone band and brush stainless steel clasp with the aluminum Apple Watch. The effect is a sporty look that is both fun and sophisticated, casual enough for jeans, but will still work with a jacket. As an added touch, we customized to color of the Watch’s face to coordinate with that of the band…too much?

We hope our last few articles have shown that, with the help of a few dollars worth of adapters, the huge world of conventional bands, straps, and such are accessible to the Apple Watch owner. Now go forth and customize!!!
Amazon links to items mentioned:


Leave a comment