DIY: $200 Katana…Assembly
...time to put it all together!!!
One of the 2025 RainyDayProjects was to assemble a katana with pieces sourced directly from China using their version of Amazon marketplace (Temu and Aliexpress). We wanted to know:
- what we could get for $200,
- whether we could assemble all the pieces from disparate sellers into an actual sword, and
- how that assembled sword would compare to the Chinese-made $500 and $1000 katanas we reviewed a decade ago.
We successfully sourced all the parts, and based on the test-fitting, all of the parts, after a little “fine-tuning,” should fit together as we had hoped. Now that we are finished with the preliminary checks, it is time to put one together for real!

Fine-tuning
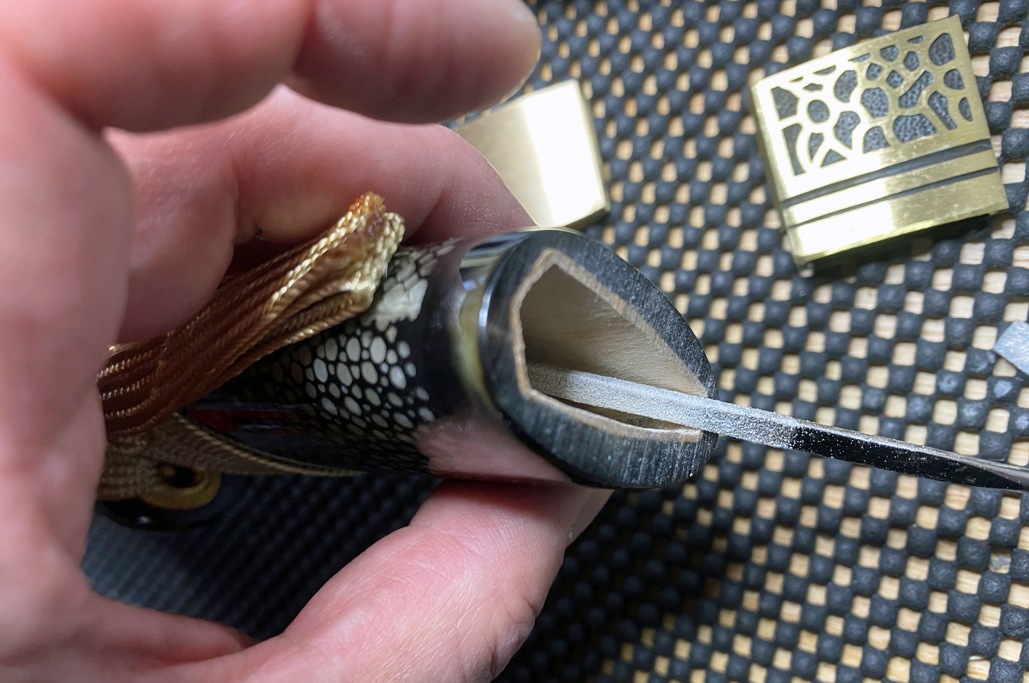
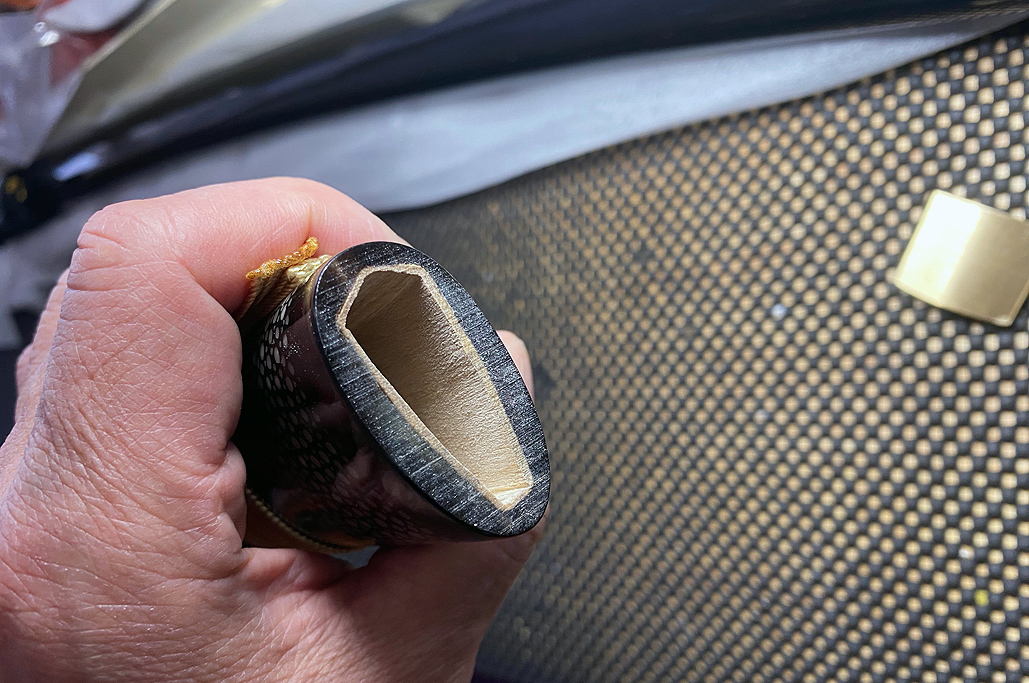
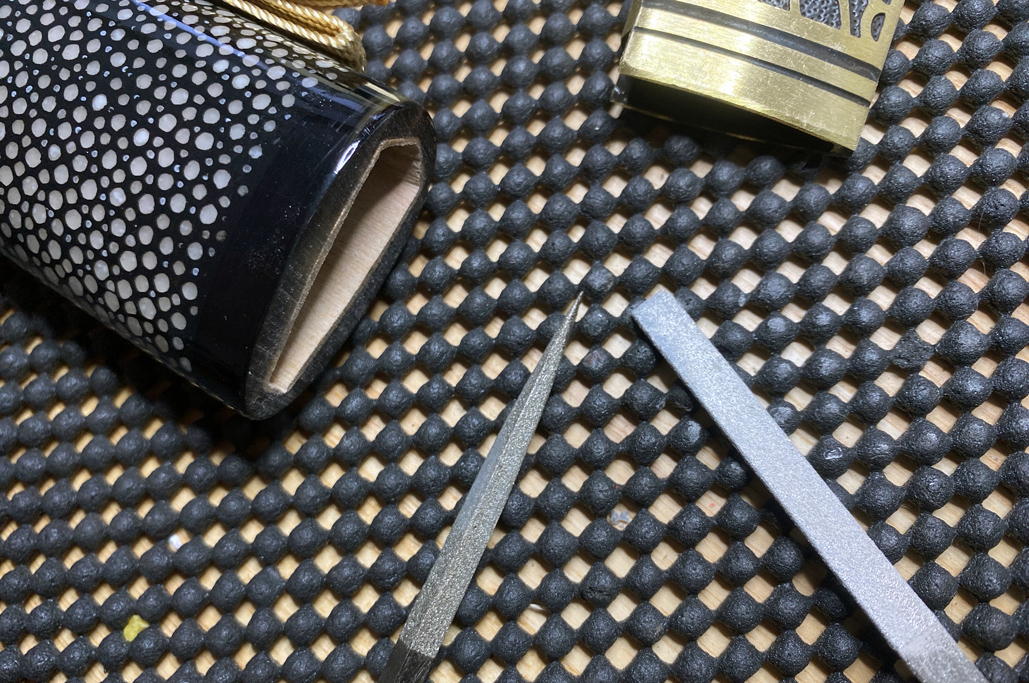
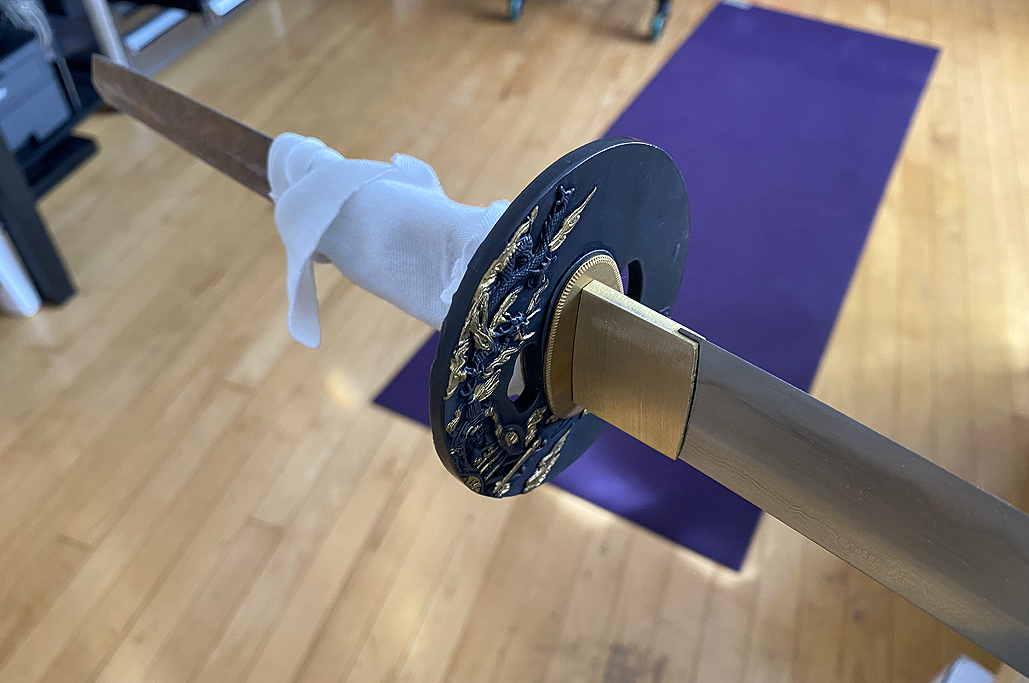
In the test fitting, we saw that while the fit of the blade inside the saya was fine, the habaki did not cleanly fit the opening. We also realized that the only thing required was some careful filing for the mating to be “just right.”

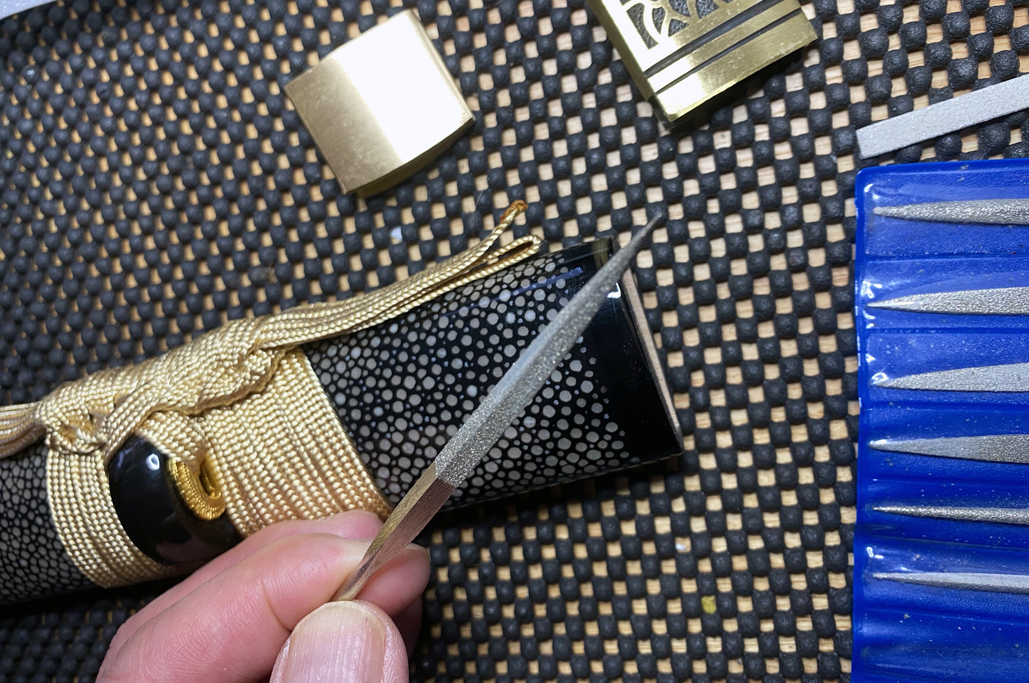
Diamond dust coated files were used for the task for two reasons: 1) quick, precise filing, and 2) no abrasive residue left behind. It is important not to use sandpaper for this task because some of the cutting grit could remain and mar the finish of the blade and/or the habaki.

After a few gentle back and forth, we got the precise fit we wanted…no longer binding, but not loose. We would rather the fit be a little snug than too free.

Assembly
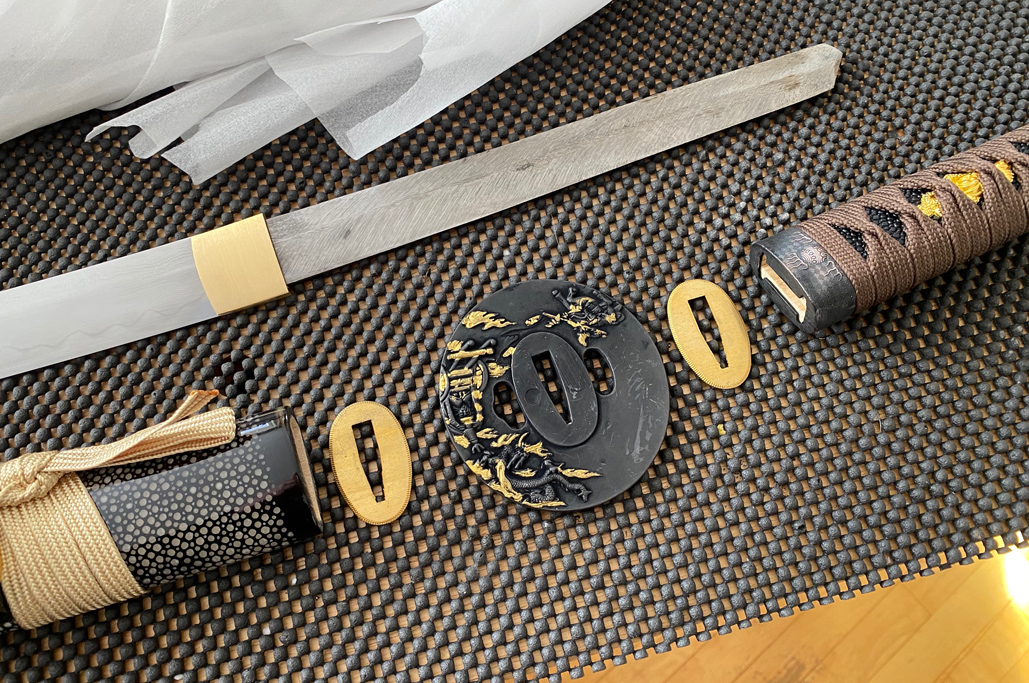
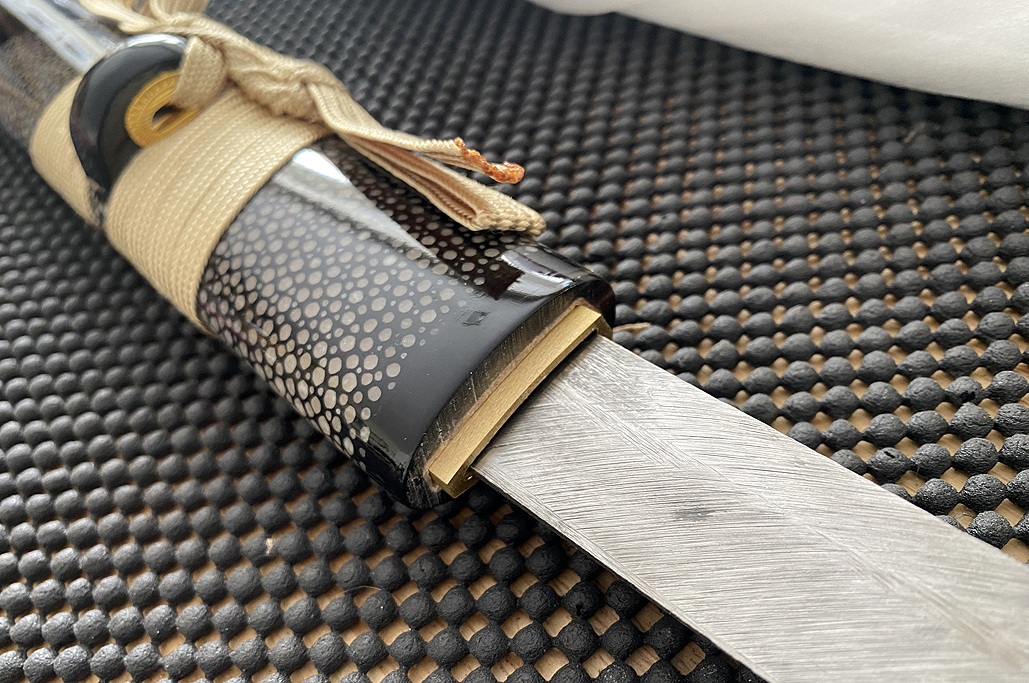
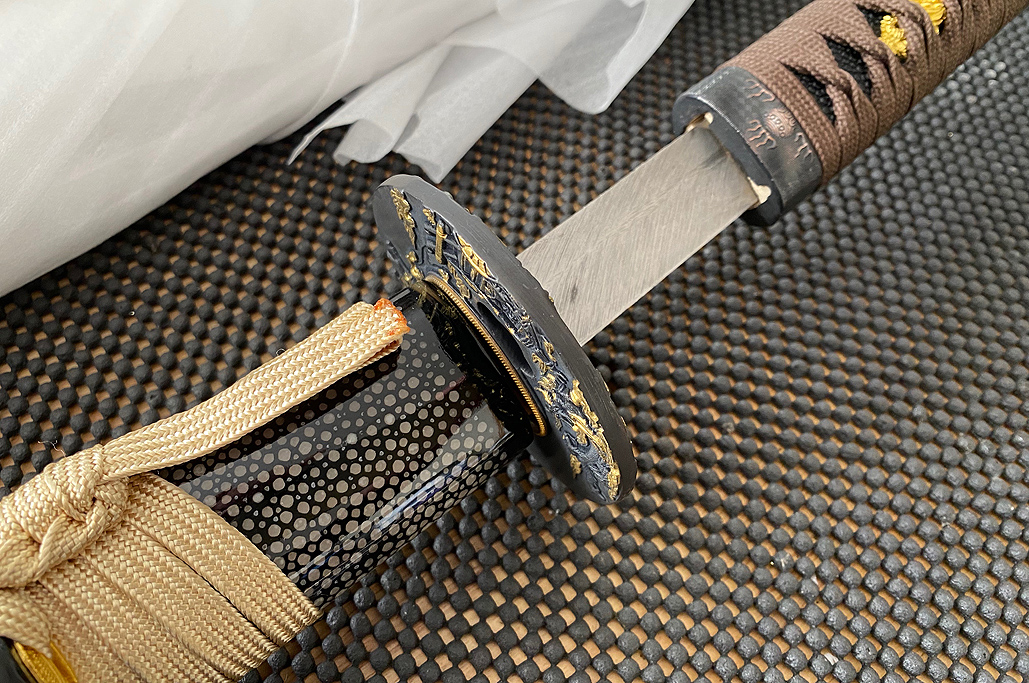
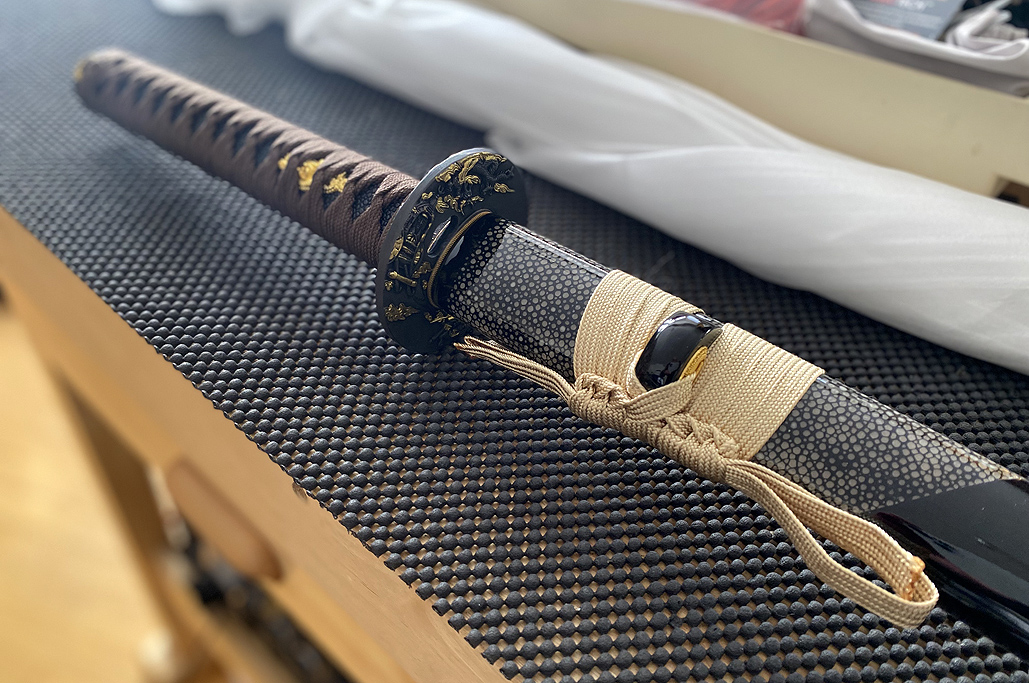
The sequence of the parts that go onto the blade for the assembly is: habaki, seppa, tsuba, seppa,tsuka.
When we had the habaki flush with the blade and checked that each seppa was facing the proper direction, we were ready to install the tsuka.

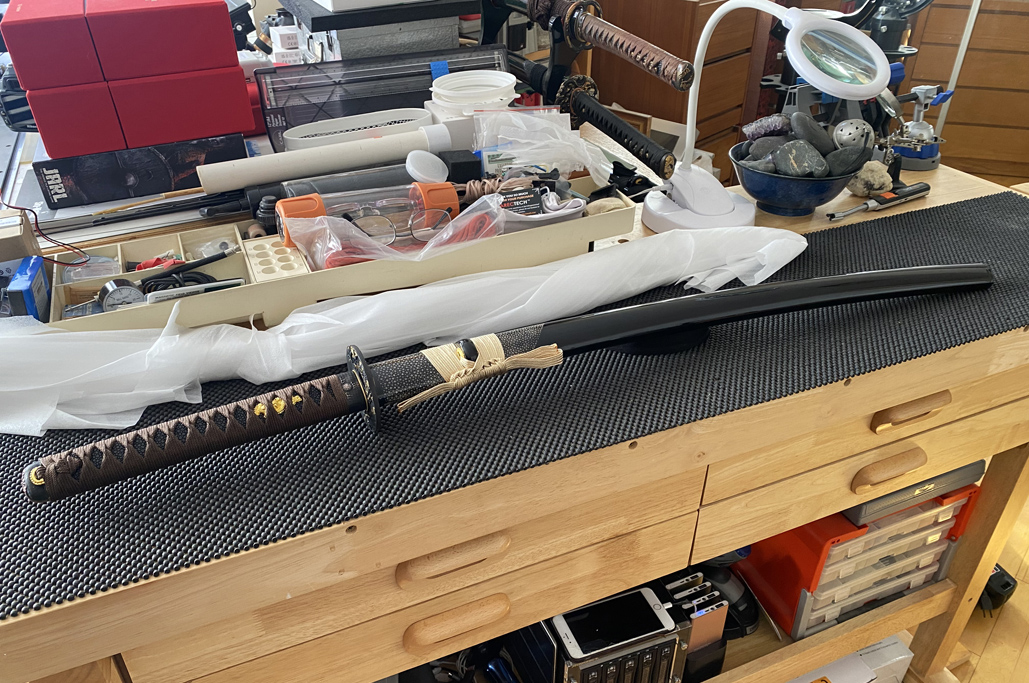
While mounting the tsuka can be done free hand, it is much easier when there is a nice solid clamp to securely hold the blade in place. The long clamping surface ensures that the blade would not move when the handle butt is tapped into place.

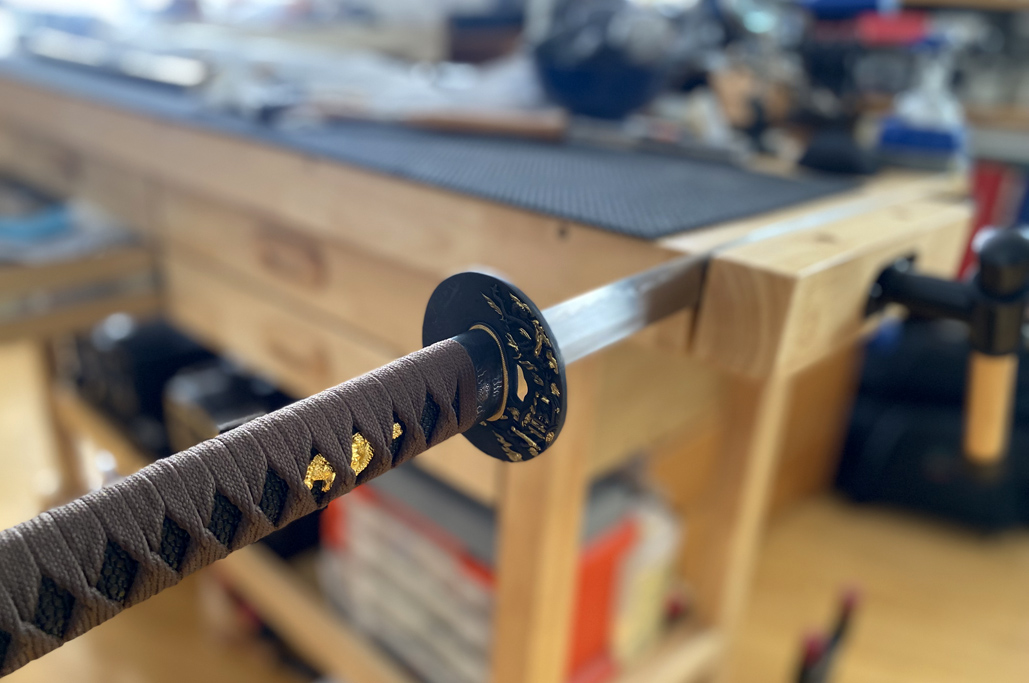
A few gentle taps and the tsuka was all the way up to the tsuba. We took care not to damage the butt end when striking by placing a block of wood in between the tsuka and the hammer head.

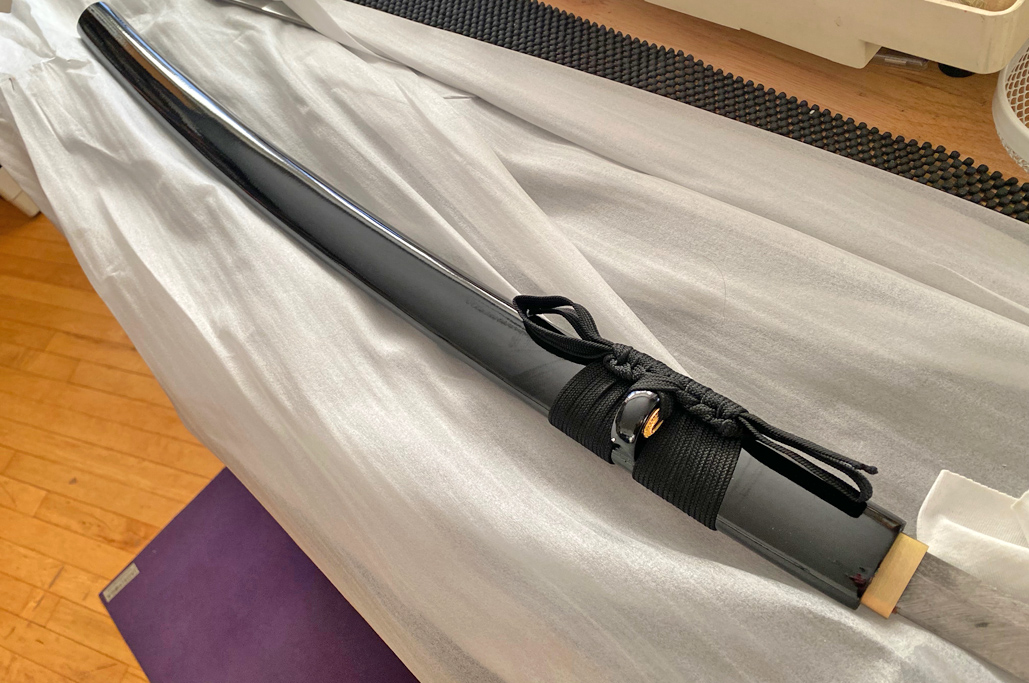
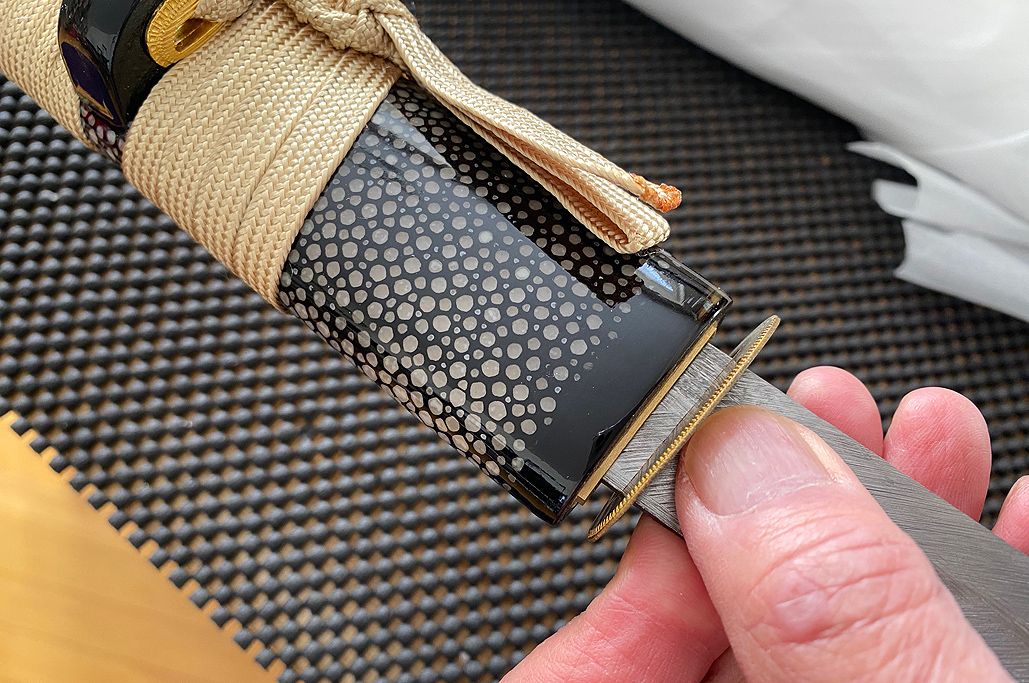
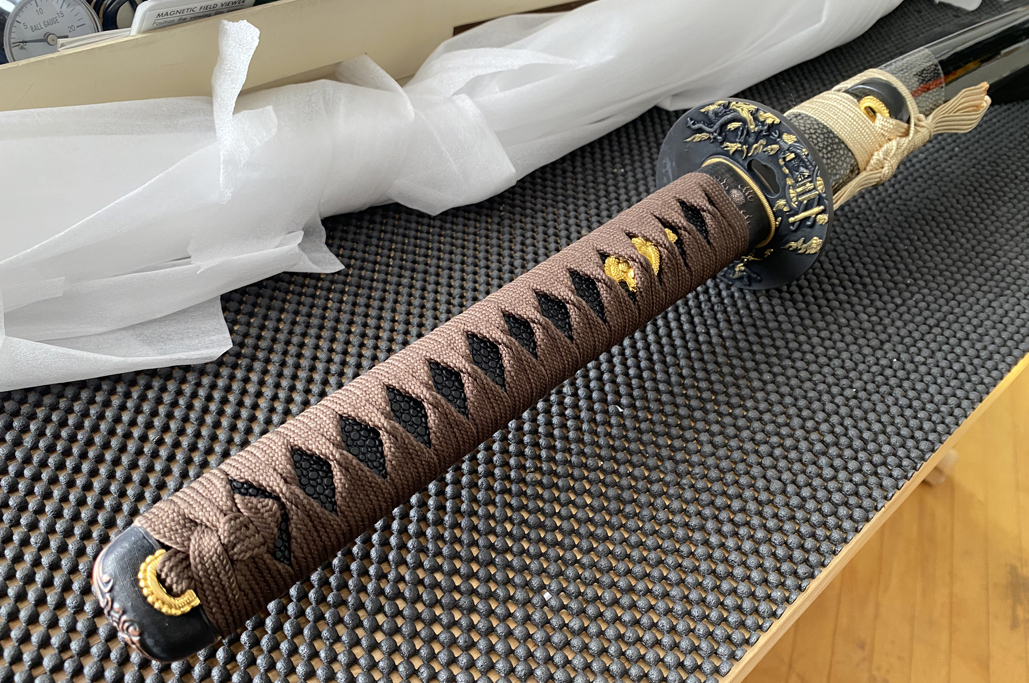
All of the parts fitted tightly, nothing moved, and everything felt solid. We are impressed and quite thrilled with how this all came together!

While we had hoped it would work, given that we had sourced the parts from many vendors based just on photos, we were not anywhere near certain that it would turn out as well as it did!

Final Step, not yet taken:
Drilling the hole through the tsuka and the blade for the mekugi (anchoring pin) is the last step of this DIY. Without the pin, the blade of the katana is only held in place by friction. That pin is what is prevents the blade from flying out of the handle during use!

Look for the writeup of this important and critical final step in the coming week(s).
Links to items mentioned:


Leave a comment