Boxster Project: Windshield Maintenance
Bosch wipers and Cerakote Ceramic Glass Coat
The only time we think about the wipers on the Boxster is when it rains, but that’s always too late to do anything about the streaking, squeaking, and stuttering. Of course, once it stops raining, we immediately forget about the issue…until the next time it rains!
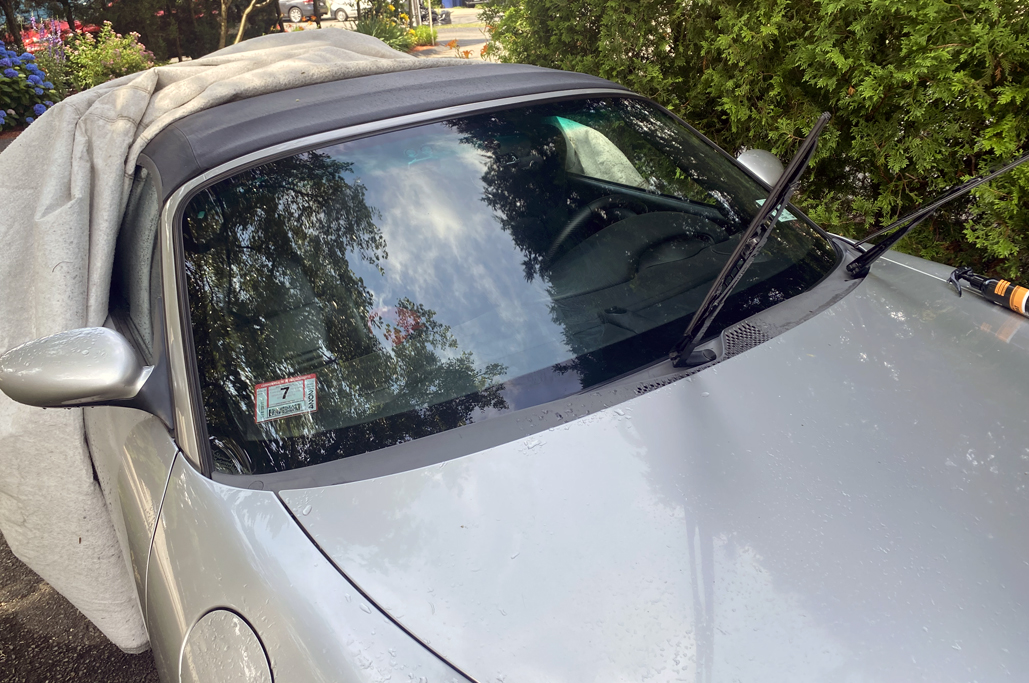
After getting caught in some severe thunderstorms at the end of our region’s recent heat-dome event, we knew we couldn’t put things off any longer. However, instead of just replacing the wipers, we thought we might also try coating the windshield with some water repellant.
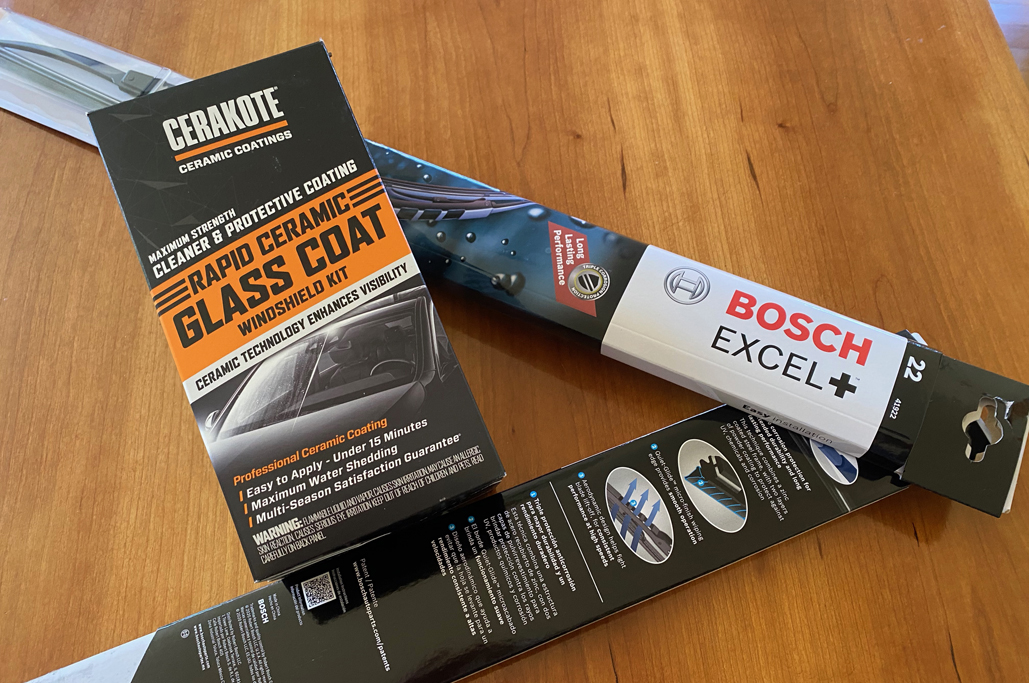
After a bit of looking, we settled on BOSCH Excel+ wiper blades and Cerakote Ceramic Glass Coat.

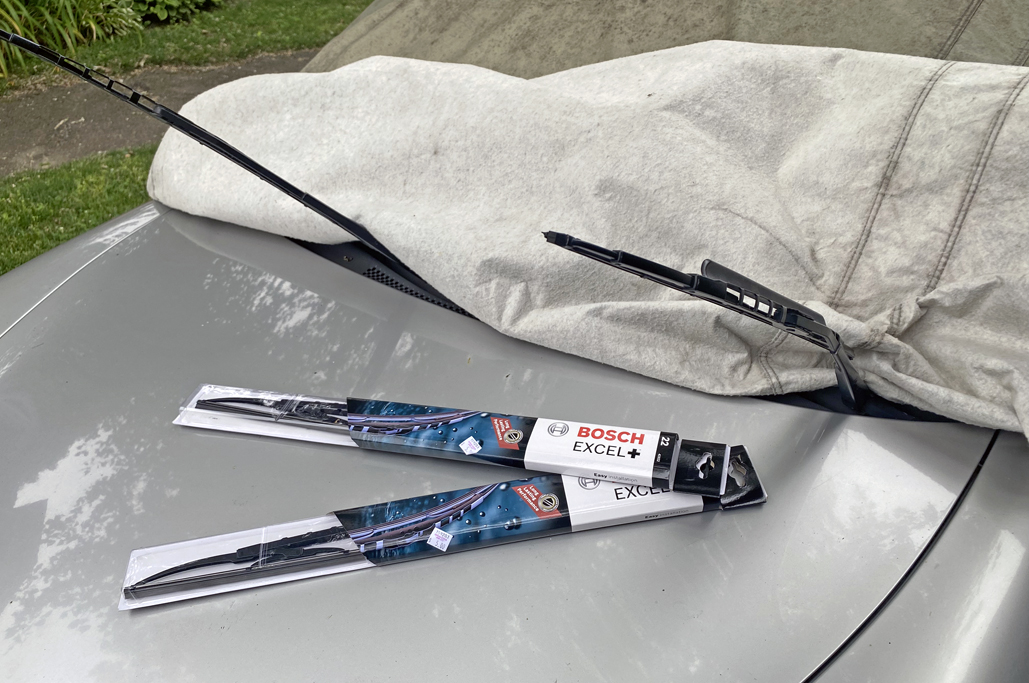
“On a clear day/you can see for-EV-ER…”
BOSCH
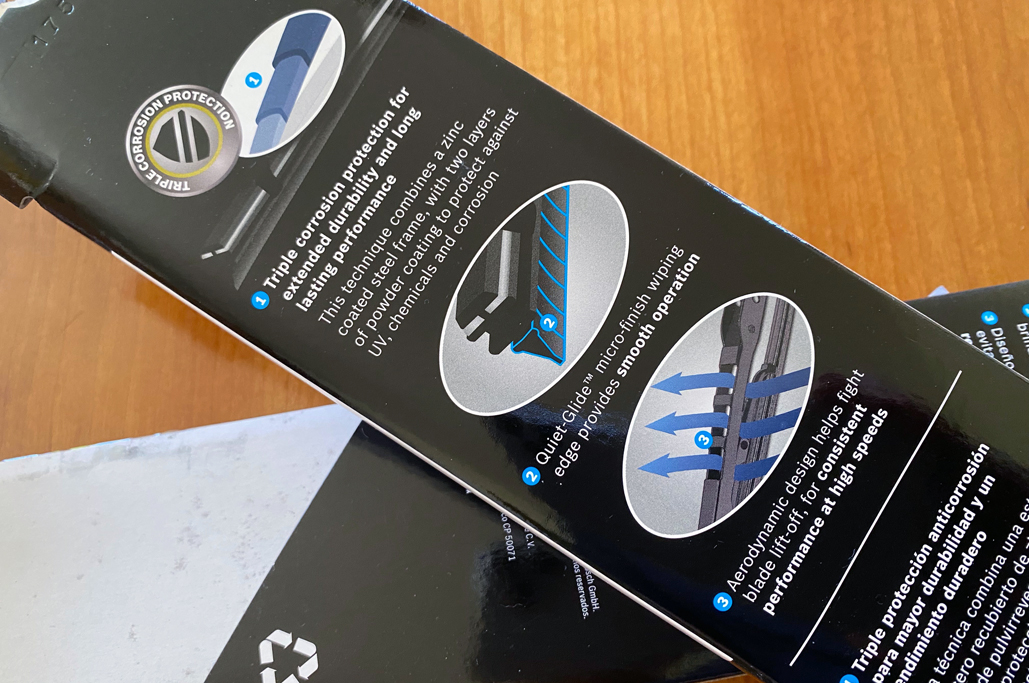
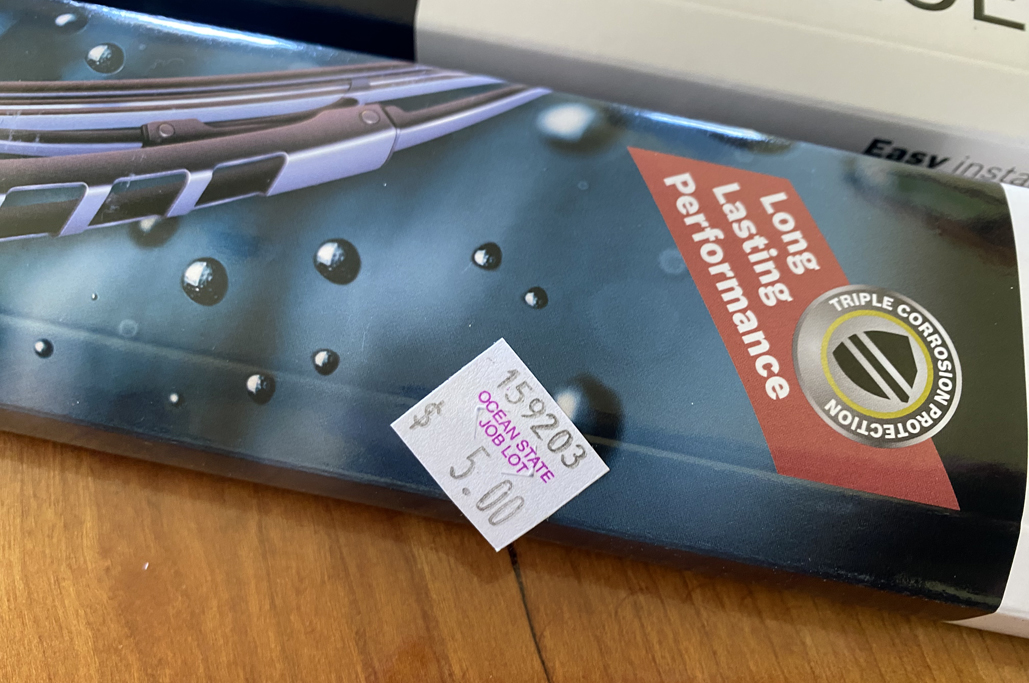
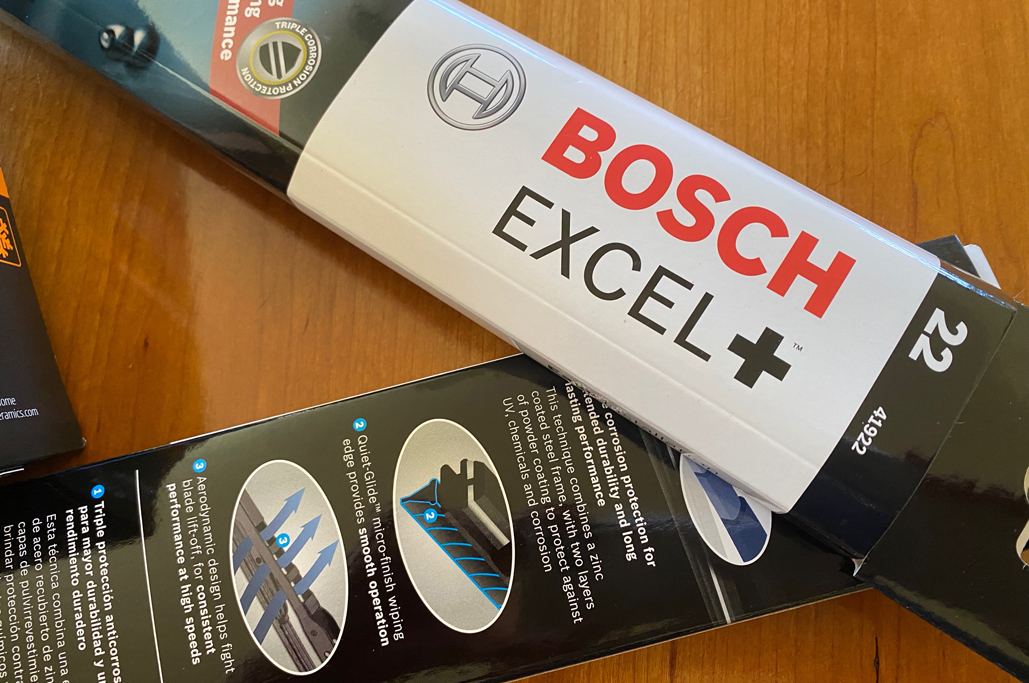
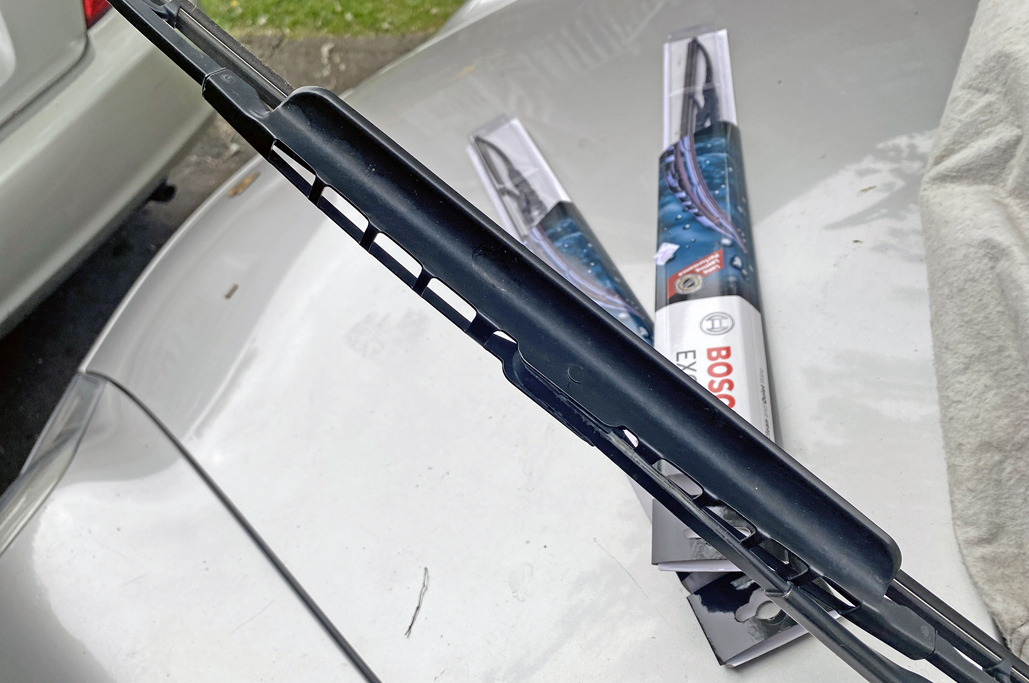
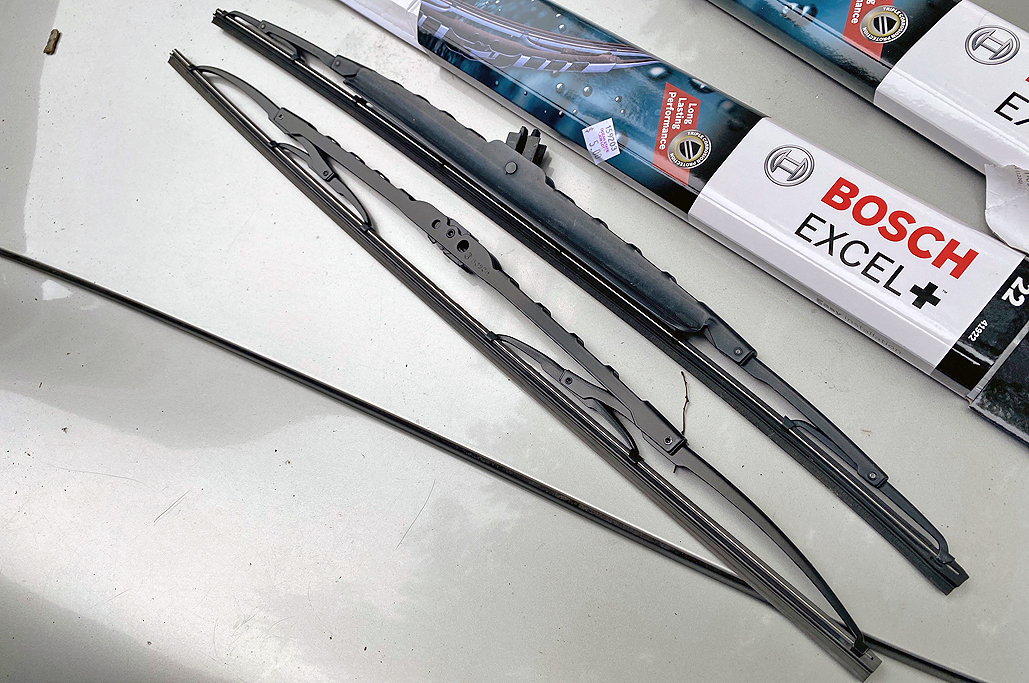
We picked the BOSCH Excel+ Wiper Blades because they were at a local discount place for $5 each. The Porsche Boxster calls for 22″ blades for both the driver and the passenger side, and the pair cost far less than what we would have typically paid for just one! At that price, we weren’t taking much of a risk, even if they didn’t last, but BOSCH has a good reputation so we are hopeful.

Bosch – always excellent.
- graphite blended natural rubber
- all-steel frame
- pre-mounted adapter

A true find – five buckaronies!
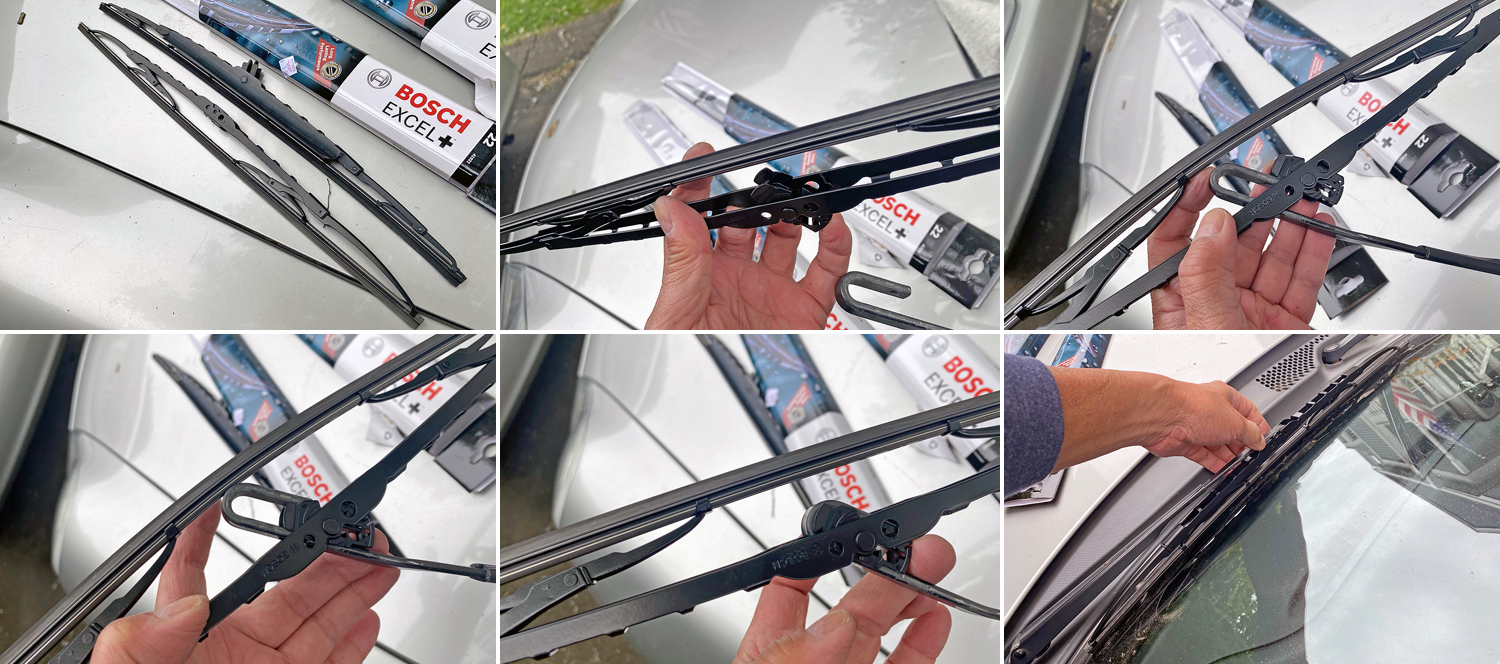
Wiper Removal
The blade installation was the easier of the two tasks, and of course we did what was easier first 🙂 Theoretically, taking the old wipers off and putting the new ones on should just take a few minutes. However, and for whatever reason, it ALWAYS takes way longer than it should.
The big reason appears to be that we all seem to get the orientation of the new blade wrong EVERY SINGLE TIME when installing it. Eventually we will figure it out and put a post-it note in our brain, but this time we are going to write it up in such a way that we won’t fumble this task ever again!
Pro tip: We always put the car cover or a towel where the wiper arms make contact with the windshield glass. That way, if an arm inadvertently comes down on the glass, it will be less likely to break it.

Keeping potential catastrophe from occuring.
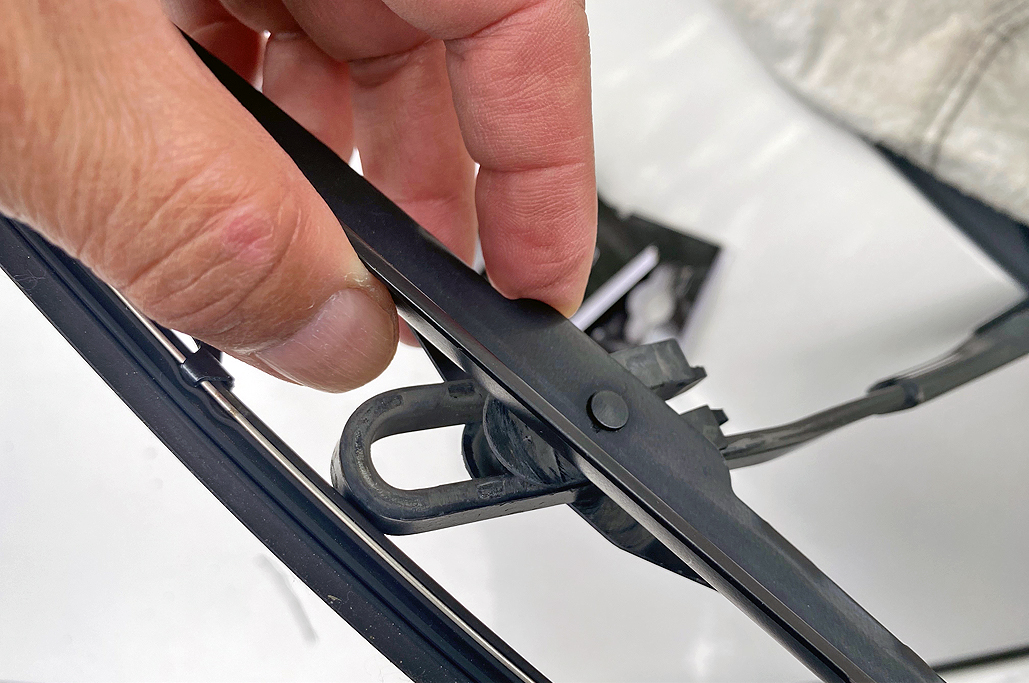
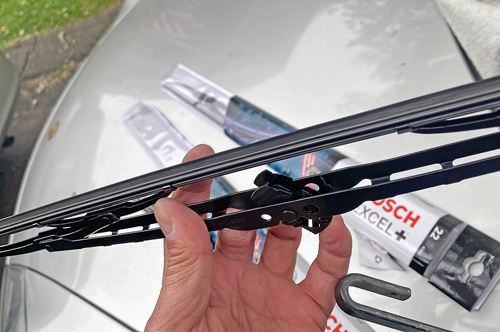
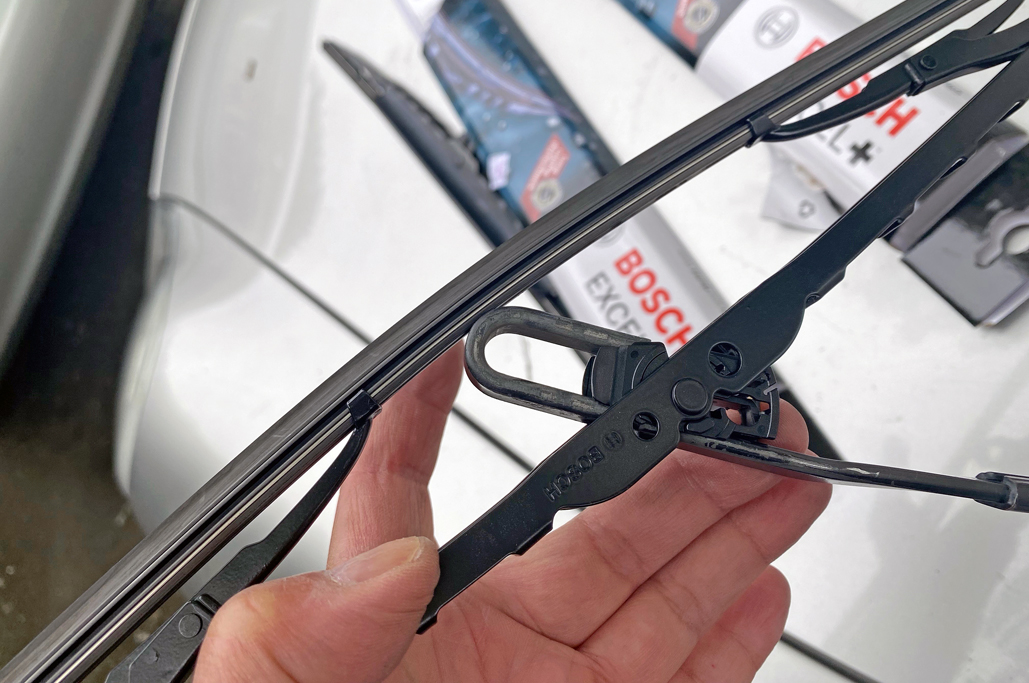
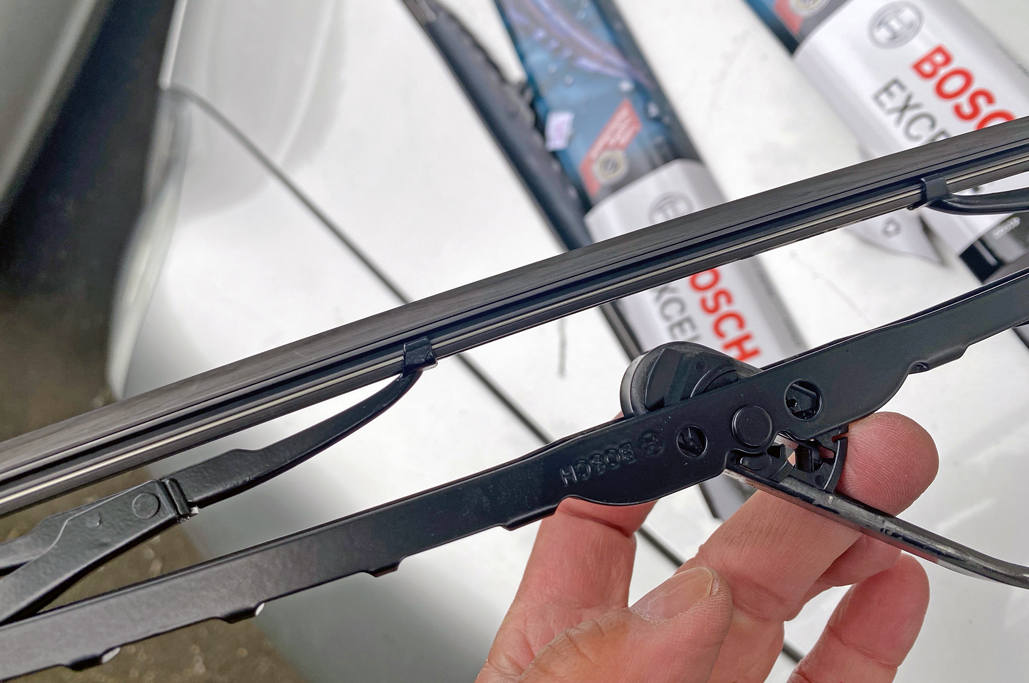
To remove the old blade used to require a flat-head screw driver, but that hasn’t been true for years. The new clips securing the wipers have release levers built in. Just pinching them will free the catch holding the wipers in place. Neat!
With the catch freed, the frame of the wiper can then be pushed away from the hook of the arm. At this juncture, we suggest that those of you planing on doing this replacement take note of the orientation of the wiper blade (rubber strip on the left, curved part of the hinge pointing toward the rubber strip) and the hook part of the arm. This is the exact alignment required of the two pieces for installation.

The automotive equivalent of “You put the lime in the cocoanut…”
Wiper Installation
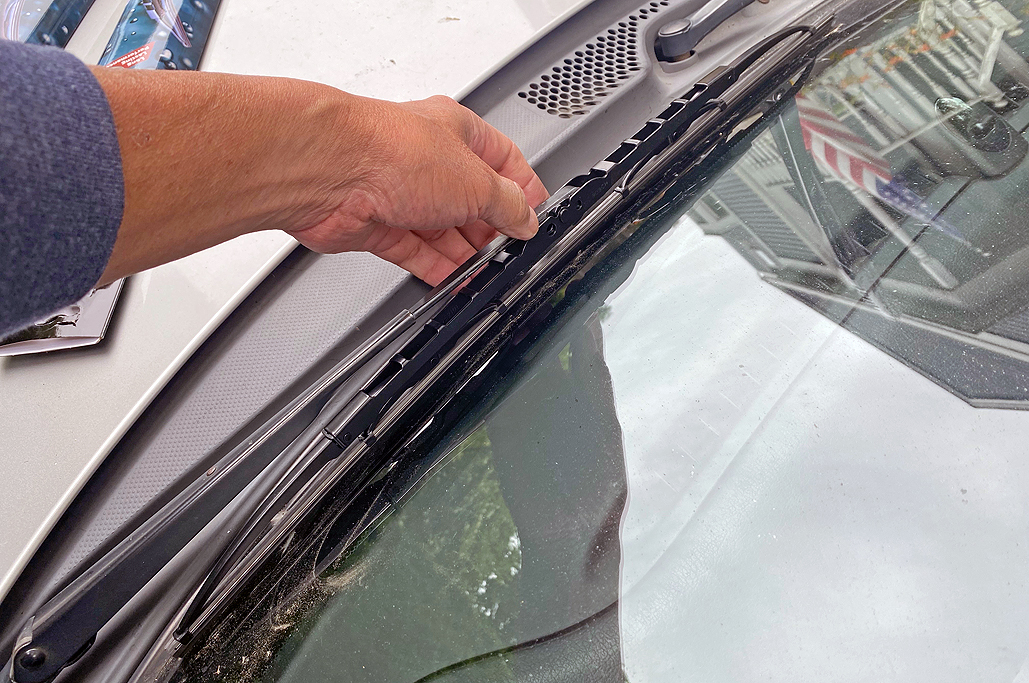
Before putting on the new wiper, we always do a quick “sanity check” on the length. The box said “22,” but is it really the same length as the one being replaced? Yes!
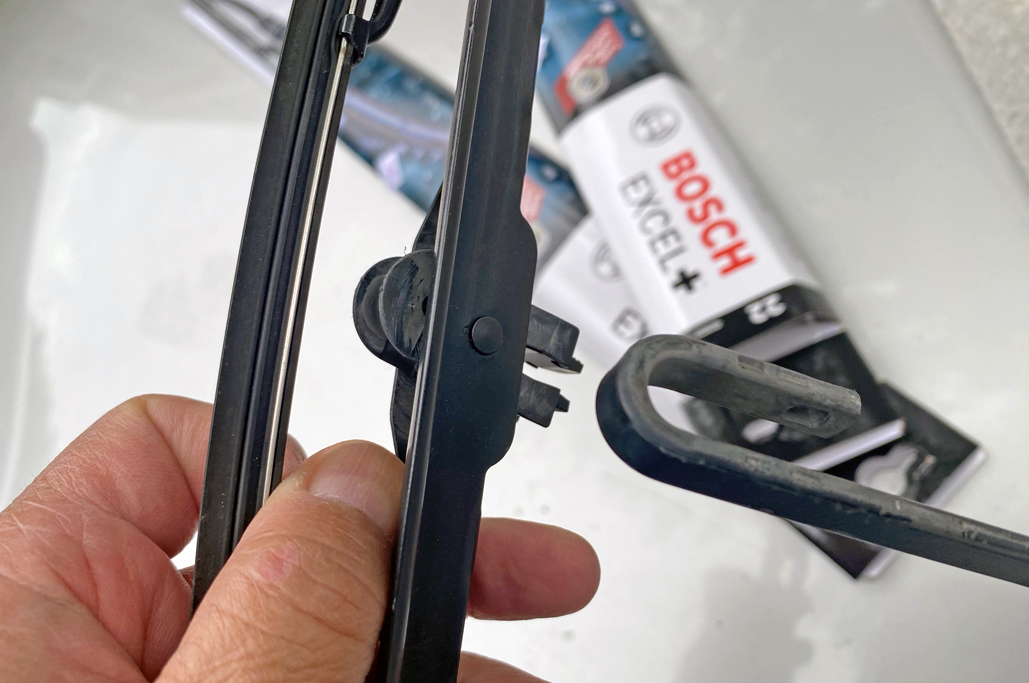
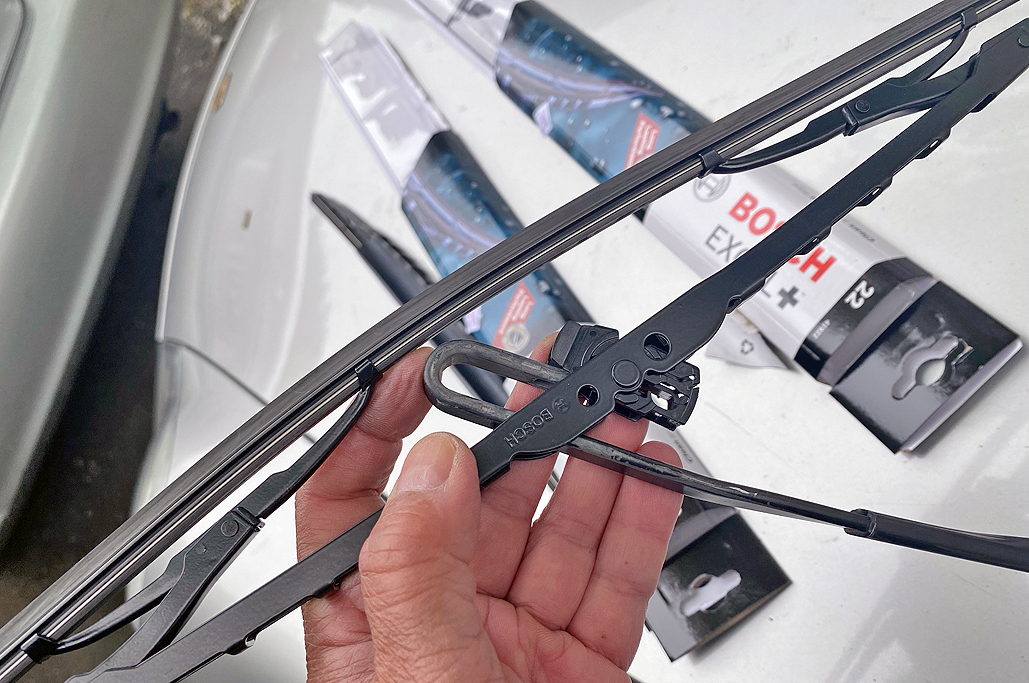
- Hold the new wiper with the rubber blade up;
- Orient the hinge on the wiper so the curved end is up and the release levers down;
- Slide the hook of the arm in past the hinge;
- Hook the arm on the hinge;
- Carefully rotate the wiper/arm assembly and place gently on the windshield;
- DONE!

Once you get it, you will always get it. Geddit?
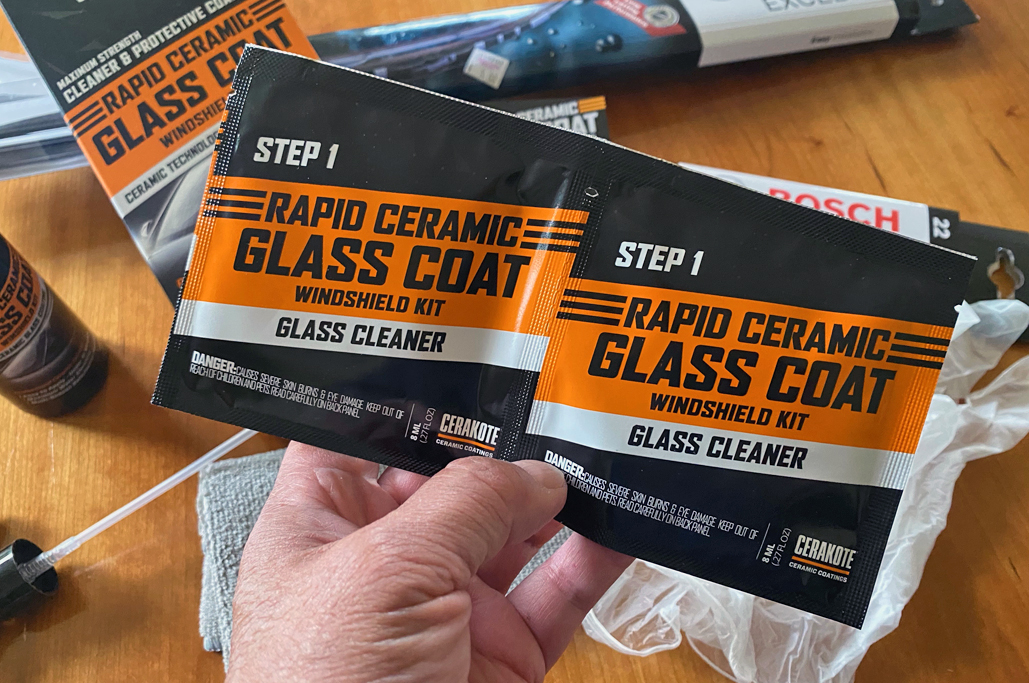
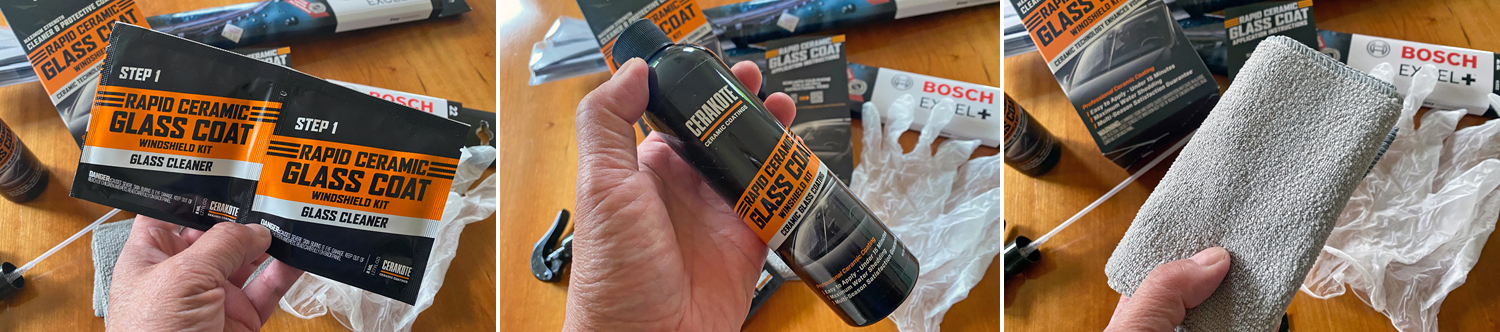
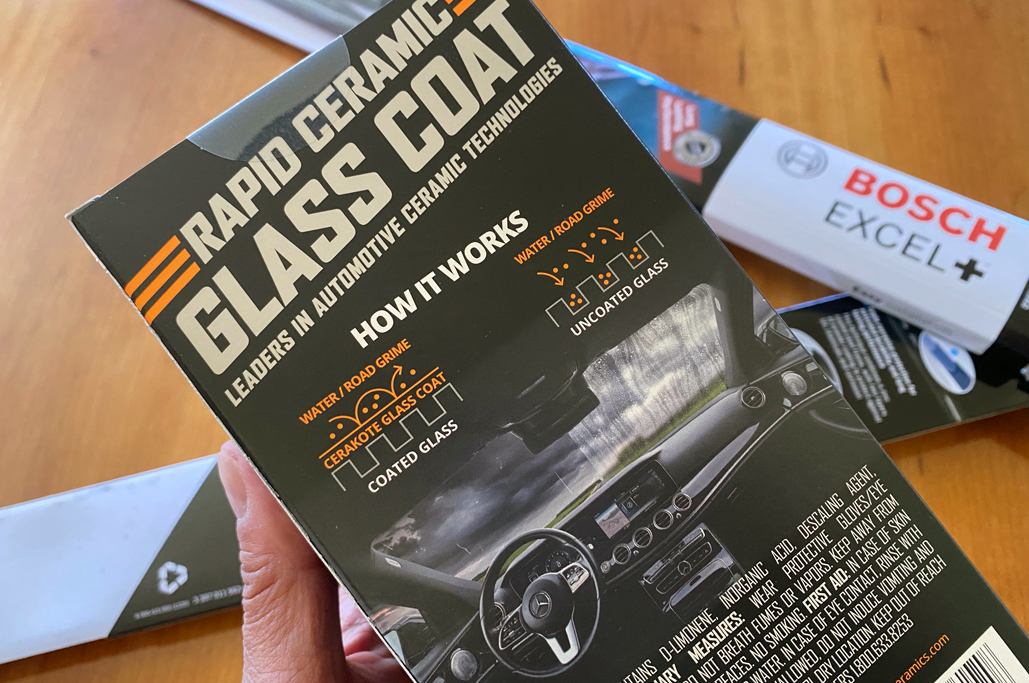
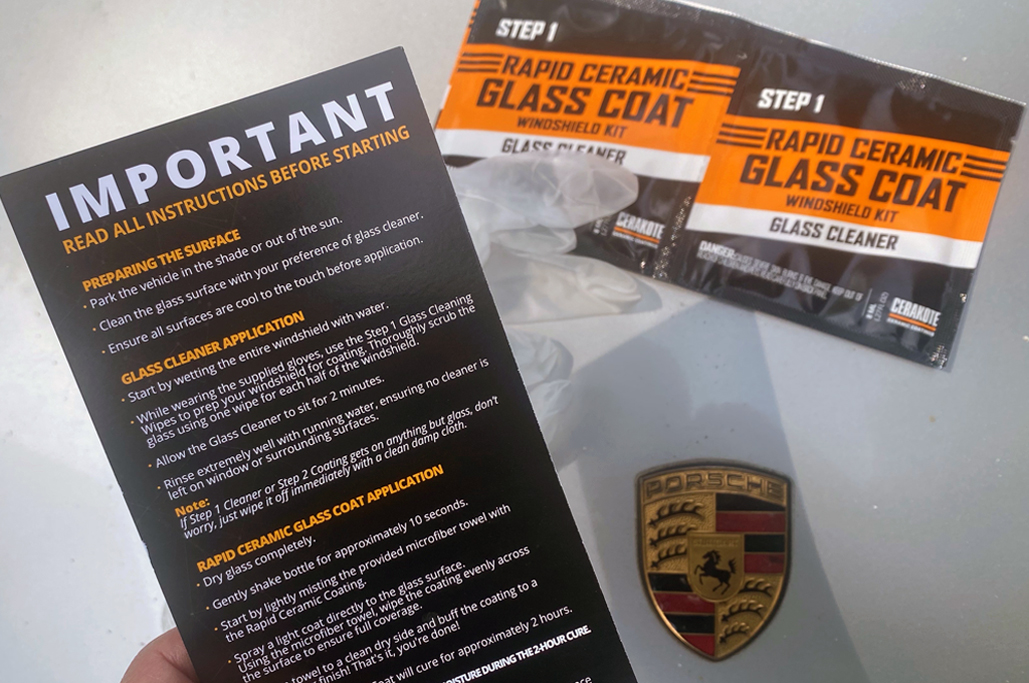
Cerakote
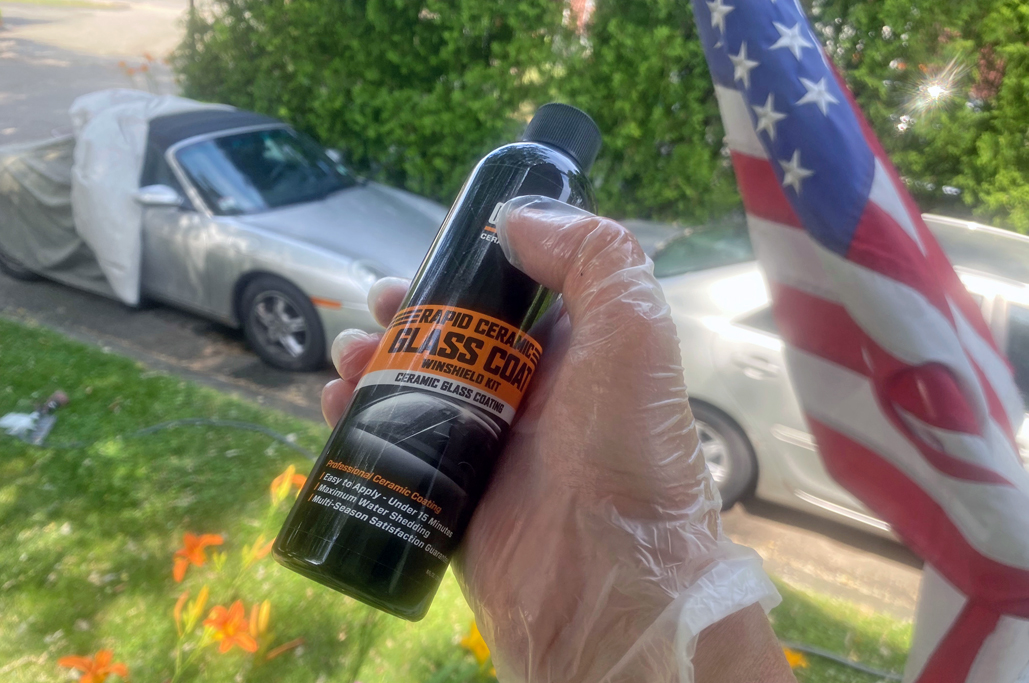
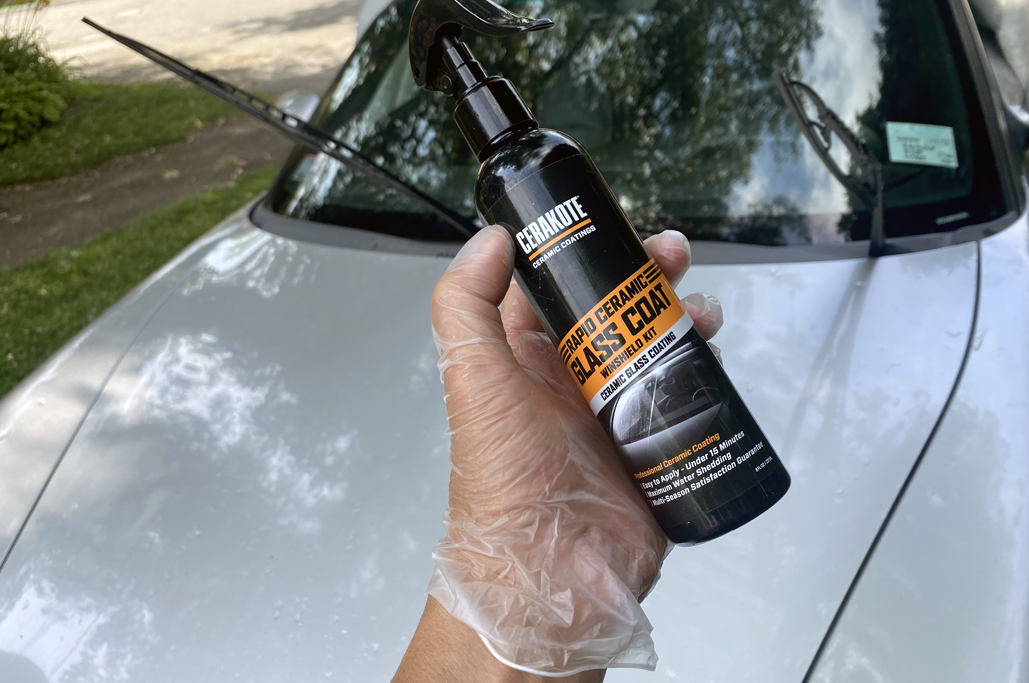
Cerakote Rapid Ceramic Glass Coat is a coating that bonds to glass, helping it shed water…at least that is the claim. We will put it on, test it out for a few seasons, and report back on how it performed in repelling rain and various road debris (bugs, droppings, etc).
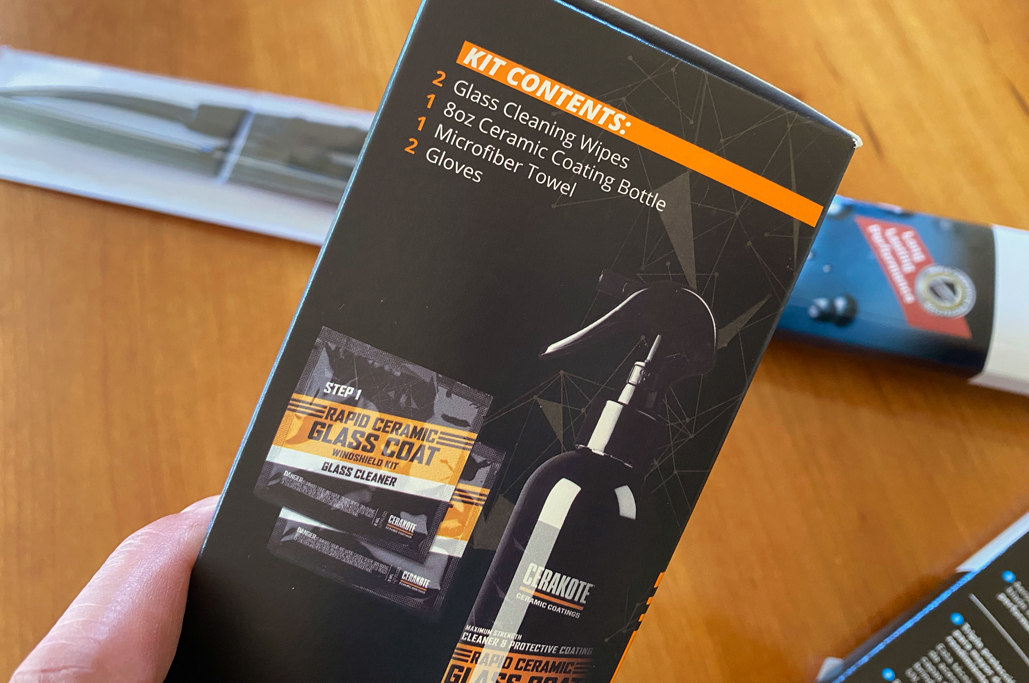
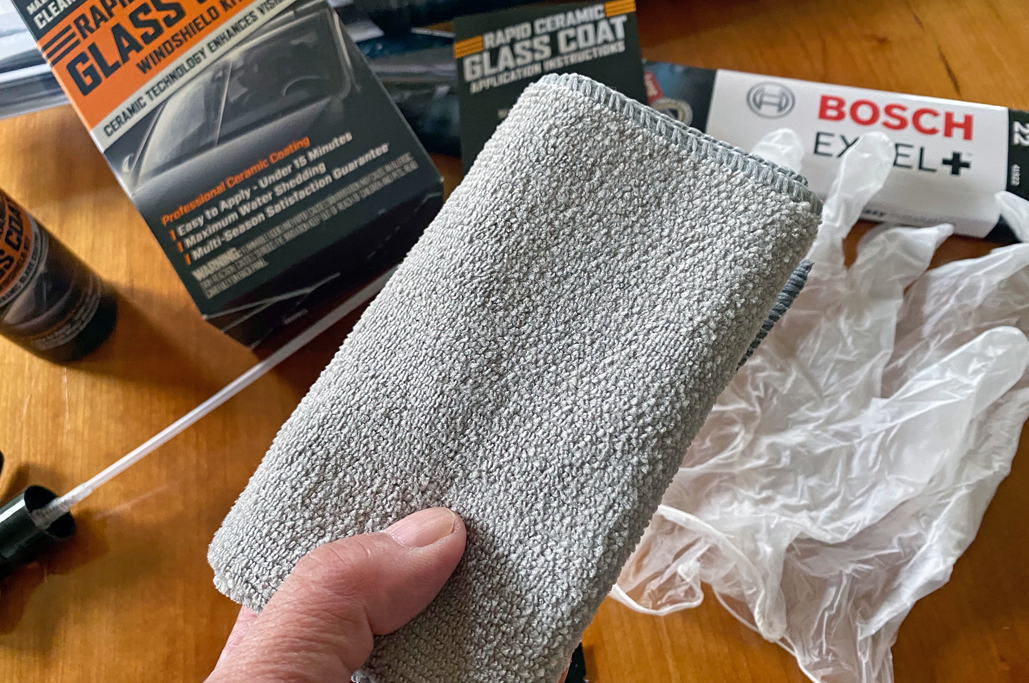
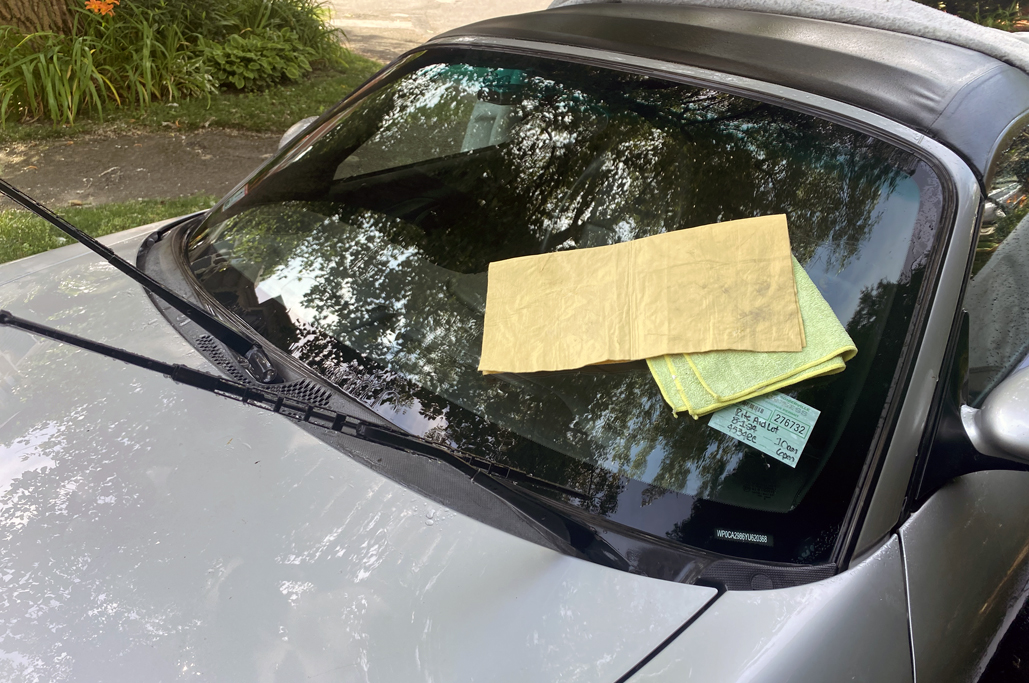
The kit includes includes:
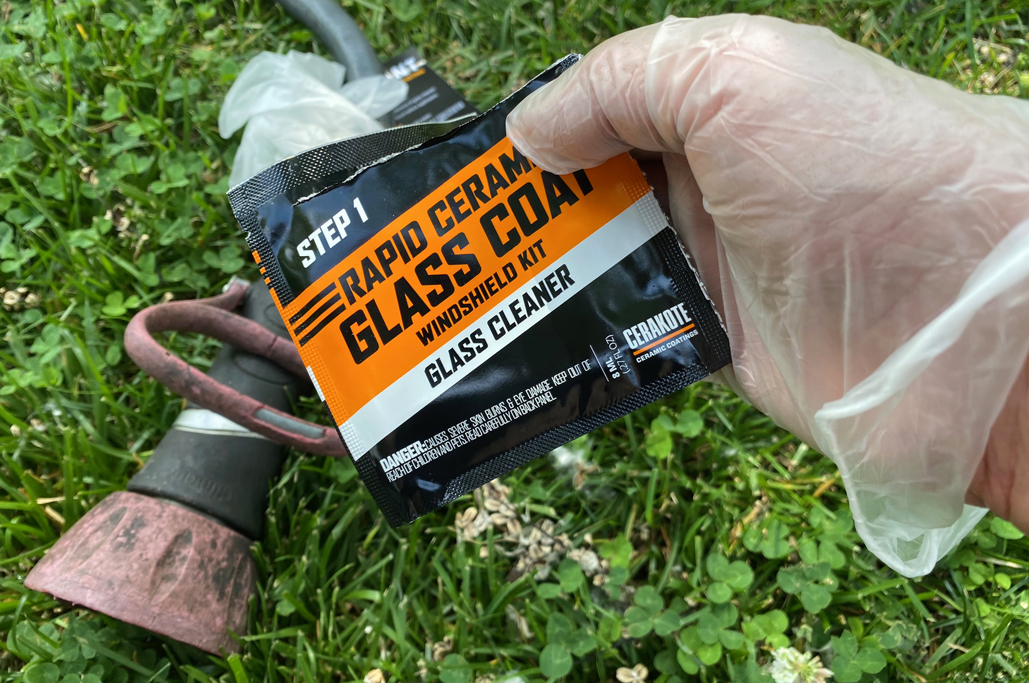
- 2 Glass Cleaning Wipes;
- 1 8oz Bottle of Rapid Ceramic Coating;
- 1 Microfiber Towel; and
- 2 Gloves.

It’s all here, what you need to make your windshield absolutely crystal clear.
The Cerakote folks are pretty confident in their ceramic glass technology, so much so that they GUARANTEE their Rapid Ceramic Glass Coating will last through multiple seasons. Not one or two car washes, but SEASONS, or they will give your money back, no questions asked.

Yes, your windshield could be this clear.
OK…that’s a pretty good guarantee. We hope we won’t have to call them on it, but you know we will if we are not satisfy with the product’s performance 🙂

Application
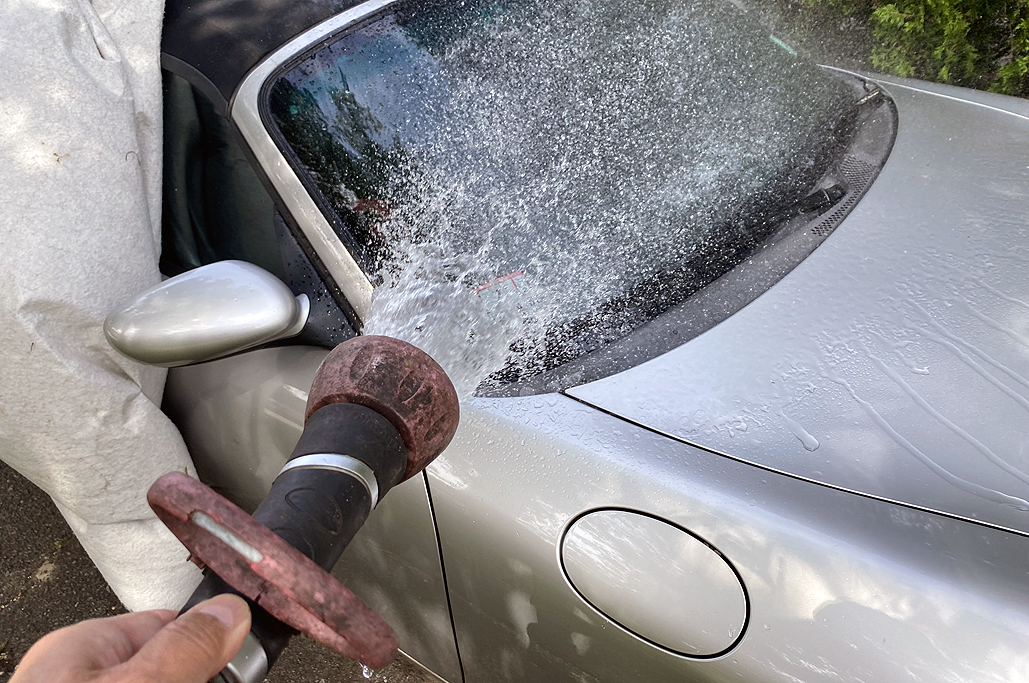
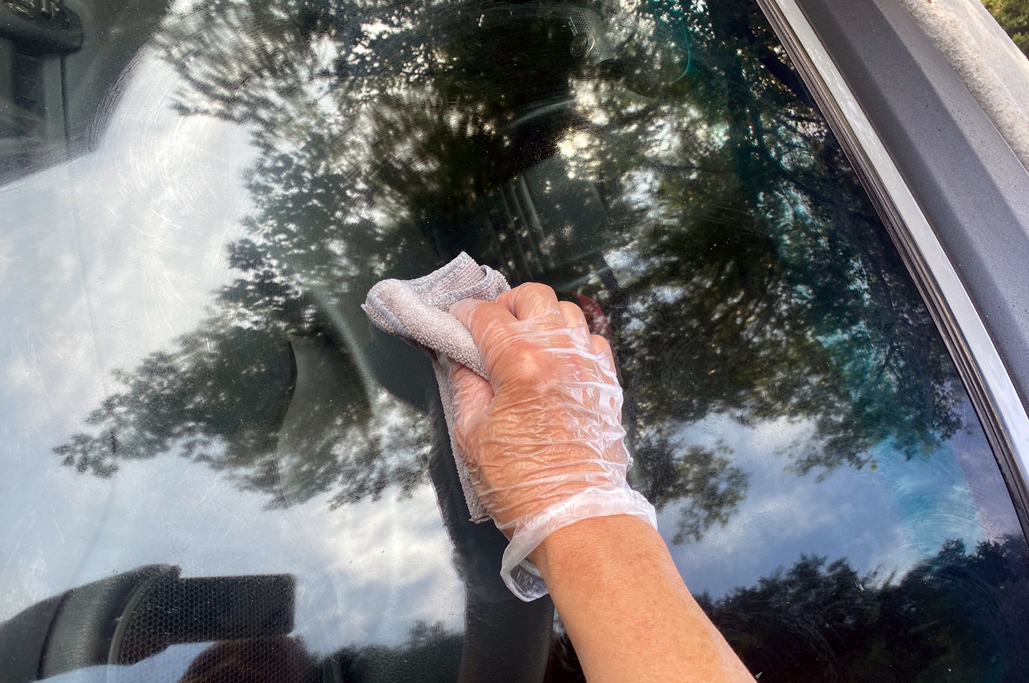
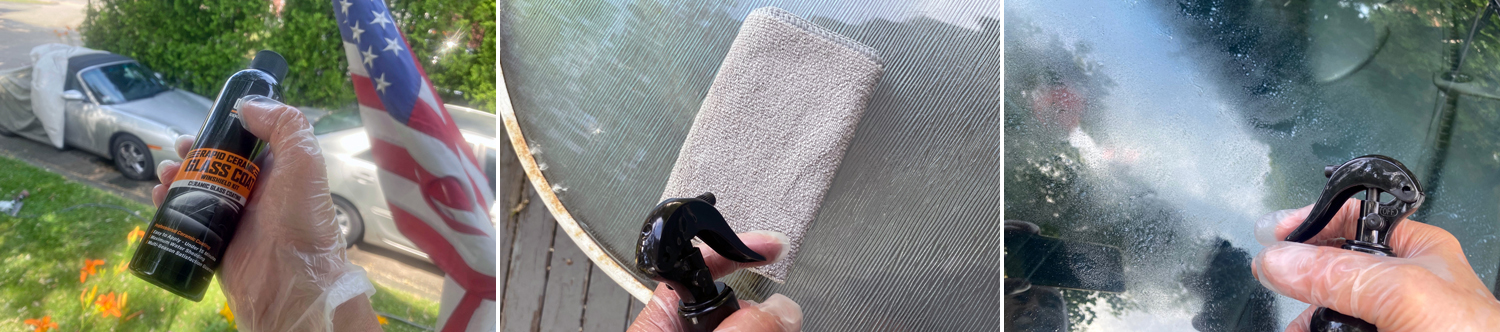
The instructions for applying the Cerakote Glass Coat was fairly straightforward:
- Wet windshield;

Always the fun part, every time.
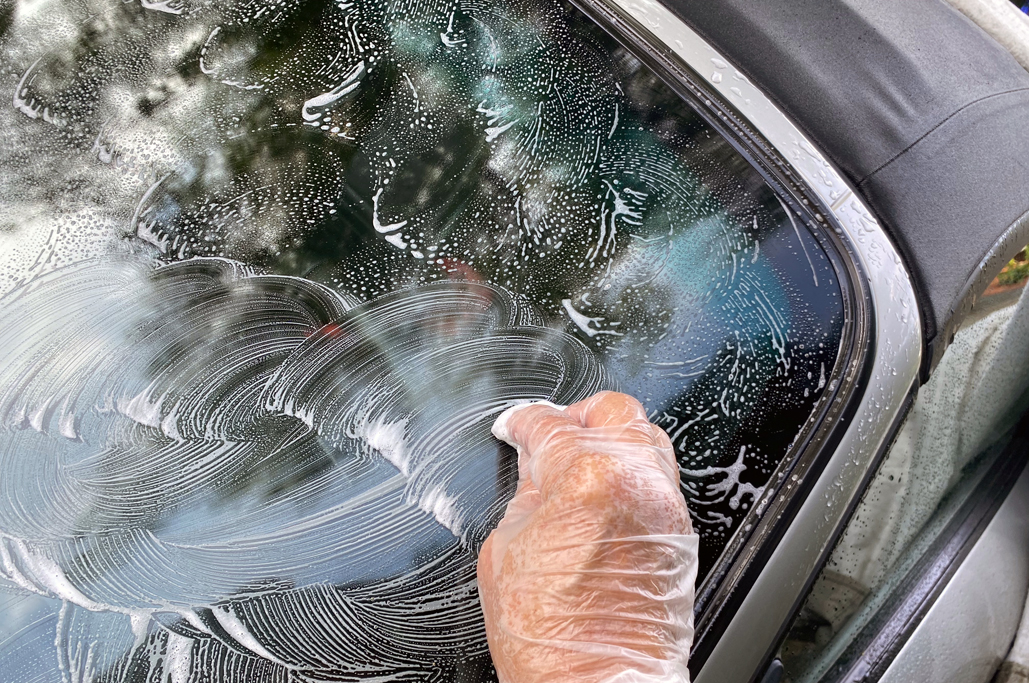
2. Clean using Step 1 wipe (wipe on, scrub, wash off);
3. Dry with a cloth;

Easy-peasy (no lemons were squeezied).
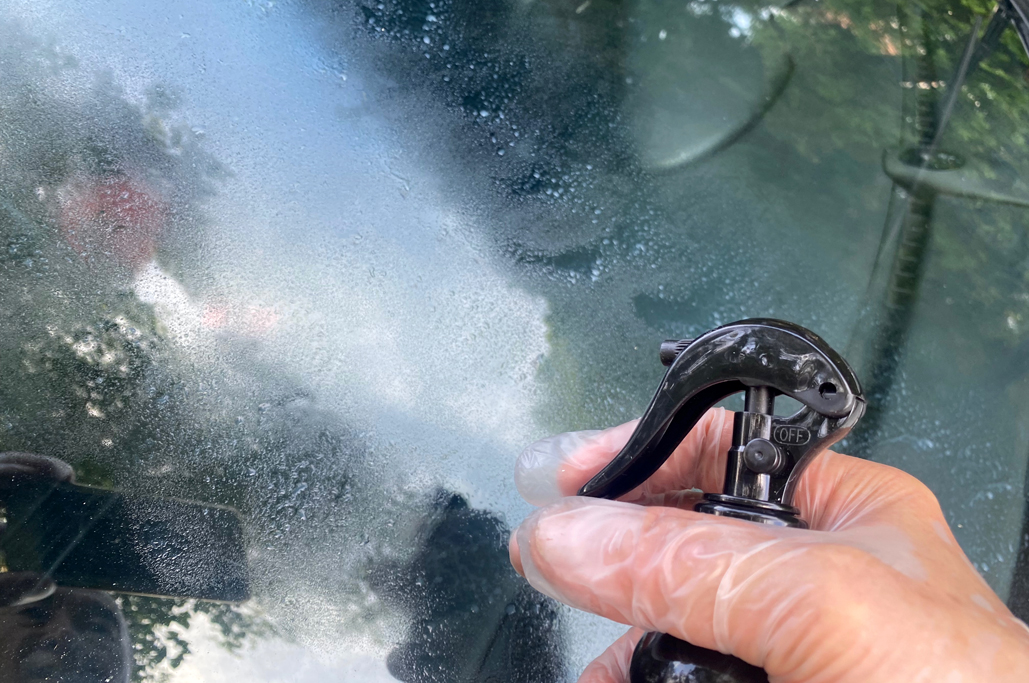
4. Wipe on Glass Coat (shake, wet, spray) and buff;
5. Let cure for 2 hours.

We didn’t run into any issues with applying the Cerakote Ceramic Glass Coat. Also, the bottle had plenty of liquid left for additional treatments.

We may do a few more coats after the first one has cured just to make sure we didn’t miss anything (we were pretty sure we didn’t, but did I mention we had a lot left over???).

We’re liking the Cerakote Ceramic Glass Coat so far.
FirstThoughts
A new set of wipers will not only give us better visibility on the road, but it will also take away the super annoying squeeeeeeeal every time the wiper moves across the glass, LOL.
We are eager to see how the Cerakote perform under actual rain conditions. Will post an update once we have some real world data.
Links to items mentioned


Leave a comment