DIY : Ohm N2 Driver Repair
Refoam or replace???
We purchased a set of Ohm speakers (two satellites, one 8″ subwoofer) circa 1979. The units, while still functional, had some components that had begun to deteriorate and an enclosure which had clearly seen better days.
This, of course meant a RainyDayProject.

Foam Surround
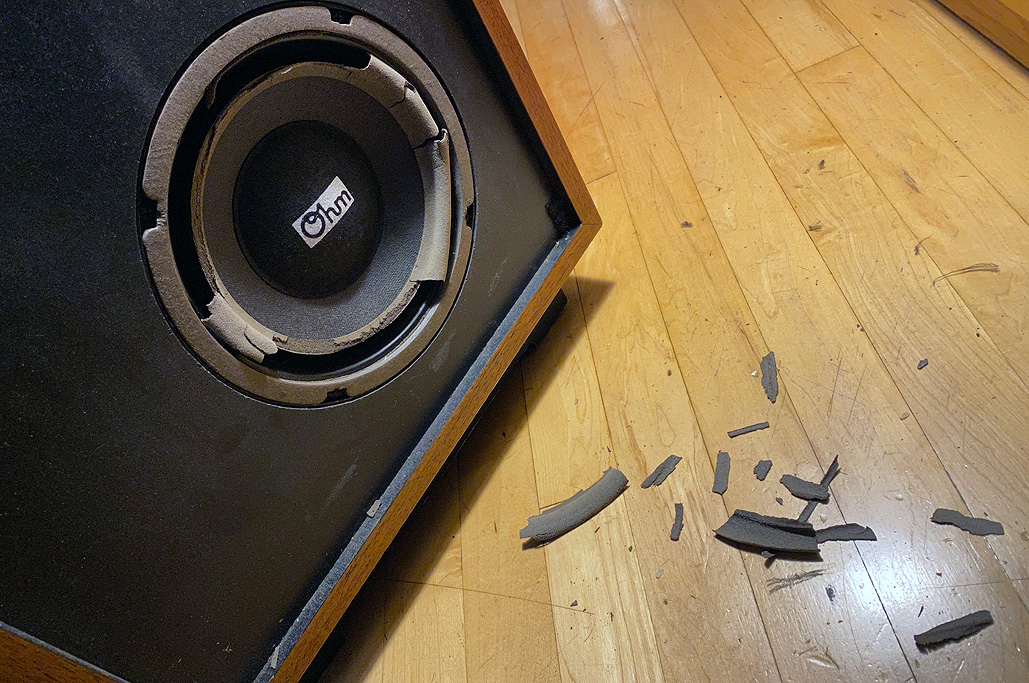
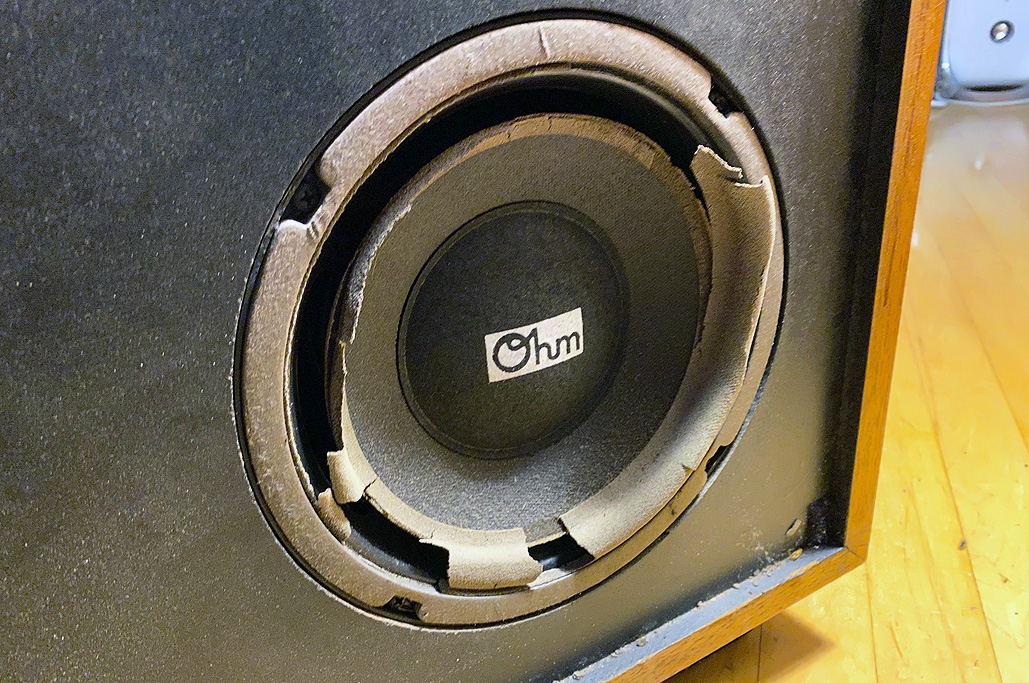
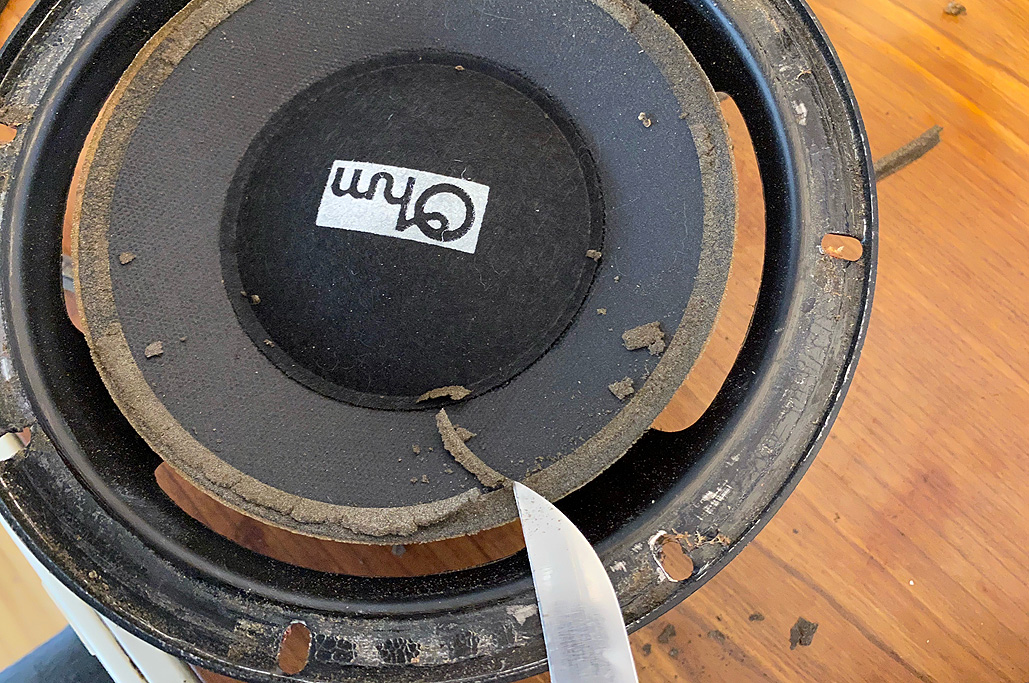
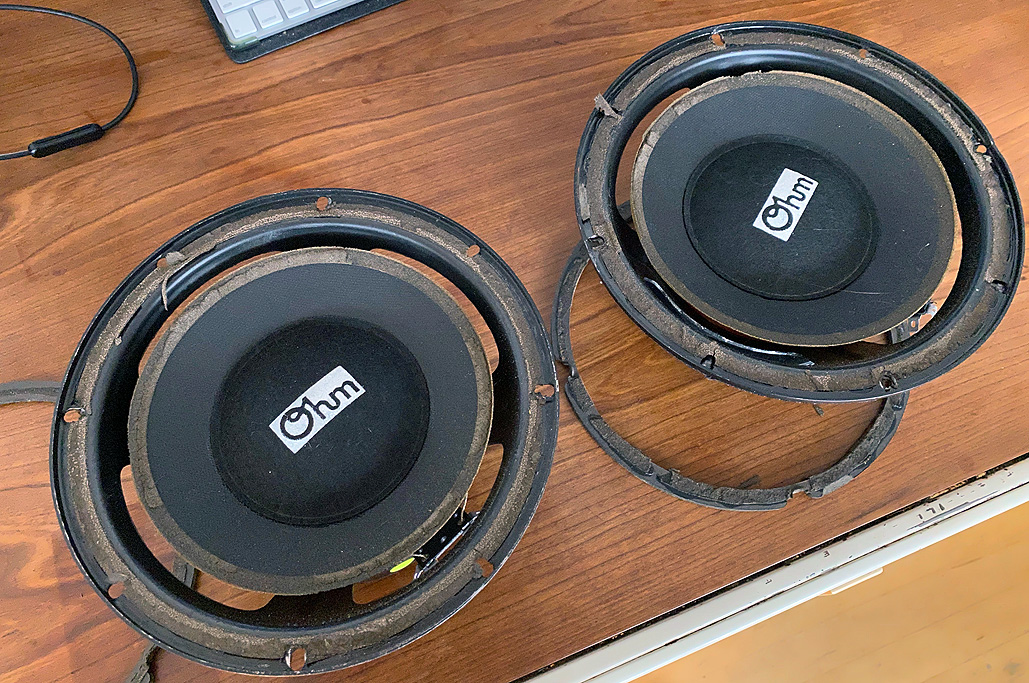
Surrounds are soft rings on the woofers that are glued to the speaker cone and the frame. They flex when the speakers reproduce sound. Since they are typically made of foam or rubber, they deteriorate and crumble with time. The ones on the Ohm N2 had completely turned to dust, which is understandable as they were forty years old.

Ohm Acoustics offers replacement parts that cost around $200 for the pair. The price is well worth it, as this unit cost us $400 back in 1980, or about $1,264 in 2020 dollars.
Obviously, replacing the entire driver assembly would be the easiest and surest way to go. However, we would love to salvage the original drivers if we could (because we’re like that).

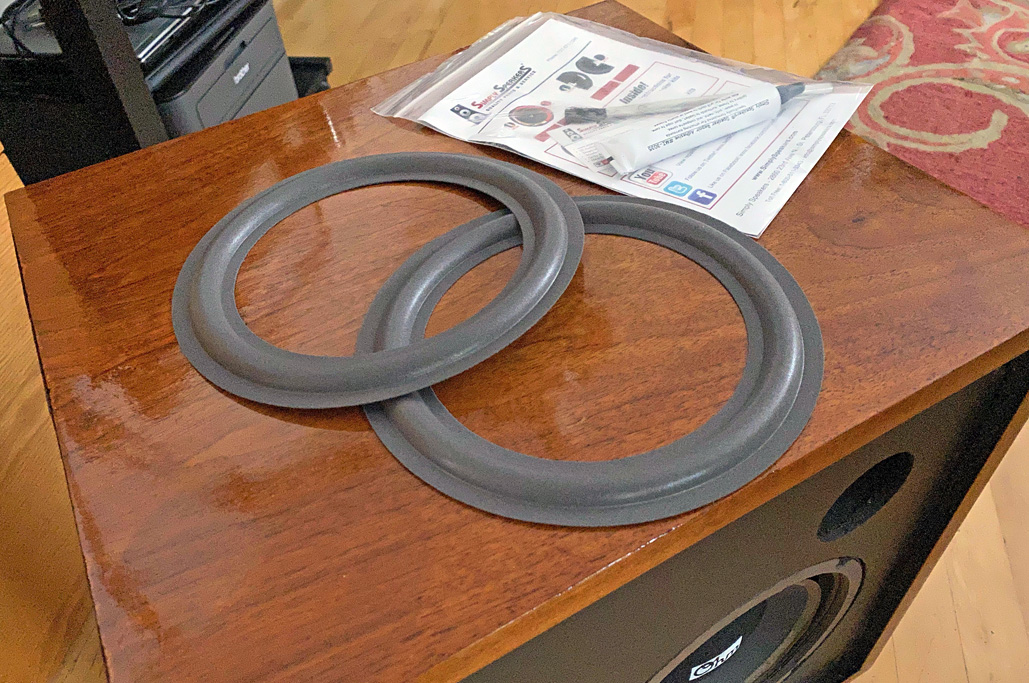
After doing our due diligence—i.e., surfing the web for a few hours—we decided on the repair kit from Simply Speakers. We liked that Simply Speakers clearly knows what they are talking about, sells all kinds of parts specifically for speaker building/repair, and the items are reasonably priced. For $25, we could certainly take a chance with this kit and still go the full driver route if it didn’t work out.
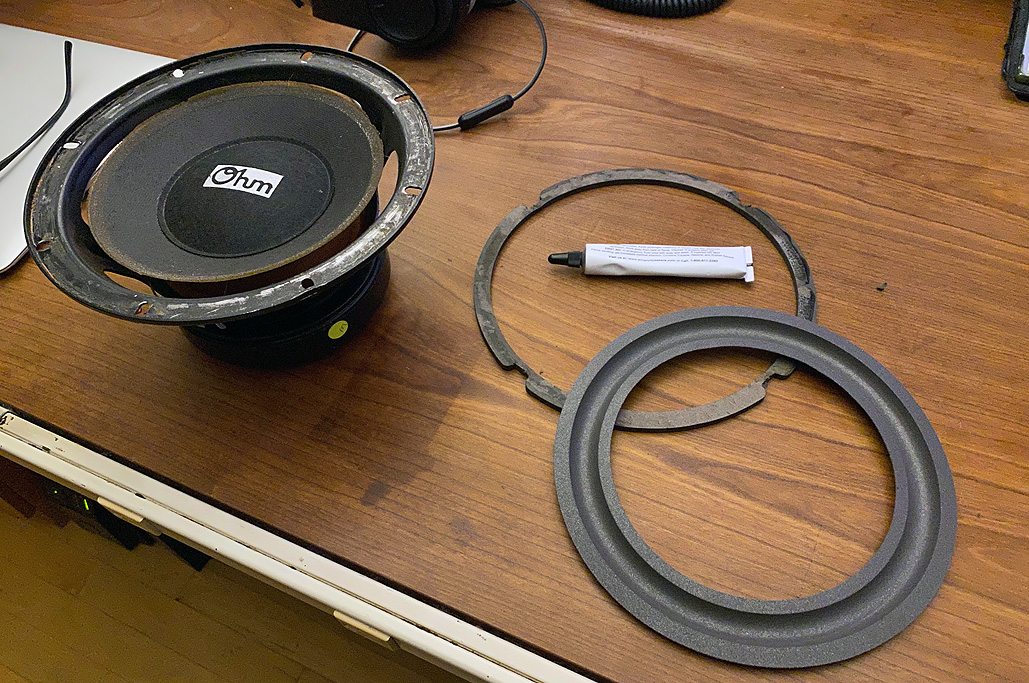
Simply Speakers Kit

- 2 foam surrounds: Outer diameter of 7.75″ (197mm); Roll outer diameter of 7″ (178mm); Cone diameter of 5.875″- 6″ (149mm-152mm); and Inner diameter of 5.375″ (137mm)
- MI-3035 rubber based repair adhesive
- applicator brush

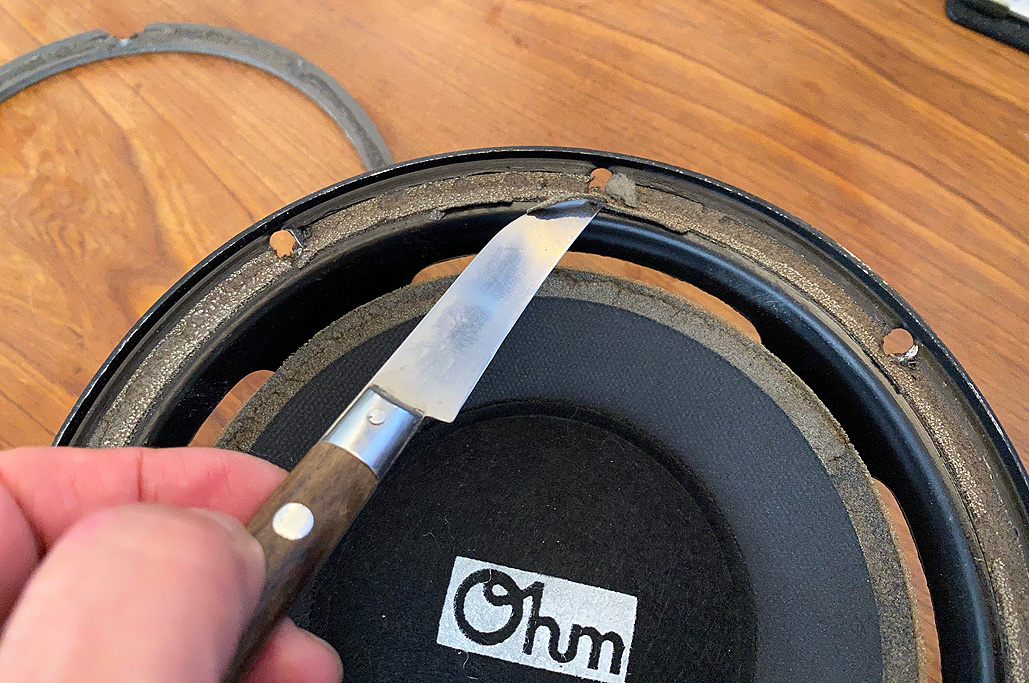
- Pick off loose foam pieces
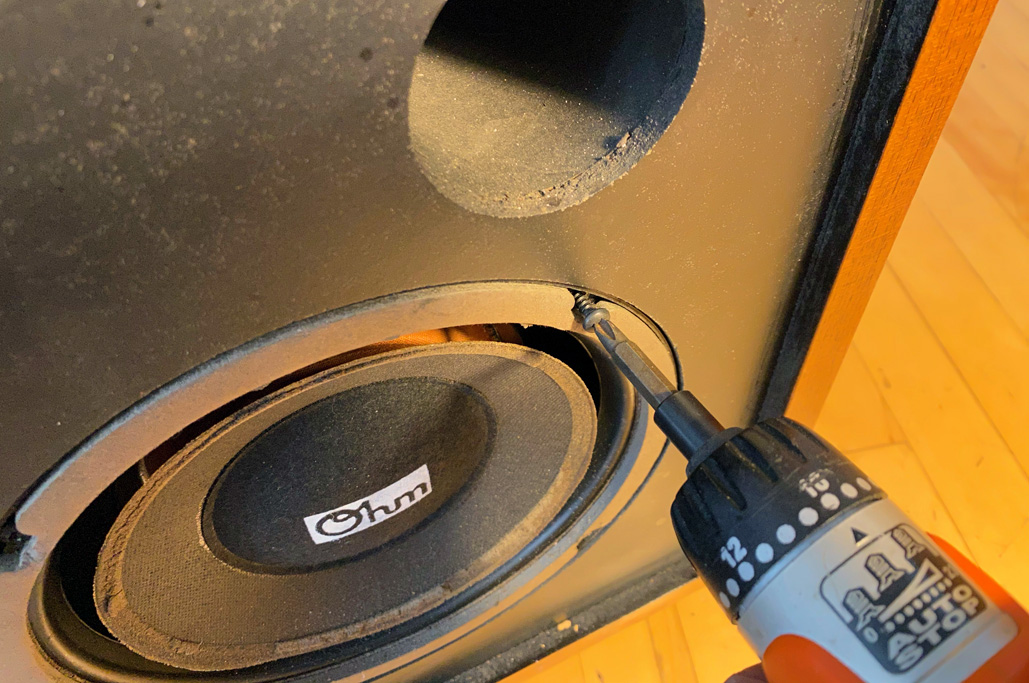
- Remove the drivers from the enclosure
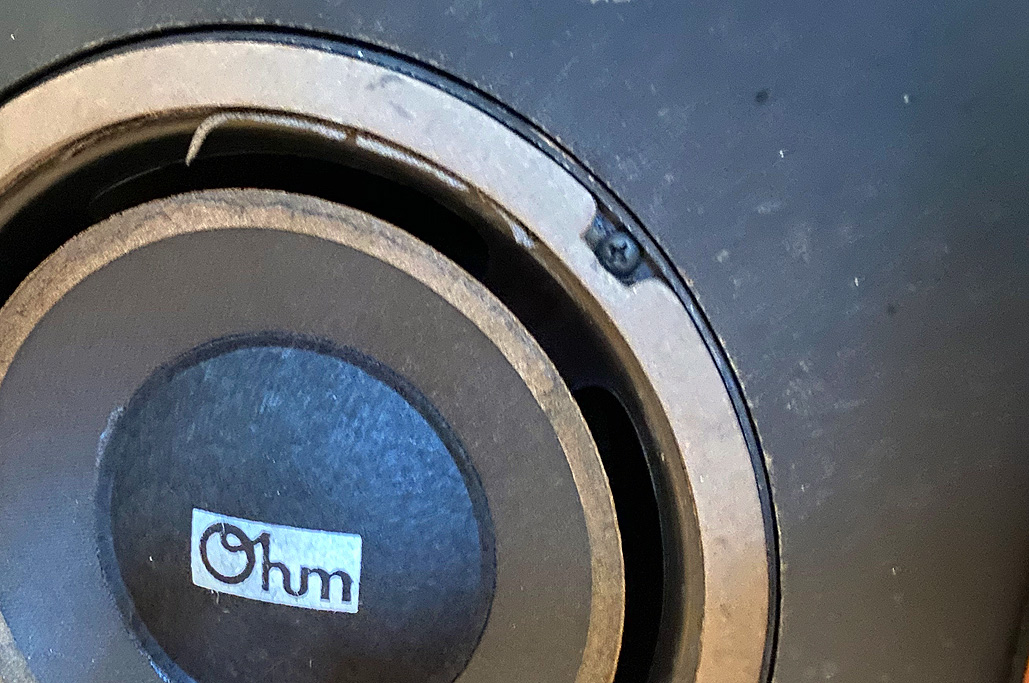
- Remove the gasket
- Clean off any remaining foam
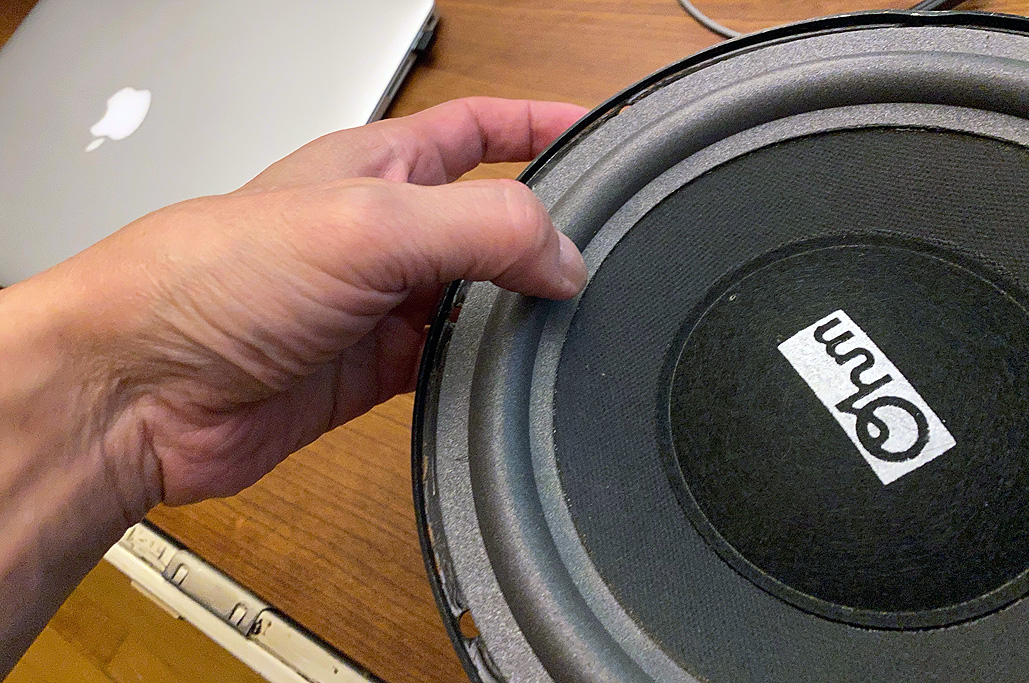
- Glue on the the new foam
- Replace the gasket
- Remount the driver
Of course, there are lots of details and the videos go into detail on how to do it. They are well worth watching a few times BEFORE doing anything.
Remove
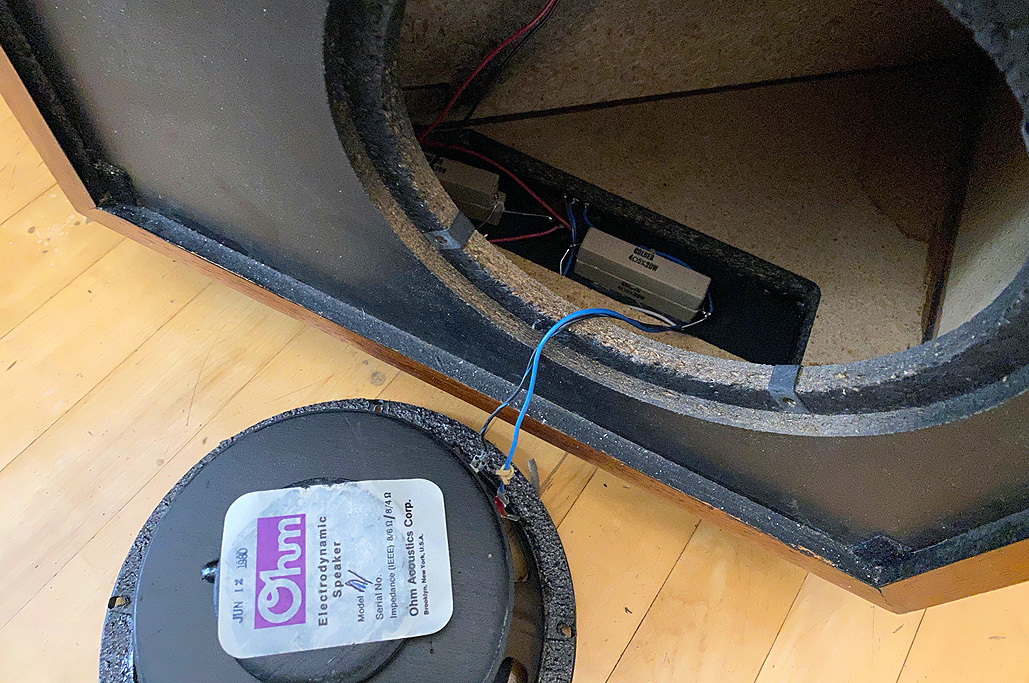
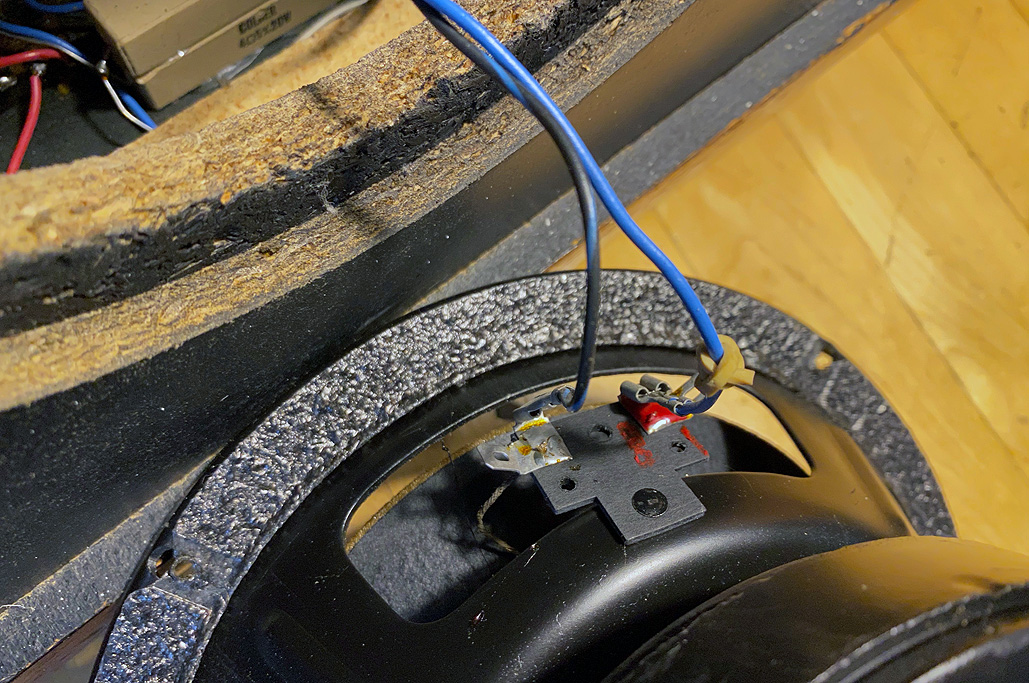
The first step is to take the drivers out of the enclosure. This is easily accomplished as they are held in place by four big screws.
One thing to note, though, is that the drivers are HEAVY. We loosened the upper ones first to make sure the unit did not fall out of the mount as we took the screws out.

Looking back, it probably would have been “safer” to lay the box down so the driver points upwards (LOL).
We took note of the colors of the wires to the terminals, to make sure we didn’t so we reconnect them wrong when it was time to put things back together.


Clean

Because the foam surrounds were glued in place, some of the foam was still stuck to the surface. We gently scraped off the detritus so that the new ones would have a good adherence to the surface.

Glue
Speakers are special things. As such, they have their own glue. Speaker glue, it’s called. That’s what came in the repair kit, and that’s what we used.


Dry
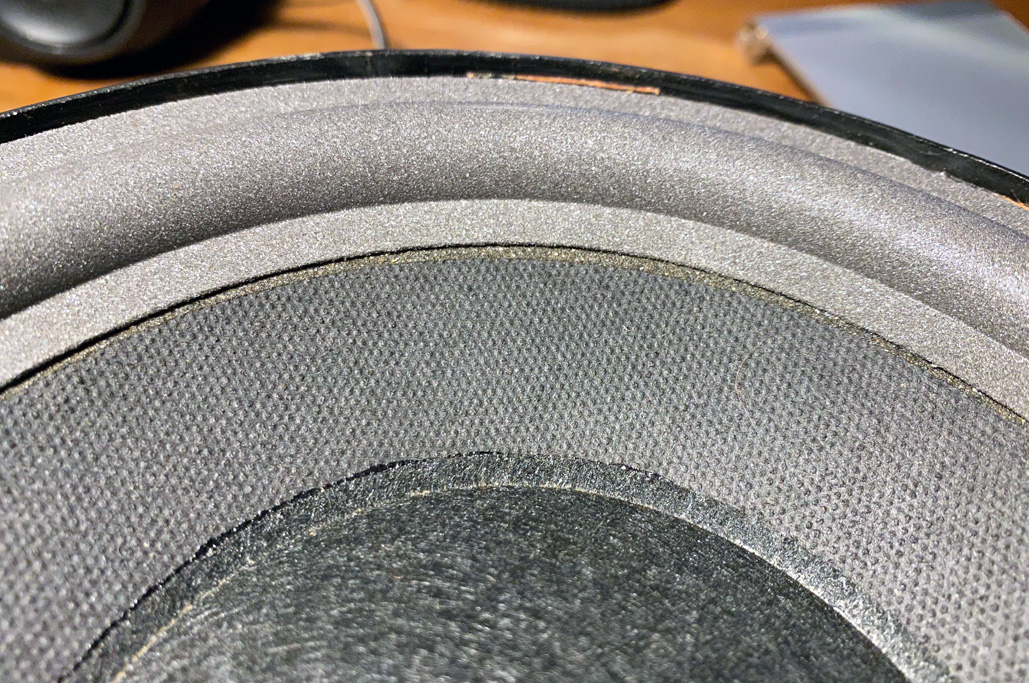
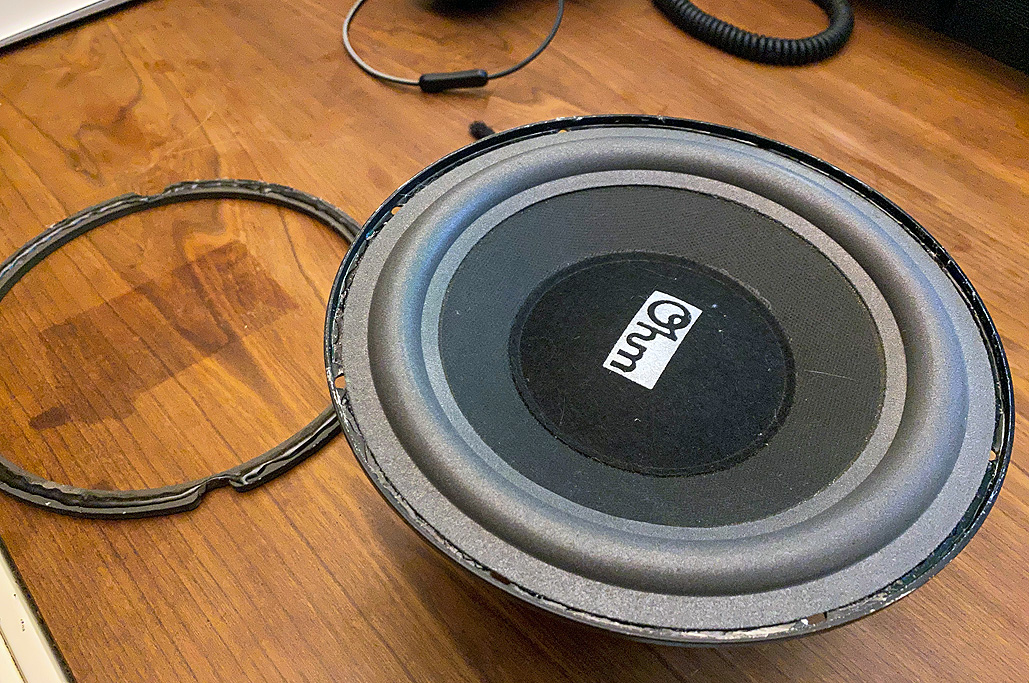
We wanted to make sure the gasket made good contact with the surround as the glue set. We did that by inverting the drivers and letting the heavy magnets press down on everything while they dried.

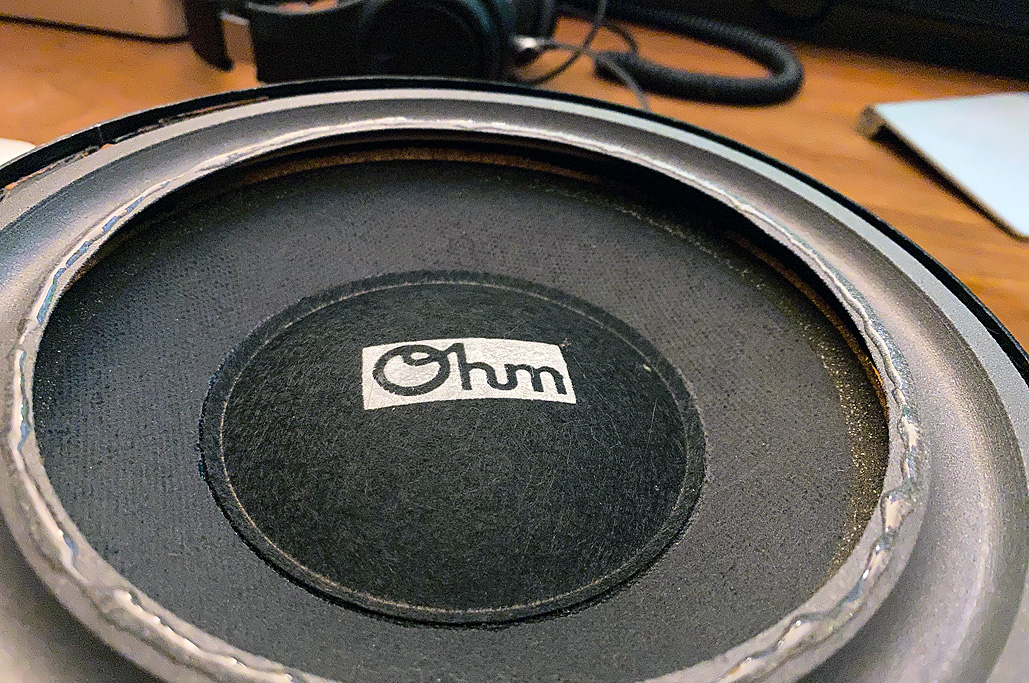
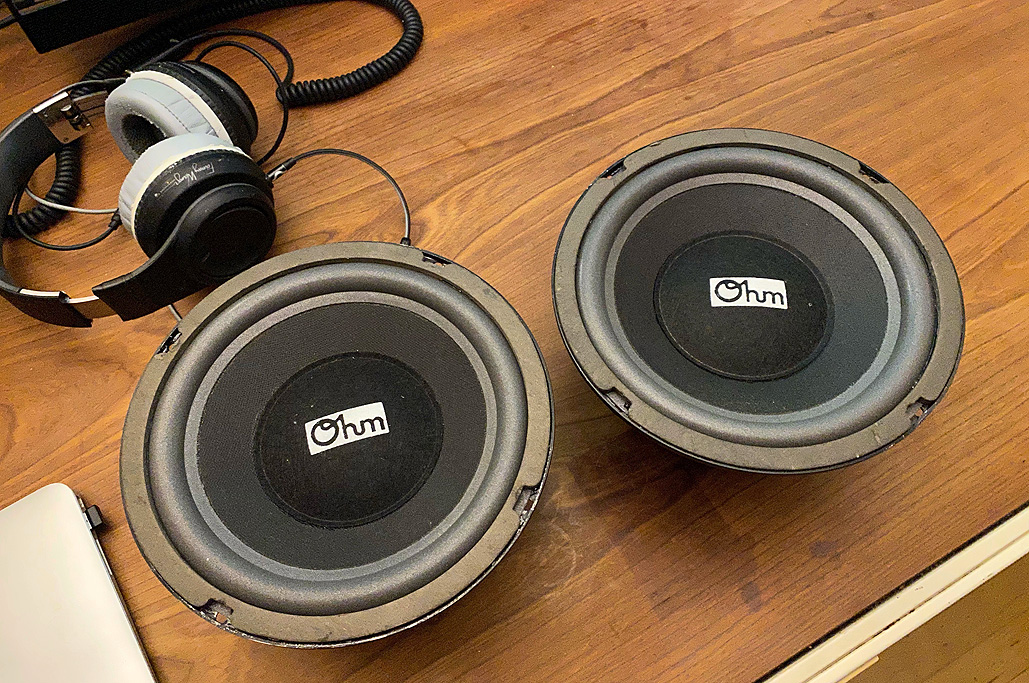
Here are the results (hours later—we wanted to make sure that the glue was dry). Both drivers looked great and were ready to be placed back into the enclosure.

While we were in midst of this DIY, Ohm Acoustics informed us that they were sending a couple of refurbished drivers for this project, just in case the results of our efforts didn’t meet up to expectations. Those guys…
We were planning on just hooking up everything and doing a sound test in a day or two, but now we going to wait until the Ohm drivers get here and do a side-by-side comparison of the sound. Now THAT should be fun!!!
Links to items mentioned:


Leave a comment