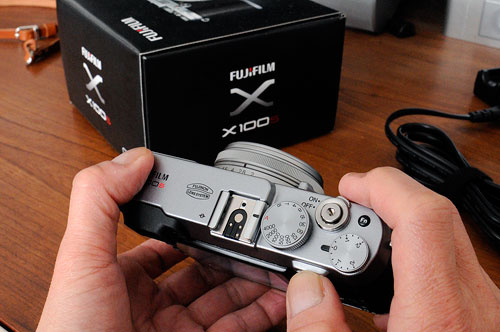
Fujifilm X100S: FirstShots

The layout of the X100S’ dials and buttons is well thought out. All of the basic features were easily understood and readily accessible. The battery came charged. All we had to do was pop in an SD card and turn the camera on, and we were good-to-go!
The following are test shots we took to get a feel for how the camera’s Automatic setting responded to various lighting conditions. The entire session lasted a little less than five minutes and all of the shots were taken hand-held. Even though we picked some rather challenging conditions (high contrast, low light, etc), the X100S handled them with ease.
The samples we have chosen for this write-up were resized to fit the width confines of our website, but none of them were retouched in any way. We have included included one image at the full 16MP resolution for those interested.
Some of the scenes had a very large dynamic range. The X100S’ Automatic setting did a very credible job managing the spread, much better than we had expected. We found the close-up shots to be especially impressive. Most point-n-shoot cameras, when confronted with both very bright and very dark portions in one image, make mud of everything in the middle. Not the X100S. While we certainly could have achieved better results with a few fine adjustments prior to the shot, the images acquired using the Auto setting certainly were usable, especially if we were to do some post-processing.


We think we continue our “blind poking around” with the X100S for a while before we crack the manual to learn more about the features of this little gem. Next up, people, pets, and places.


Leave a comment