With the Nor'easter over and Spring on its way, the RainyDayGarden folks thought they would celebrate by putting together the Gardener's Supply Company potting bench that had been in pieces in the front office. The assembly directions looked simple enough:
- Attach drawer handles (2)
- Attach leg panels (2)
- Attach bottom shelf (1)
Most folks should have no problems putting this table together, but as we did put one together, we thought we would pass along some tips to make the process as foolproof as possible.
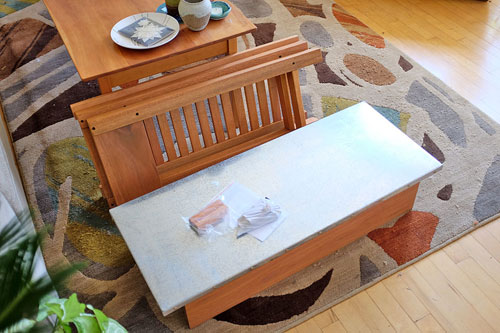
There are a few things to check before starting: make sure all the screws (12 long ones, 4 short ones) are accounted for; and gather the needed tools. In the bag which held the screws, we found two hex keys (same size) and a small phillips head screwdriver. The hex key is for the long screws and the phillips head driver is for the short screws. If you have an electric screwdriver, we would recommend using it for the short screws as things will go faster and be easier on your hands.

The first step is to attach the two handles. The holes in the drawers have been pre-drilled as are the pilot holes in the handles. Just push the screws through the back side of the drawer front and turn it a little by hand until it has bitten into the wood of the handle. Once both screws have been inserted, then use the power screwdriver to tighten things the rest of the way. Take care to not over tighten as the wood will expand some when the moisture is absorbed.

The next step is to attach the two leg panels (these are the side panels of the bench with the front and back leg already connected). Note that there is an "out-facing" and an "in-facing" side to the panels. We found it easiest to attach the first panel when the bench was turned upside down. The only problem doing it this way was that the screw closest to the top was harder to tighten as the hex key kept hitting the floor.
With one side done, the second panel may be attached by placing the table on its side. Note that in this configuration, the top screw may be turned without obstruction. Once the legs have been attached, the table will stand, but there may be a slight wobble. Check to make sure that all the screws have been tightened sufficiently (no gap between the legs and the drawer unit).

The last step is to attach the bottom shelf. The only point to note regarding the installation of the shelf is that there is a top and bottom side. The top side is the one without the hole covers. Once attached, the unit should be completely stable with no wiggle at all.

The build process went smoothly and everything came together in less than 10 minutes. Not sure why they had put it off for so long!!! The pre-drilled holes were well aligned. All of the pieces were properly sized. It speaks well of the quality control of the kit.

The finished stand is rock solid and very nice looking. This should be a nice addition to the RainyDayGarden. We will get it setup outside and put it to work ASAP. BTW, we are still debating as to whether we need to oil the wood to help it stand up better to the elements. We are open to comments and suggestions! [Permalink] - Potting Bench Assembly
|


