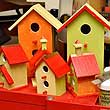
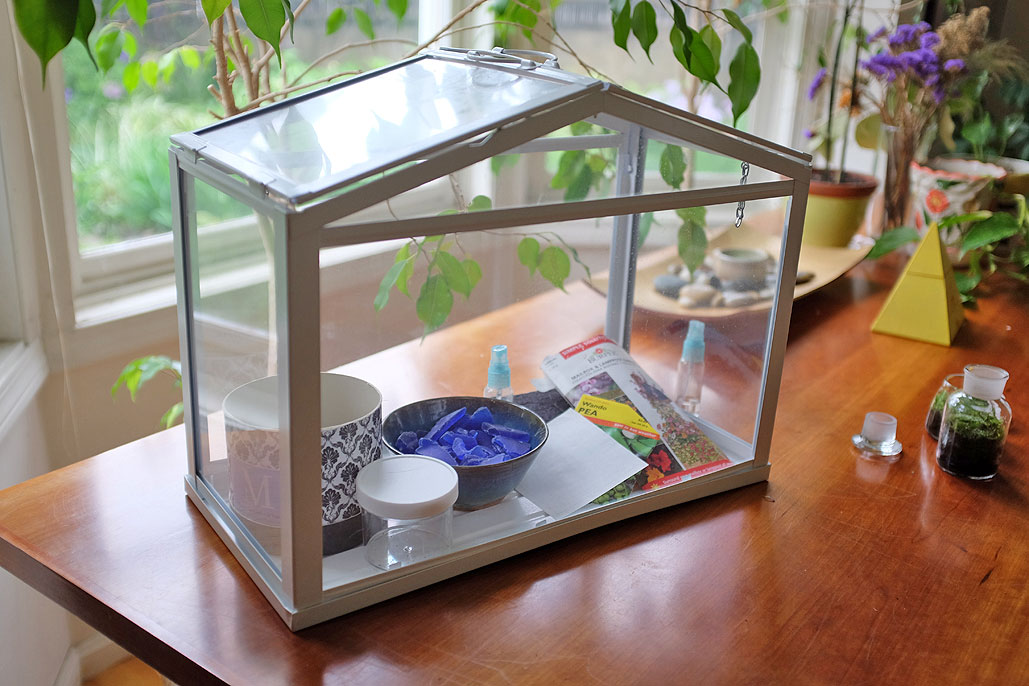
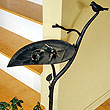
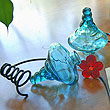
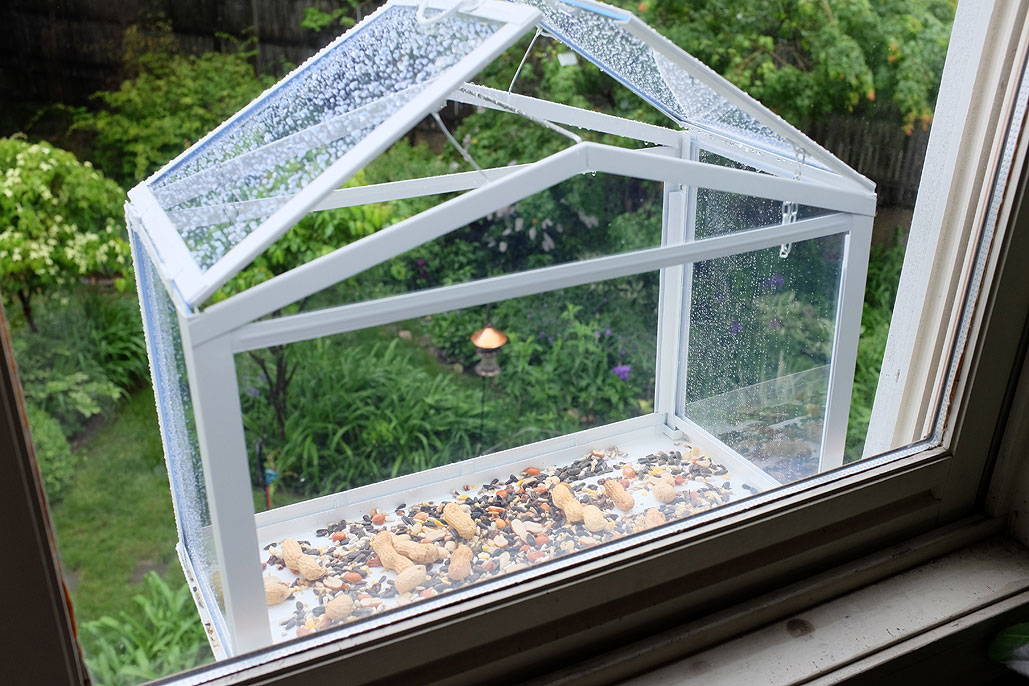
Using items from IKEA for DIY projects is something of a phenomenon on the Internet. A quick search brings back thousands of hacks and ideas. When we first came across IKEA's Socker portable greenhouse, we knew that this little gem would be perfect for all kinds of projects. Today we would like to share one of them with our readers.

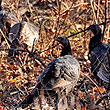
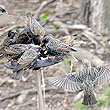
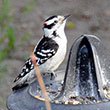
There are a lot of feeders in the RainyDayGarden. While we get plenty of visitors, the feeders are a little too far away from the office windows to get a good view of our visitors. We tossed around ideas on making a feeder which could be placed close/next to a window. There are a few builds of such feeders floating around the Web. Some of them look like they work, but they all seem a bit clunky AND more work than we were willing to put into such a project. The ones available for purchase are very nice, but can cost over $100. IKEA's Socker greenhouse solved all of those problems in one stroke: a unique light airy look, a 10-minute DIY from start to finish, and a $20 overall cost. The only tools needed for this project were a drill , a few screws, and some water-proof sealant. , a few screws, and some water-proof sealant.
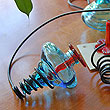
The basic steps are:
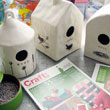
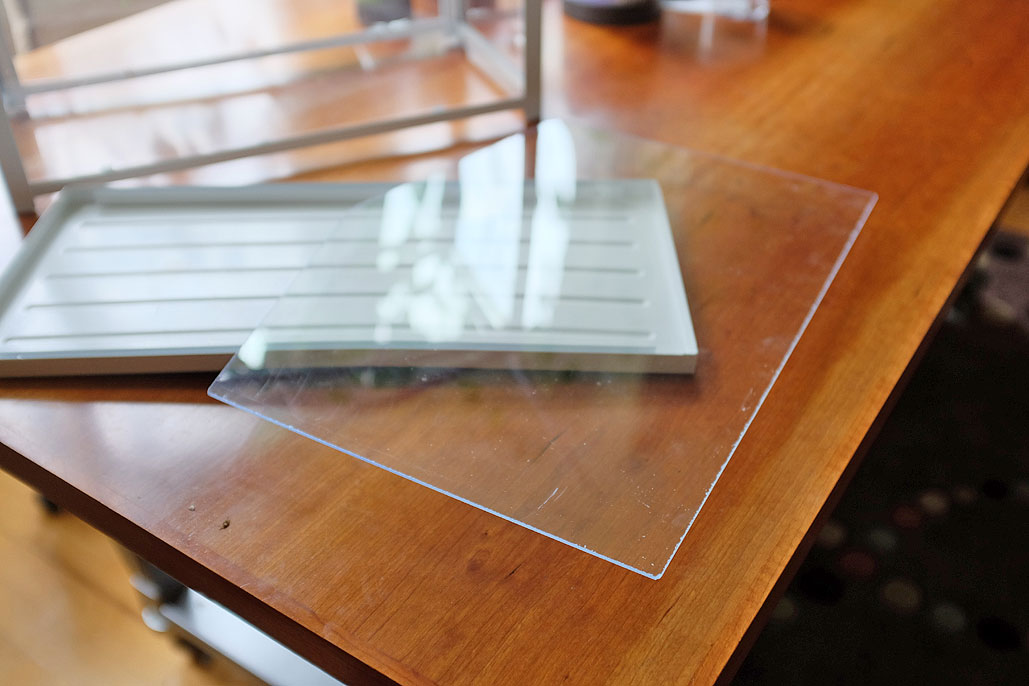
- Remove one of the front plastic panels
- Drill holes in the tray for drainage and mounting screws
- Mount the tray on the window ledge
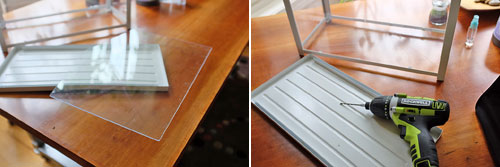
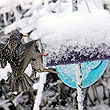
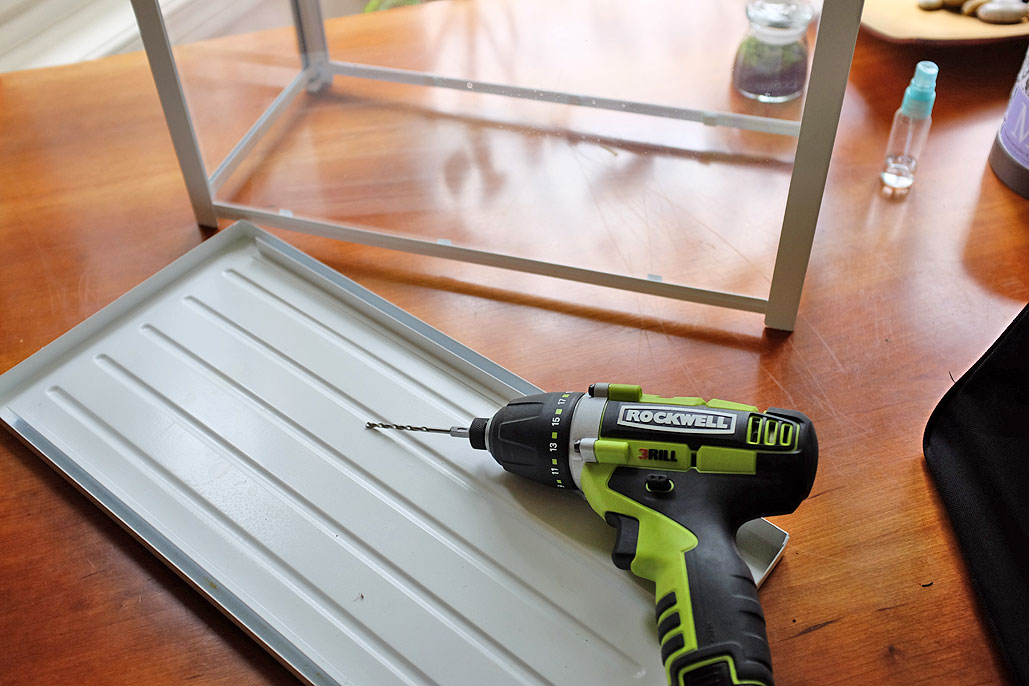
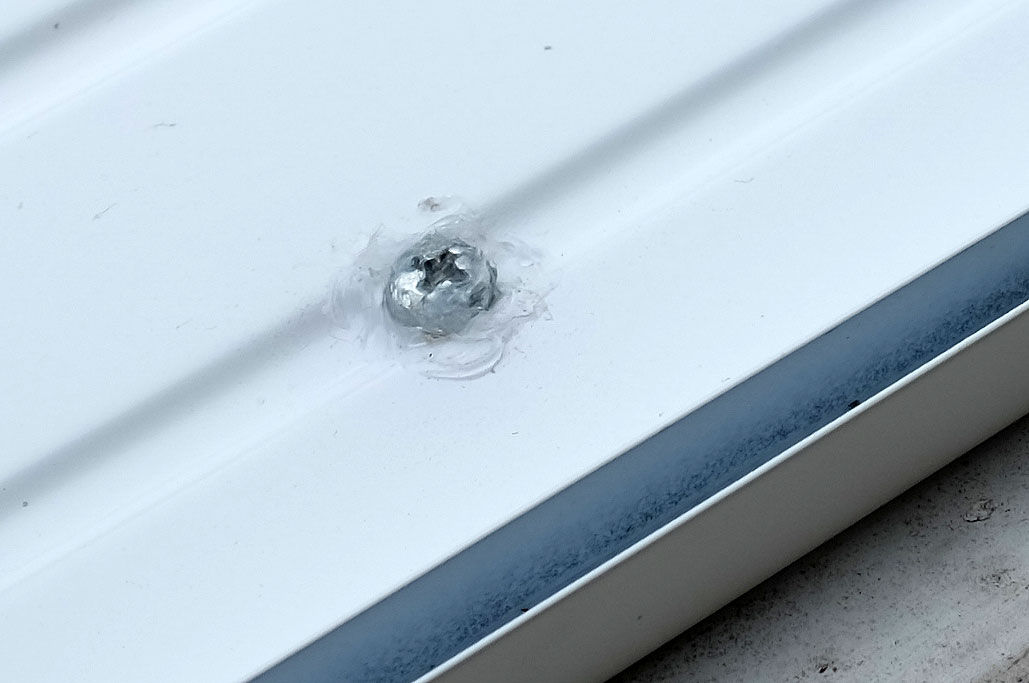
The front panel was easily removed by folding down the retaining tabs and sliding out the plexiglas. We drilled a row of holes in the back for mounting screws (recommended) and along the edge of the tray for drainage (optional). The number of holes (6) for drainage was just a guess. We drilled four holes for mounting the tray, but realized only one was needed to hold it in place.
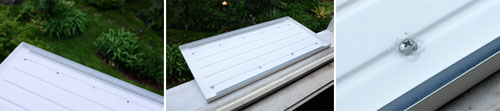
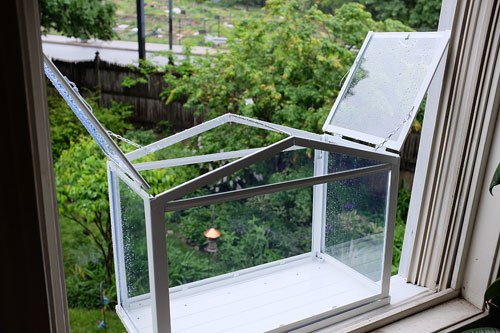
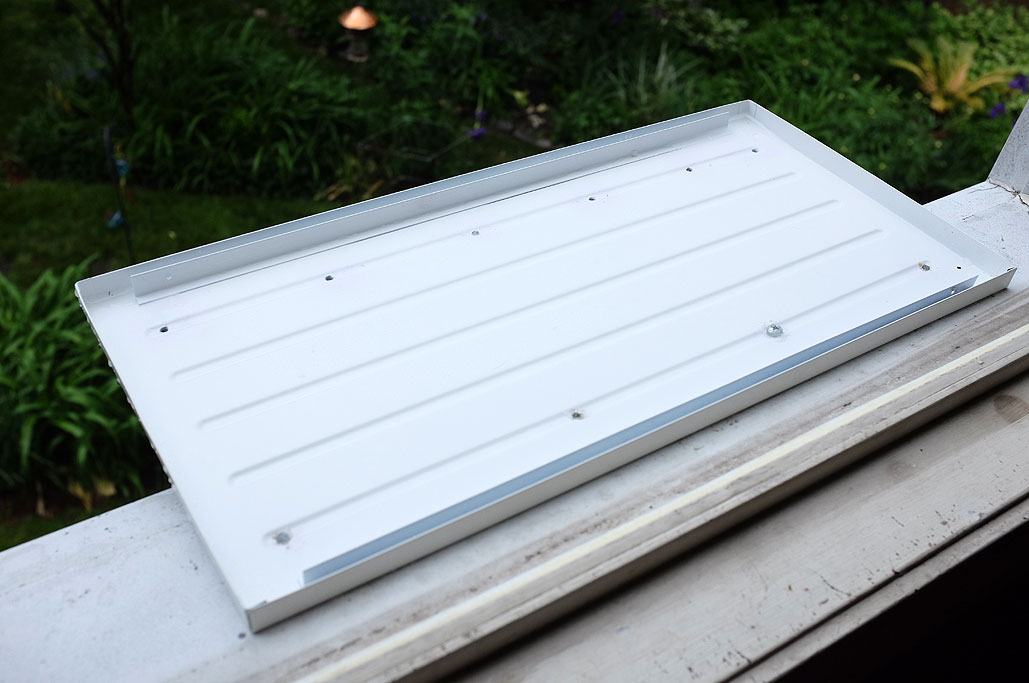
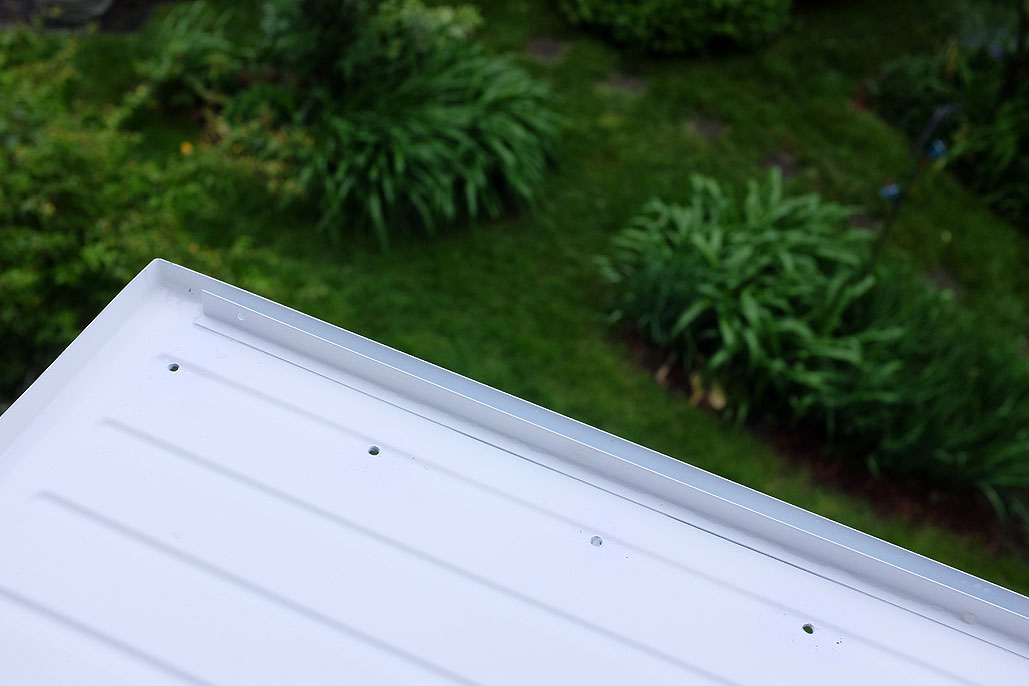
To prevent the screw and drainage holes from rusting, we sealed the screw heads with some clear marine-grade sealant and sprayed the holes with some white Rustoleum paint. At this point, the DIY project is basically complete. Replace the frame, put in some bird seed, adjust the covers, and wait for visitors.
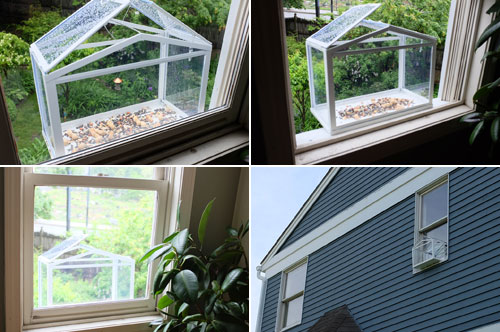
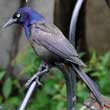
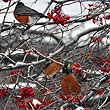
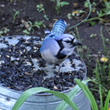
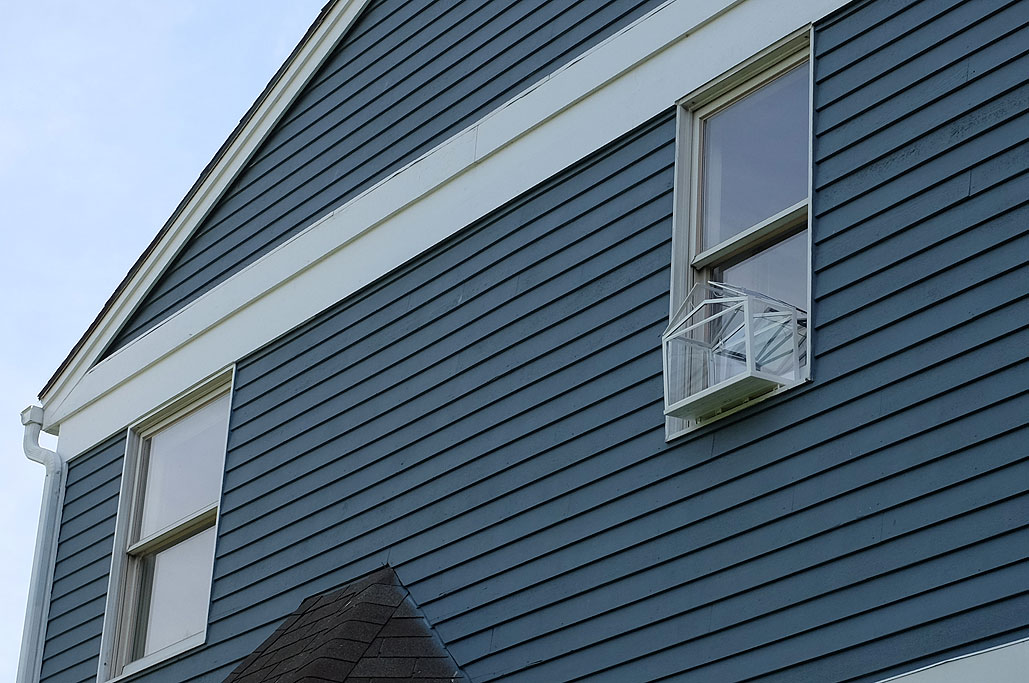
We are not sure if putting it on the second floor is too high for our avian chums. Also, the reflection from the window may confuse them. If we don't have success with it on the second floor, it will be an easy matter to move it a window on the first floor. Of course, then we will have to contend with squirrels and other creatures of the woodland realm.

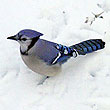
It may take a while before the birds find their way to this feeder. Once we have confirmation that the new feeder is getting visits from our feathery friends, we will start thinking about setting up that RainyDayBirdcam! [Permalink] - IKEA Socker Hack: Window Bird Feeder
|


