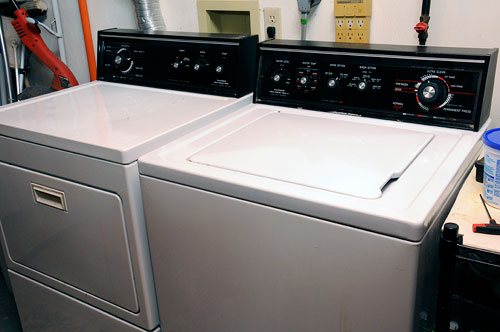
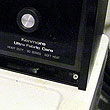
We don't think about washers and dryers too often. We expect them to work every time we use them, but otherwise we hardly ever give them a thought. A bolt had came loose in the washer's mounting a few years ago and a belt had to be replaced on the dryer last September. Other than that, our Kenmore washer/dryer pair has been providing us maintainence-free service for over twenty years.

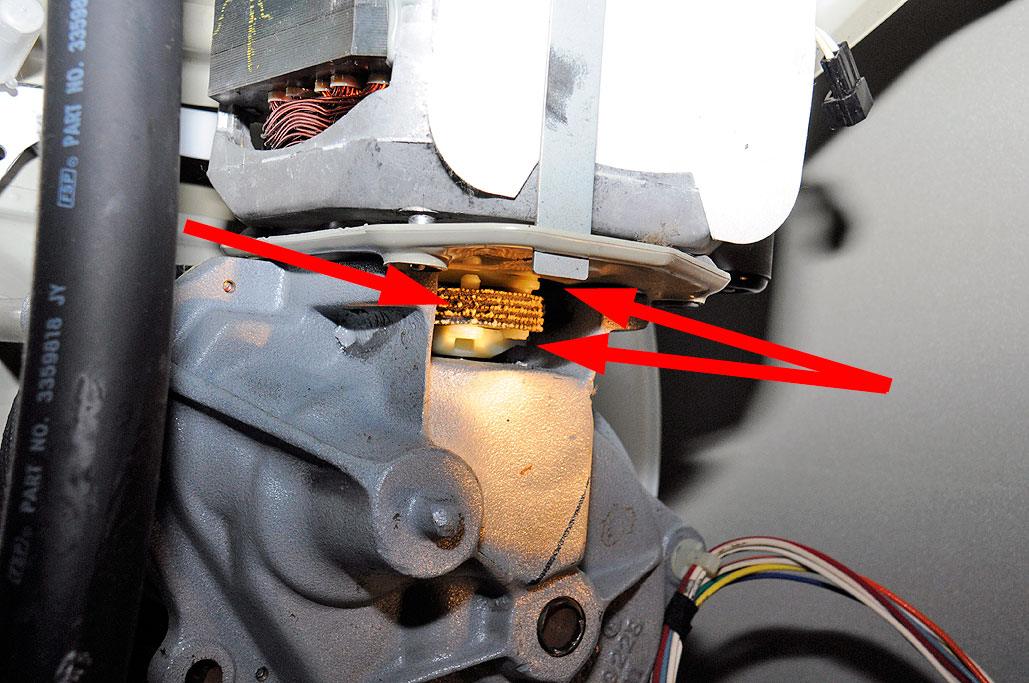
Recently, someone noticed the agitator was not working quite right, and that there was a definite whiff of burning rubber. So it did not come as a complete surprise that a few days later the washer stopped working altogether. The good news was that it wasn't completely dead. While the agitator no longer agitated and the basket no longer spun, there was sound coming from the motor and the water pump appeared to still be working. This suggested to us that the problem was likely mechanical and not something to do with the control panel.
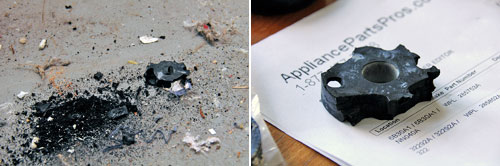
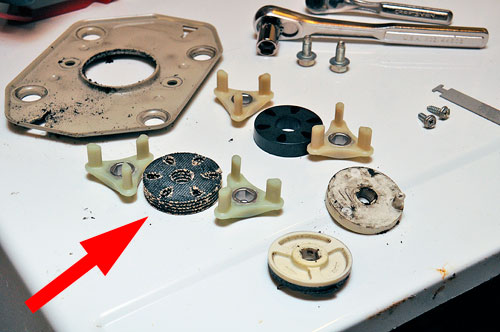
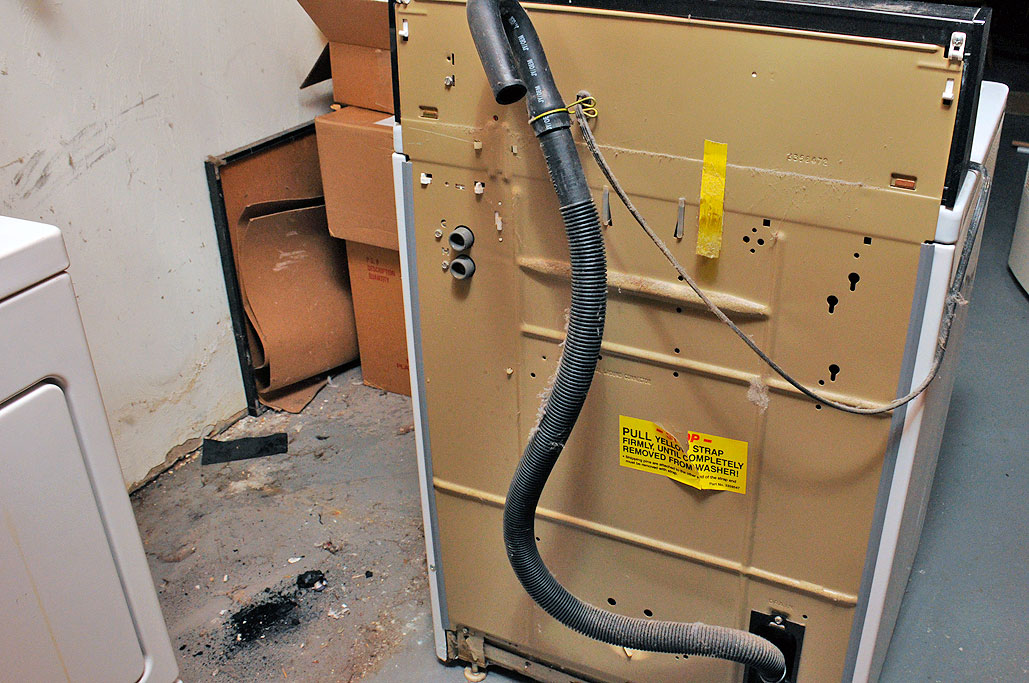
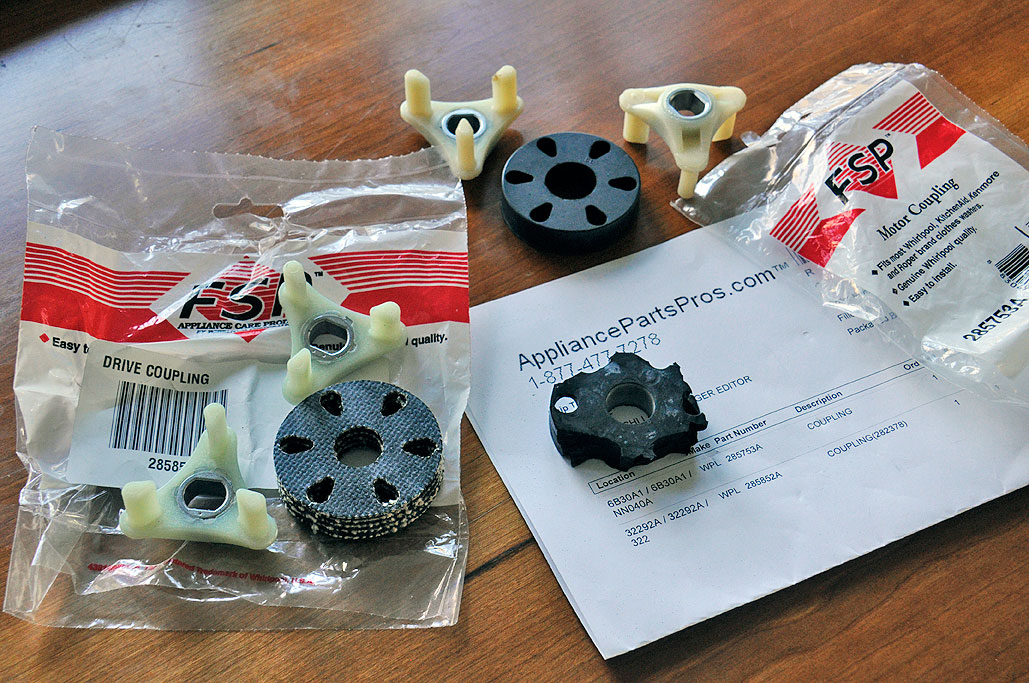
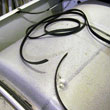
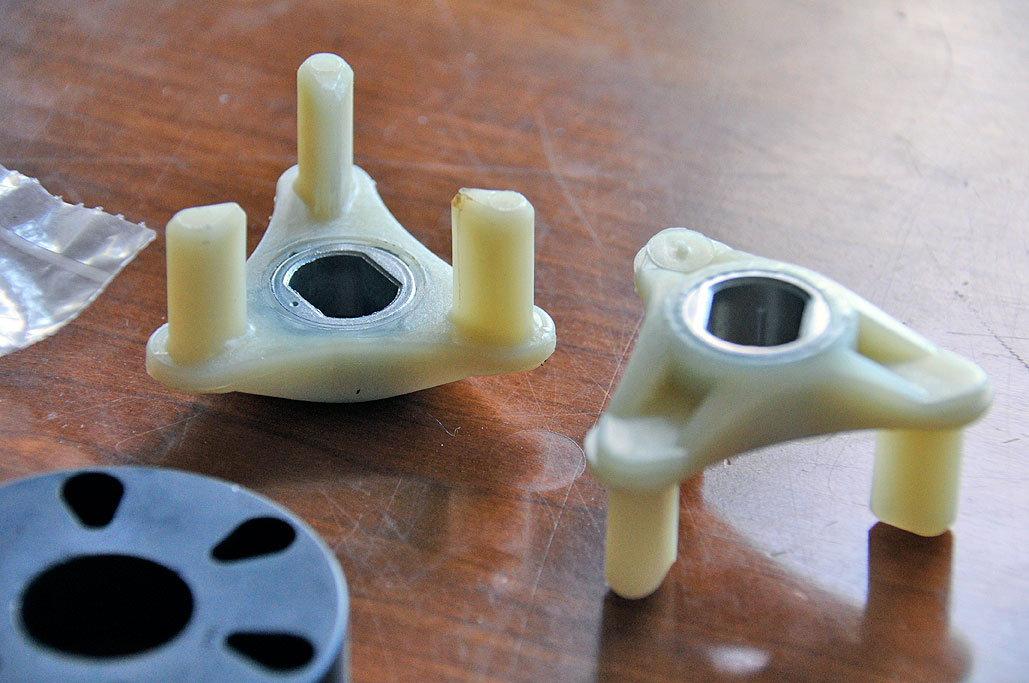
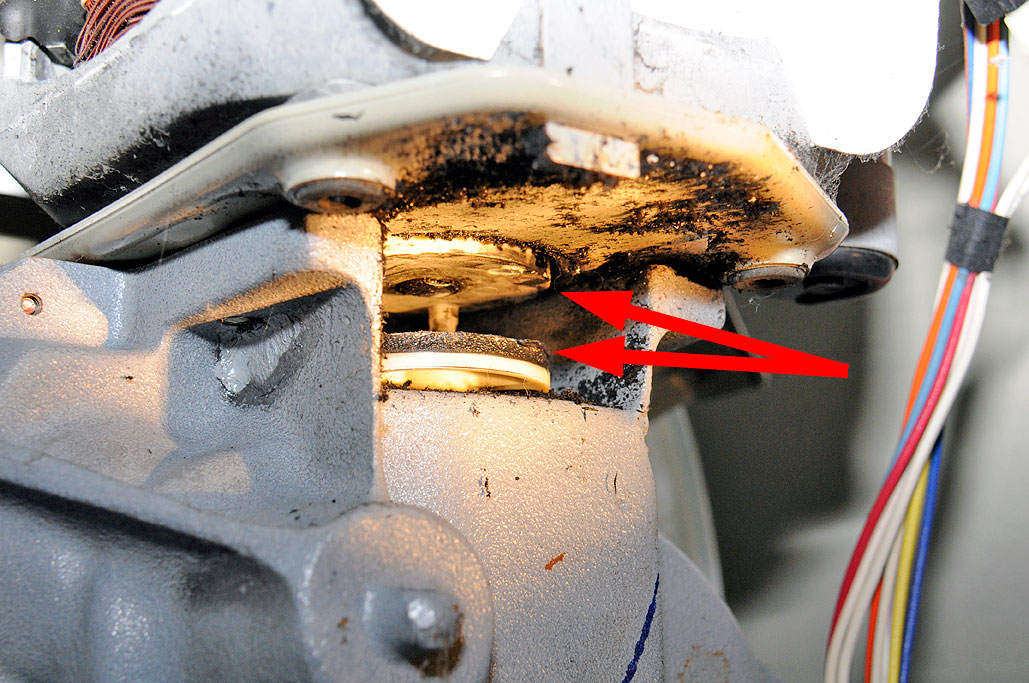
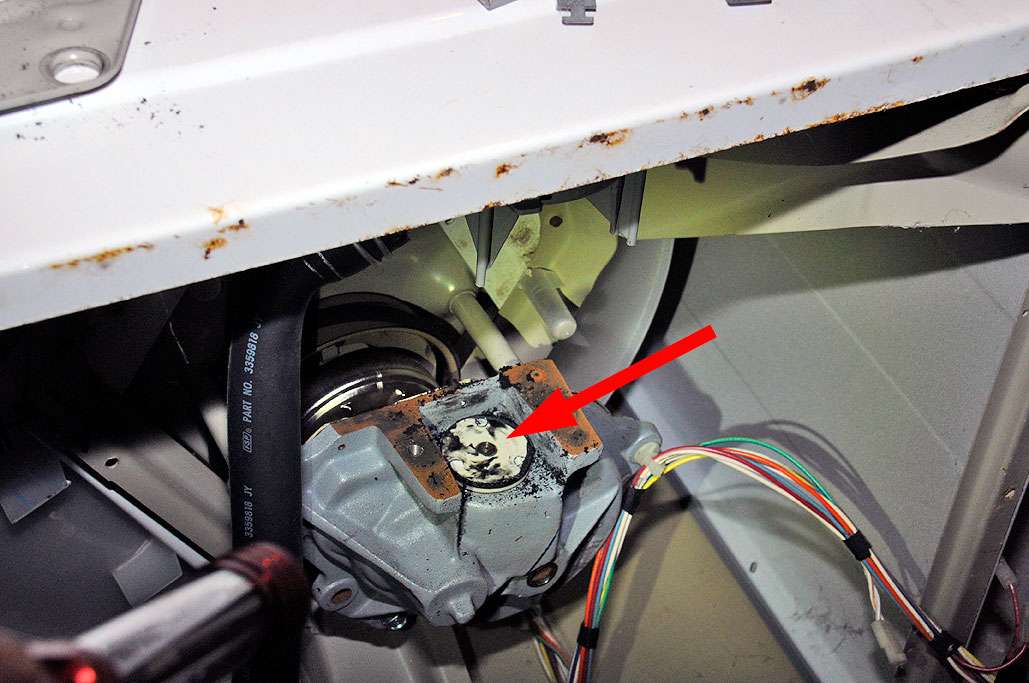
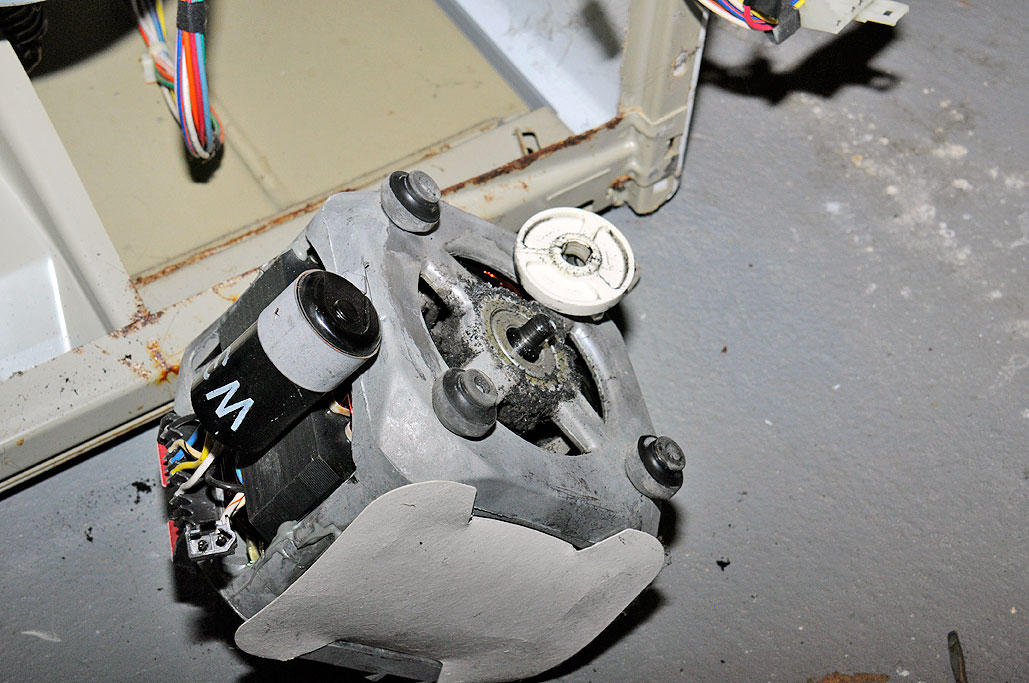
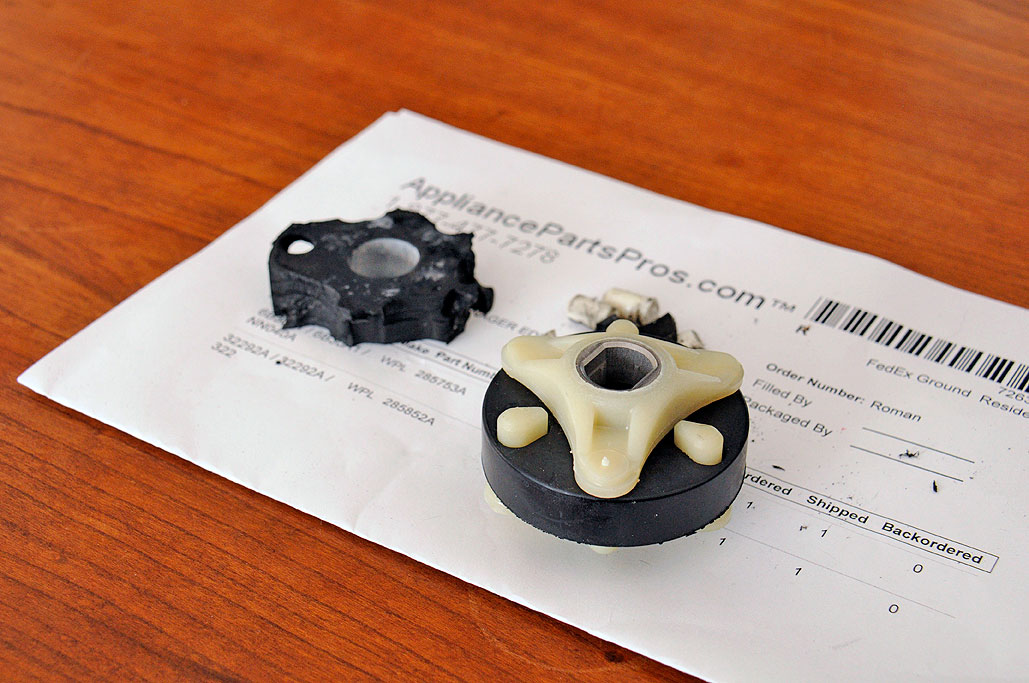
When we disconnected the hoses and moved the washer aside to get a better look, the "dirt" on the floor clearly indicated the root of the problem: the motor coupling. This part is responsible for connecting the shaft of the main motor to the drive shaft that rotates the tub and the agitator assembly. It is not an expensive part (<$10) and is available at our go-to source for this type of DIY project, AppliancePartsPros.com. They also have a heavy-duty version of the coupling for a little bit more. We got both so we could see the difference.

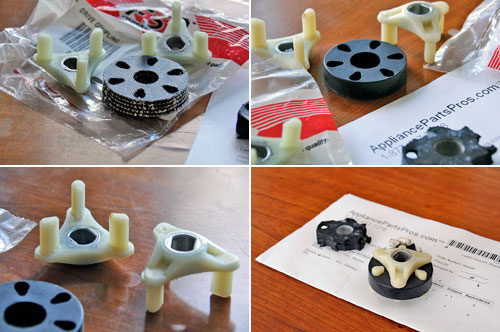
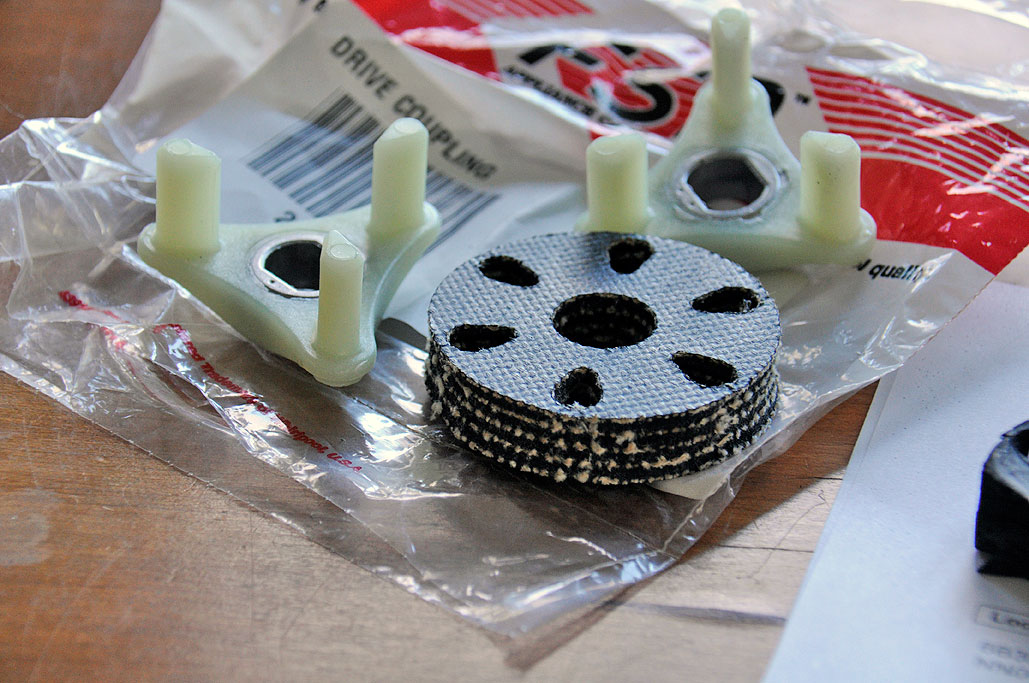
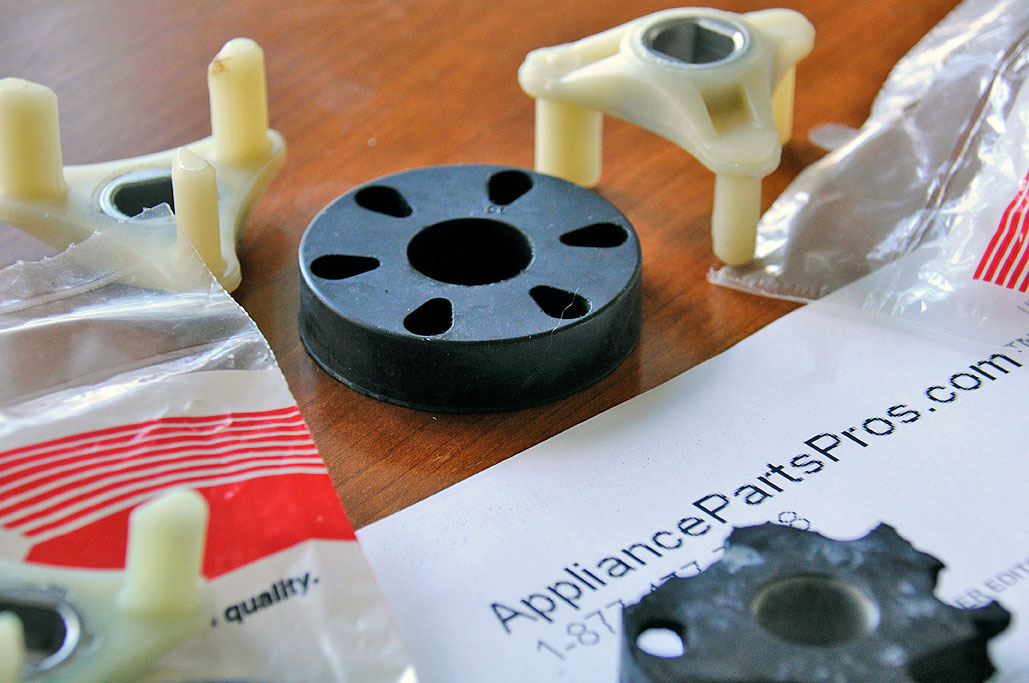
We were glad we ordered both sets. While we could not tell if the cogs were made from different materials, the couplings (heavy-duty, standard) have clear differences. The heavy-duty one is made from a rubber-embedded fibrous material while the standard one is all rubber. Even though the standard part lasted 20 years, we decided to use the heavy-duty version in the repair and keep the standard one as a backup.
While there may be a lot of information on the Internet about this particular repair, we've decided to show how we did our repair, because it may provide some detail or insight missing from the other sources. The work is not difficult, but we urge readers to do their own research before attempting the work.

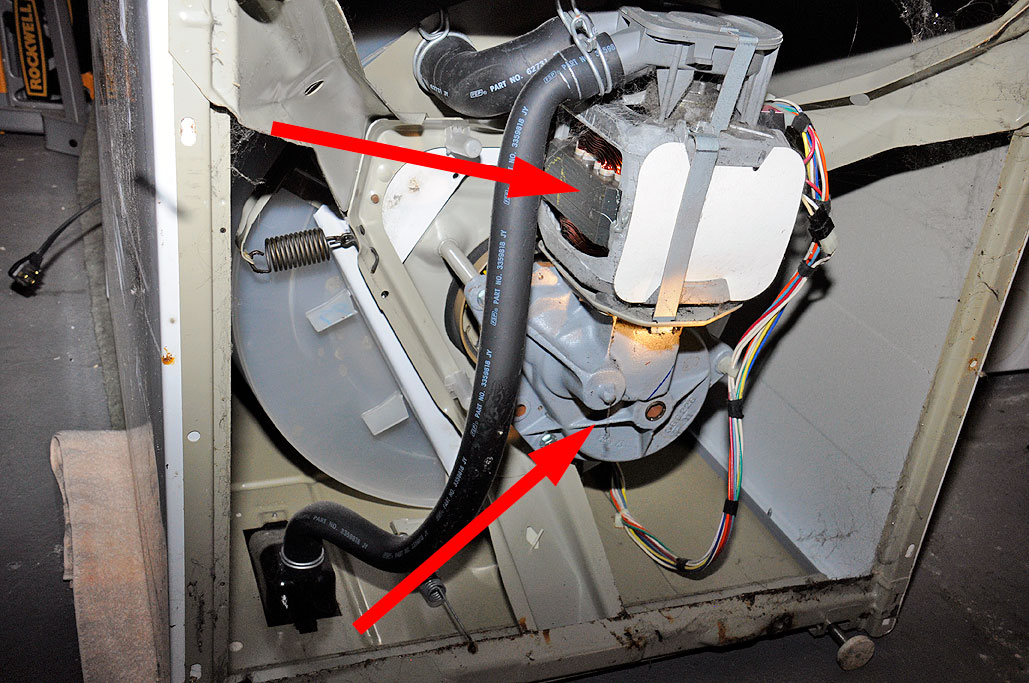
Our motto for this type of repair is: take apart as little as possible. As the problem was replacing the disintergrated coupling between the main motor and the transmission, we thought it best to see how to free the one of the units, leaving the other in place.
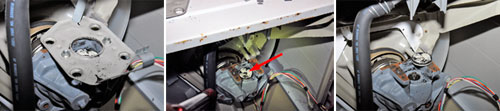
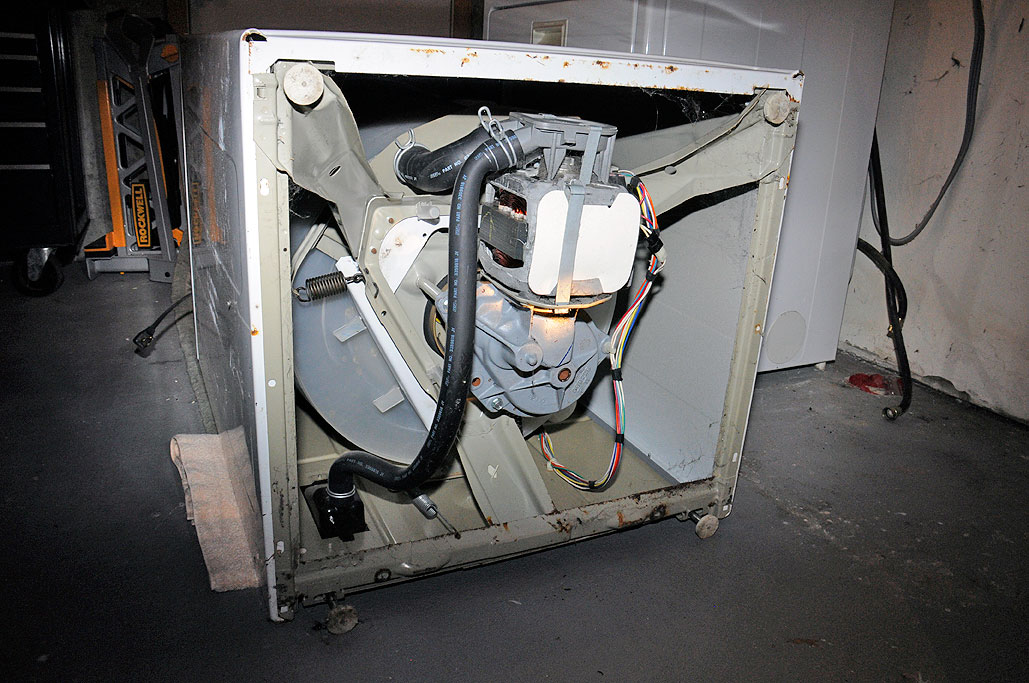
In examining how things were mounted, it was clear to us that the simplest approach would be to free the main motor, replace the broken couplings, and put everything back together again.

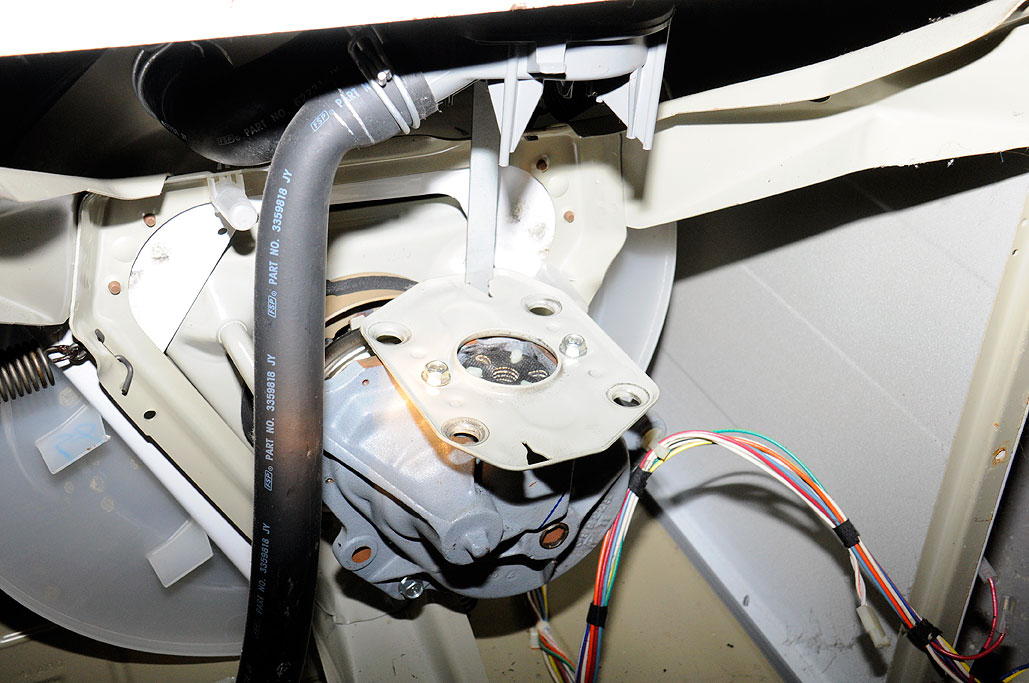
Freeing the main motor required us to do the following:
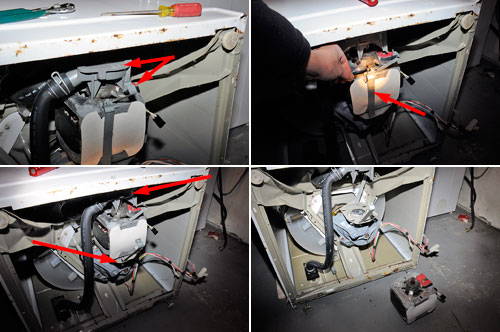
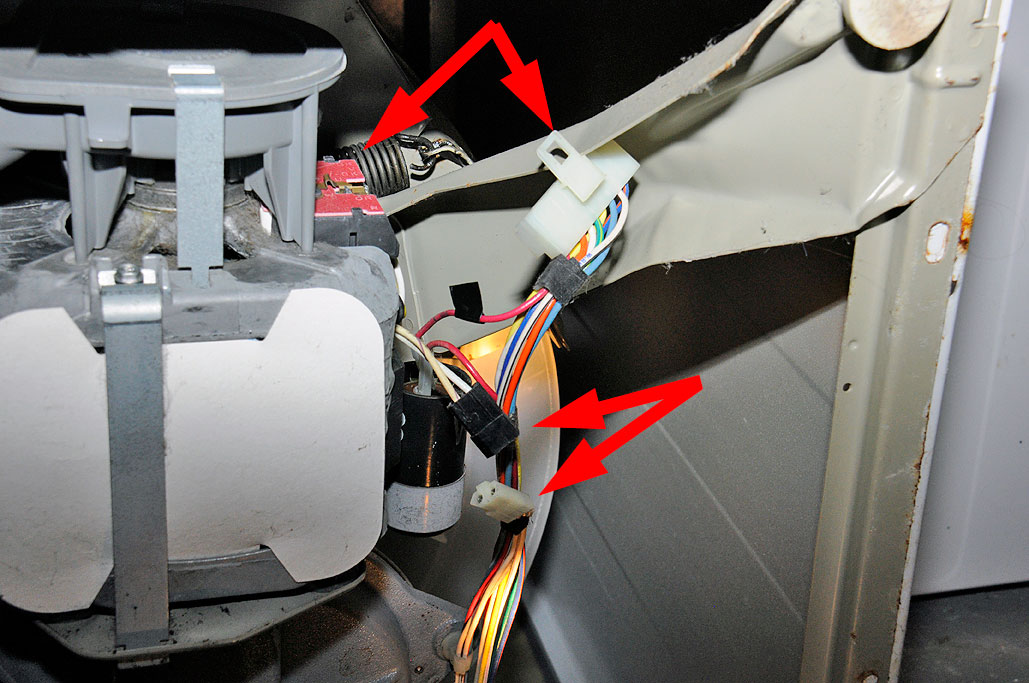
- Disengage the two wiring harnesses (noting/marking the plugs' orientation)
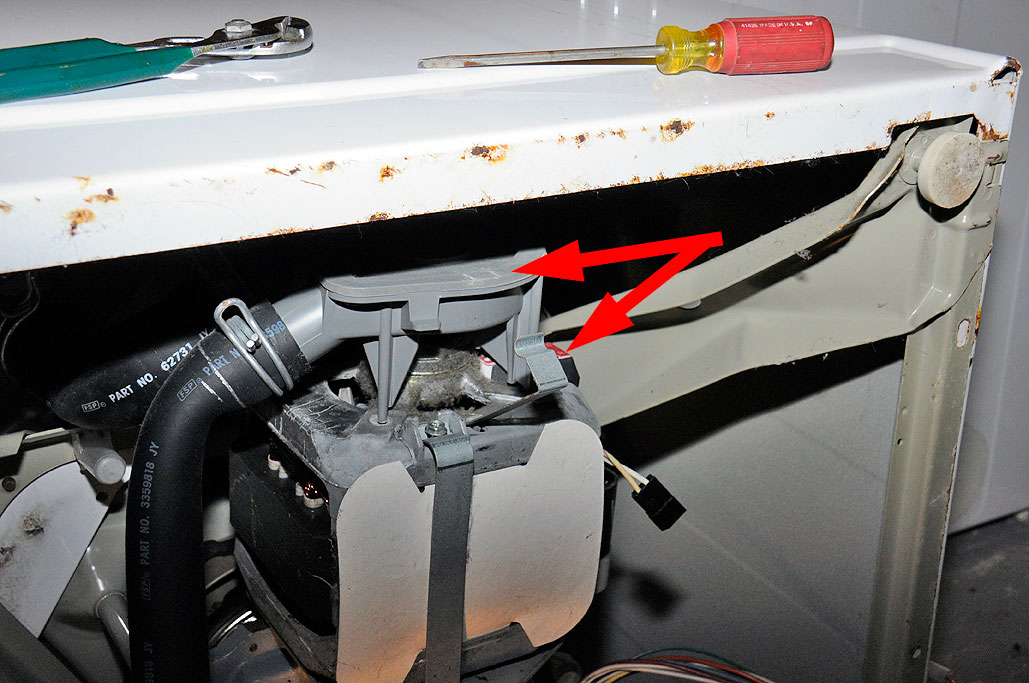
- Remove the water pump (front / rear spring clips)
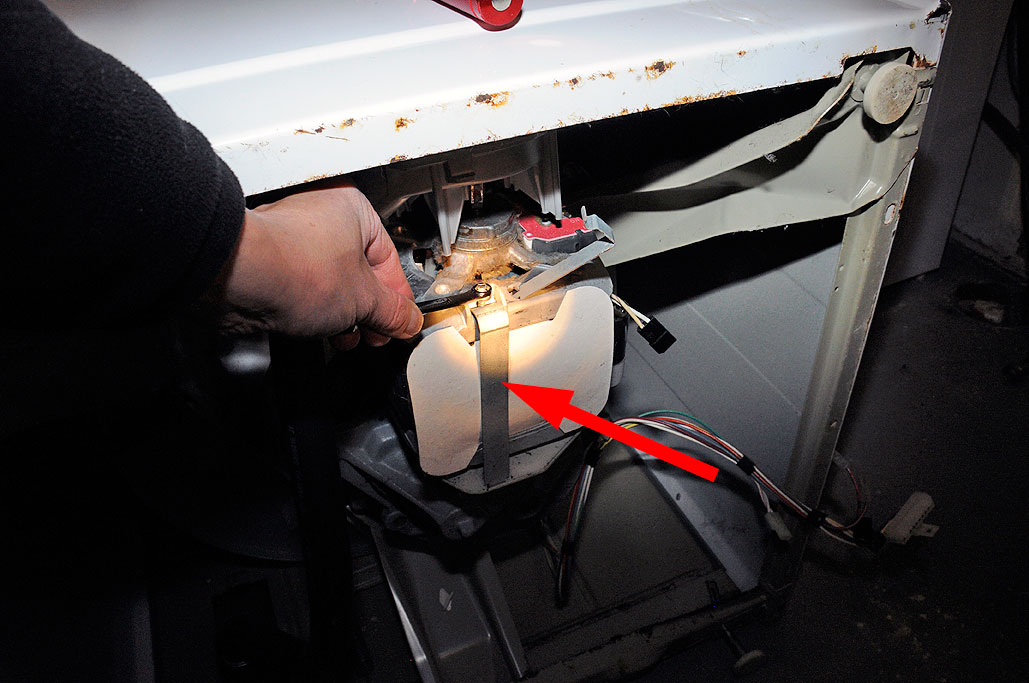
- Unbolt the motor-retaining brackets (front / rear bolts)
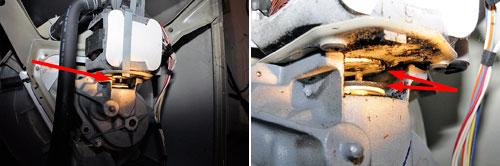
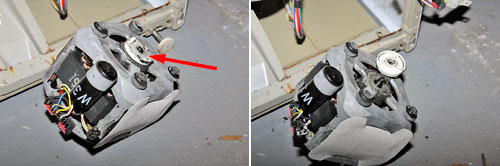
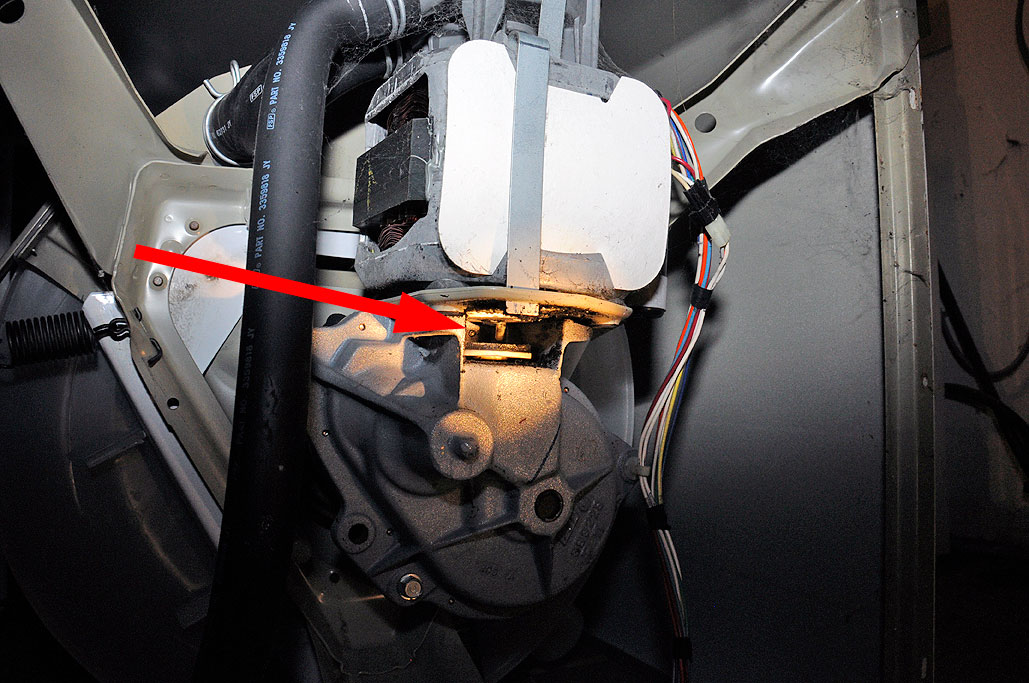
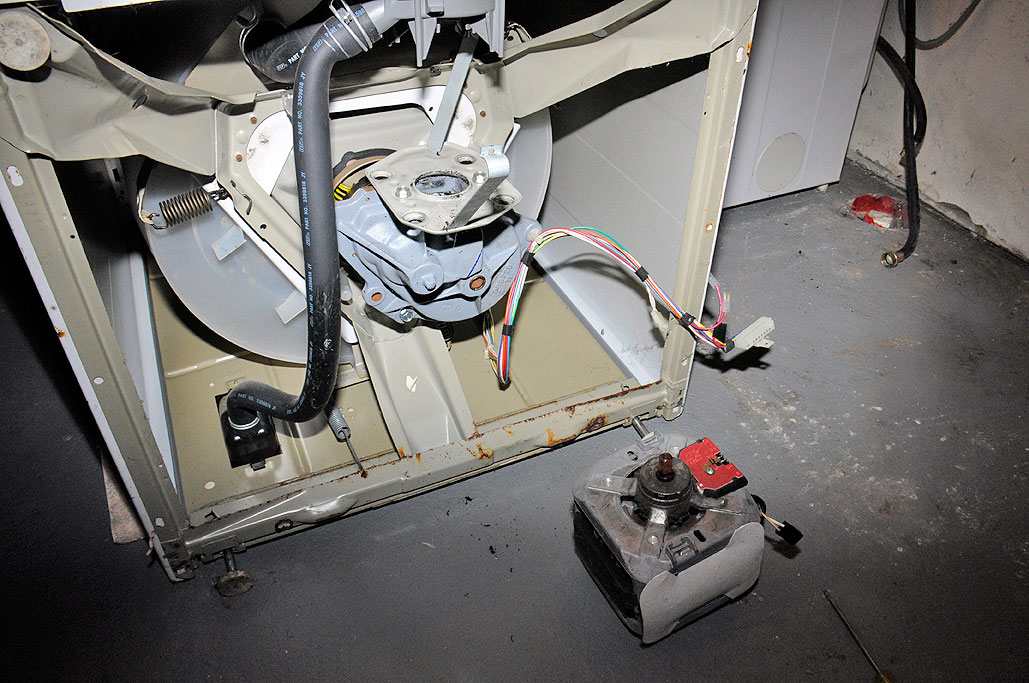
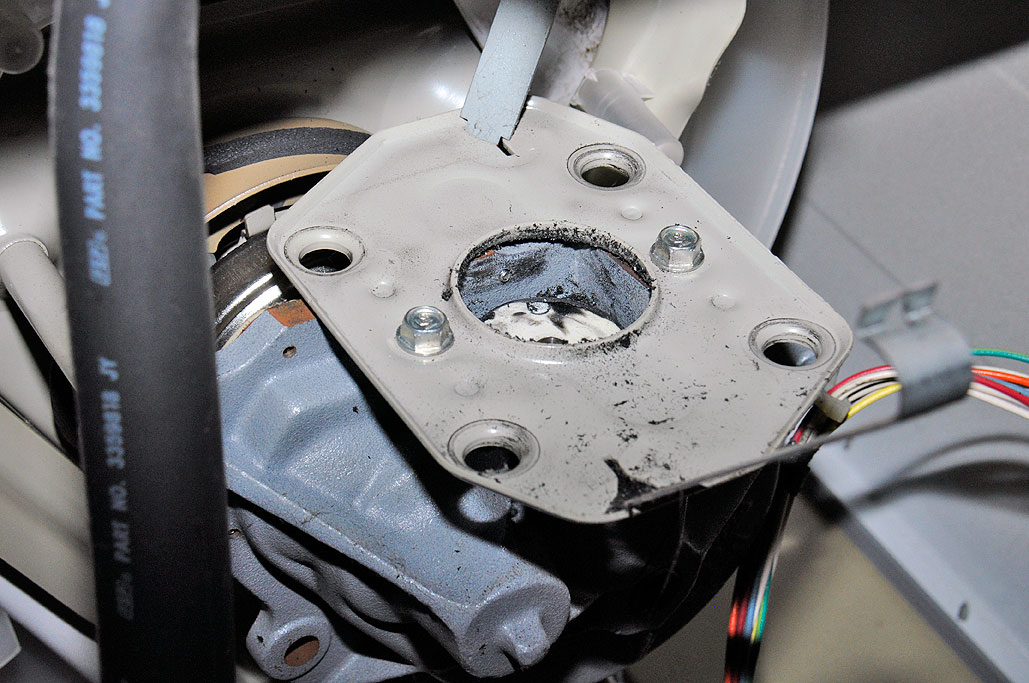
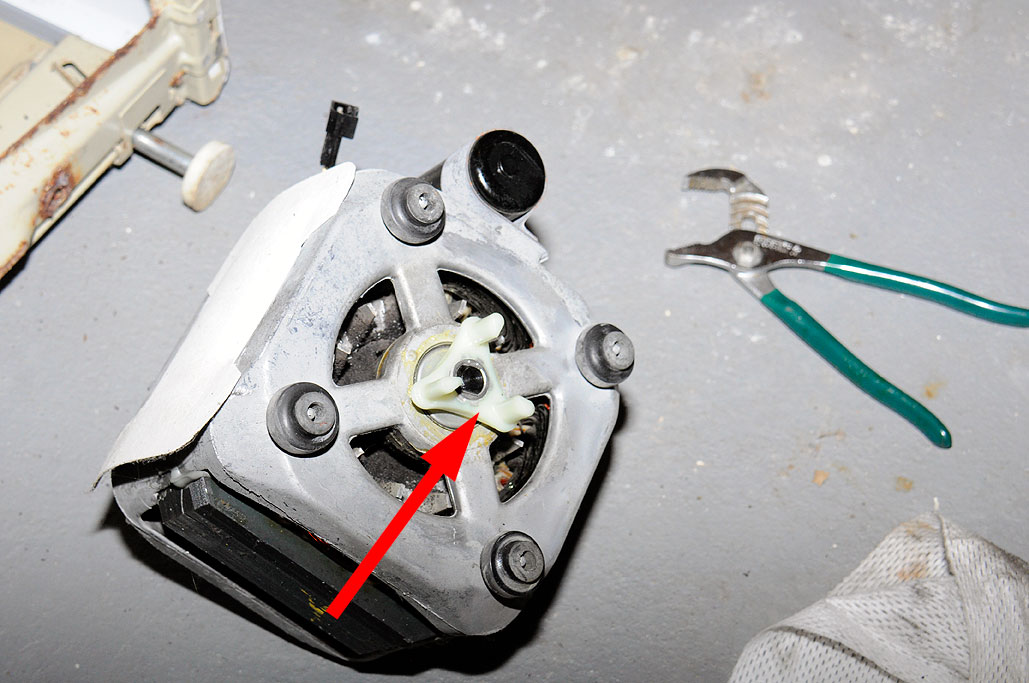
With the main motor freed and the mounting plate removed, we now had access to the broken coupling cog on the agitator drive. A little prying with a screwdriver freed the cog from the shaft. The same approach also worked for the piece on the main motor.
Before putting on the new parts, we vacuumed out and wiped down every surface we could find. We didn't want any of the rubber and nylon pieces getting into the windings of the motor or that transmission. After we were satisfied that we had things as clean as possible, we began the reassembly process.
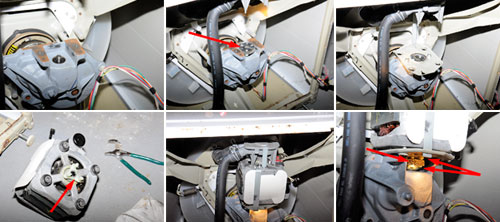
We slipped the cogs onto the two shafts (main motor, transmission) first, then mated the two together. However, this may NOT have been the most efficient approach as it required two people to accomplish it. One person held the motor in place above the coupling while the second person felt around in order to mate the upper cog's pegs with the holes in the coupling. The reason we did that was because the fit of the cogs to the shafts were quite snug. We had to really push to get them into place. If the fit was a bit looser, the entire coupling assembly may be slipped into place, eliminating the need to fiddle around blind.
The washer has been operating perfectly for the past few weeks. It appears that we have successfully fixed the issue and we hope to not have to think about the washer for the foreseeable future :-) If another problem does arise, we are sure that our friends at AppliancePartsPros will have what we need to get it running smoothly again! [Permalink] - Kenmore Washer Repair
|


