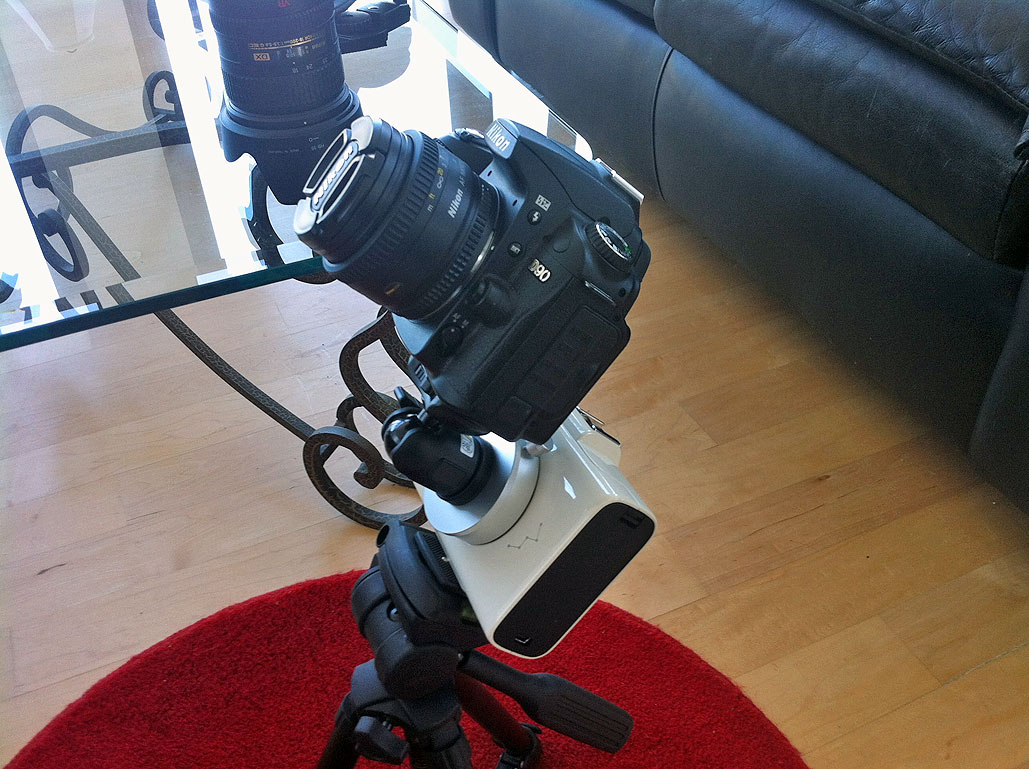
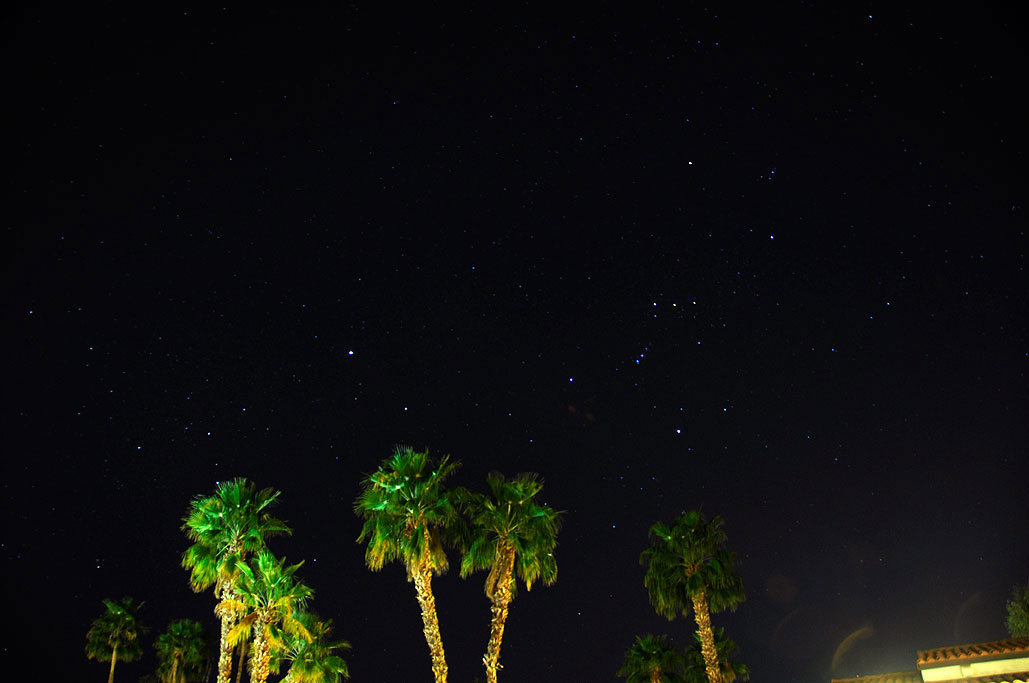
When we went out to L.A. we took with us the Vixen Polarie on the chance that we would have an opportunity to give the Star Tracker a try. For expediency sake, we decided to leave the Velbon tripod at home. That was a mistake.

The problem was the tripod we had in L.A. was not as sturdy as we would have liked. Also, trying to set things up with just one ball joint was a lot more difficult than we expected. We did manage to get some usable shots, but we would have done a lot better had we brought the whole Vixen setup out with us. Next time, we will know better.
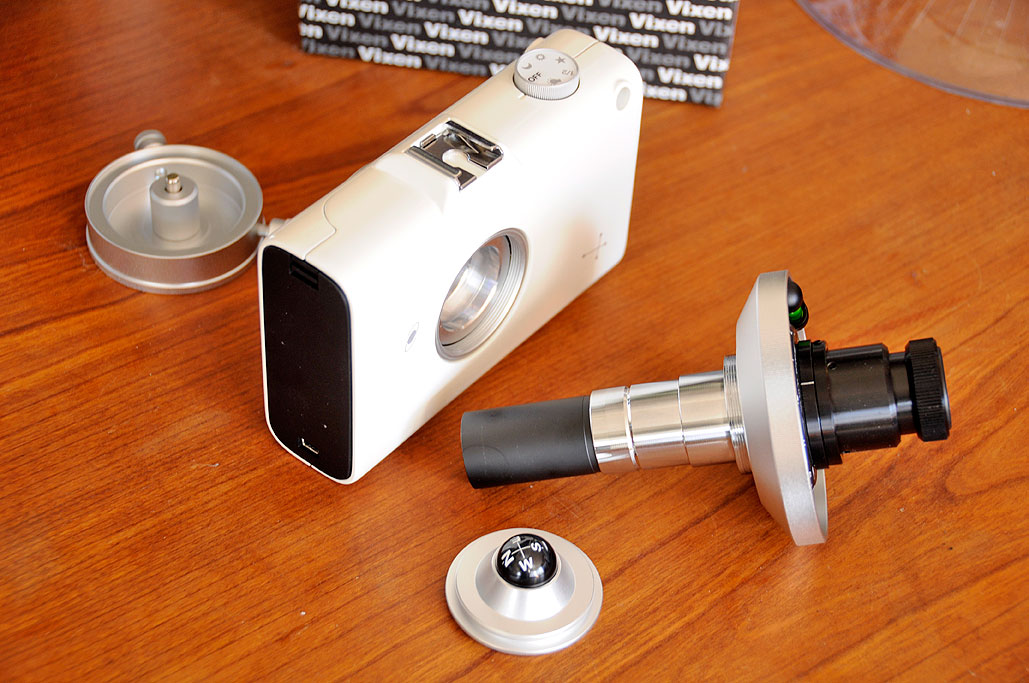
The original plan was to post a detailed look of the Vixen Star Tracker setup as part of the FirstUse writeup, but as there appears to be quite a bit of reader interest on the rig, we thought we would post a look at the setup now.
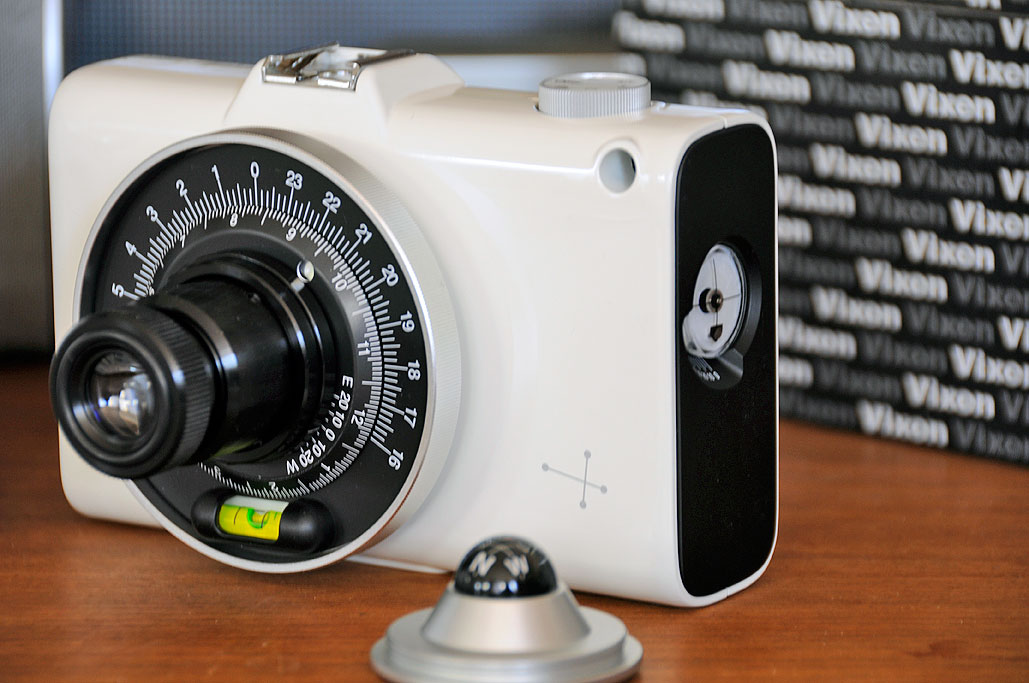
The basic principle behind the Polarie Star Tracker is that it tracks with the diurnal motion of the stars, thus eliminating the "star trailing" which occurs in a prolonged (more than a few seconds) exposure. The tracking movement is accomplished by a motor drive which rotates at the same rate as that of the Earth.
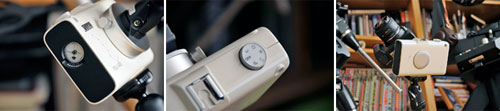
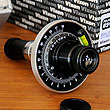
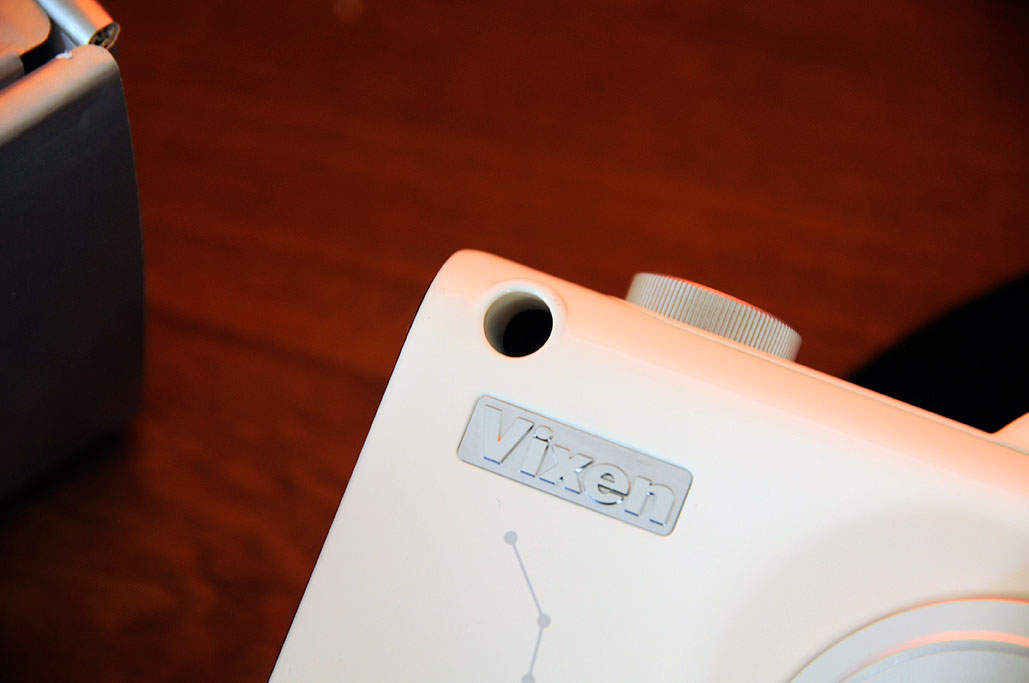
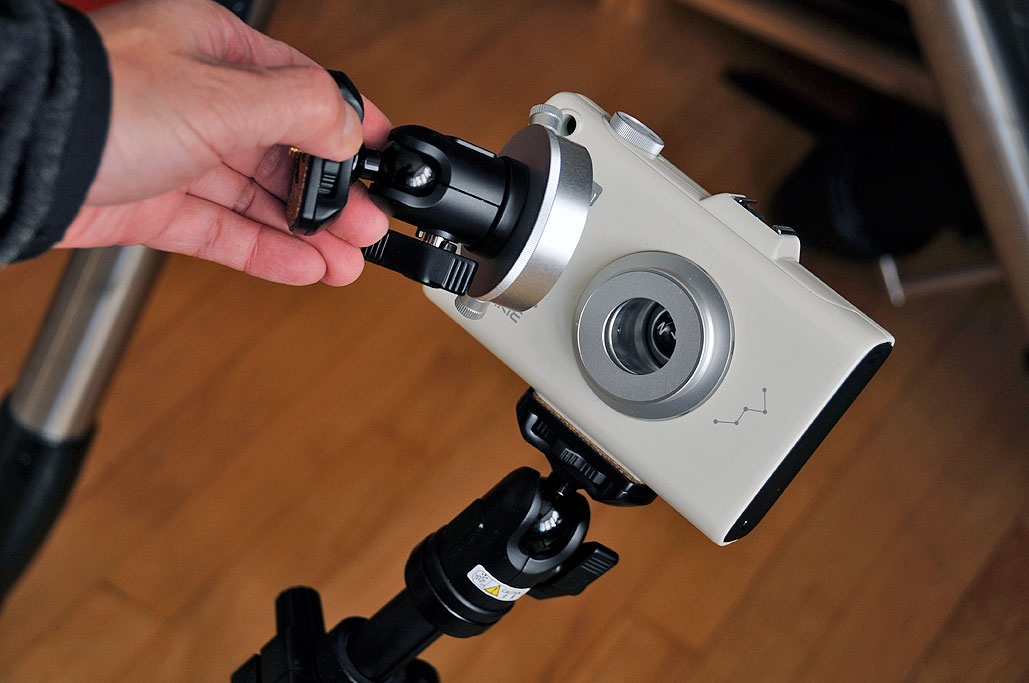
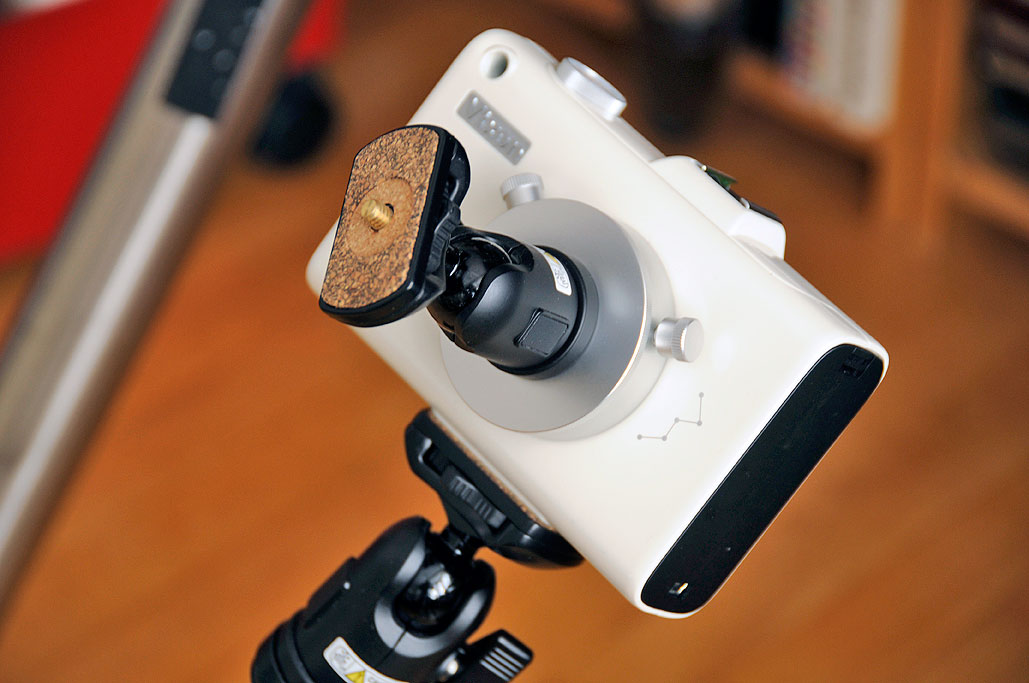
To facilitate the alignment of the Star Tracker, Vixen has integrated a few handy aids into the Polarie. A compass is stored in the cap on the back of the Polarie. There is a view port built into the body to make it easy to sight-orient the Polarie. Vixen also offers a custom Polar Axis Scope to be used with the Star Tracker if a more precise alignment is desired.
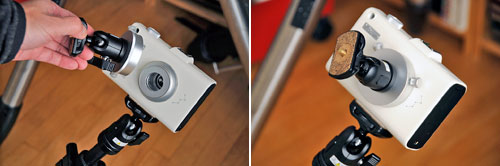
A ball joint mount attached to the rotating platform, via 2 thumb screws, allows the mounted camera to be easily oriented to the desired object in the sky. The summary of the basic setup sequence is :
- Align the Polarie so its rotation axis is parallel to the Earth's axis.
- Set the desired exposure time on the camera (ISO, shutter speed, apeture)
- Manually set the focus
- Attach the camera and position the lens toward the desired celestial objects
- Turn on the Polarie and select the tracking rate
NOTE: If the camera is a large DSLR, care must be taken ensure the ball joint is tight, or slipping/tipping can occur.

We will be taking this rig out to more sites locally to see if we can get a decent shot of the Milky Way with Boston as a backdrop. It is kind of a reach as the light pollution is pretty severe in the city. We may have to venture further out from the city to get the shot. Getting the shot may be tough, but the taking the Vixen Star Tracker along should be a cinch. [Permalink] - Vixen Polarie Setup
|


