| Today |
| Workshops |
| Audio/Video |
| Electronics |
| Carputer |
| Misc |
| Other Garages |
| Contact Us |

RainyDayGarage...
|
||
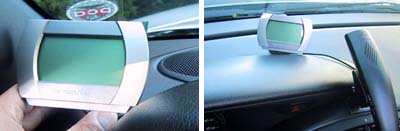
The Drive+Play screen can be placed at any location as long as it is within its cable's reach to the "brain" unit. We would recommend thinking about centering the unit as much as practical so as to minimize any interference with driving.
We tested the display and the controller at lot of different potential locations. In the end, it made the most sense to locate the screen somewhere on the dash. We'll have to give some thought as to how best to run the cable.
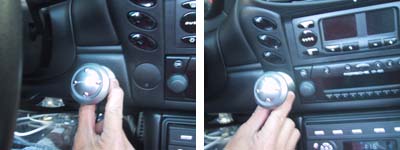
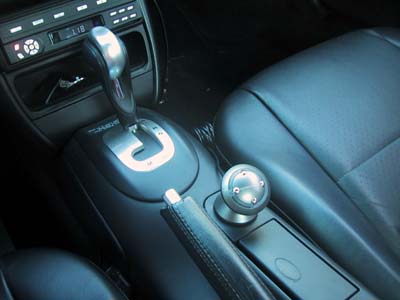
The most logical and comfortable placement for the controller was on the center console. It will also make it easier to run the cable to the armrest compartment for storing the iPod nano.
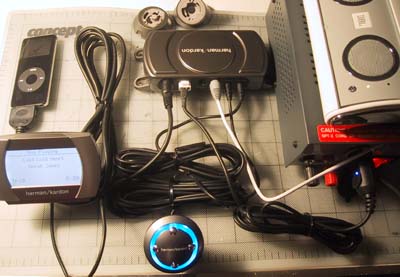
We benched tested the unit using a 12V DC power supply. The input was provided by the iPod nano. The audio from the Drive+Play was piped to a JBL onTour speakers for output. Everything worked right out of the box.
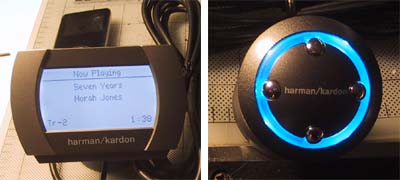
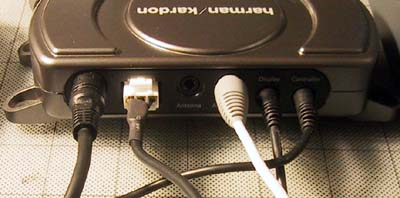
The cables to the "brain" unit must be pushed all the way in...they go in further than one thinks. Once in, they held securely. This is an important consideration since road vibration will quickly shake loose cables that were not held firmly. When Harman Kardon designed was in the design phase of the Drive+Play, the display they chose made sense...it looked just liked the monochrome version on the iPods available at the time.
Unfortunately, the iPod has changed quite a bit since then. All the iPods now that have screens have color ones. We definitely missed seeing the album art as on the high rez color screen of the nano... but then again, we could actually READ the text on screen of the Drive+Play :-) We hope Harman Kardon will upgrade the display in their next version. We are sure many users will expect it and most will pay more for it. |
Harman Kardon Drive+Play |
|
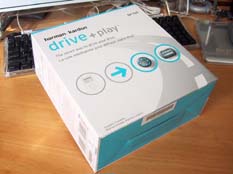
We reported on the the Drive+Play back in June when Harman Kardon announced it at MacWorld Boston. Harman Kardon recognized that although people want to hook up their iPod to their car's stereo system, controlling it was next to impossible. The Drive+Play was designed to allow a driver to safely control the iPod's functions with minimal distraction. Of course, the user must still exercise COMMON SENSE while using the Drive+Play... but don't get us started on that :-) The Drive+Play is now shipping and we got one of the first units available.
RainyDayGarage will, of course, do a complete series on the installation and use of this innovative product. Review: 1. FirstLook 5. FirstUse
Review Summary: Initial Impression- Quality pieces Usability- iPod interface Durability- Test in progress Price- $200
iPod/MP3 Reviews: 3. MobiBLU iPod Case Reviews: iPod installation Reviews: iPod Speaker Reviews:
Other Boxster Projects: - Mac mini Carputer installation - PVC Rear Speakers installation |
||