Tameshigiri Series: Cutting Post
Design, carving, and installation.
In 2012 Gleason Sensei briefly considered adding a “live blade” session to Shobu Aikido’s program. His intent was to give his students the opportunity to gauge the “quality” of their sword movements by actually cutting a target.
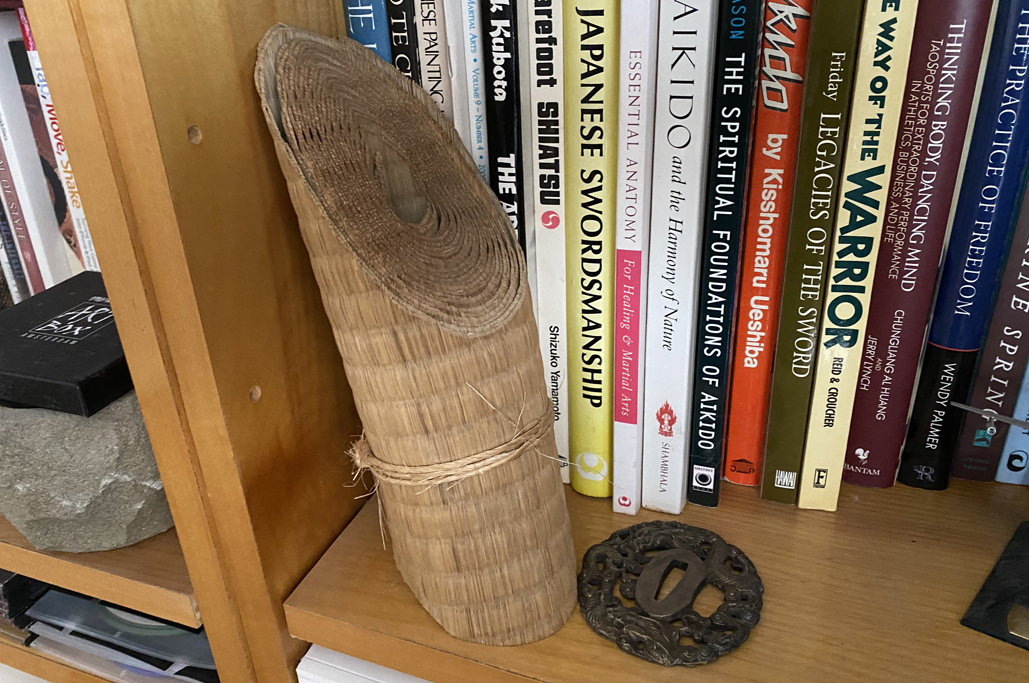
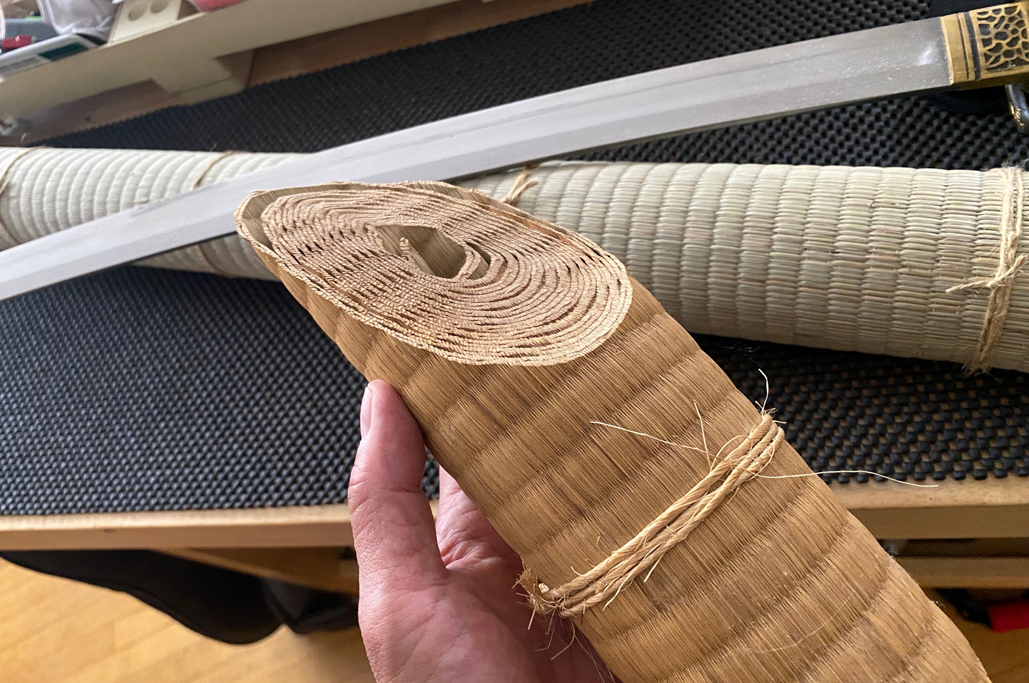
One method to determine such a measure is to perform a cut against a rolled-up straw mat target: the “quality” of the cut is revealed by the “cleanness” of the angle of the severed straws.
We had a few sessions, but ultimately Sensei decided that the logistics of rolling the mats, soaking the mats, and clearing up the mats after an indoor cutting session were not worth the time and effort (it took a lot of time and a lot of effort).
Design
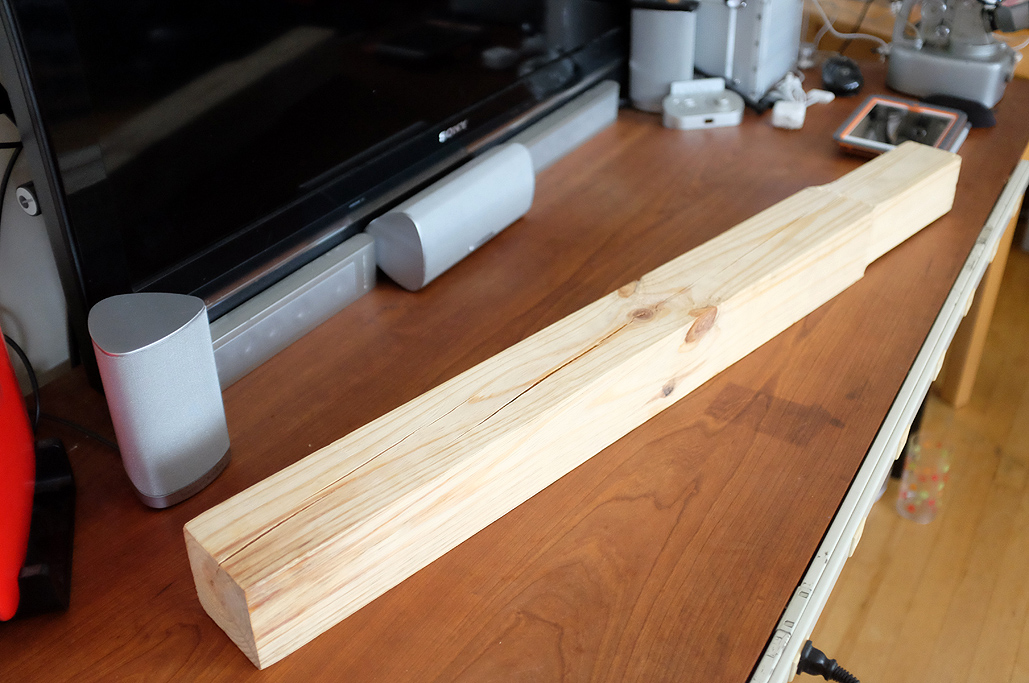
Forward twelve years: we wanted to revive the cutting sessions as we had really enjoyed them, so we decided to go solo, in our backyard. First item needed was a stand to hold the rolled-up mat that we would be cutting. The traditional stand is designed for indoor use, but we would be doing the cutting outside, so decided to make our own, which would do double duty.
We “procured” a suitable post for the project at our local Home Depot. The wood was already treated to resist rotting, and would weather well if left outside.

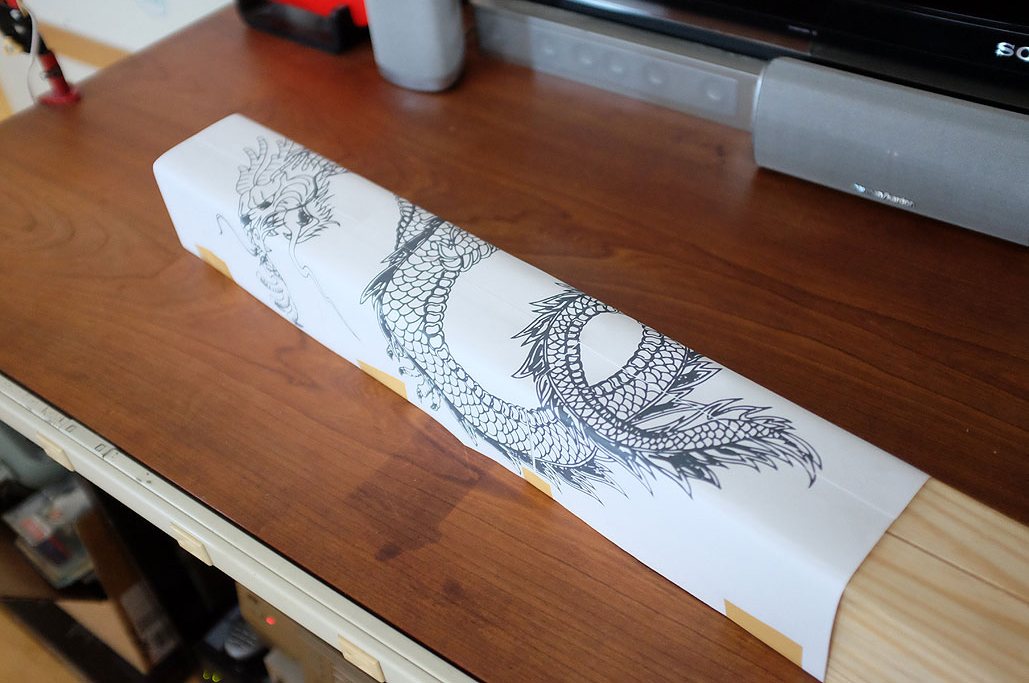
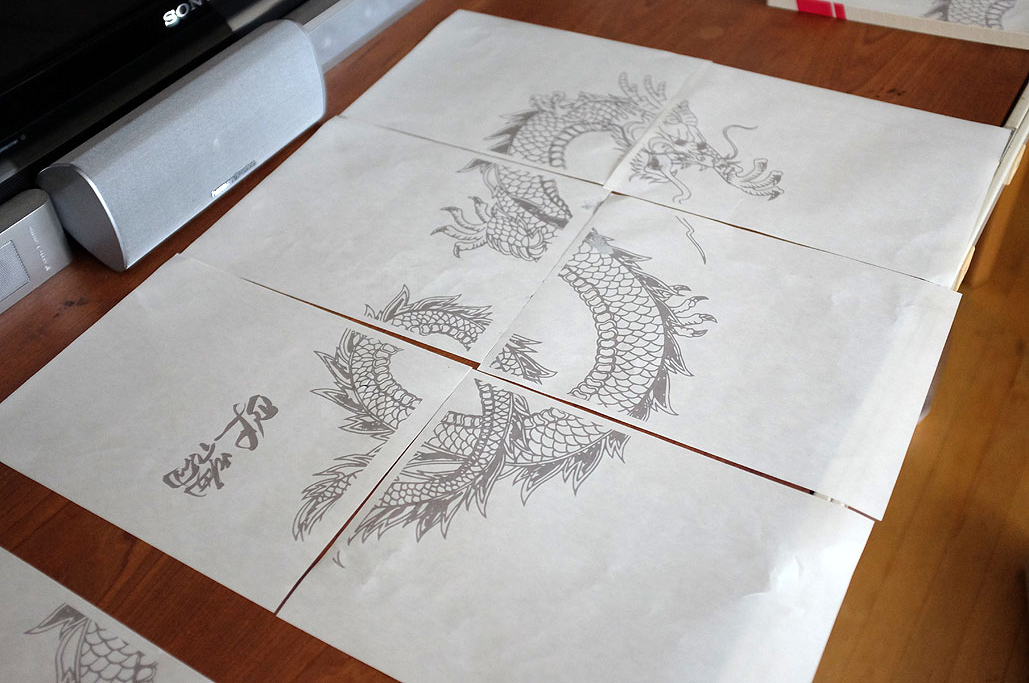
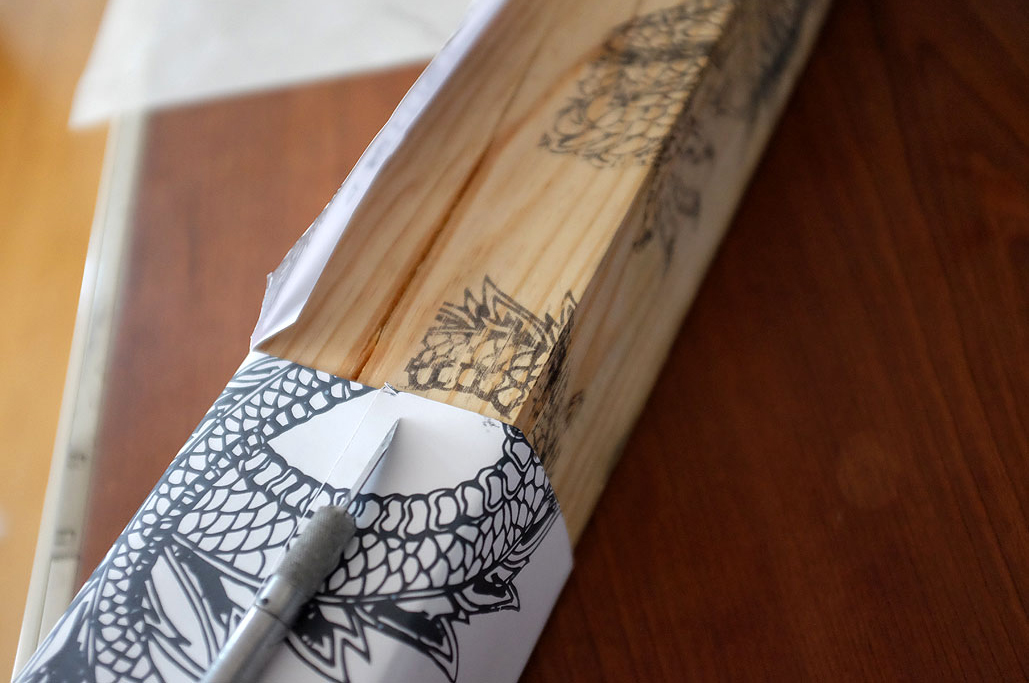
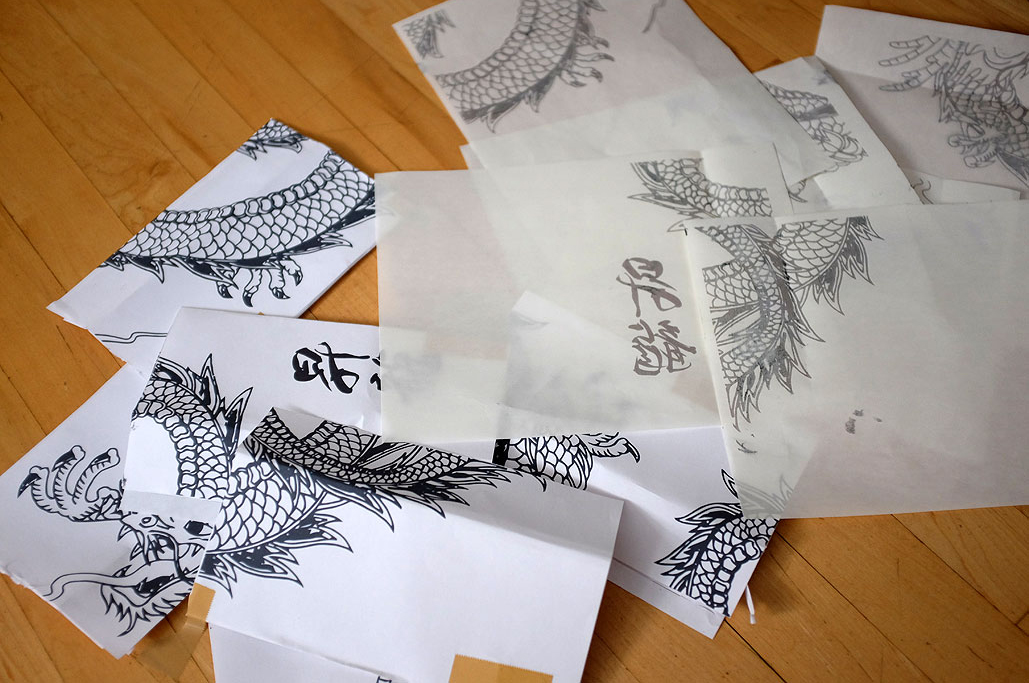
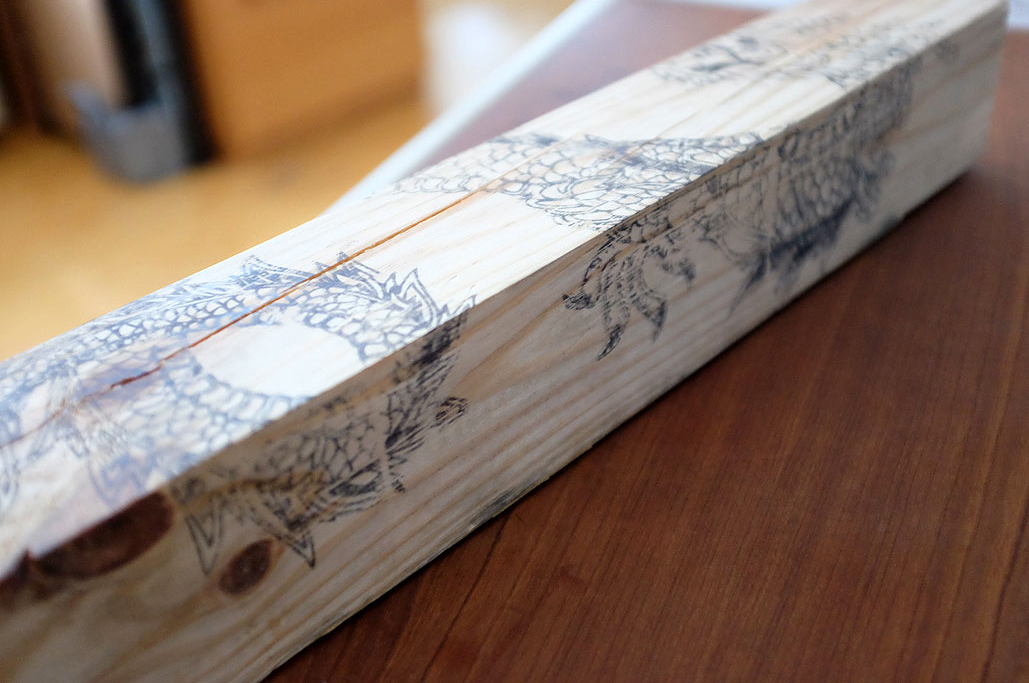
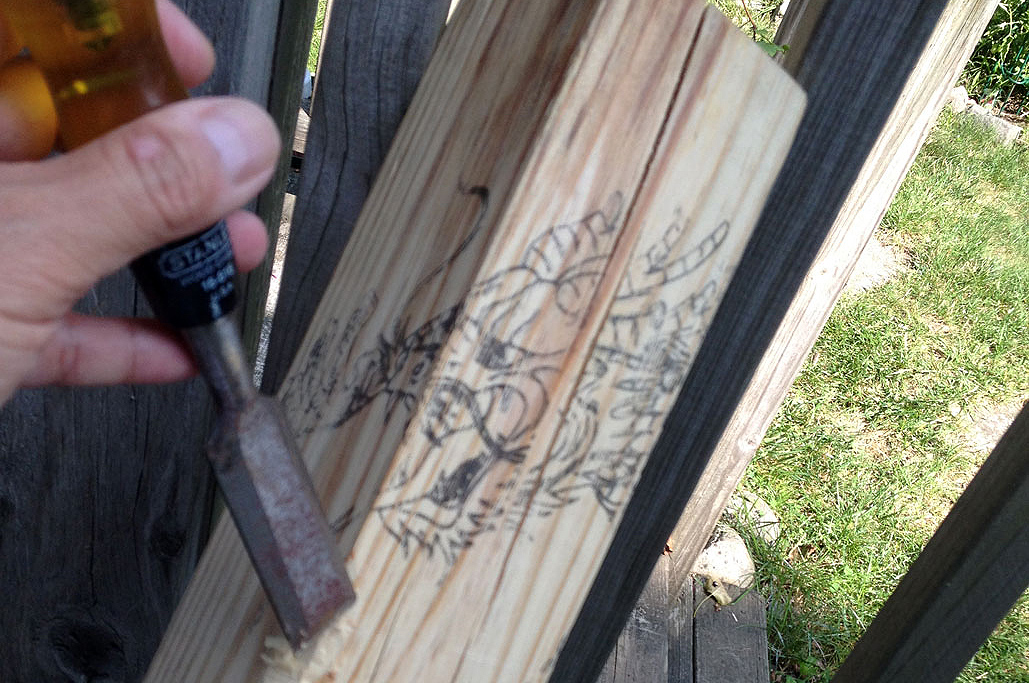
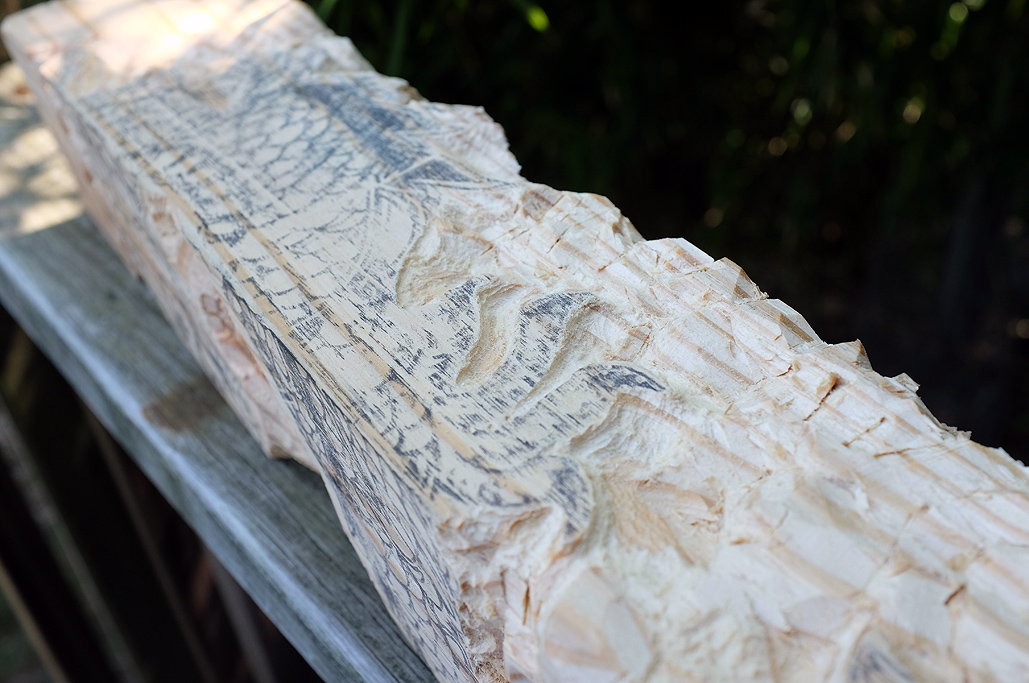
Next was selecting the design to carve into the post. We decided on a traditional dragon pattern. We made a reverse print of the pattern on wax paper and transferred it onto the wooden post.
![]()
The process took advantage of the fact that laser printer ink does not bond to wax paper and can easily be transferred onto the wood by contact.
![]()
Carving
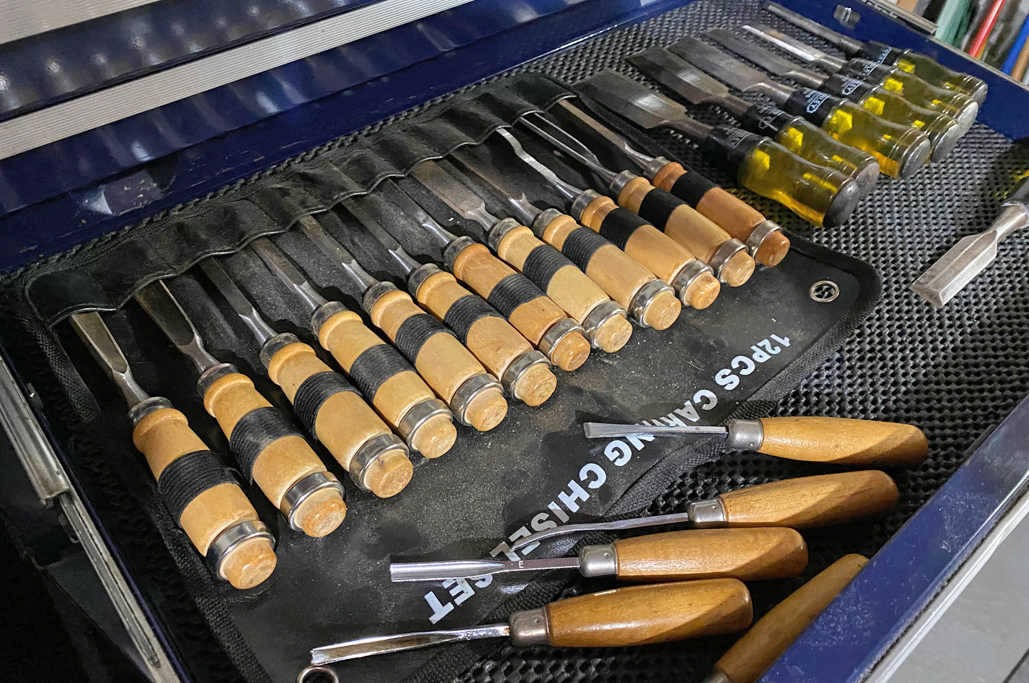
We are NOT wood carvers, so having applying a pattern on the post made it possible to carve something close to what we wanted. Also, having actual wood carving tools helped.

Large sections without details were removed using flat chisels, but the intricate details were done using various chisels designed for such work.

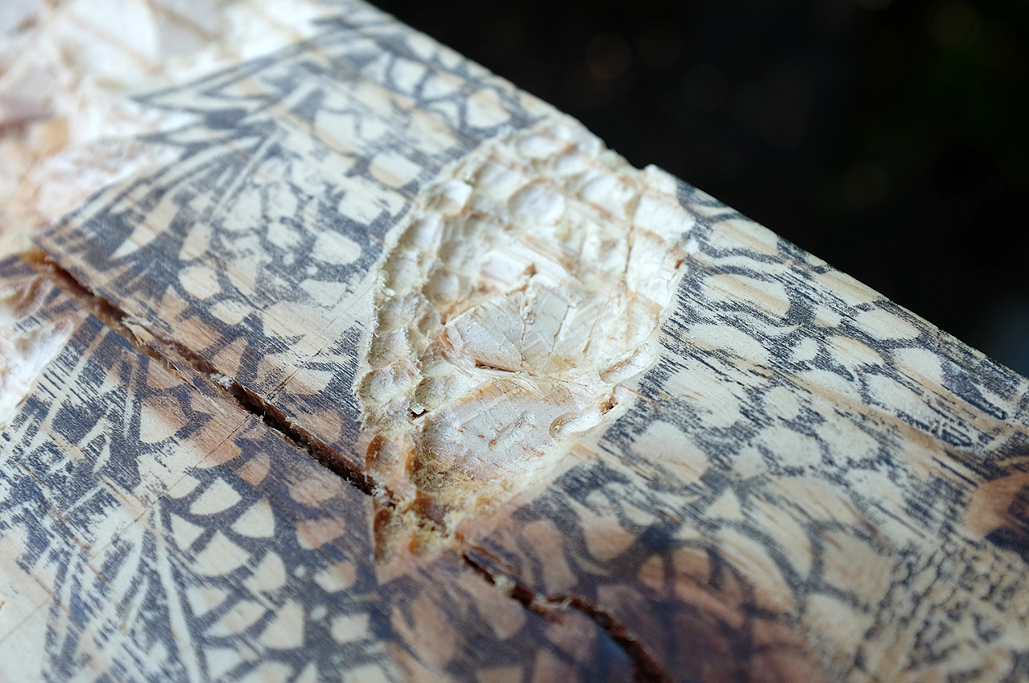
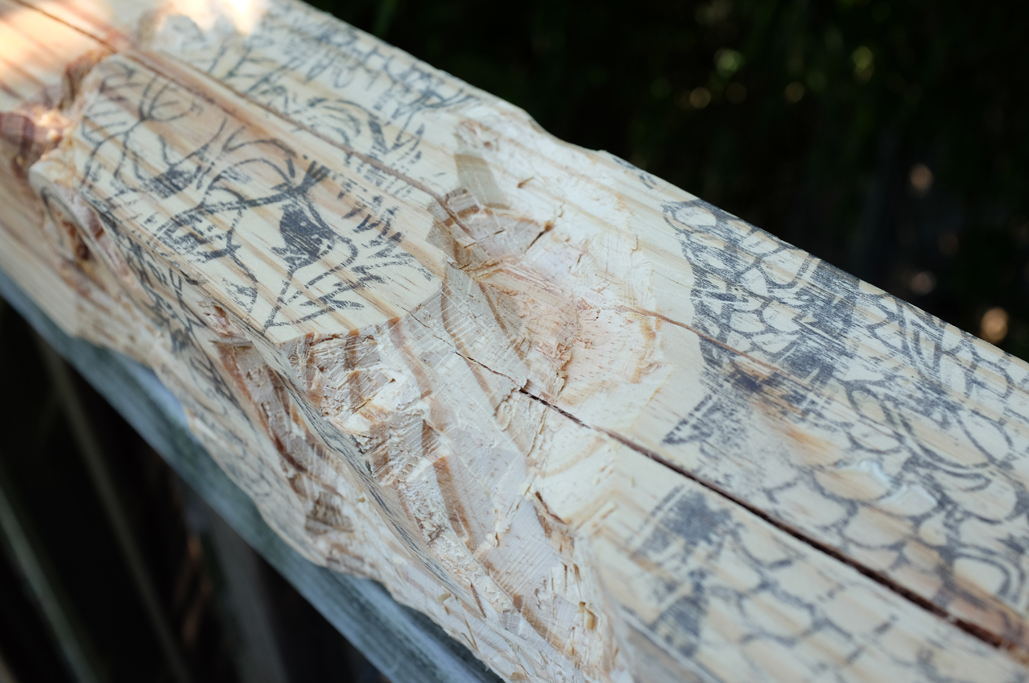
As first-time carvers, we quickly came to the realization that removing the unwanted materials is a very different process than we had imagined.

It took a while before we were able to change how we viewed carving: instead of what needed to be removed, we needed to understand what needed to be left behind. The change was interesting, as we realized that we could work less precisely and faster in some areas compared to others.

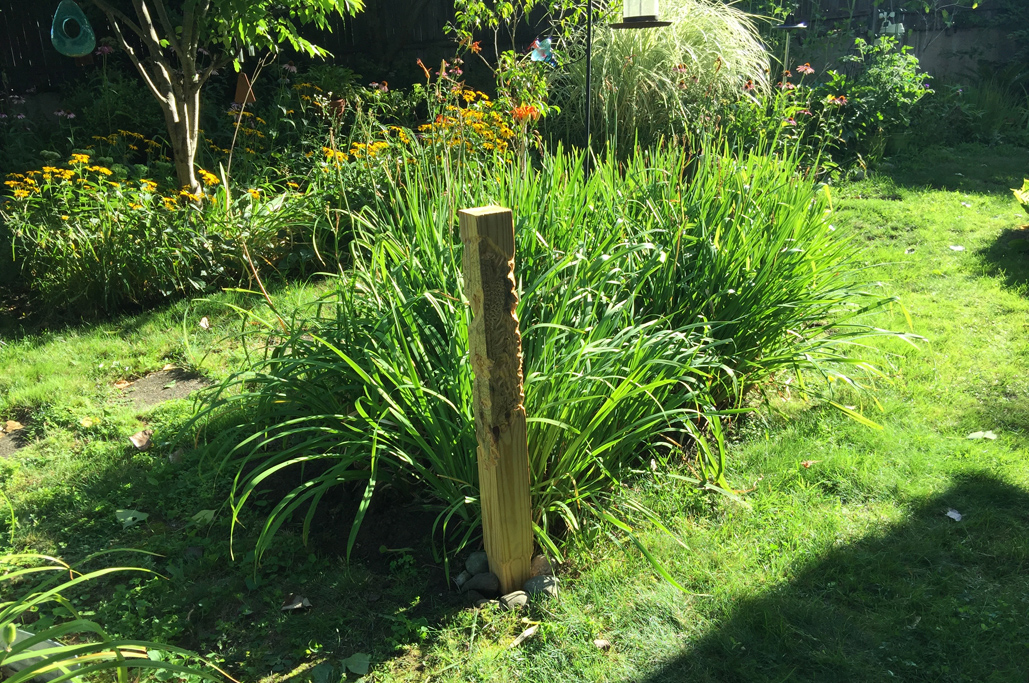
Installation
With the post carved, we had to choose where in the RainyDayGarden we would install it: the location had to be spacious enough to accommodate the swinging of the katana, but “reserved” enough for the post to not be in the way when it was not being used.
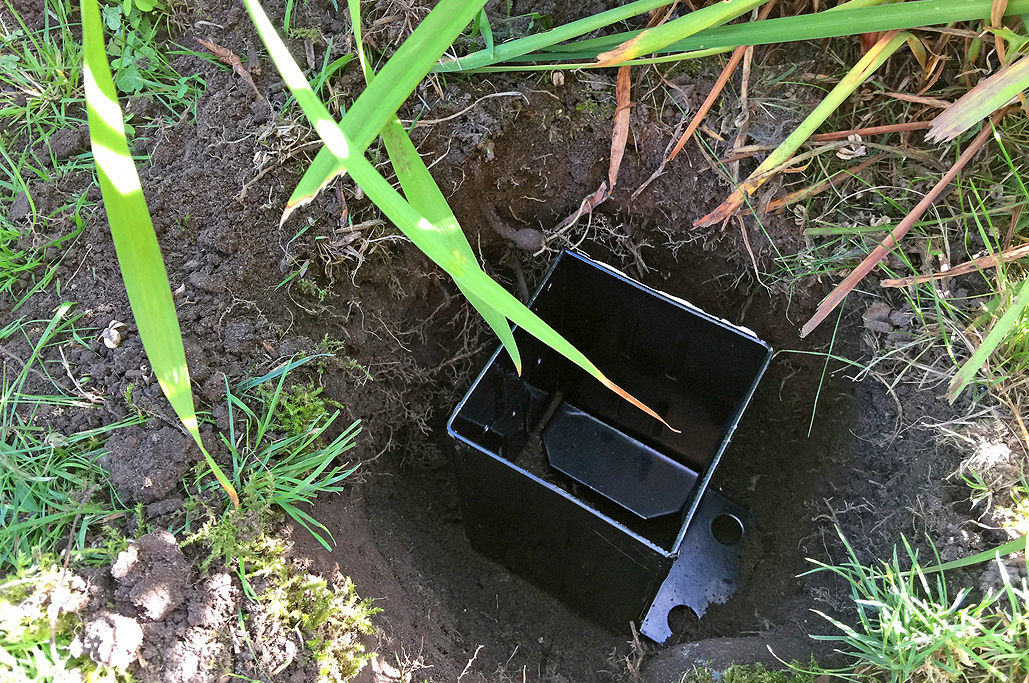
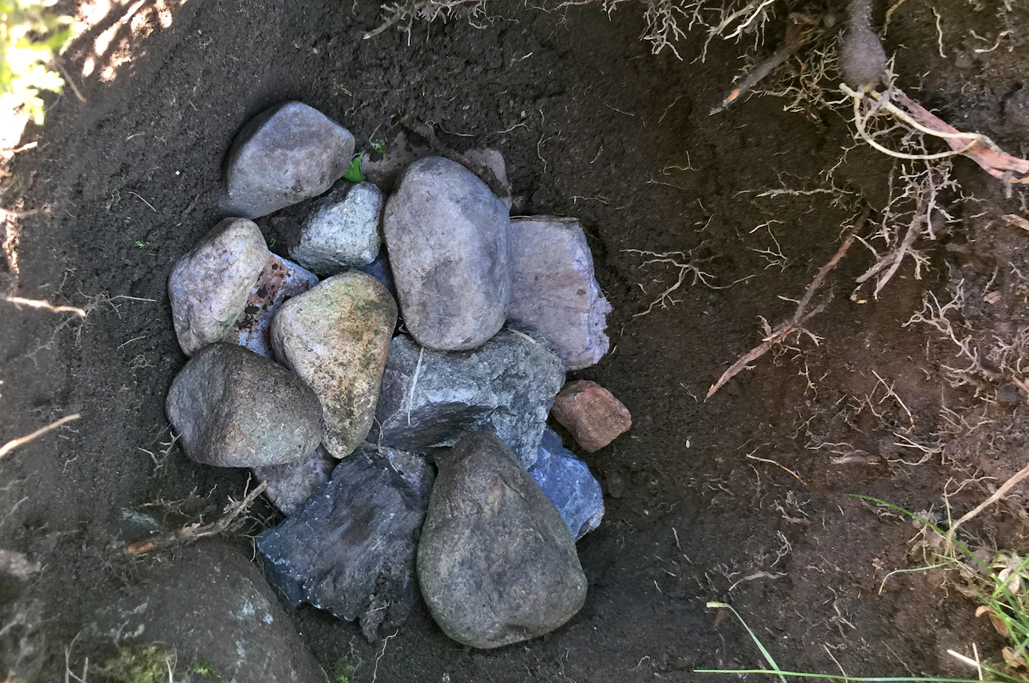
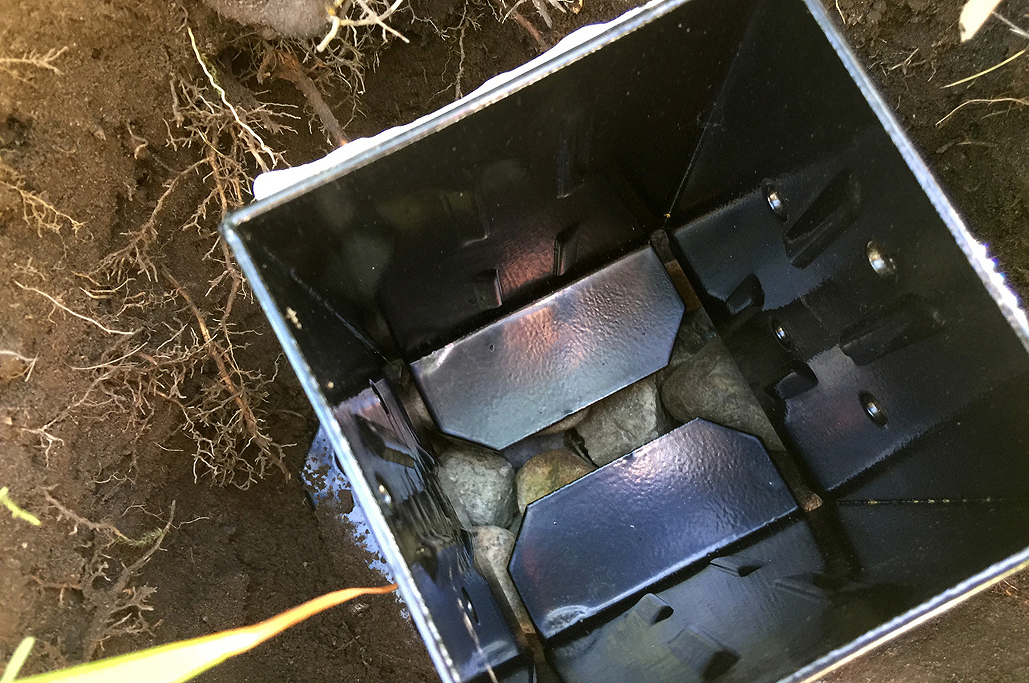
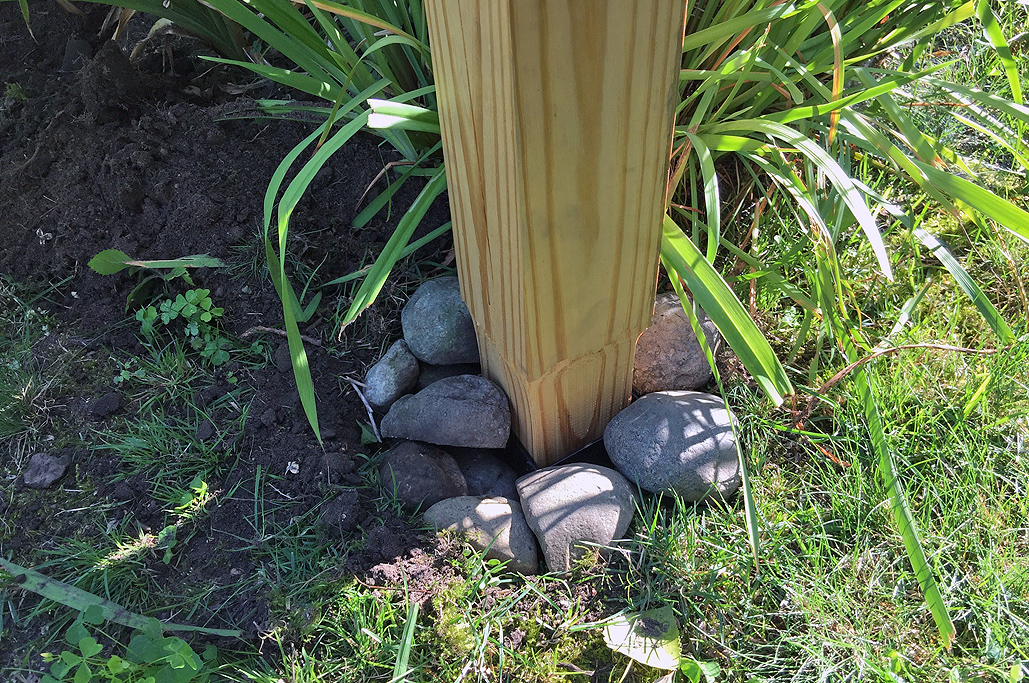
After some consideration, we found a spot which met all the criteria. To secure the post, we dug a hole large enough for a standard 4×4 post anchor, lined the bottom with rocks for proper drainage, and filled around the sides with smaller rocks to lock everything in place.

Before everything settled, we inserted the post and plumbed it straight. The last step was to surround the base with some rocks. It wasn’t necessary, but it made for a nicer finished look.

FinalThoughts
The next in the series will be about how we roll up the mats and get them ready for cutting.
Links to items mentioned:


Leave a comment