The Jura Z7 coffer maker has been in daily use since last October. While we loved our Z5, the newer Z7 unit is a lot quieter both in its grinding and coffee-making operations. It also has a lot of subtle improvements which make it more of a pleasure to use. Recently, someone (who shall remain nameless) poured water into the coffee grinder instead of the water tank, causing the grinder to stop working (in the nameless person's defense, it was because the nameless person hadn't had any coffee yet). Actually, the grinder still spun, but no coffee was coming out. We suspected that things were all gummed up inside. Blowing air into the grinder did not have any affect. A teardown to see what was going on would seem to be our only option. OK, it probably was NOT the only option, but it was the one that we could not pass up!!!

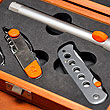
Some owners may be squeemish about possibly "bricking" their $3000 coffee maker and would have sent it back to Jura for them to deal with the problem. Readers of this magazine know that that is not how we roll. We cleared off a work surface, got out the tools, and ripped (gently) right into the guts of the unit. A word of caution, this teardown is fairly complex. We are not going to post every single step, but only the most relevant ones. You know your own skill level, so attempt it at your own risk. Our only advice...if you want to put it back together again, take lots of photos when taking it apart.
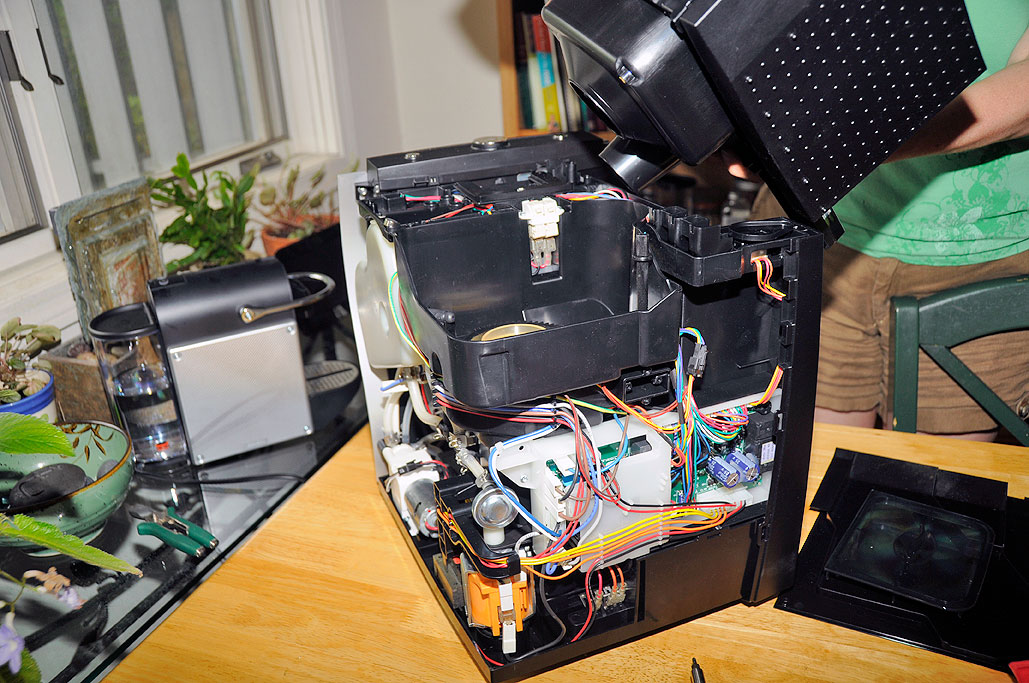
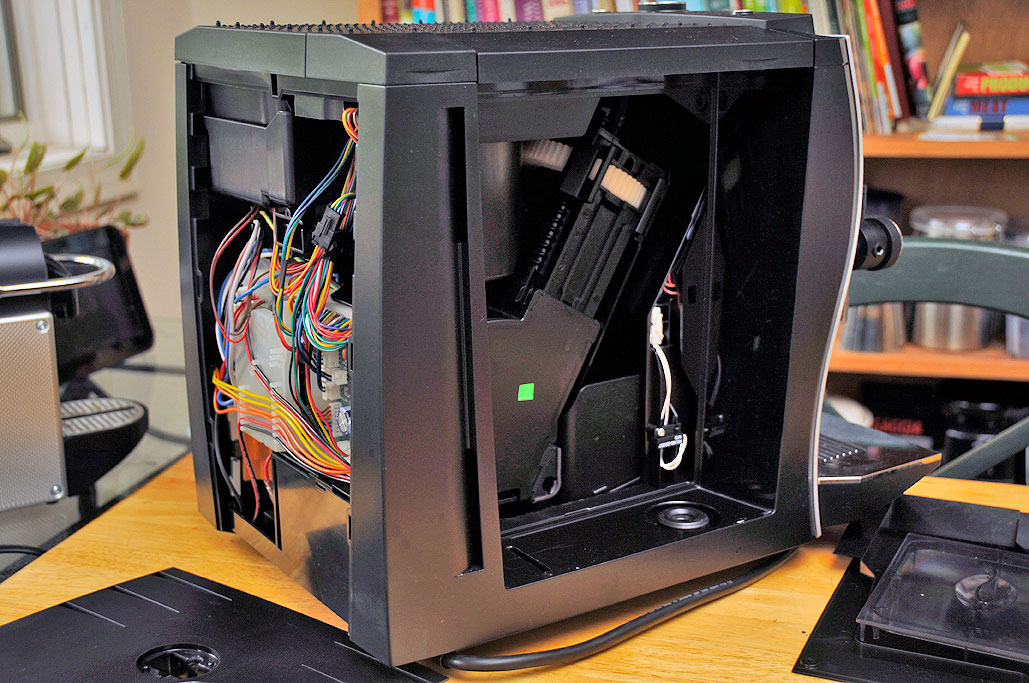
In 2009, we posted a few write-ups (disassembly, cleaning) on how to access the side of the Jura Z5 unit for maintenance. The steps are still the same so we will not repeat them here. However, this teardown required us to go a bit further. In order to get at the grinder assembly, we had to remove the top, rear, and side panels.

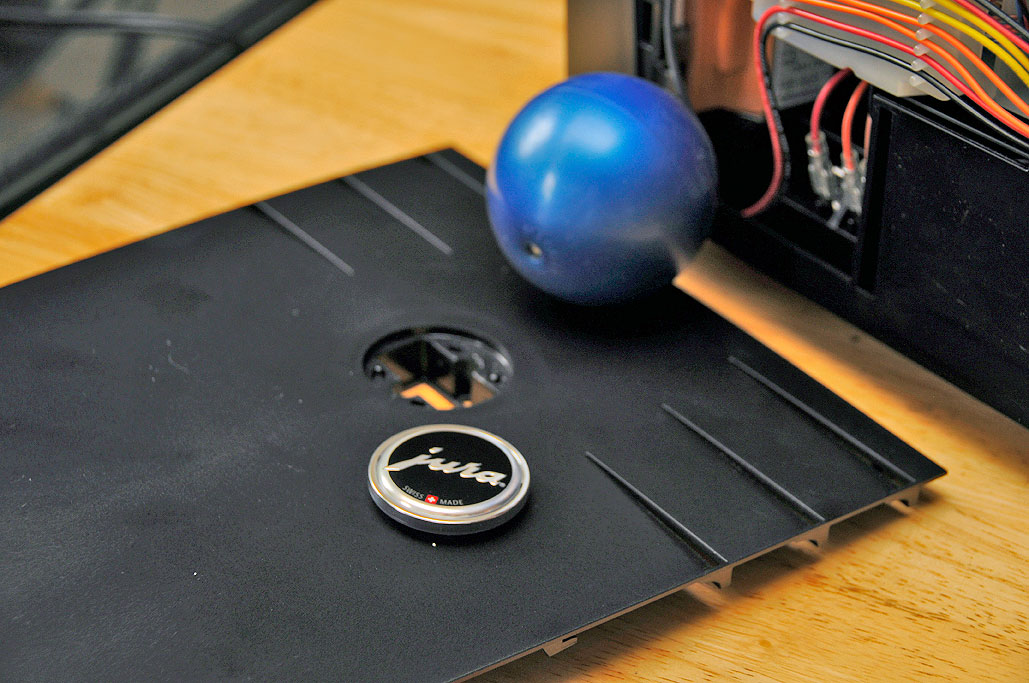
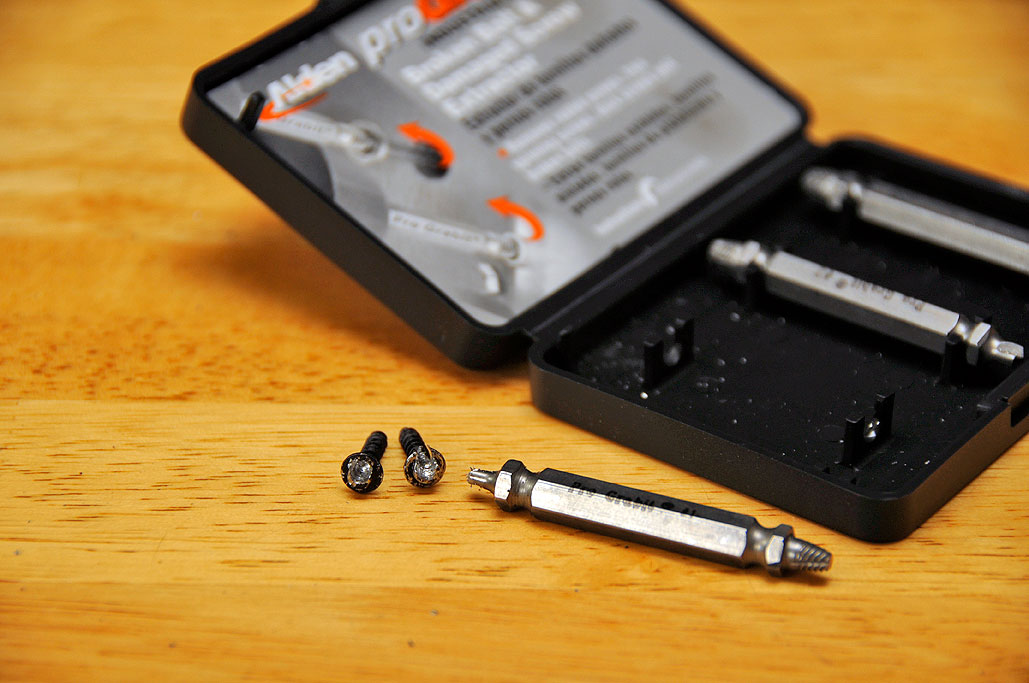
The screws holding the rear panel in place were hidden behind the plastic Jura Medallion. We used the HORB to turn the disc, but any grippy or rubber jar opener should work. The removal of the security screws were done using the Grabit extractors. To make any future work easier, we will replace all of the security screws with normal ones when reassembling the unit. There is a special key one can get to do the job, but why bother?
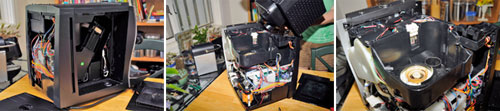
After we got the both the rear and side panels removed, we realized the top panel and frame were a single unit. The structure was hooked into the front of the machine for support. It was actually a very clever and structurally ridgid design. It took a little fiddling, but once we understood how it was attached, we were able to lift it clear from the machine.
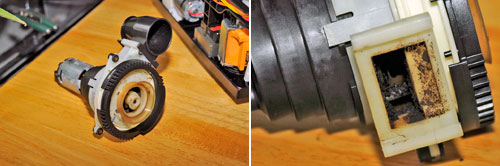
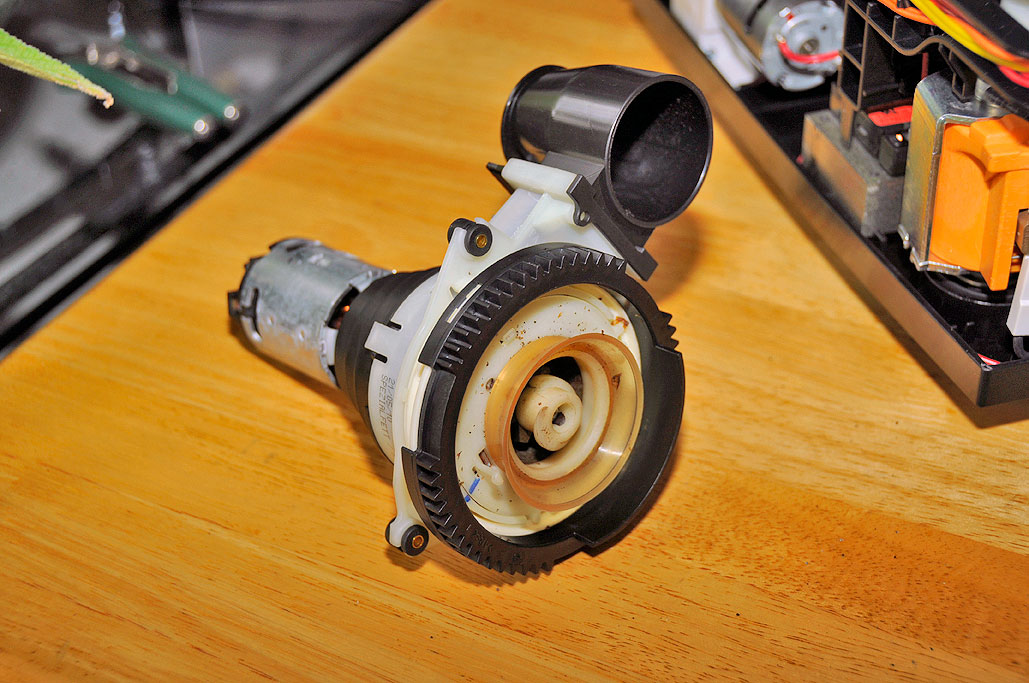
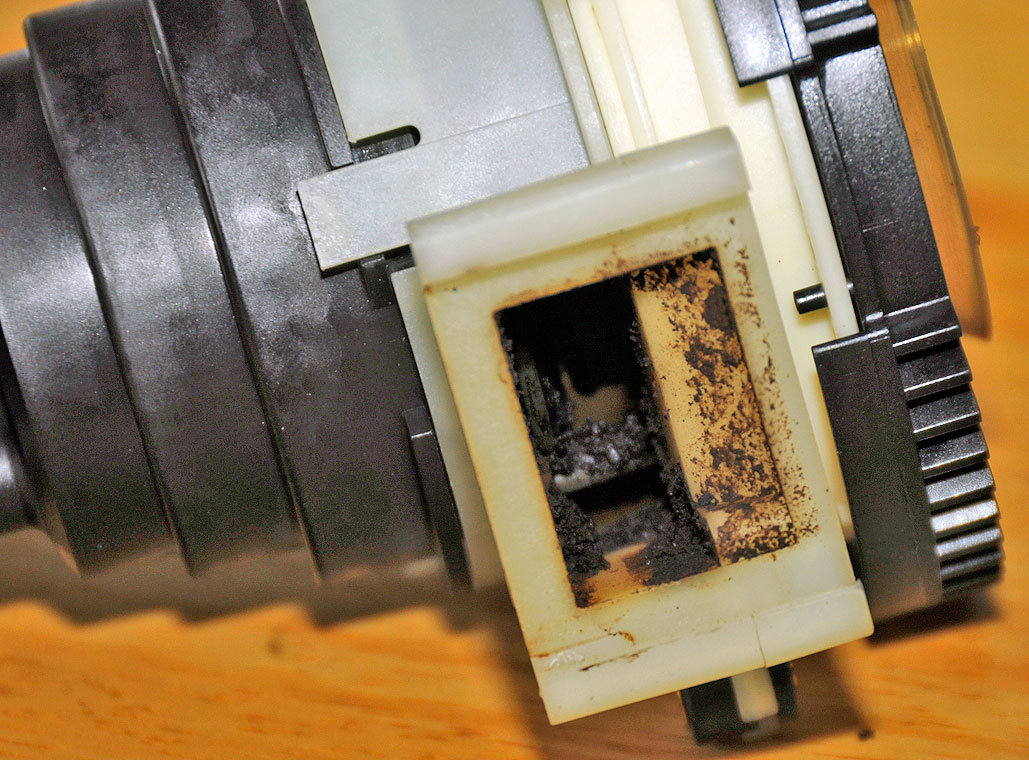
With the grinder fully exposed, it was easy to see how it was mounted. Three screws held the assembly in place. Once the screws were removed, we were able to lift the entire grinder out of the machine. It was not difficult to see the source of the problem now that we had an unobstructed view into the grinder's chute. Come back tomorrow to see how we made out with the rest of the disassembly and cleaning of the grinder. [Permalink] - Jura Z7 Grinder Teardown
|


