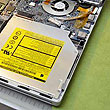
Last Friday we left off after we had both the internal and the ComboDrive removed from the MacBook Pro laptop. Today we'll
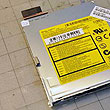
show the installation of the imation SSD and the SuperDrive.
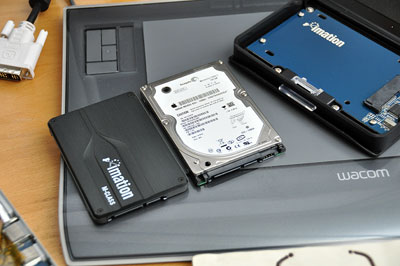
Both drives were attached to the frame of the laptop via mounting brackets. There were three brackets for the SuperDrive.
There is only one for the hard drive.
In order to protect the original drive from hard knocks, four rubber "shock absorbing" screws were used to isolate the drive from the frame. These four screws are necessary for mounting the SSD onto the laptop.

Shock absorbers are not necessary as
SSDs have no moving parts and are thus impervious to knocks. However, these screws are necessary in this case only because of the mounting bracket. The bracket has loops which fit the screws and mount the drive to the frame of the laptop.
The harddrive removed from the laptop may be placed in the imation case and used as a bootable external USB drive...very convenient to have for backups and emergencies.

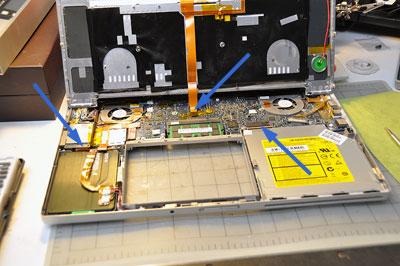
The process for reinserting the SSD and the SuperDrive is much easier than taking them out. Just reverse the removal steps. Take care to tighten just until you get resistance. There is no need to force anything. The only things to check are the three points of connection (blue arrows) to the motherboard before replacing the cover. One tip...do a power-up test before replacing the screws to the casing. This will save you a lot of work should you need to troubleshoot the installation. We go into further details tomorrow.
As always, if you need more info, check with the PowerBookMedics. Those guys are the pros when it comes to Powerbook/iPod related repairs and service. They are our first and last stop when we need parts. If we can't find it there, it is unlikely we would find it anywhere. [Permalink] -MacBook Pro SSD and Superdrive Installation
|

