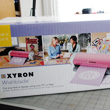
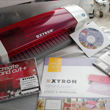
We showed the unpacking of our brand spanking new Wishblade yesterday. ALL of the directions which came with the Wishblade were written for PC users. So, to make things clearer for the Mac folks, we'll walk through the setup and installation of the cutting software for OSX. Fortunately for Mac users, the steps are pretty simple, but we realize that not all scrapbookers and crafters are computer geeks, so we'll point out the steps which may be confusing. Feel free to drop us a note in the Xyron Mac forum if you are having trouble. We'll be answering questions there for the next week.
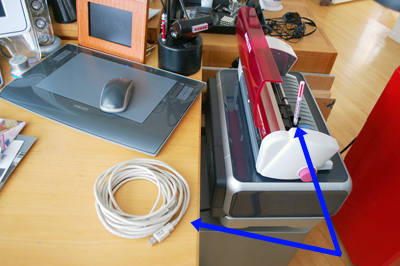
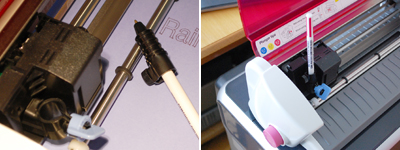
The first step is to complete the setup of the physical machine. The Wishblade came with a 3' USB cable. We got a 12' cable from Micro Center so we could place the machine at a more convenient location. We also installed the pen in the cutter instead of a blade for the test run. This was so we won't inflict any accidental damage to the machine should things don't go as expected. We had to leave the cover in the open position with the pen installed.
All of the Mac software (Production Manager, Create&Cut+) were on the Create and Cut Plus CD. Running the Create&Cut Plus Installer on the CD installed all of the necessary software to the various locations on the Mac. When the process successfully completed, there were two new aliases on our OSX desktop. As we usually don't like application aliases on the destop, we dragged ours to the dock.

The first thing needed to get the Mac and the Wishblade talking to each other was to let the Mac know how things were connected. The piece of software which managed the communication was the Production Manager. We launched the software and poked around a bit before we realized what we needed was "Add Setup" function. That menu option activated a configuration dialog for a Serial port. Nothing in the dialog was necessary for configuring the Wishblade because the USB port was the one we needed.
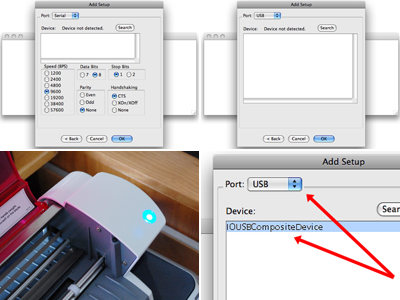
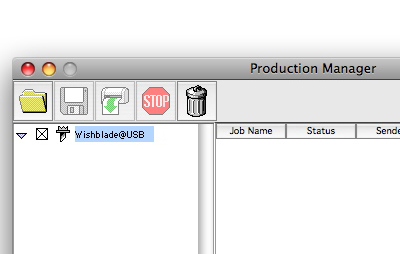
We did not see the Wishblade device listed after switching to the USB port, but than realized that we had not powered on the unit. Once switched on, a cryptic name (IOUSBCompositeDevice) appeared on the list. We were pretty sure it was the Wishblade and our guess was confirmed as per the listing in the main window.
The computer could now "see" the cutter, but could it control the cutter? The PM software has a "test cut" function in the Setup menu. We thought that would be a reasonable test to validate that everything was configured properly.
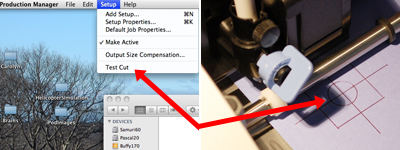
The machine kicked to life when we selected the function. A few grunts and groans later, the "test cut" confirmed the Mac was indeed able to send commands to the Wishblade and control the cutter.
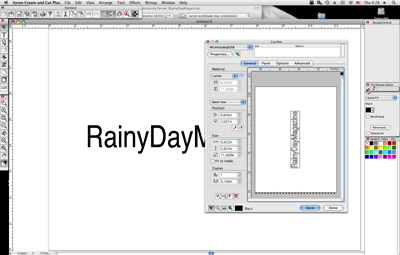
The next step was to check out the Create & Cut software. Getting the Create & Cut software up and running was pretty simple. We won't go into much detail about the software now as we plan to have a complete review of it in the future. Suffice to say that we were able to create a quick layout send the word "RainyDayMagazine" to the Wishblade all without any instructions. The basic functions were intuitive and the cut command worked as expected. Of course, we didn't actually do a physical cut, just a simulated one using the pen, but you get the idea.
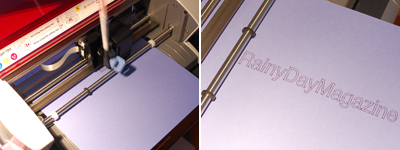
We'll do a "real" cut soon enough. However, before we do, we want to understand more about the Create & Cut software. We want to know how easy it is to convert an image to a cutting file. We want to know whether we can take some of our older cutting files and use it with the C&C software. We also want to know if we could control our older Wishblade with the new software. Once we have the answers to all of these questions, THEN we'll make the first "real" cut :-) [Permalink]- Wishblade Software Install
|

