A rearview camera is useful when you have a large SUV and want to avoid running over stuff that is low to the ground. We wanted to add one to the Boxster because we had a couple of LCD screens already in the car and thought...hey, we could use one for a rearview camera! What made the project irresistable was a local MicroCenter had a sale on Swann Security Cams a while back. When everything was said and done, the total cost came to $5.00 after discounts and rebate. Not much of a financial risk even if the project goes completely belly-up.
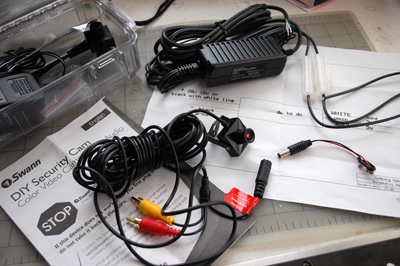
The Swann camera uses a 9V power source. In order to adapt it for in-car use we needed to get a 12V-to-9V DC-DC adapter. We managed to snag two adapters after a little haggling (hey...we are sure we'll need another one some day) for $15 from a nice seller on EBay.
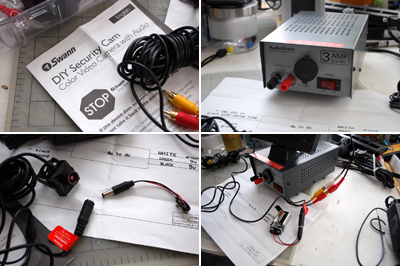
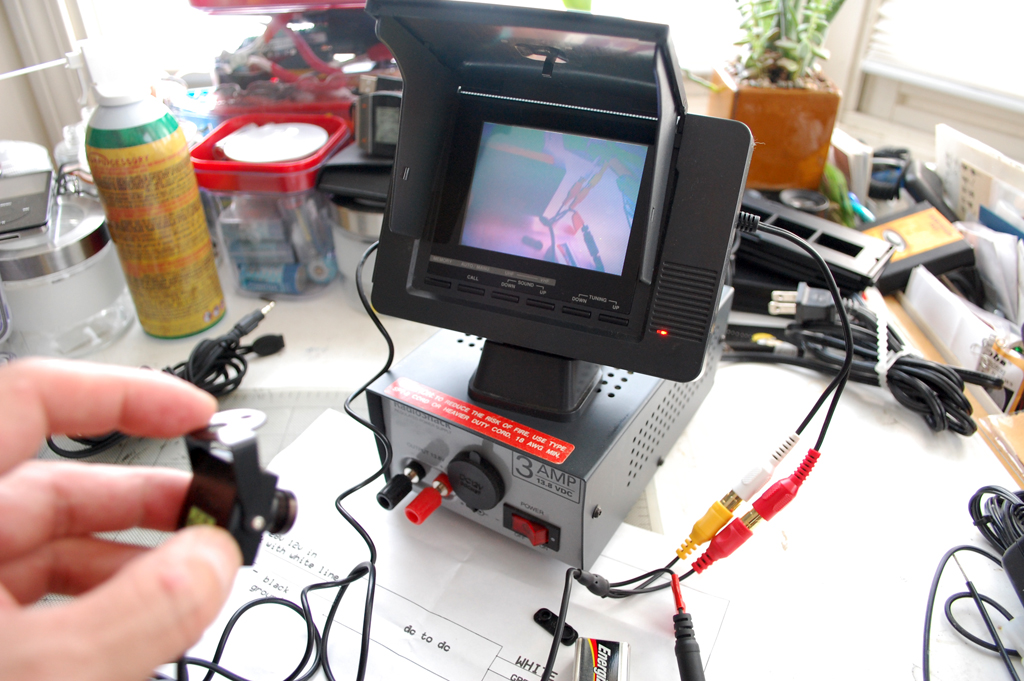
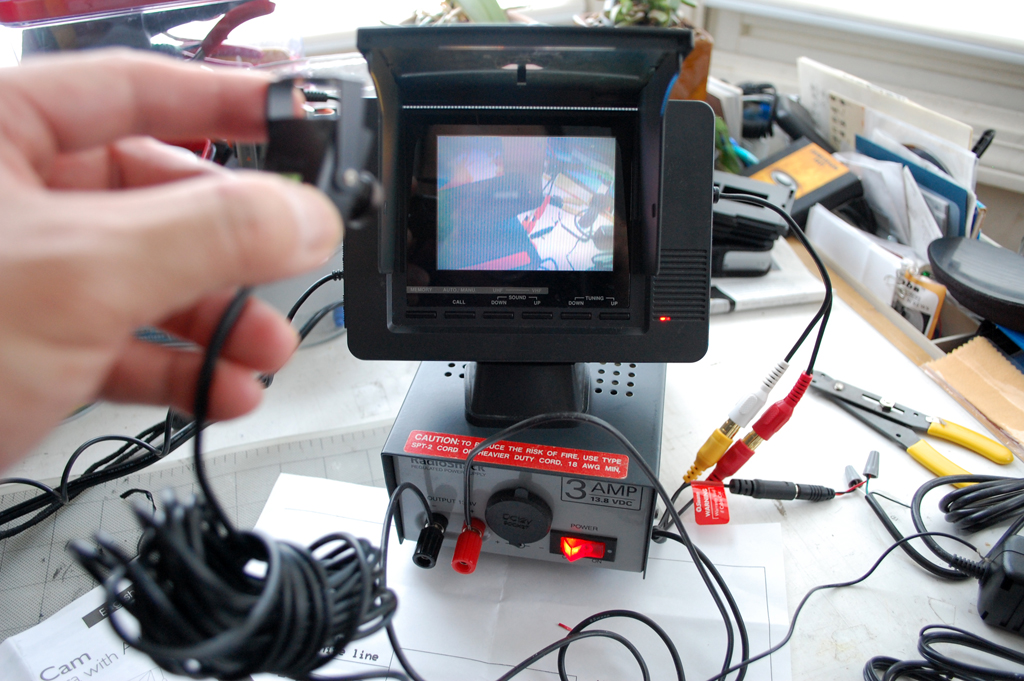
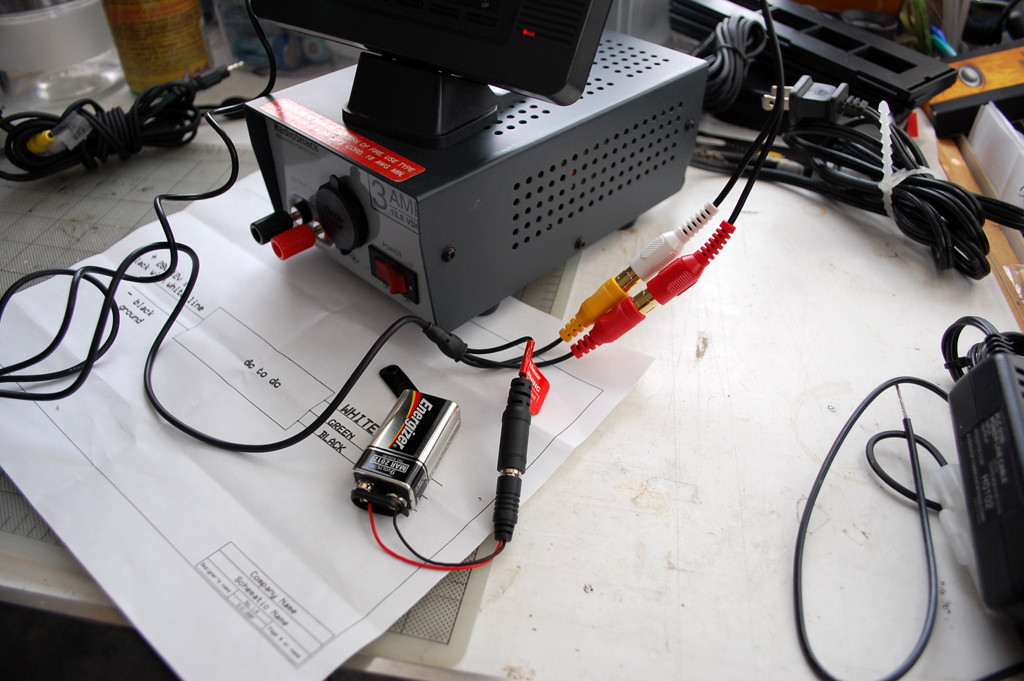
The first step was to make sure the camera was functional before bench-testing with the converter and the 12V DC supply. A quick 9V battery check confirmed the camera, adapter, and mic were all working as expected. We did notice that the video picture was pretty weak when powered by a 9V battery.

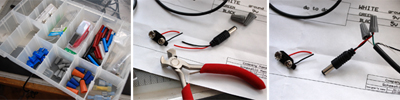
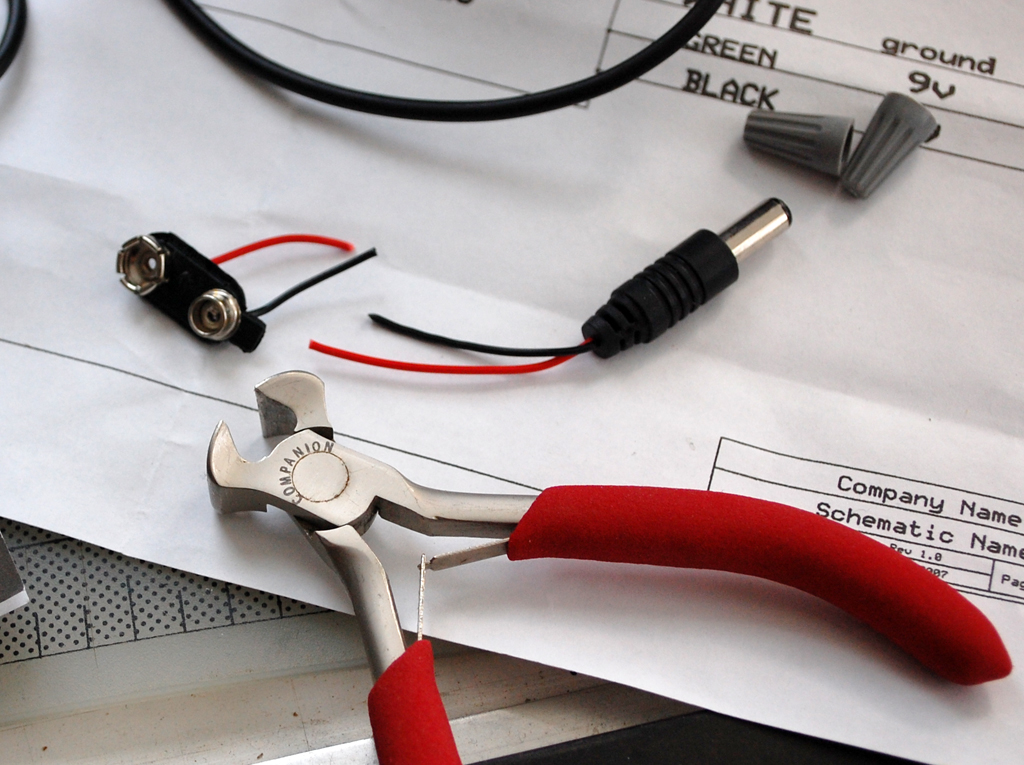
The next step was to attach the 9V battery adapter to the DC-DC converter. We had a few connectors options, but chose to use the quick and dirty twist-on caps...fast, easy to rework, and secure enough for the task at hand.
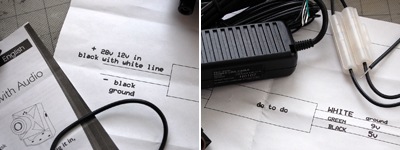
The DC-DC adapter was actually a lot more versatile than we expected. It put out both a 9V and an 5V line. We have no use for a 5V line at present, but it was good to know where to get one should we need it in the future!

The wiring diagram was pretty straightforward. We wired everything up, hit the power switch, and everything came to life. The image from the camera was a lot better when powered by the bigger power supply. Now that we have successfully confirmed that all the parts (camera, DC-DC converter, wiring) were functional, we are ready to lay it out in the project car. Stay tuned. [Permalink] - Rearview Cam
|


