Our Vespa has been chained up for most of the Spring and some of the Summer due to the (rainy) weather. We tried to ride it as often as we could, but neither June nor July was good for riding. There was a break from the rain this past Saturday, but when we tried to start it up, the battery died before we could get the scooter going.
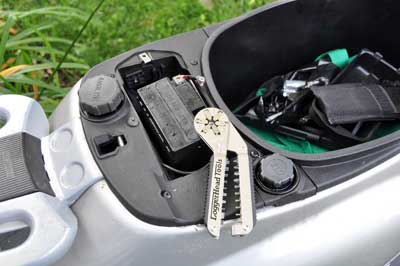
The battery compartment is located under a cover beneath the seat. When we opened the cover we found some moisture and a fairly corroded battery terminal, neither of which was unexpected, and both of which were clearly the cause of our electrical problem.
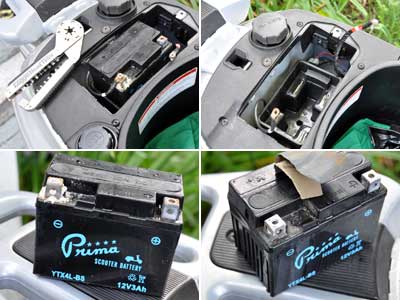
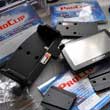
The terminal screw was fused and we were starting to ruin the head with the Phillips screw driver. Remembering that we had a small Loggerhead Tool, we decided to give that a go. We had to struggle a bit, but in the end we were successful in loosening the screw without ruining it. The Loggerhead Tool is now part of the Vespa kit.

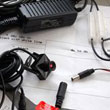
Cleaning terminal heads and contacts are fairly easy tasks. The best way is to use a wire brush or sandpaper. The key point is to make sure to clean down to some bare metal so that good contact can be made. Getting the battery charged up was equally easy, as we have the Pro-Logix Battery Conditioner from Clore Automotive. We have used this device on the battery of our 20 year old Pathfinder with great results.

With the Pro-Logix charger, the unit will optimize its charging parameters automatically. All we had to do was set the size, hit start, and wait for the "Charge Complete" light to go on. It took about 5 minutes for the cycle to finish for our Vespa battery. We hooked it up and the Vespa came to life. It was a perfect day to scoot on down to the Roslindale Farmers Market for some fresh produce. [Permalink] - Vespa Battery Maintenance
|

